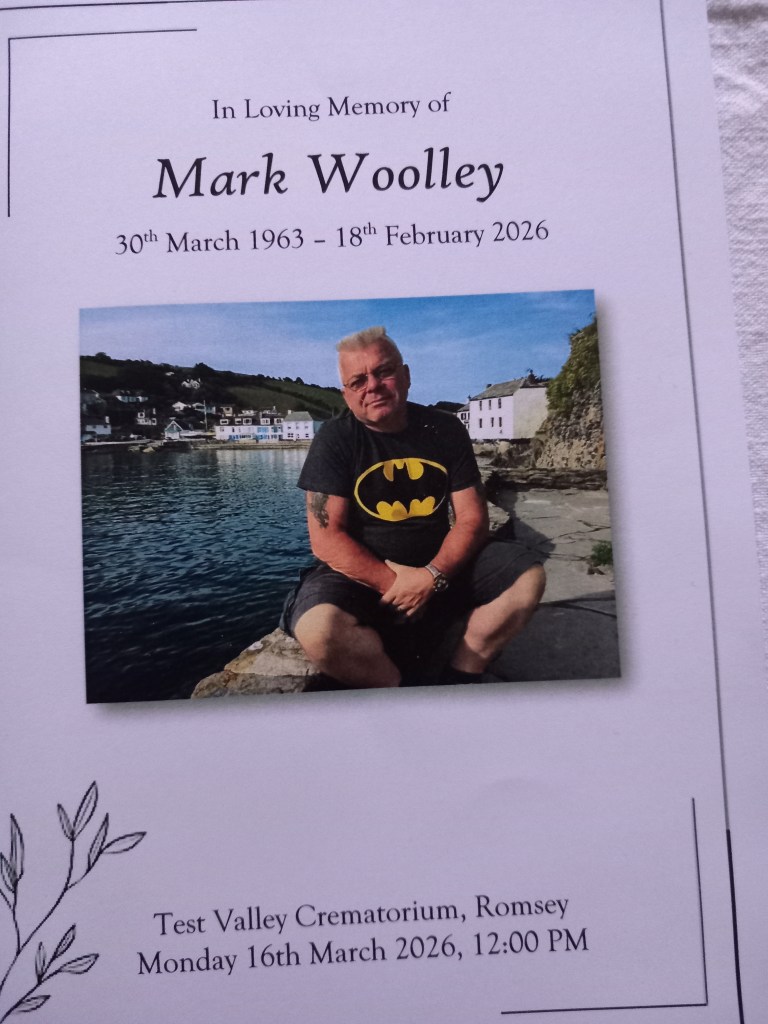
Despite the fantastic weather that closed out the month it has been a bit of a downer of a month for the group. The funeral of our oldest member who died in April and the collapse and subsequent death of our most regular member early in the month. Gaming has therefore been a little muted 😞
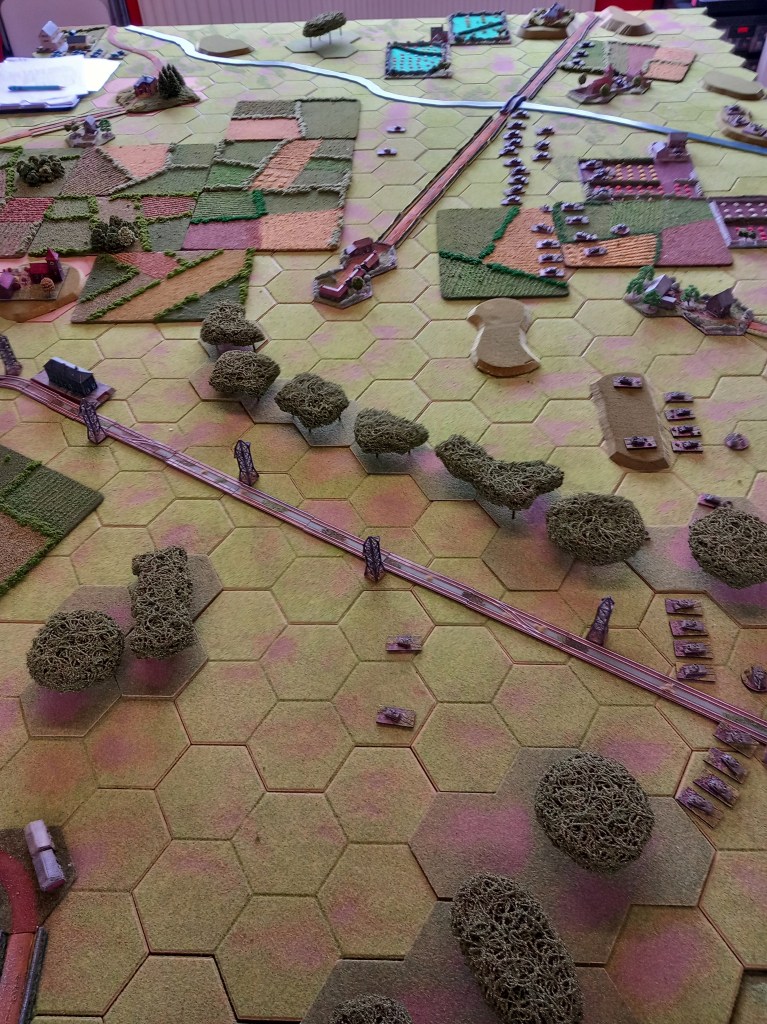
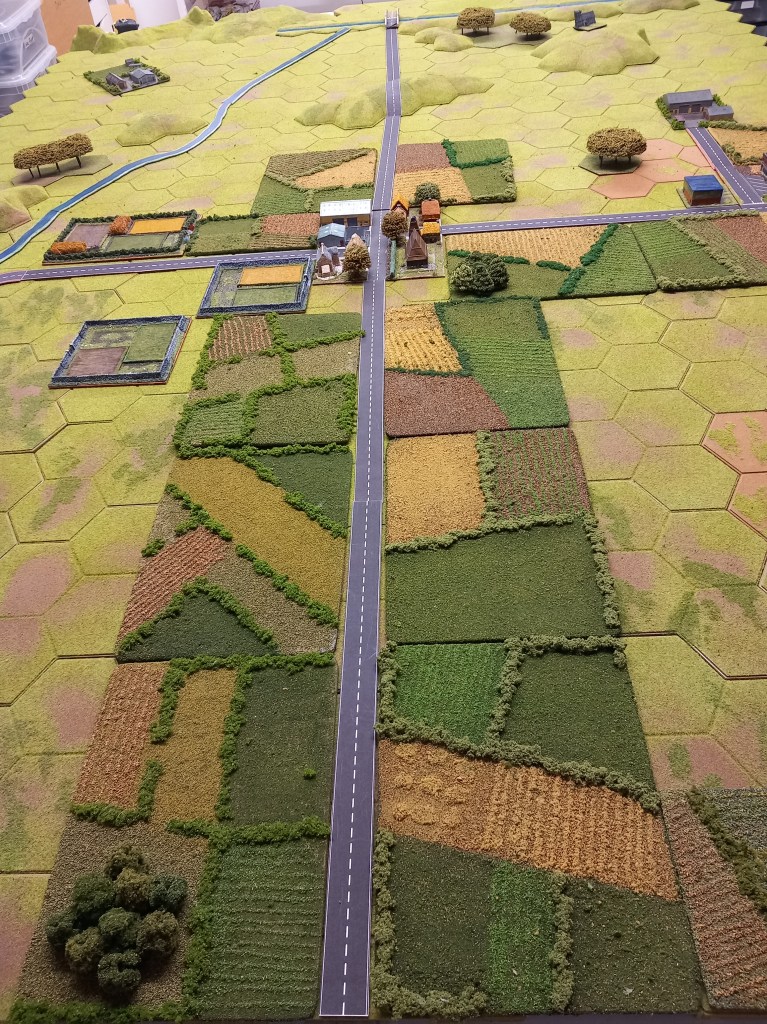
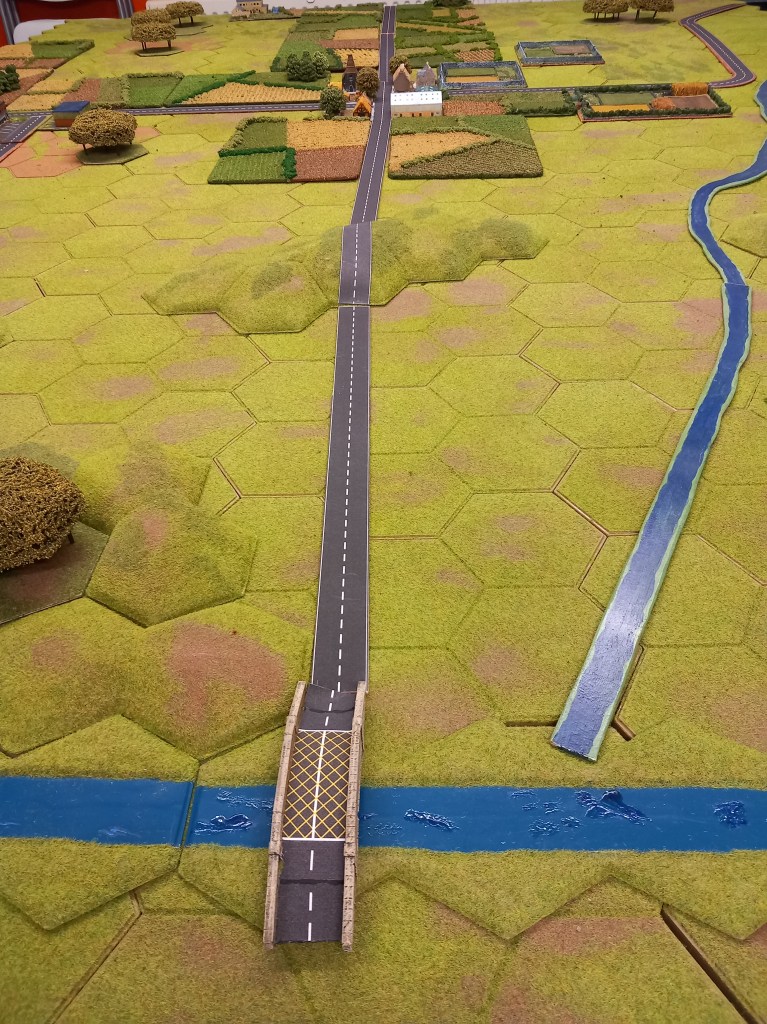
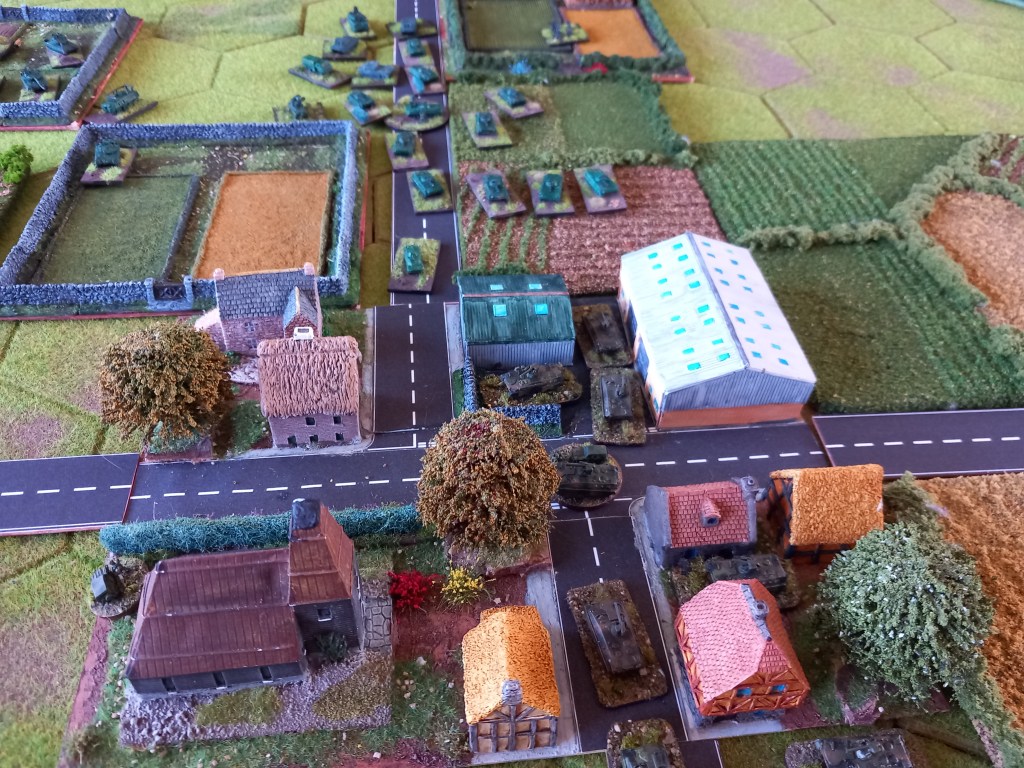
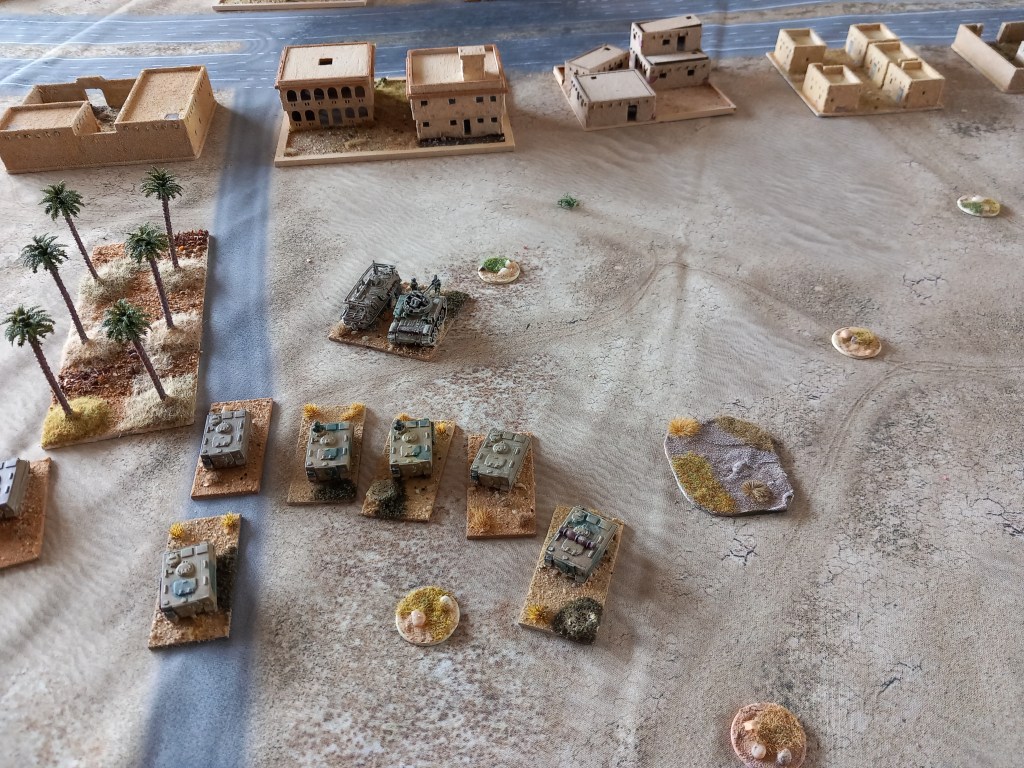
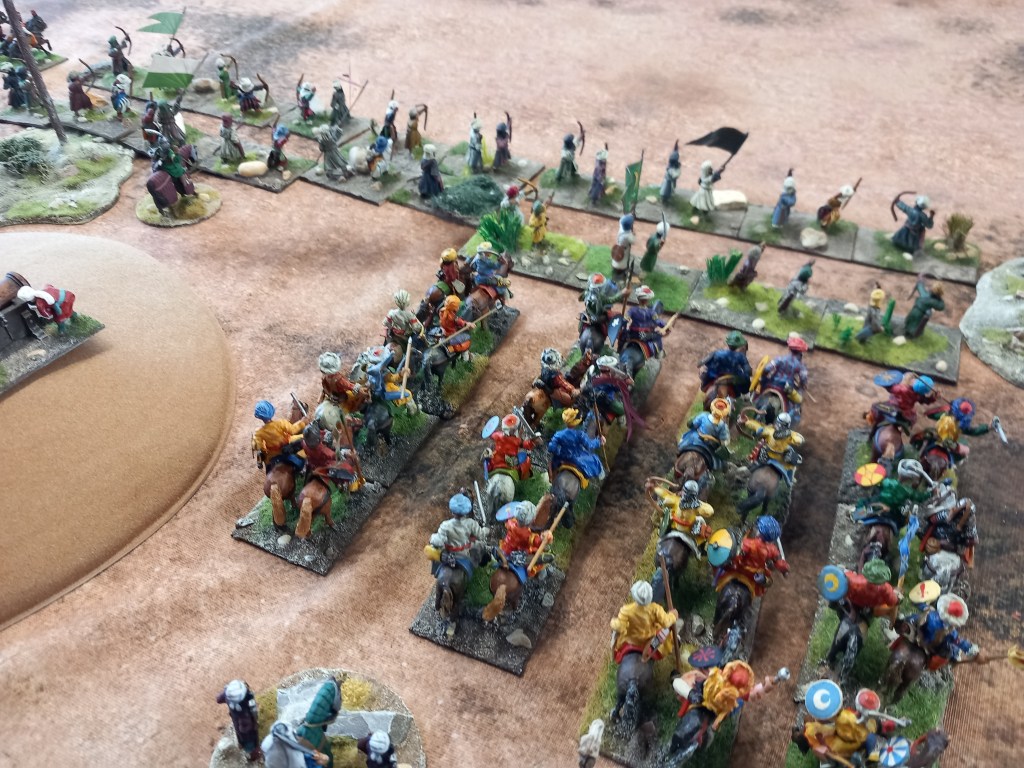
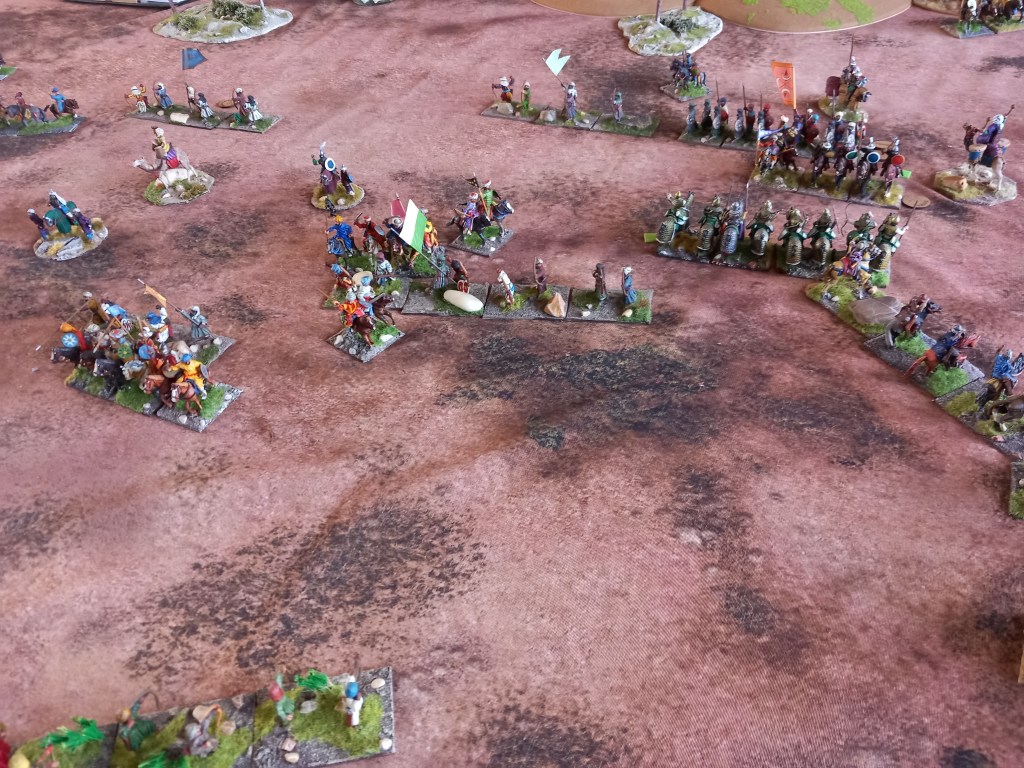
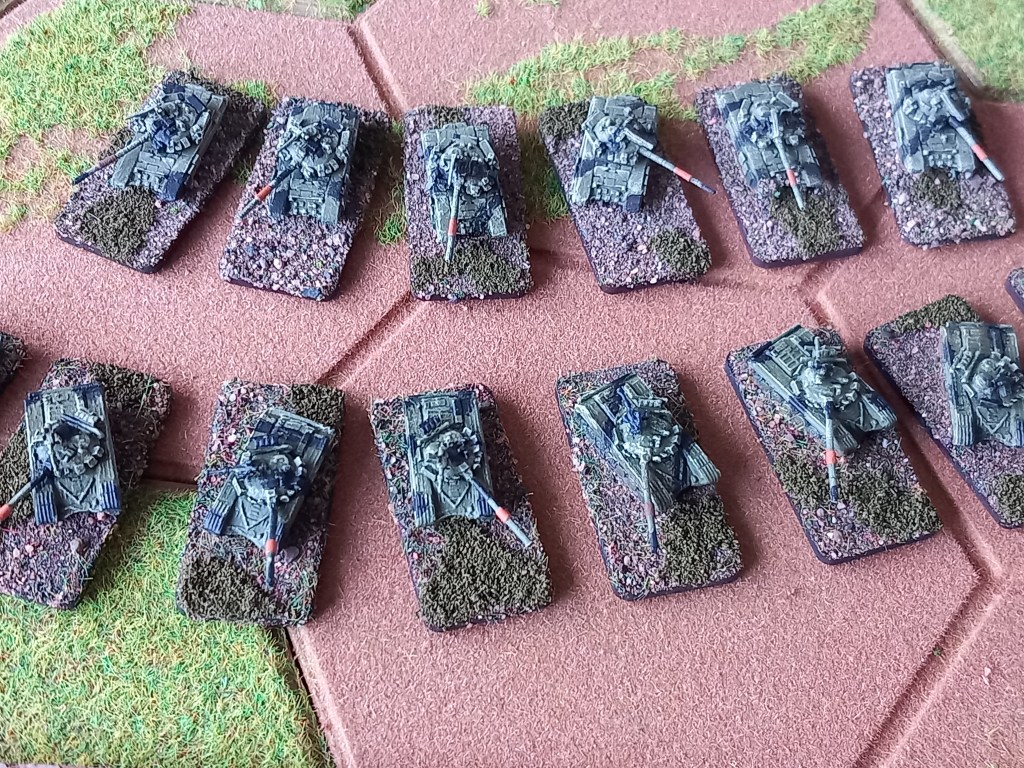
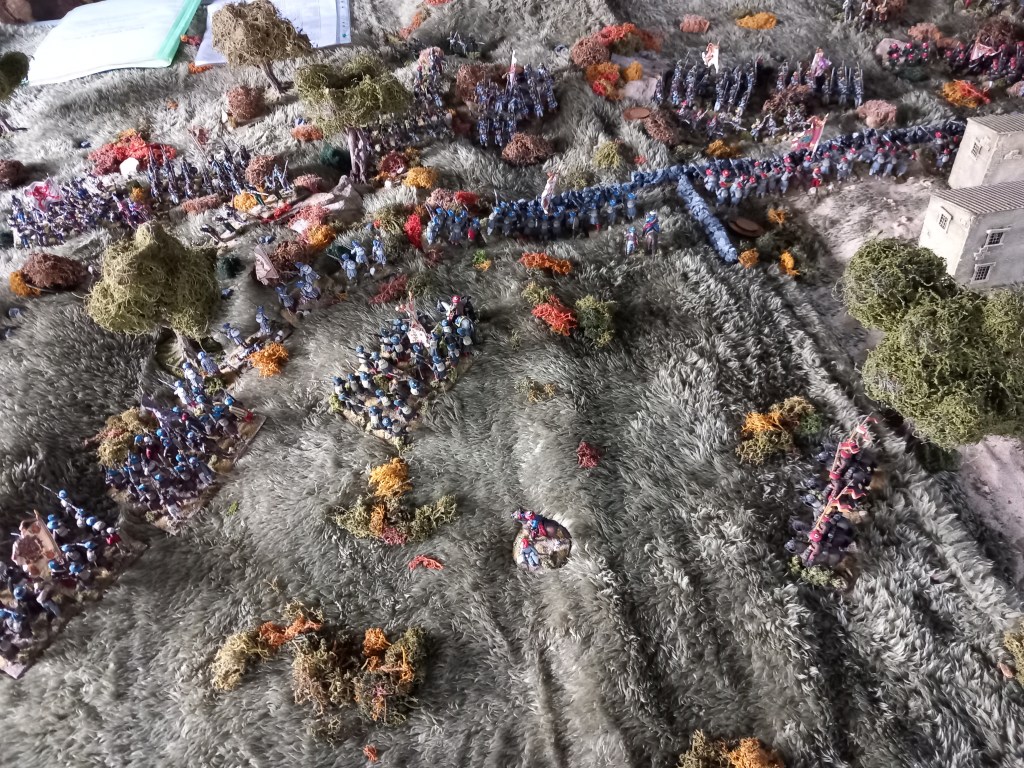
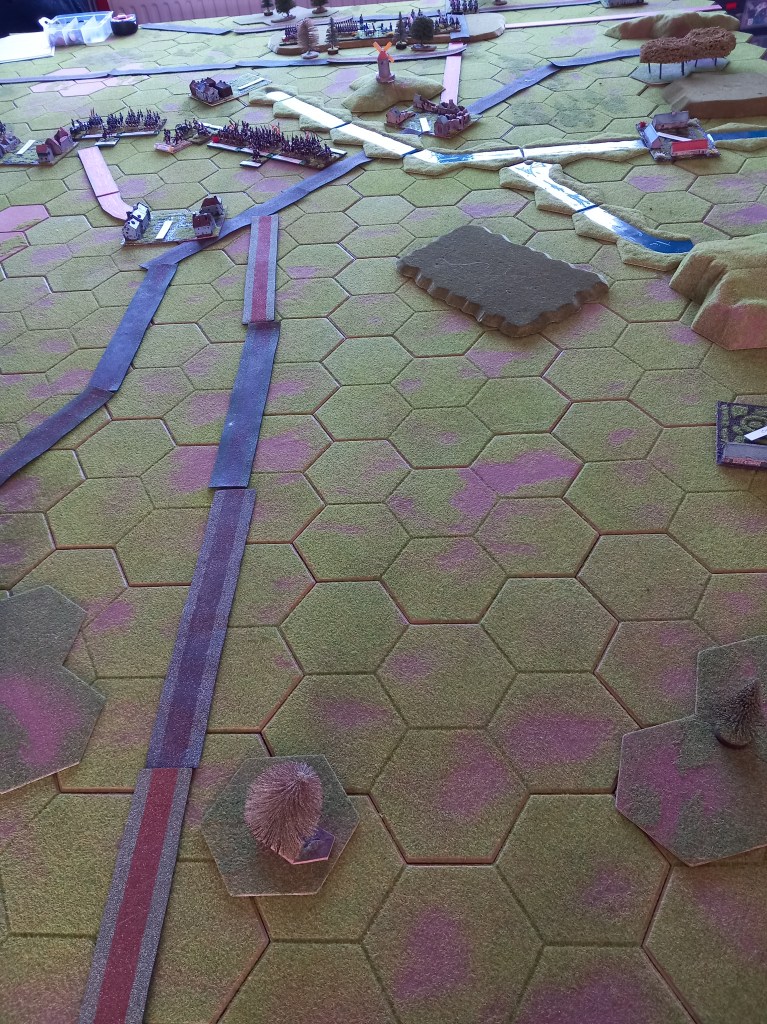
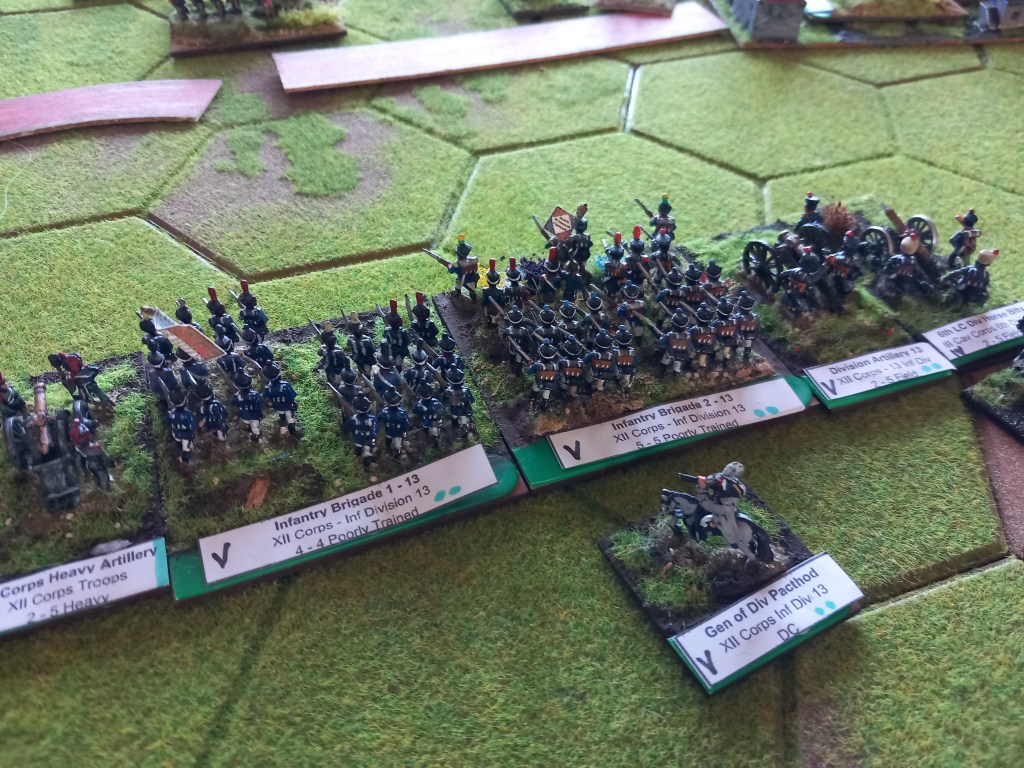
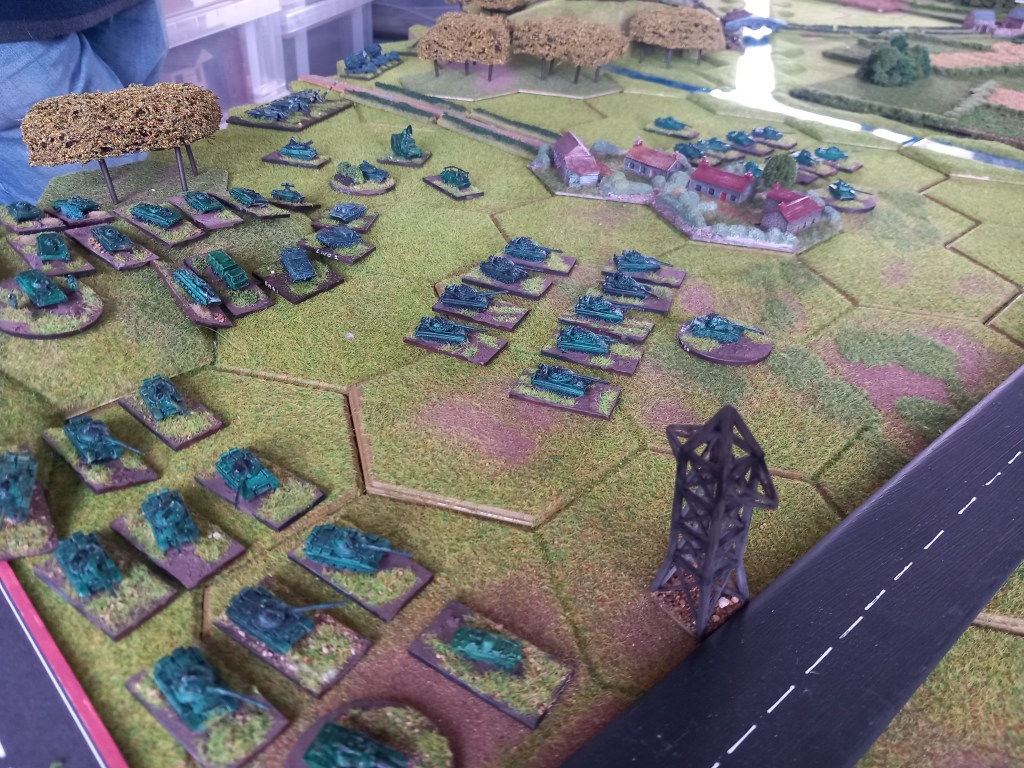
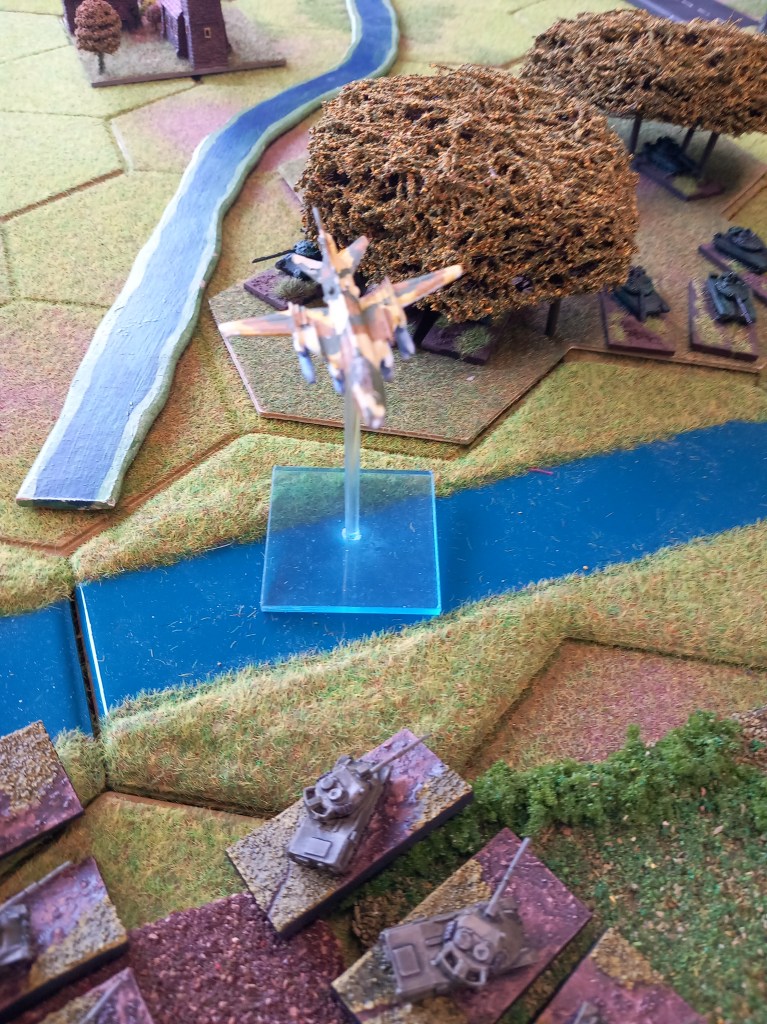
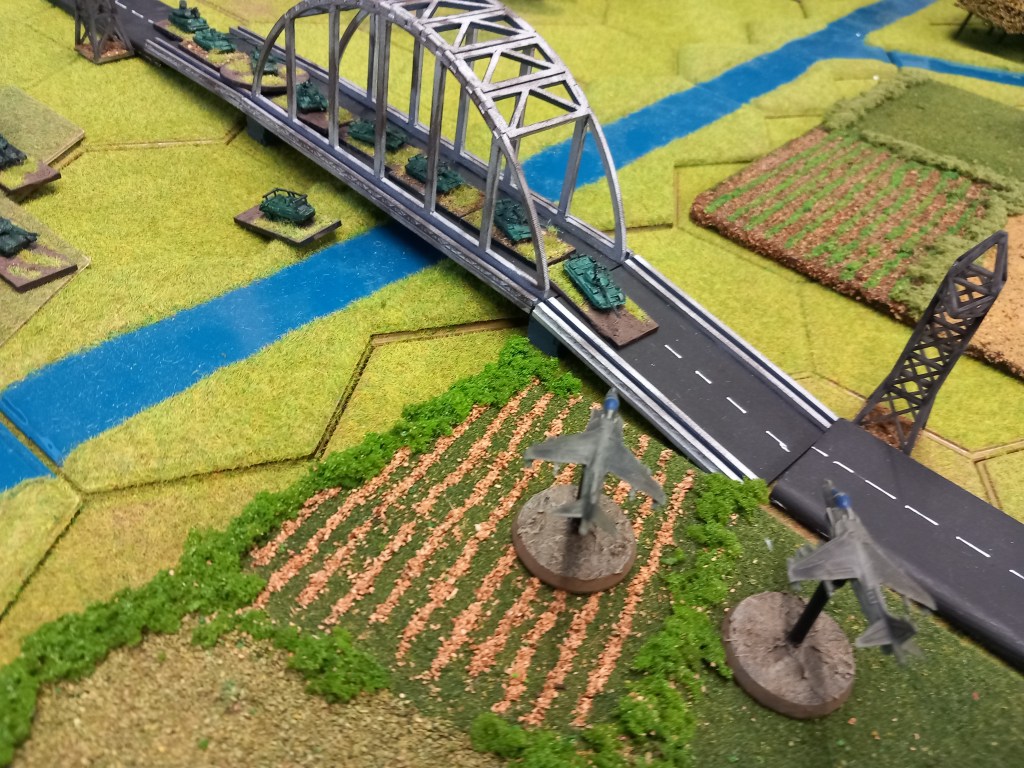
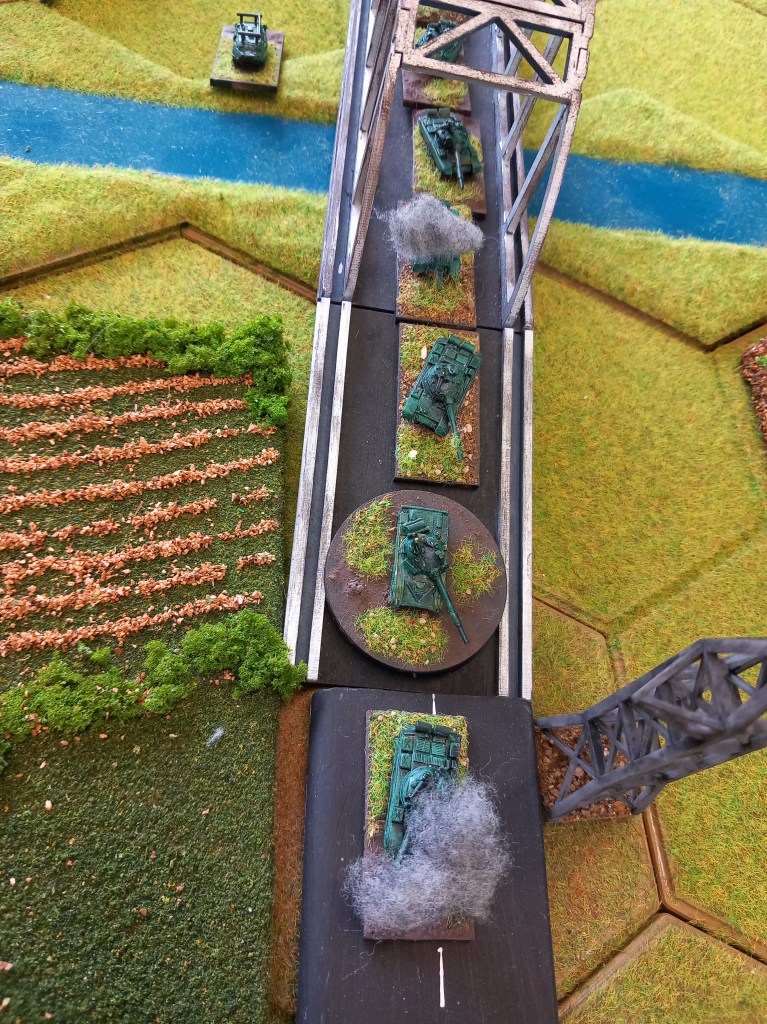
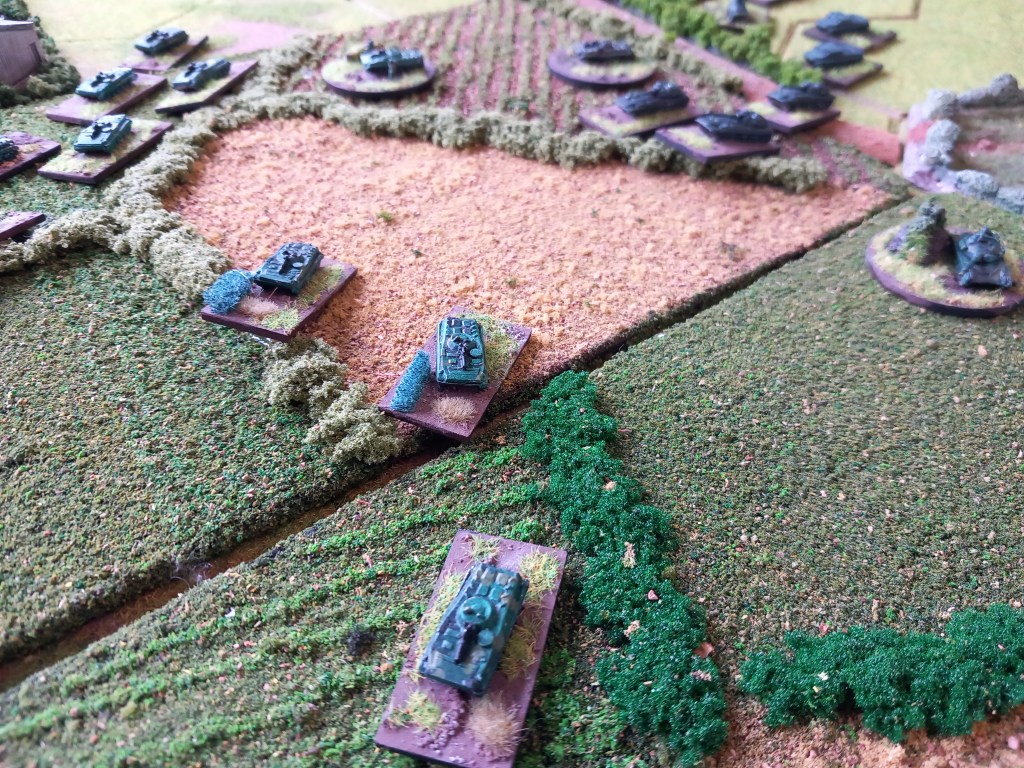
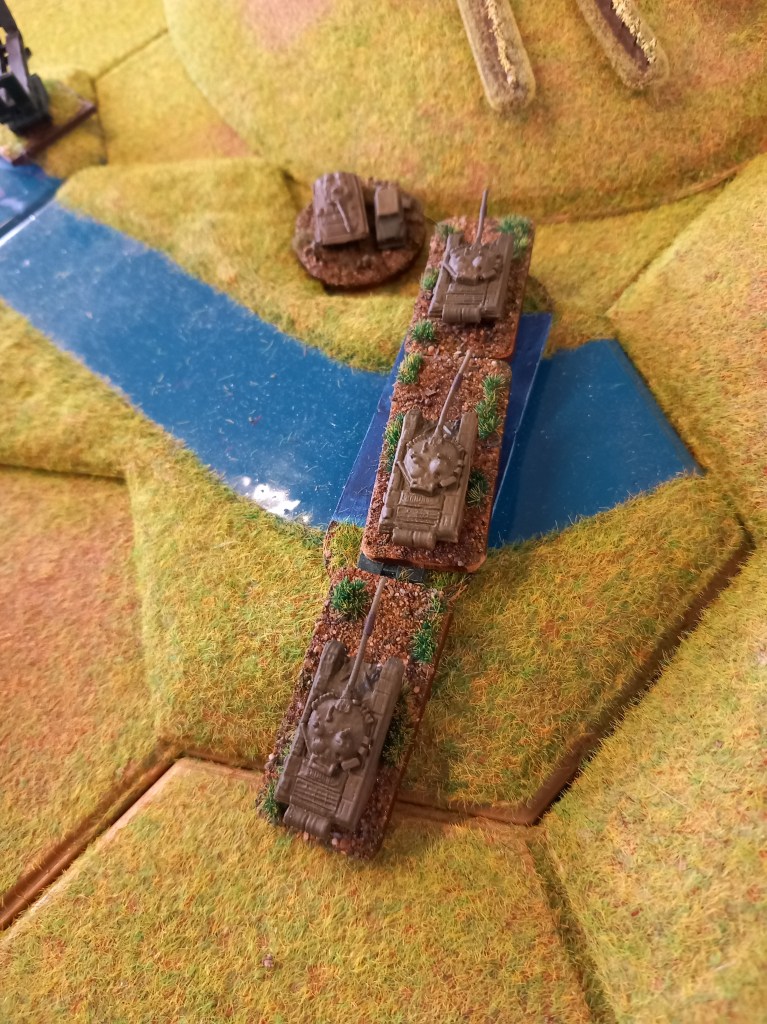
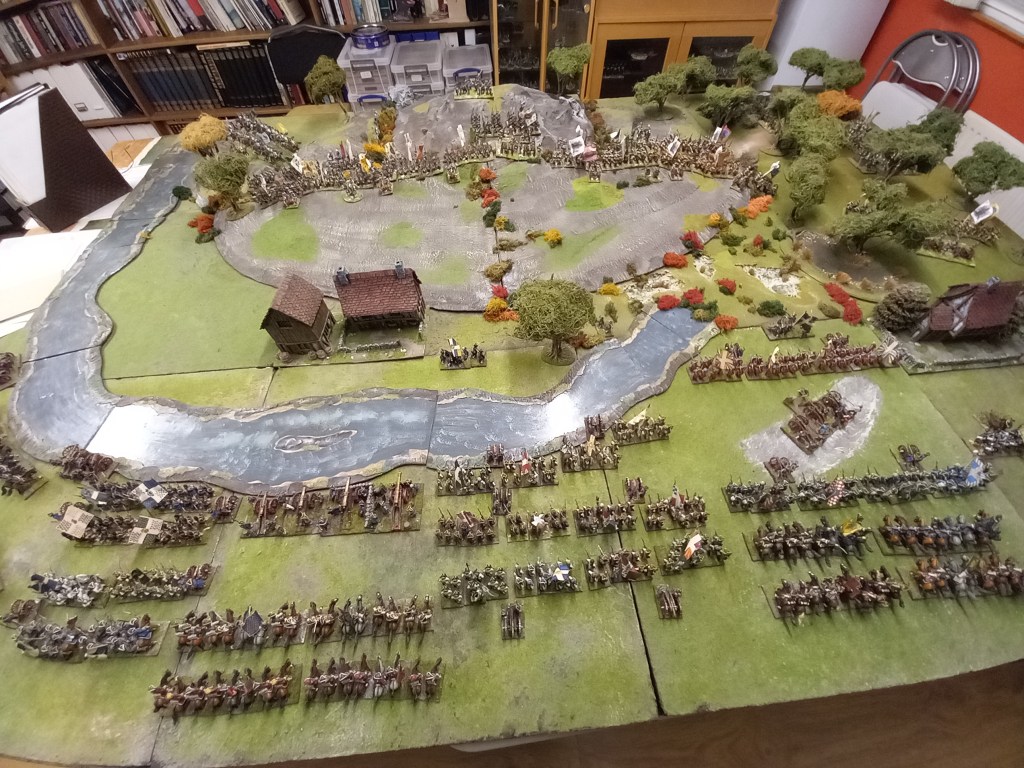
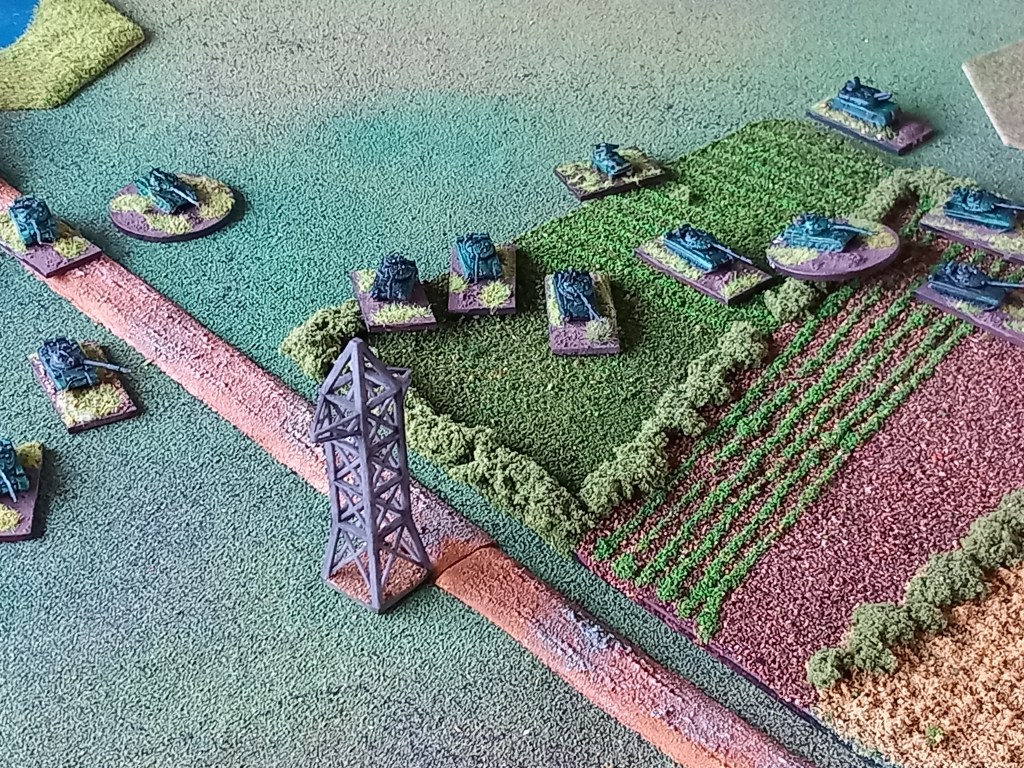
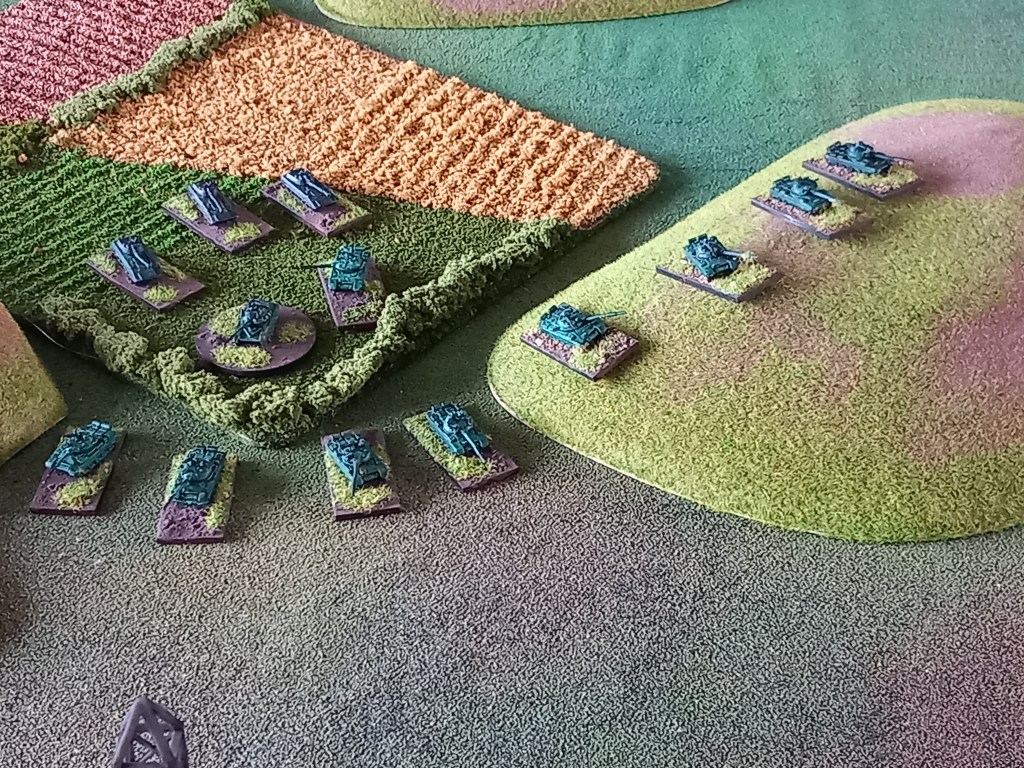
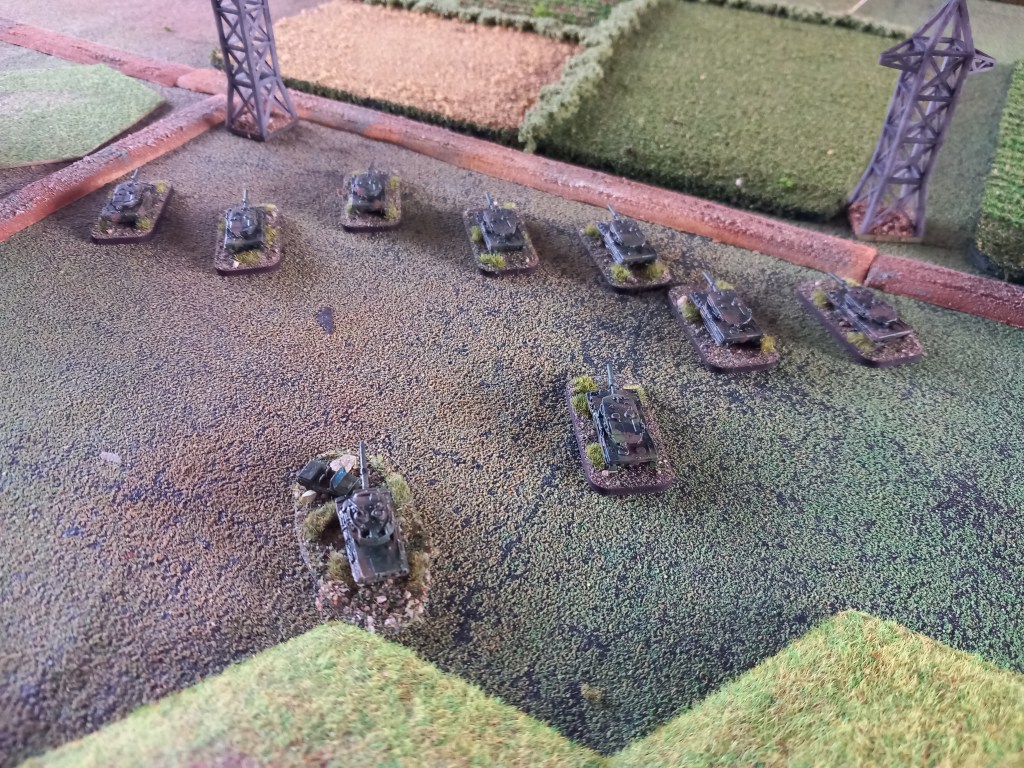
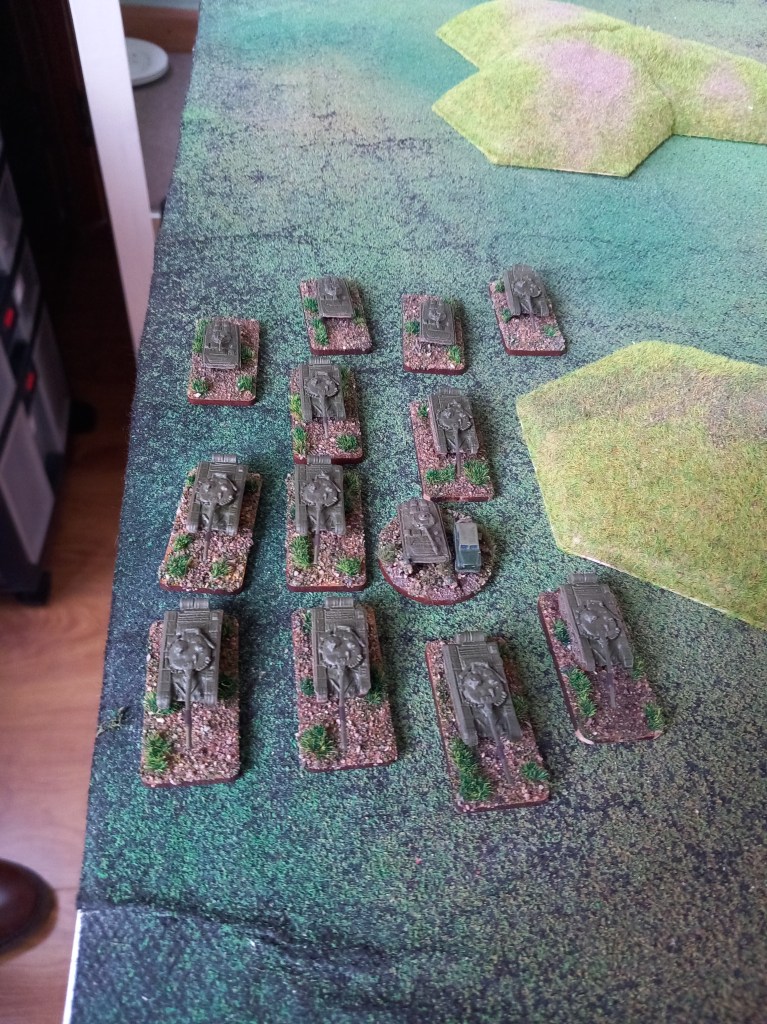
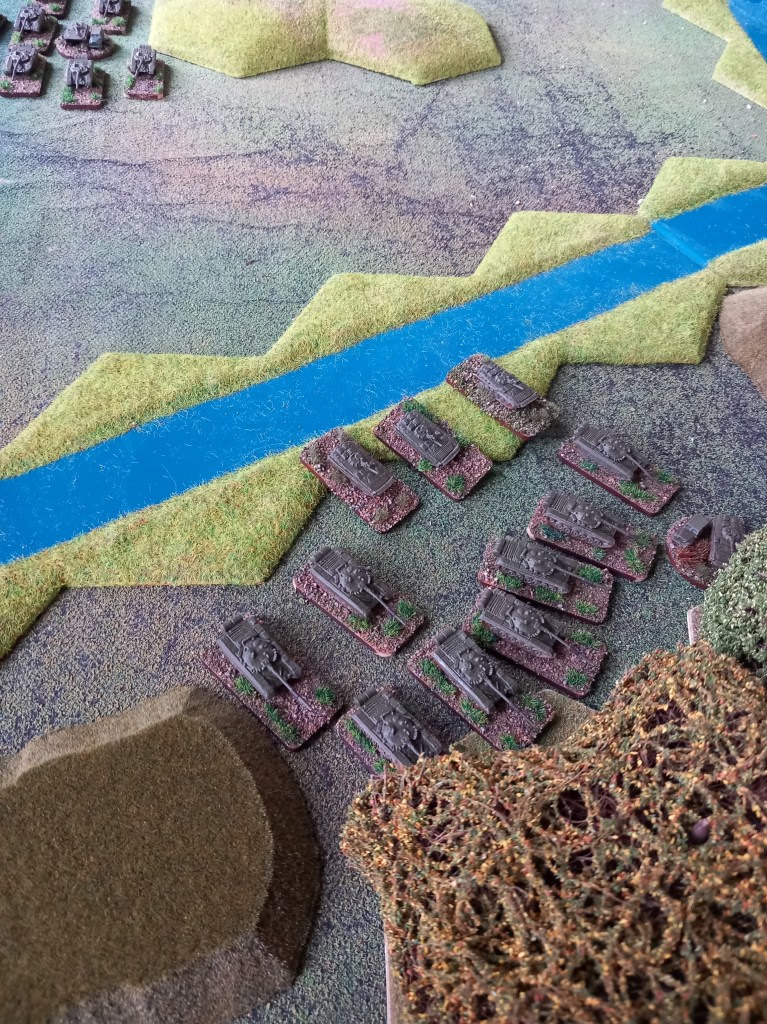
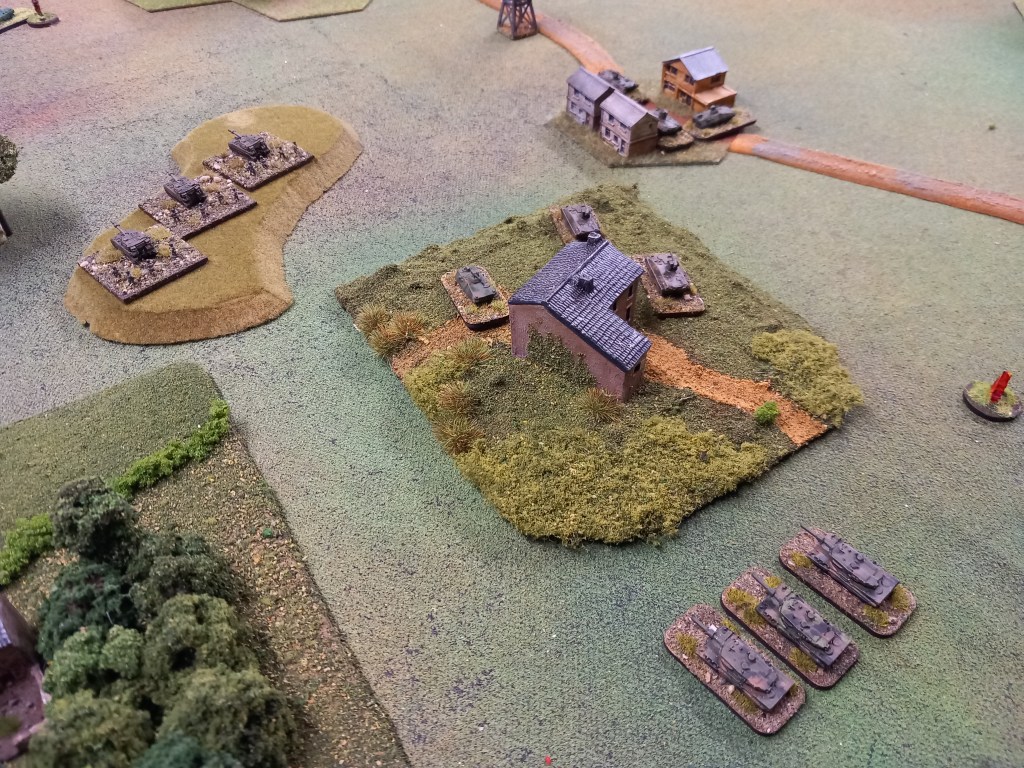
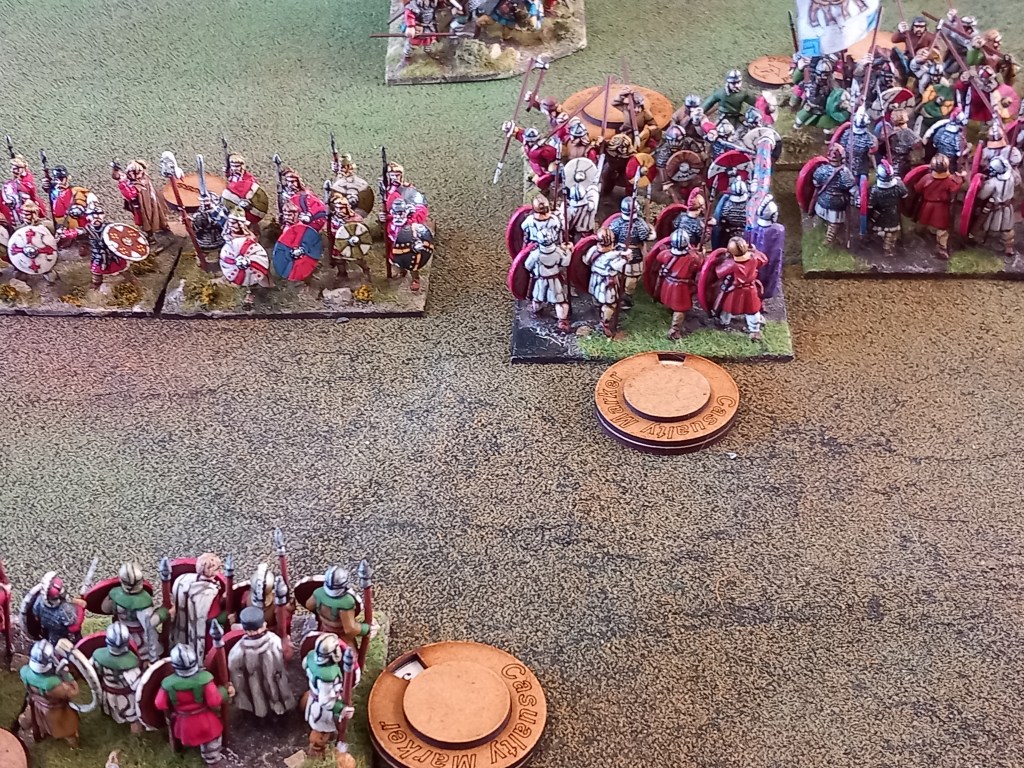
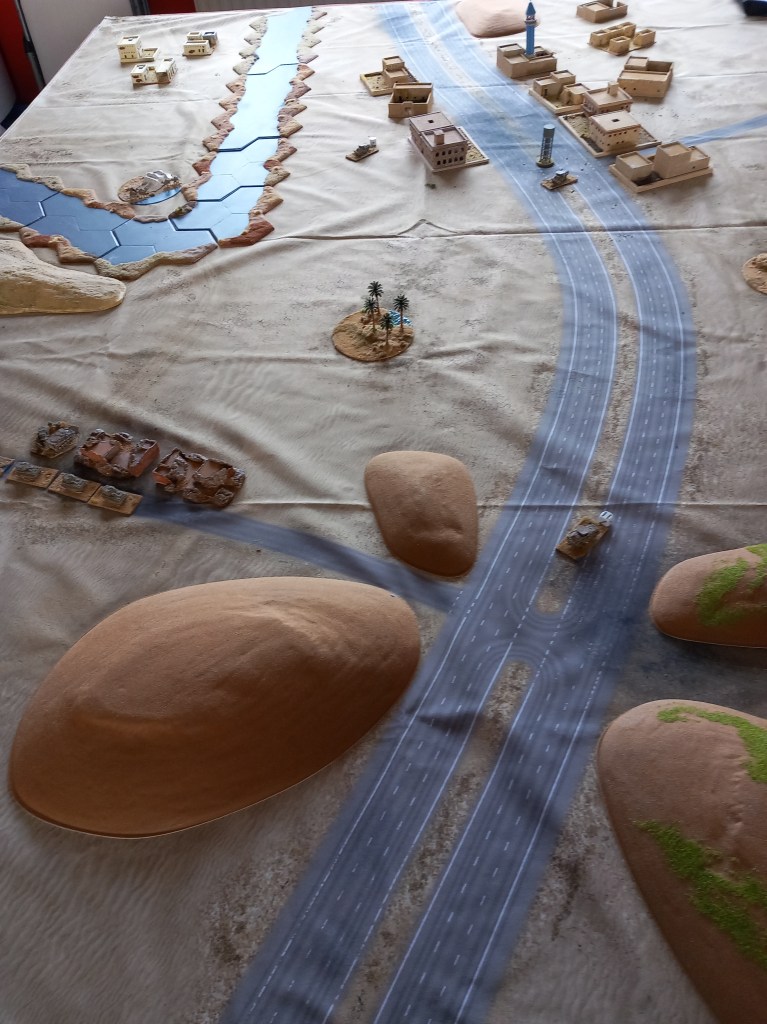
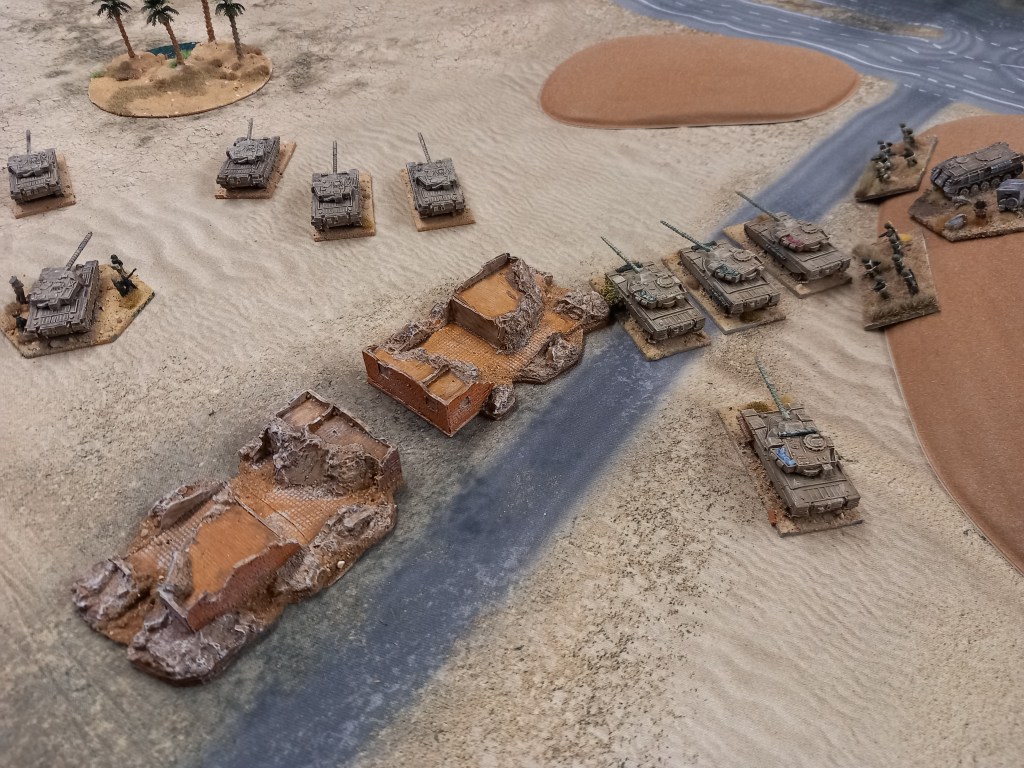
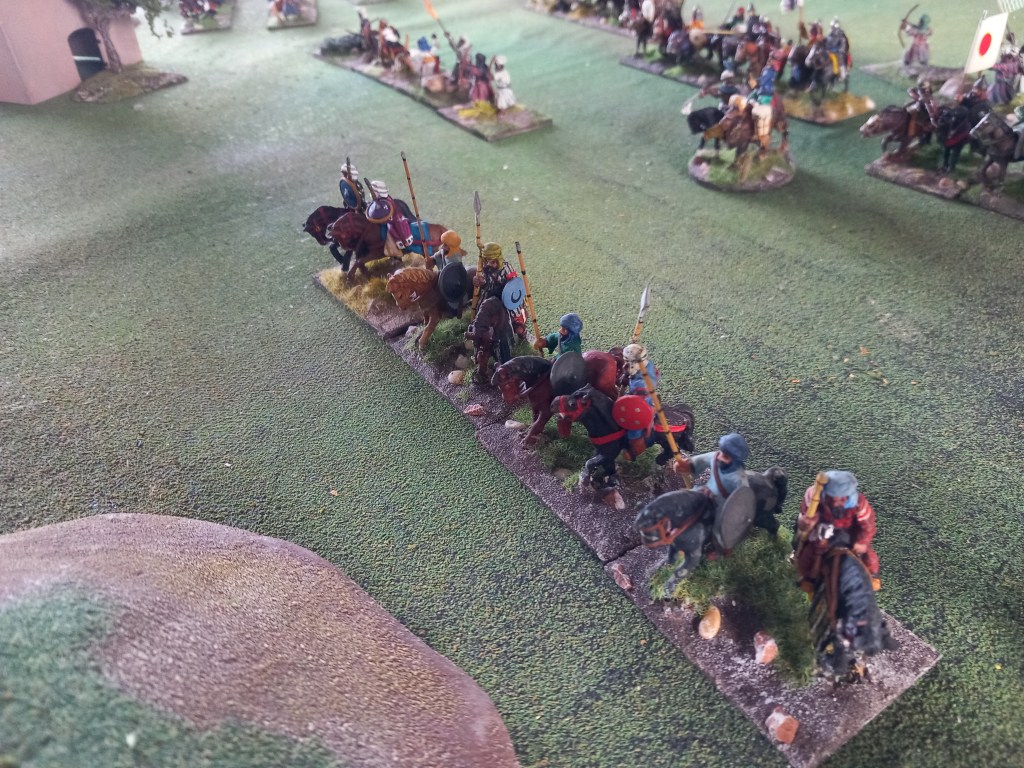
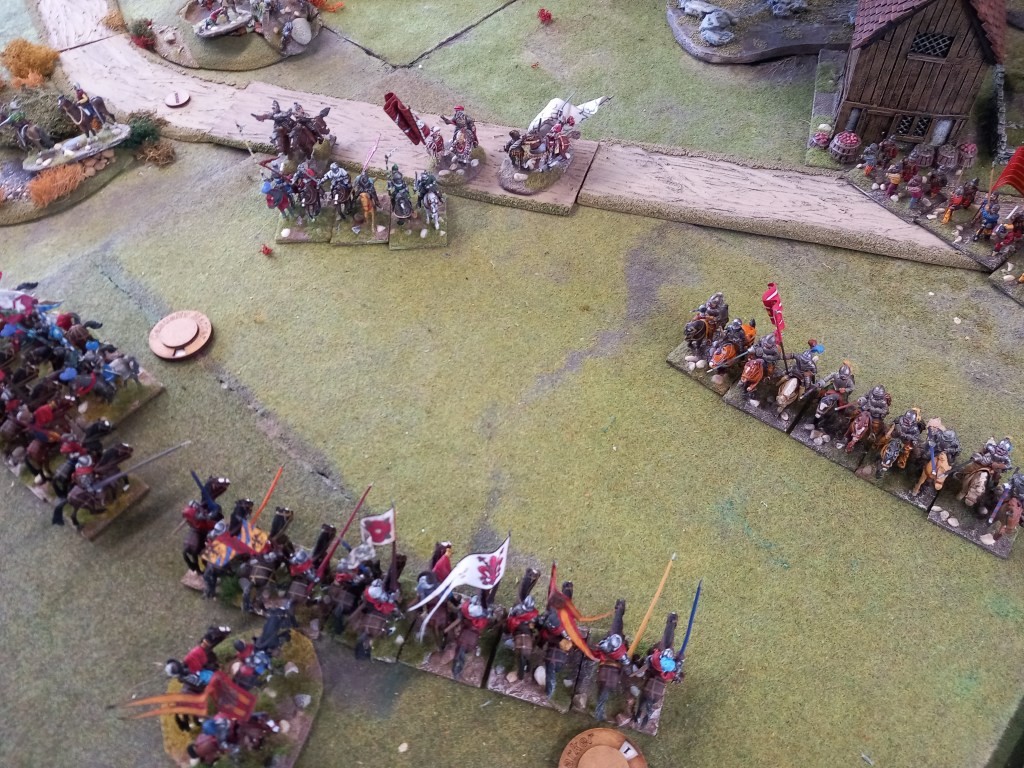
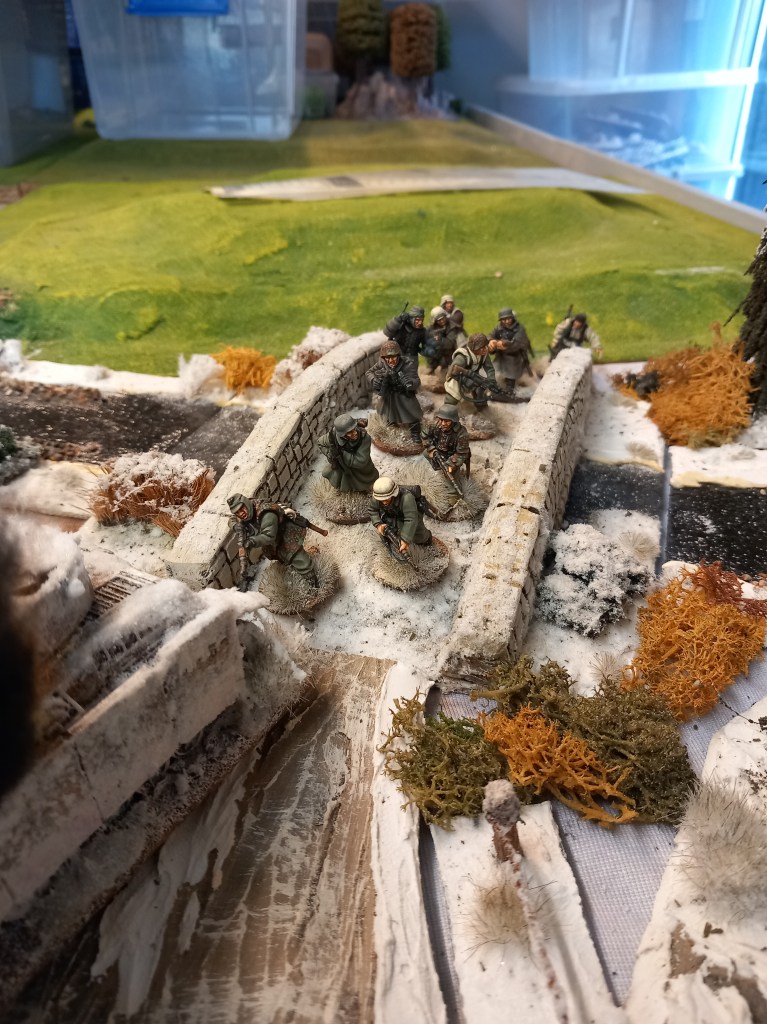
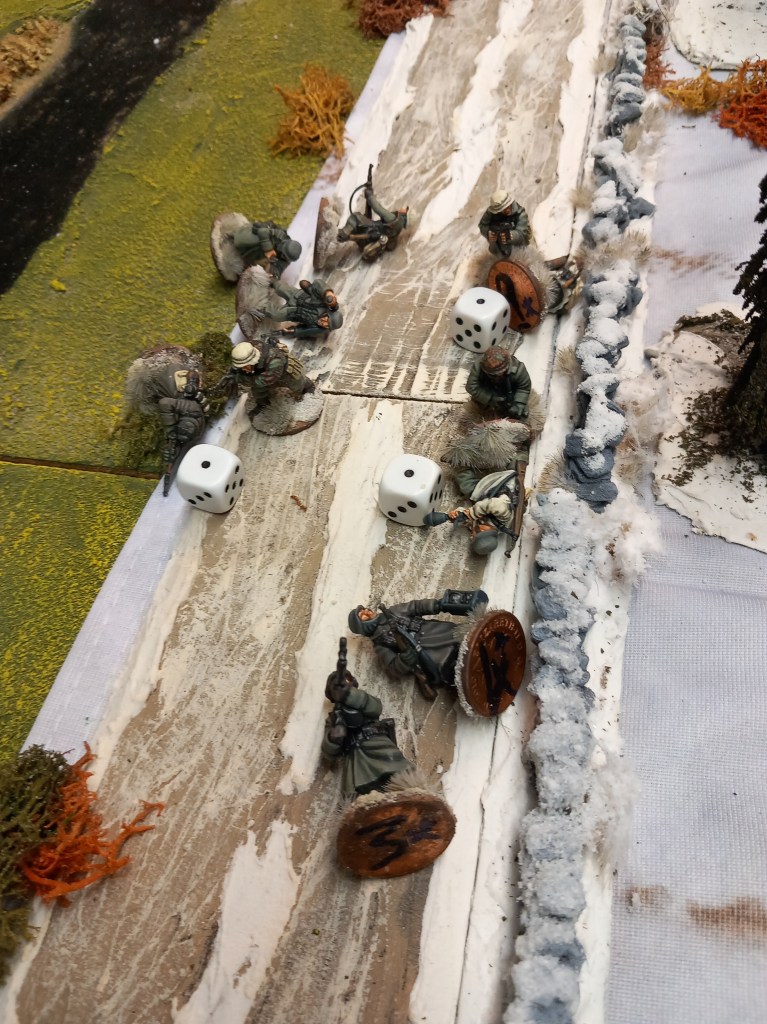
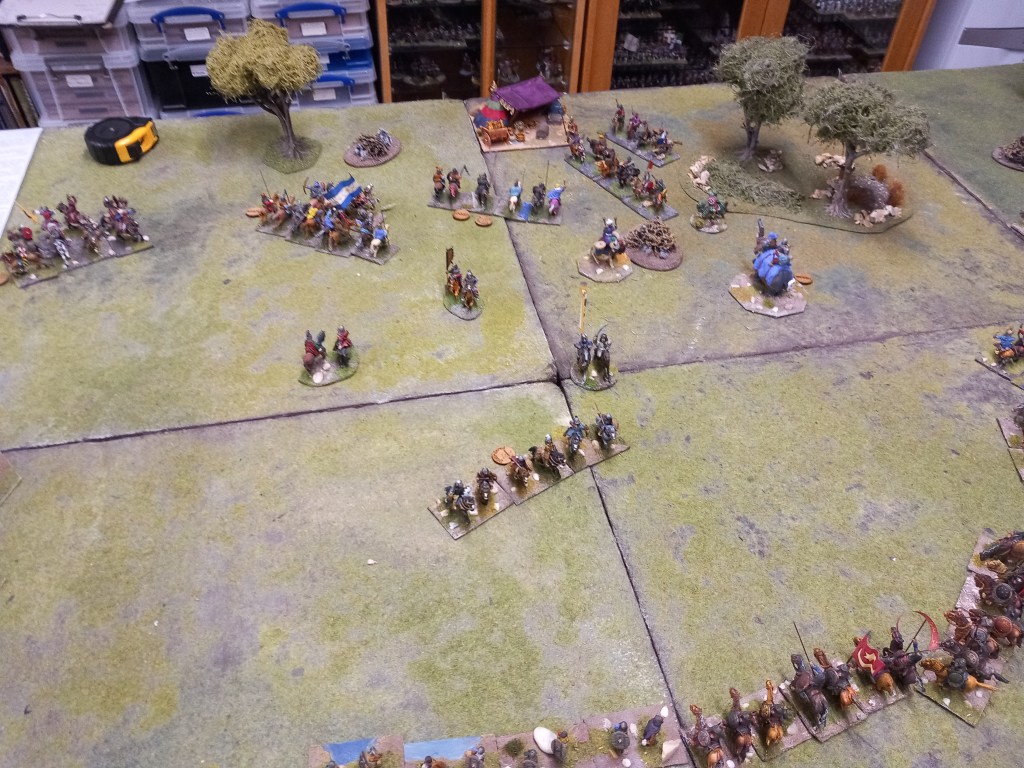
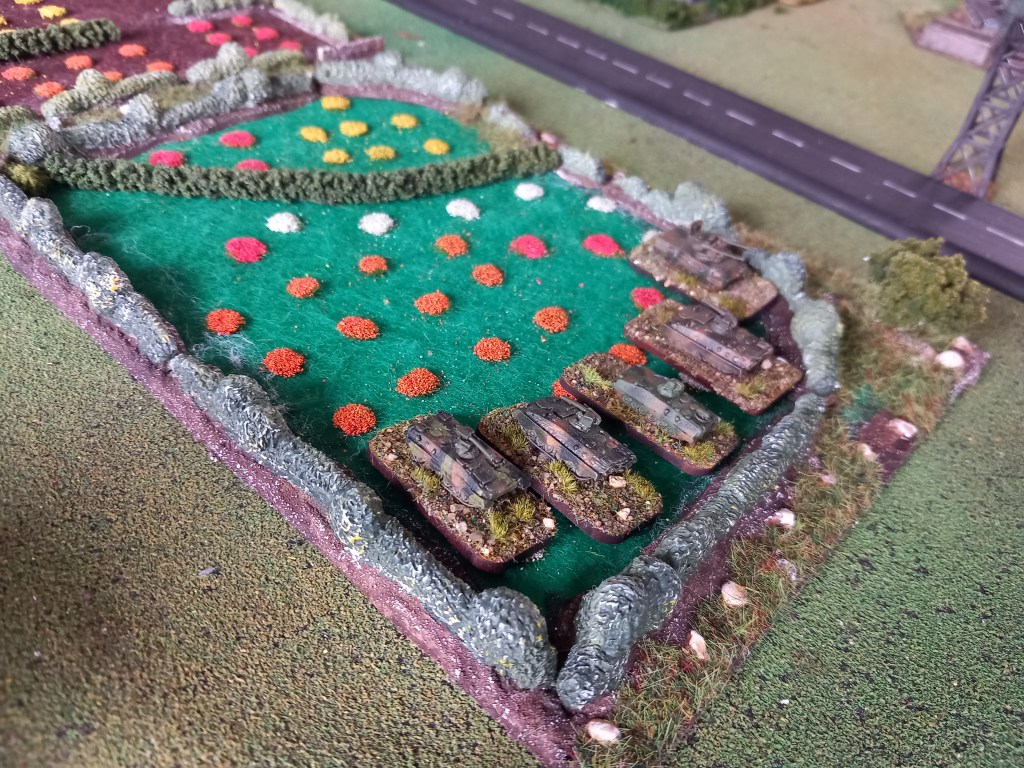
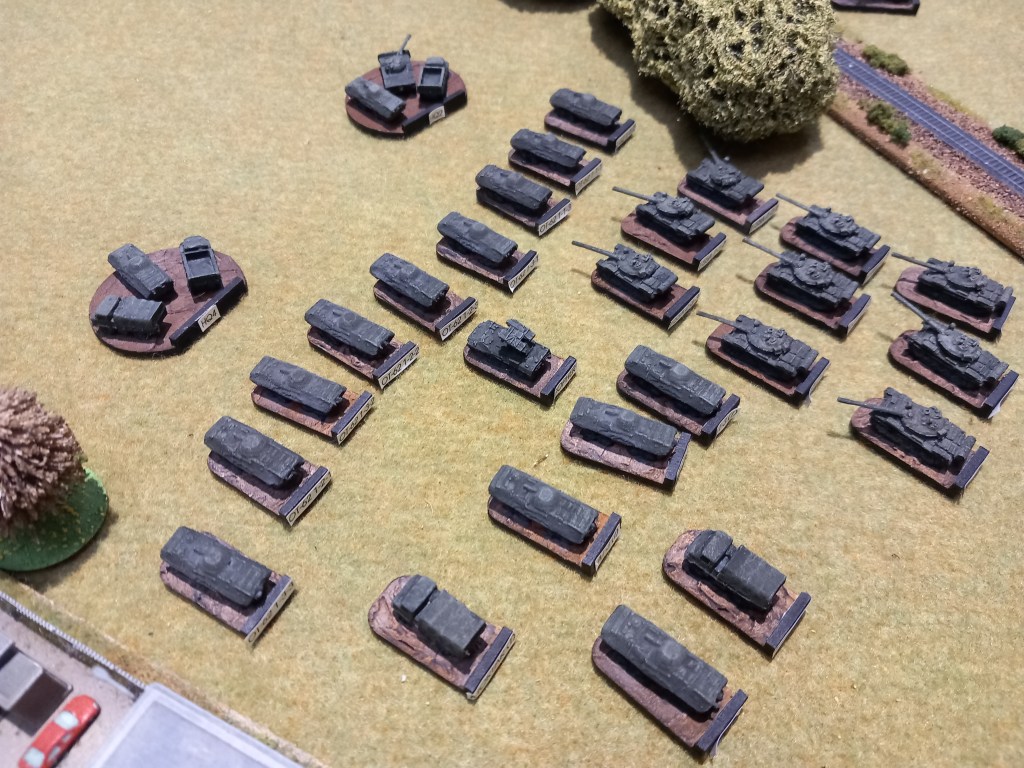
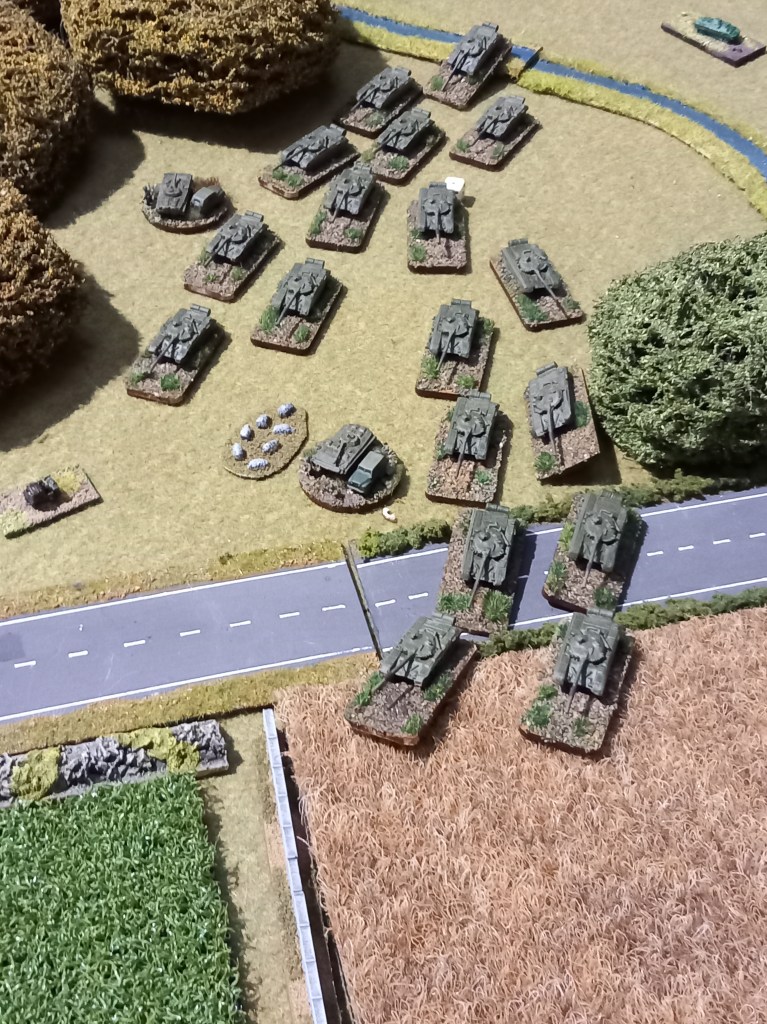
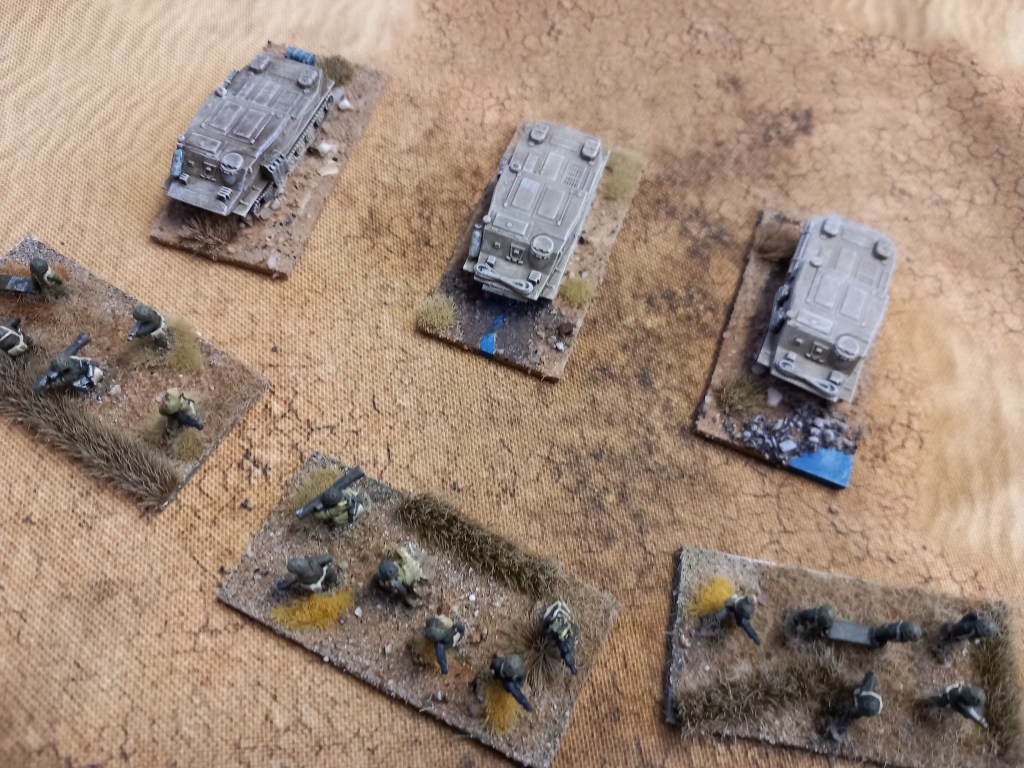
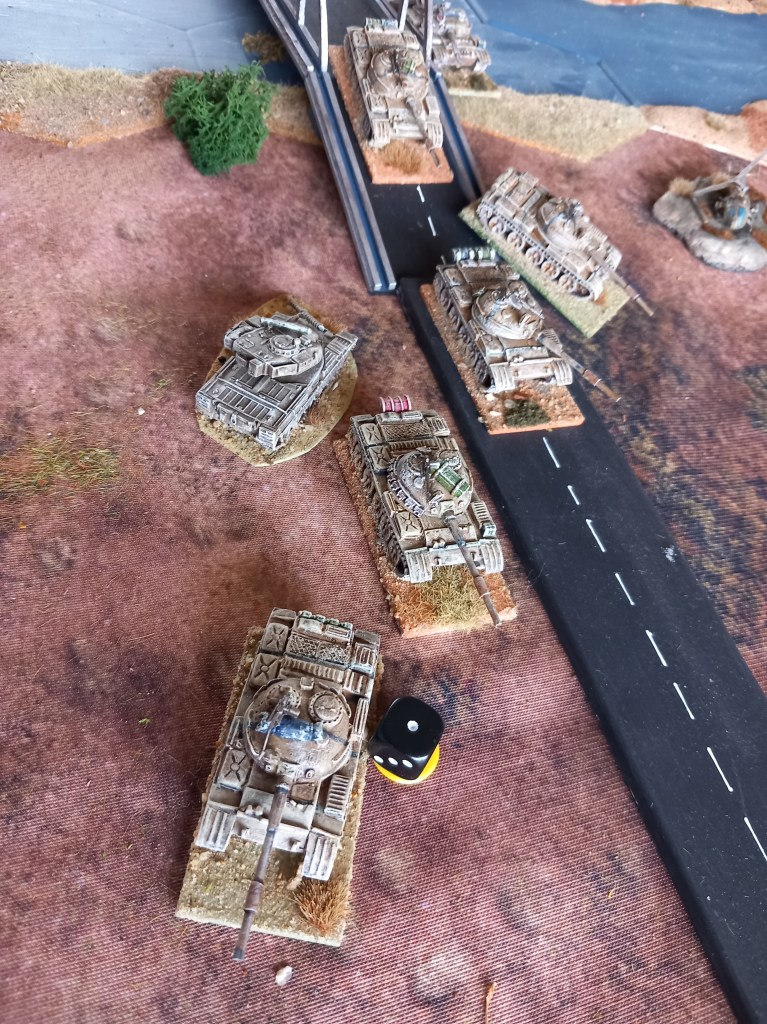
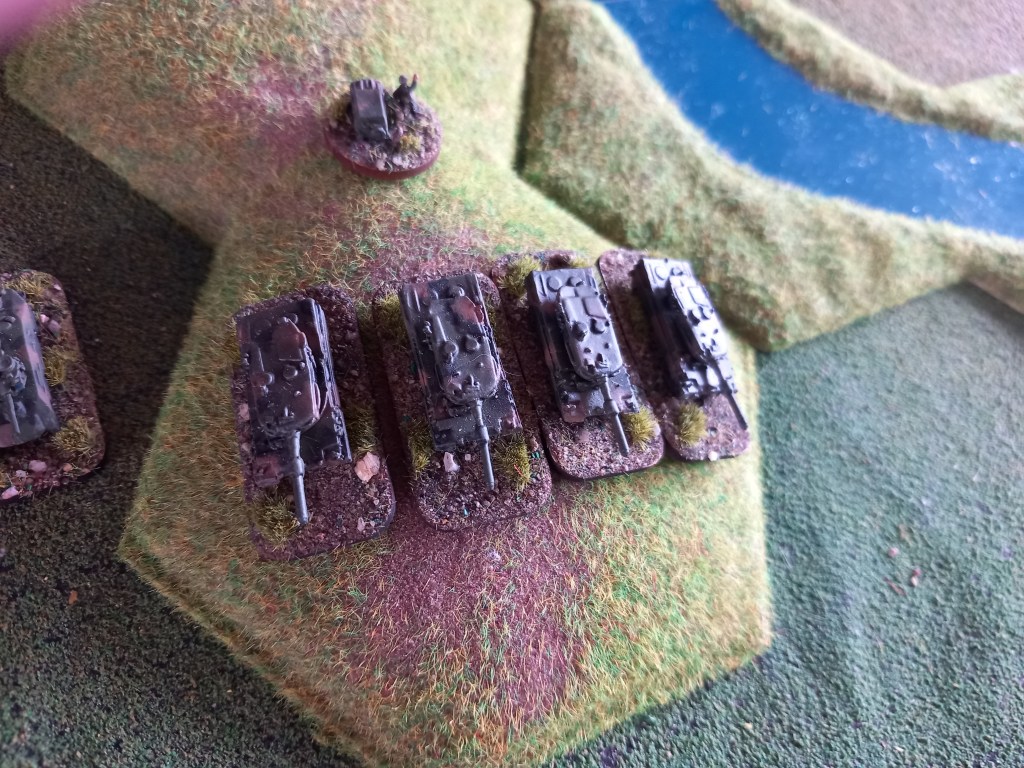
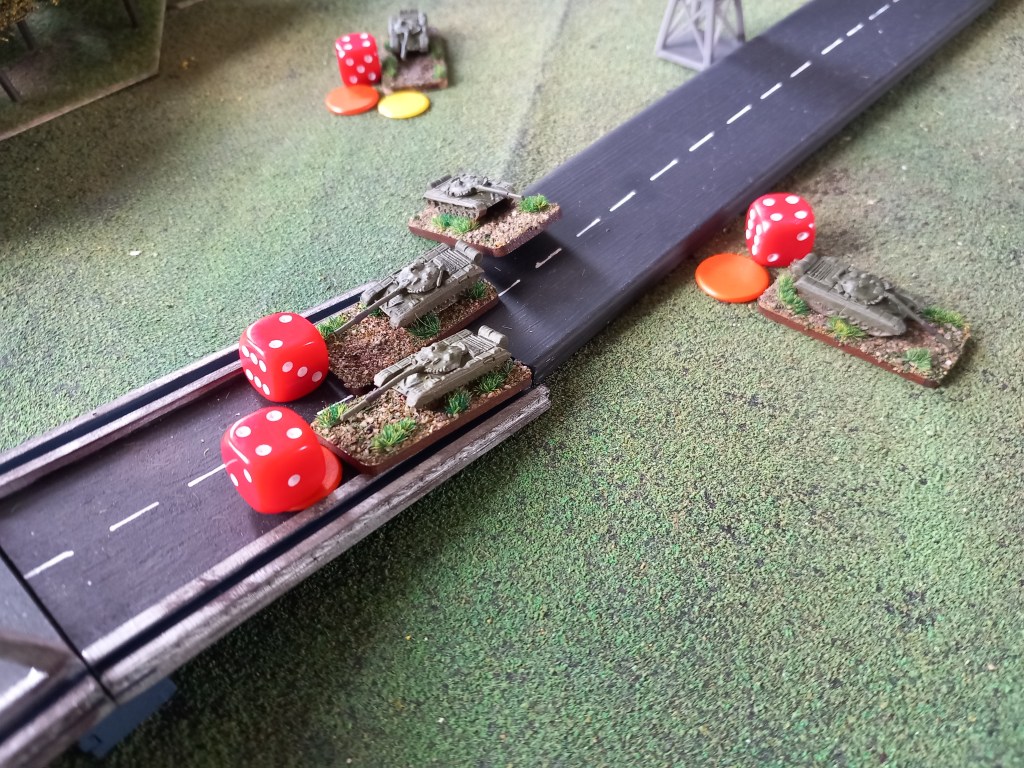
Our first game of the month was another in our 80’s Cold War set up. In this scenario the Belgian 17th Armoured were defending against a push through by the Soviet 21st Guards Armoured.
The game was as much about getting the balance of forces right using the Modern Spearhead campaign system as playing an enjoyable scenario. As it turned out we got both right, more or less.

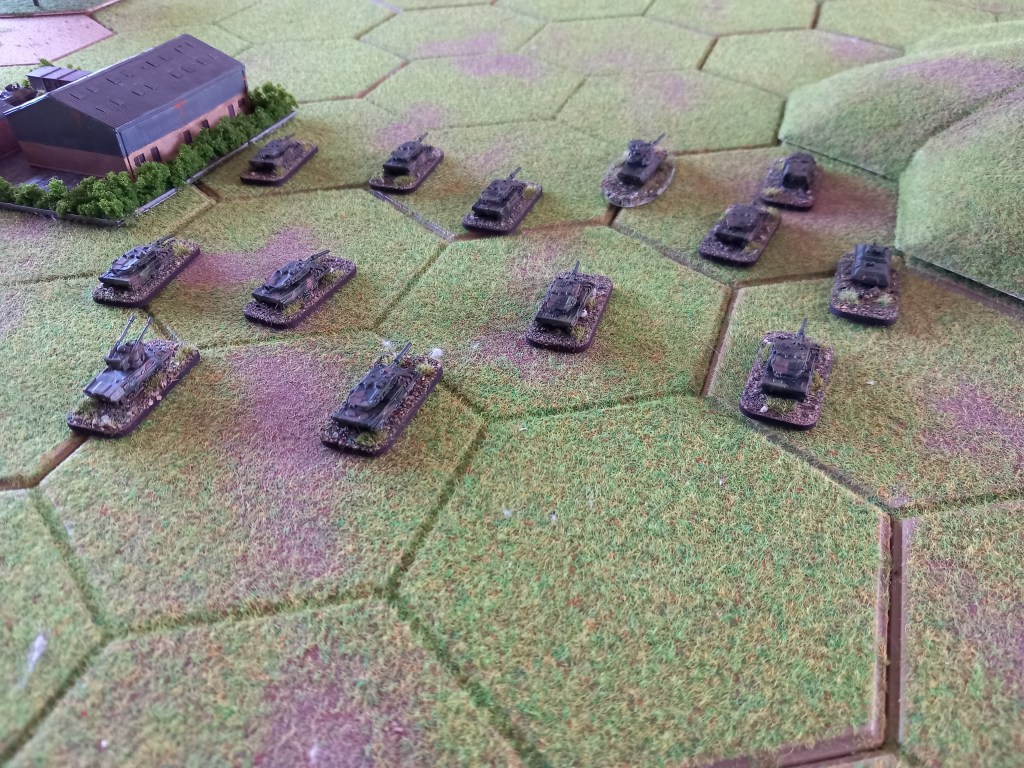
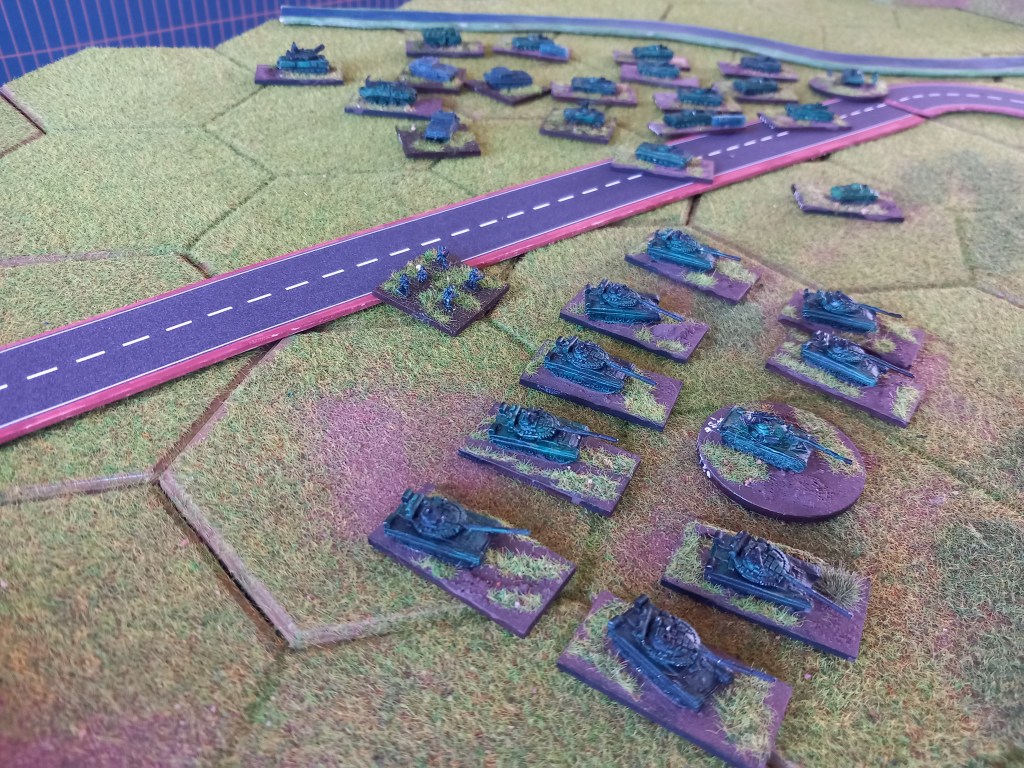
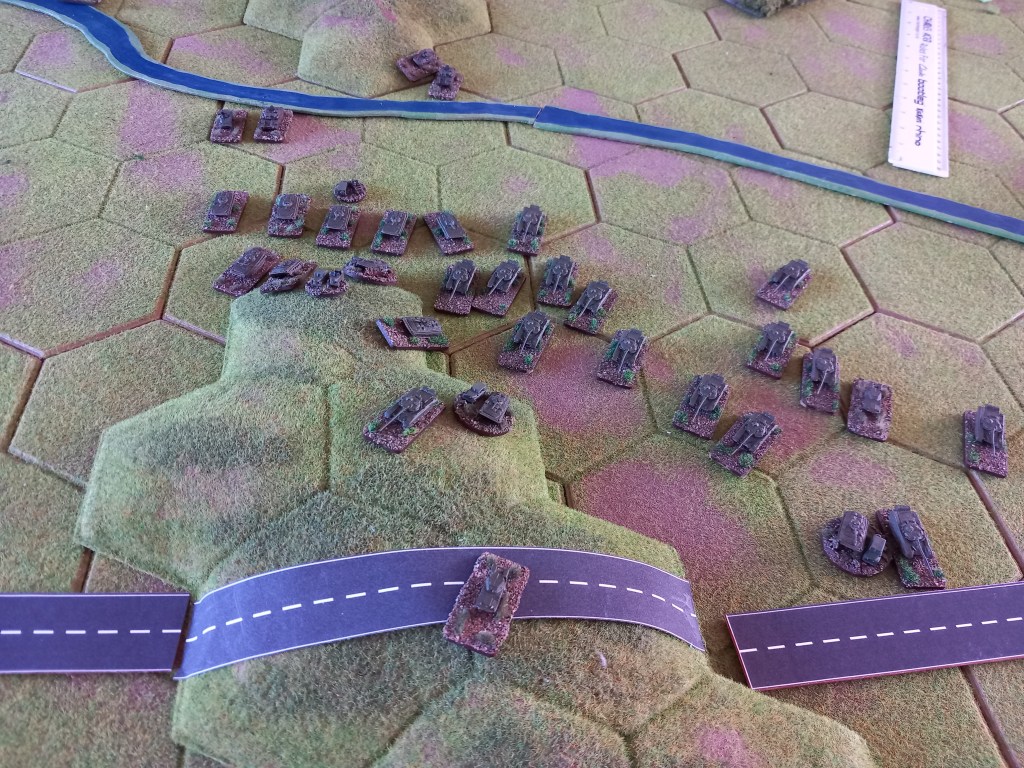
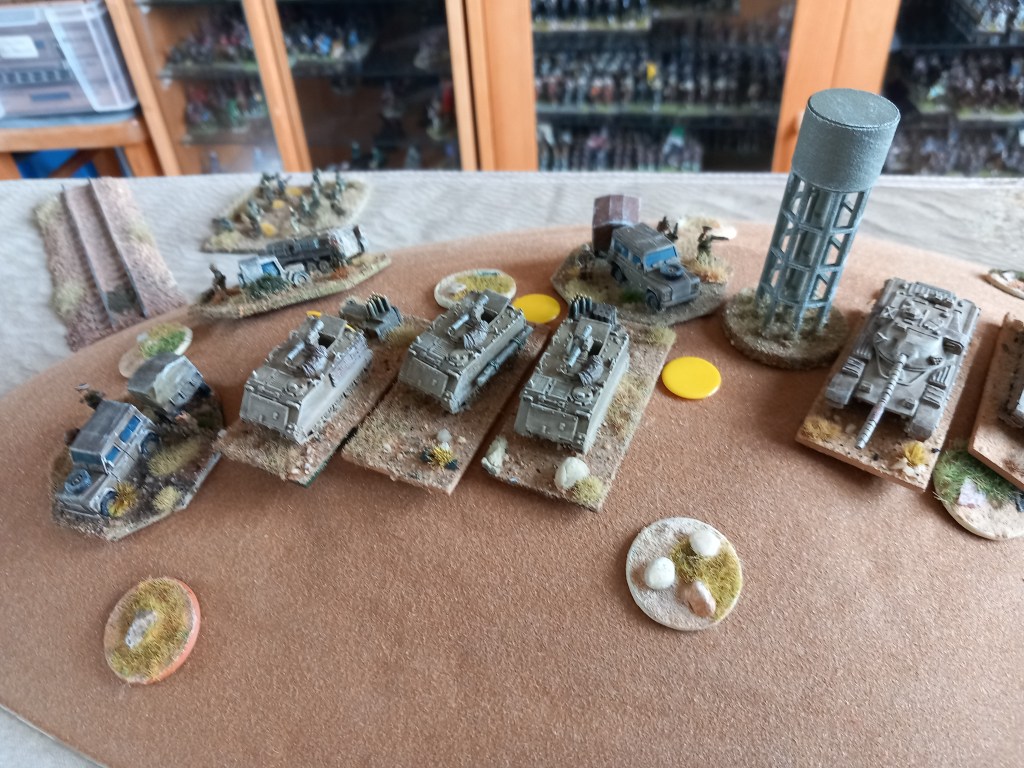
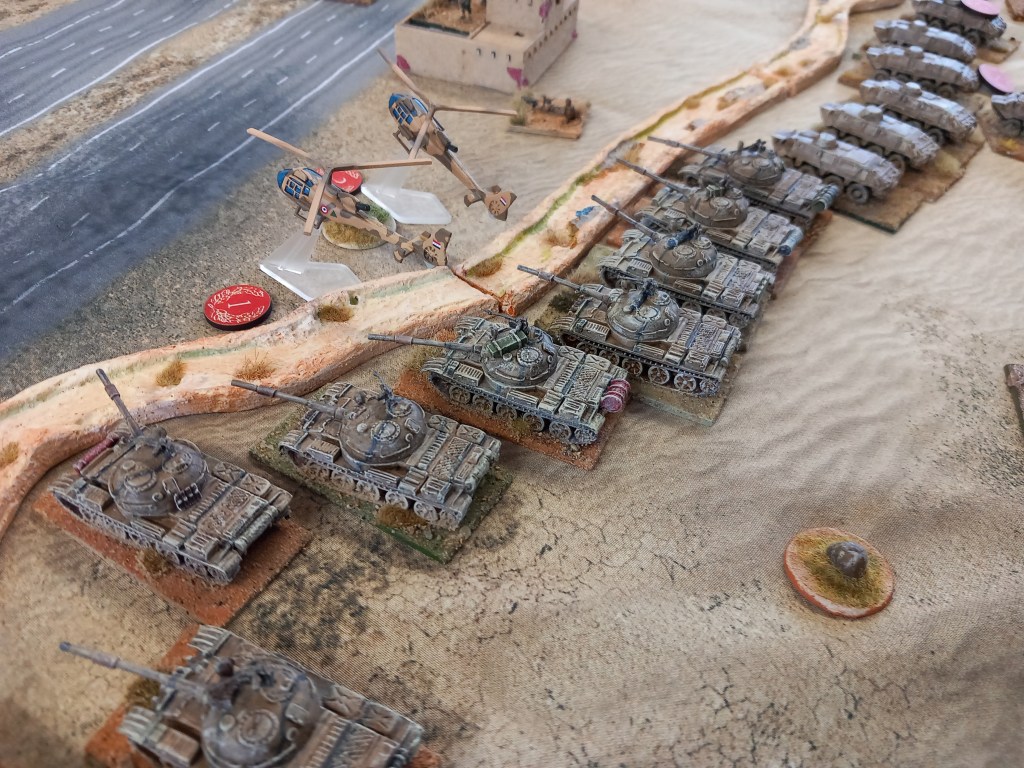
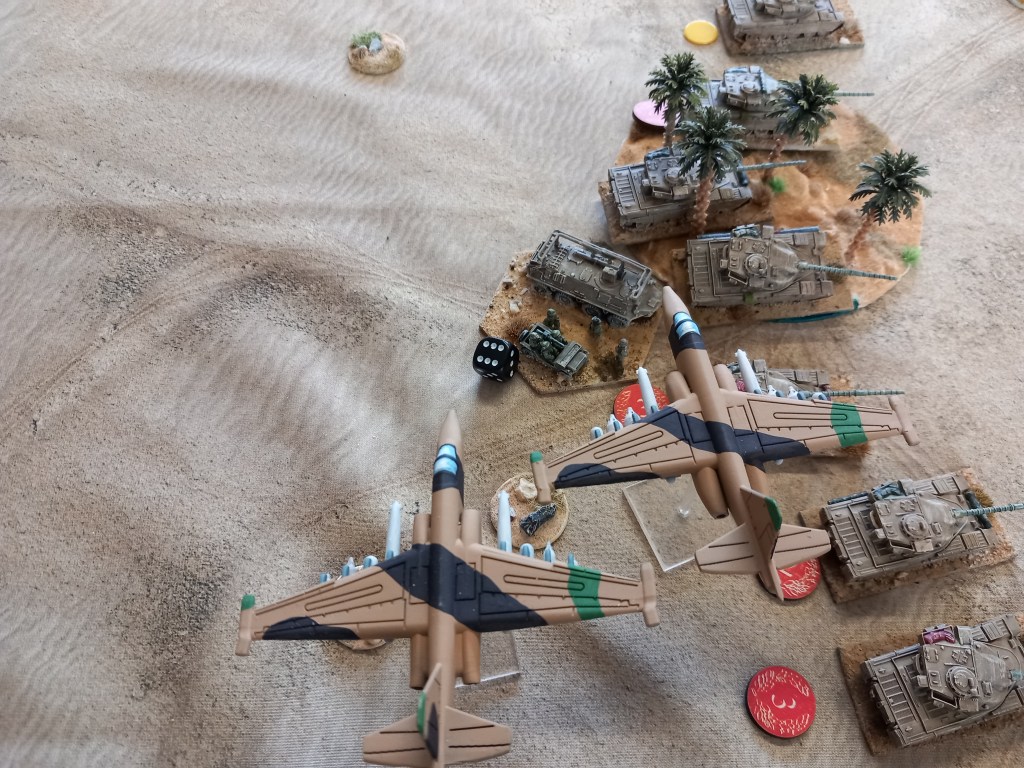
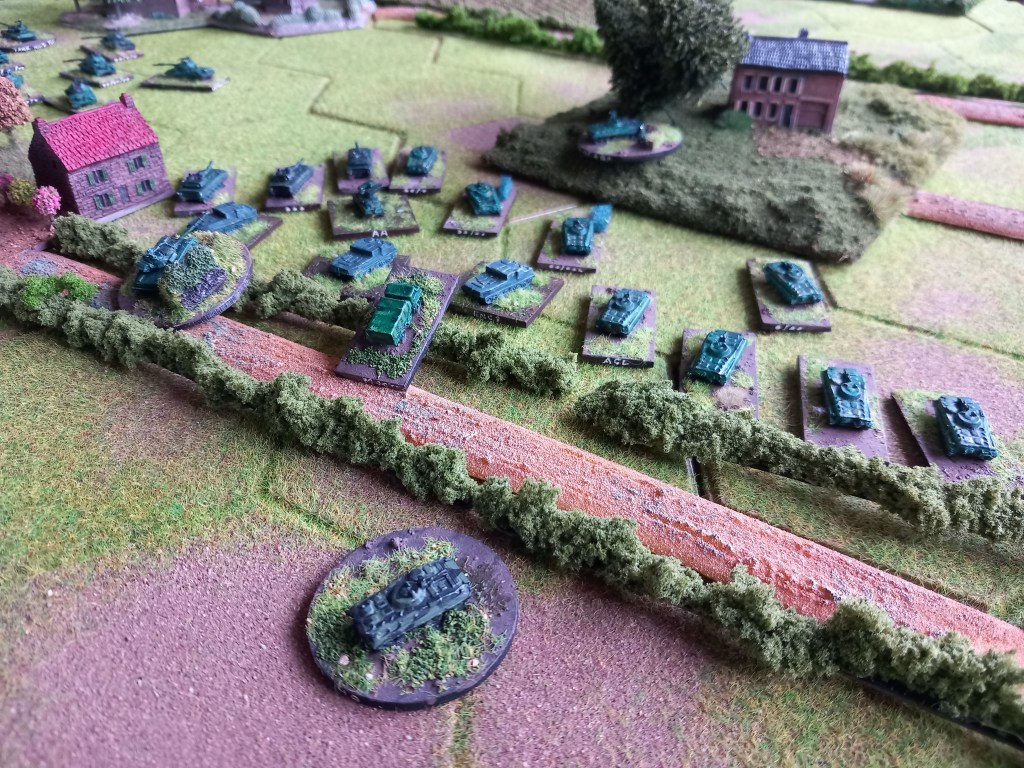
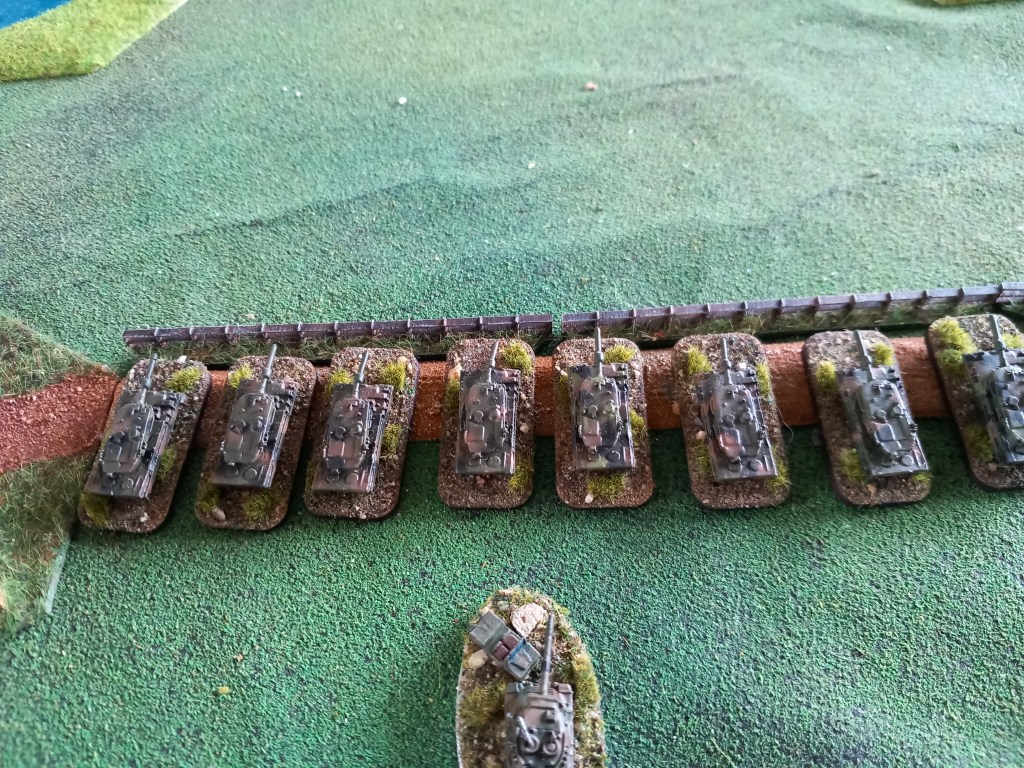
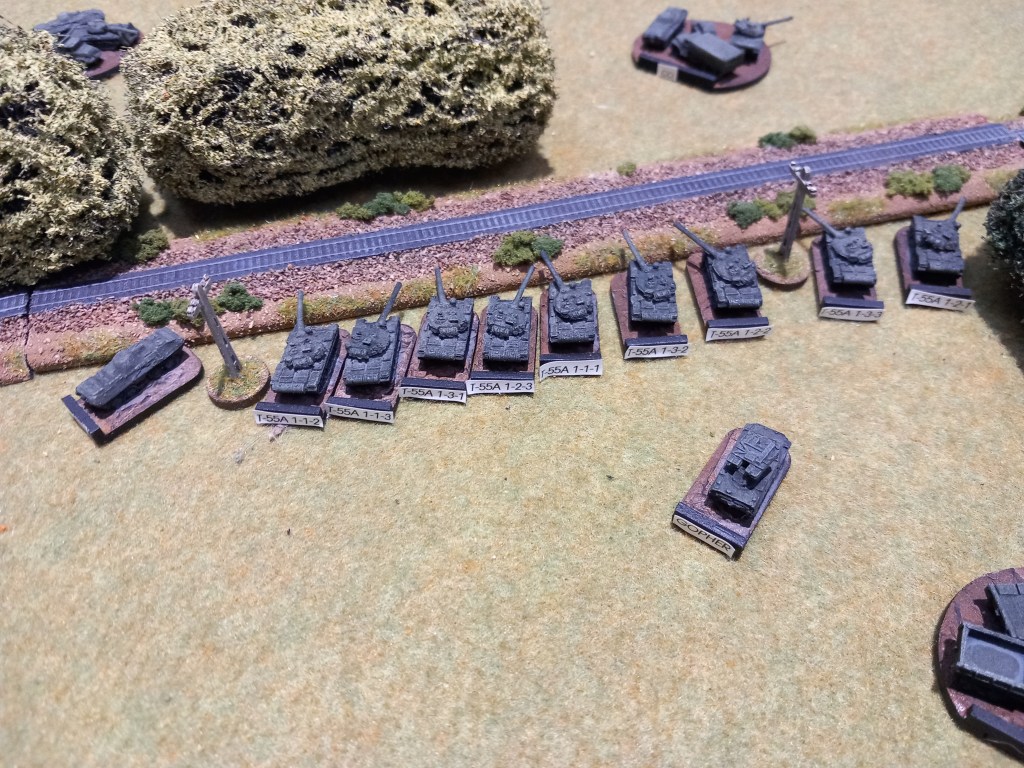
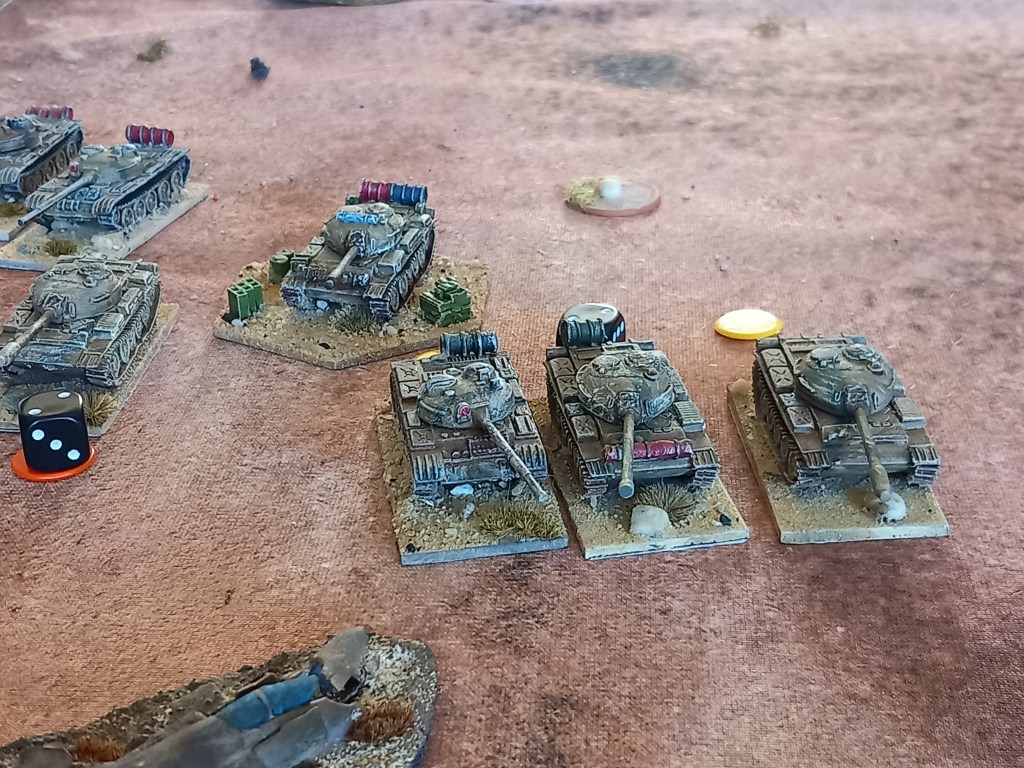
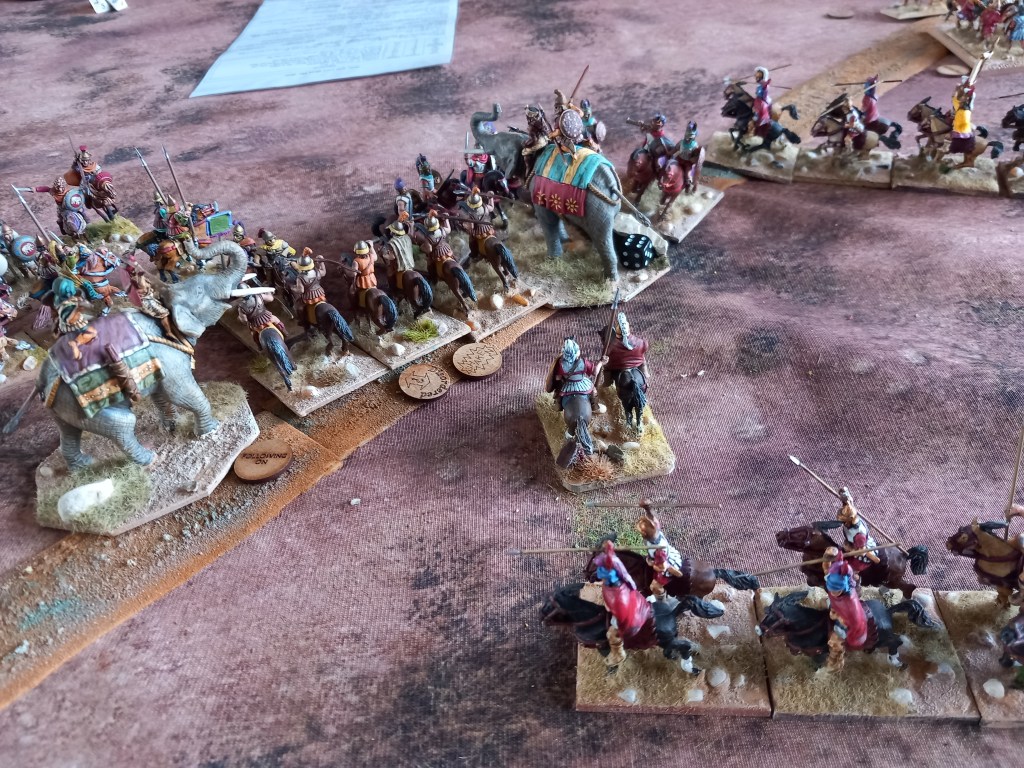
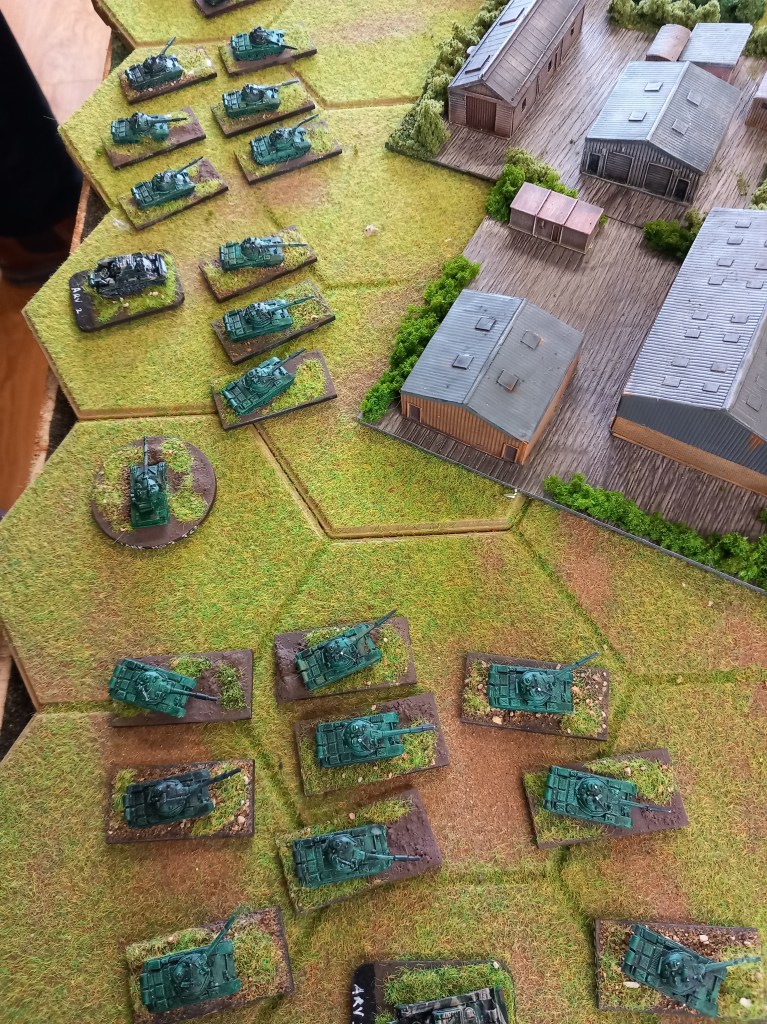
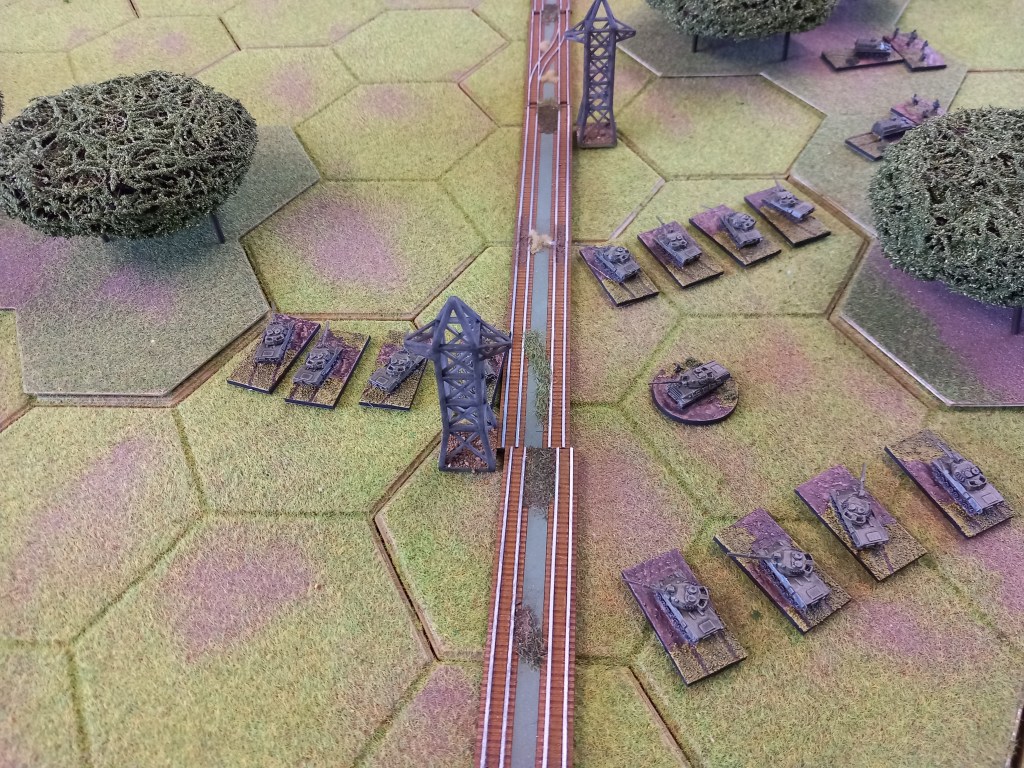
In terms of numbers on the ground the sides weren’t too far apart. The Belgians fielded two Guides battalions – 2 x 12 Leopard 1s & two Carabineer battalions – 2 x 12 mechanised infantry with an on table company of M109s. The Soviets had their traditional three tank battalions – a mix of 9 each T80s and T62s plus a BMP1 battalion and their own on table artillery support. Where the disparity manifested itself was in the off table air and artillery support available to the Soviets and the lack of AA elements fielded by the Belgians.
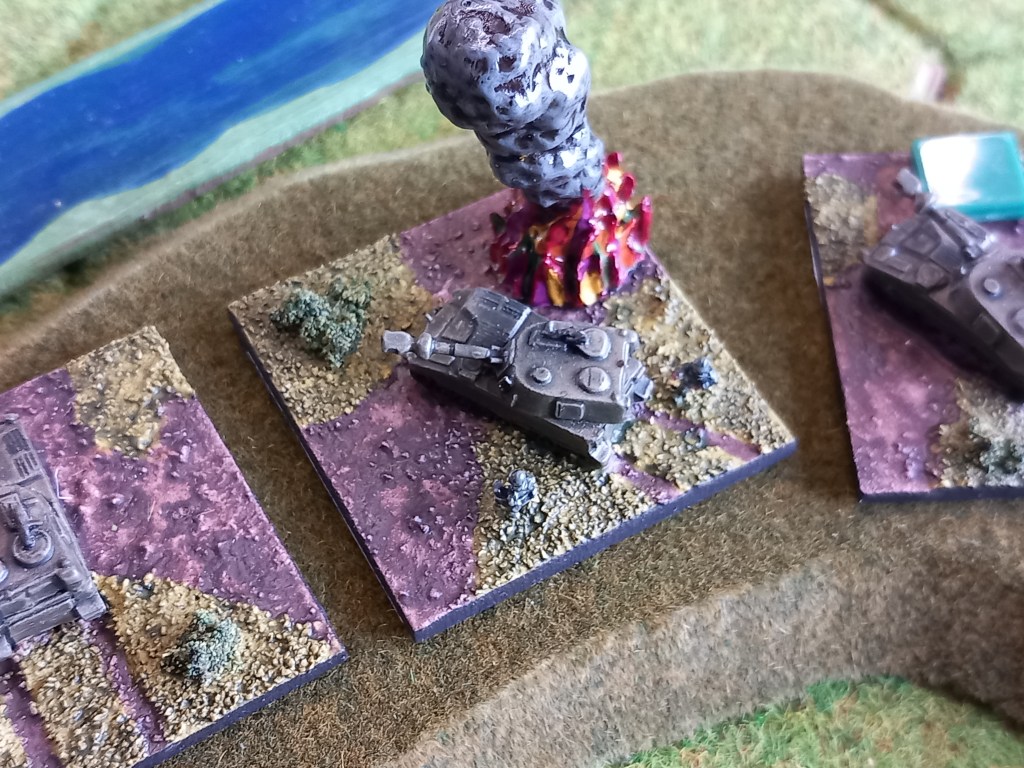
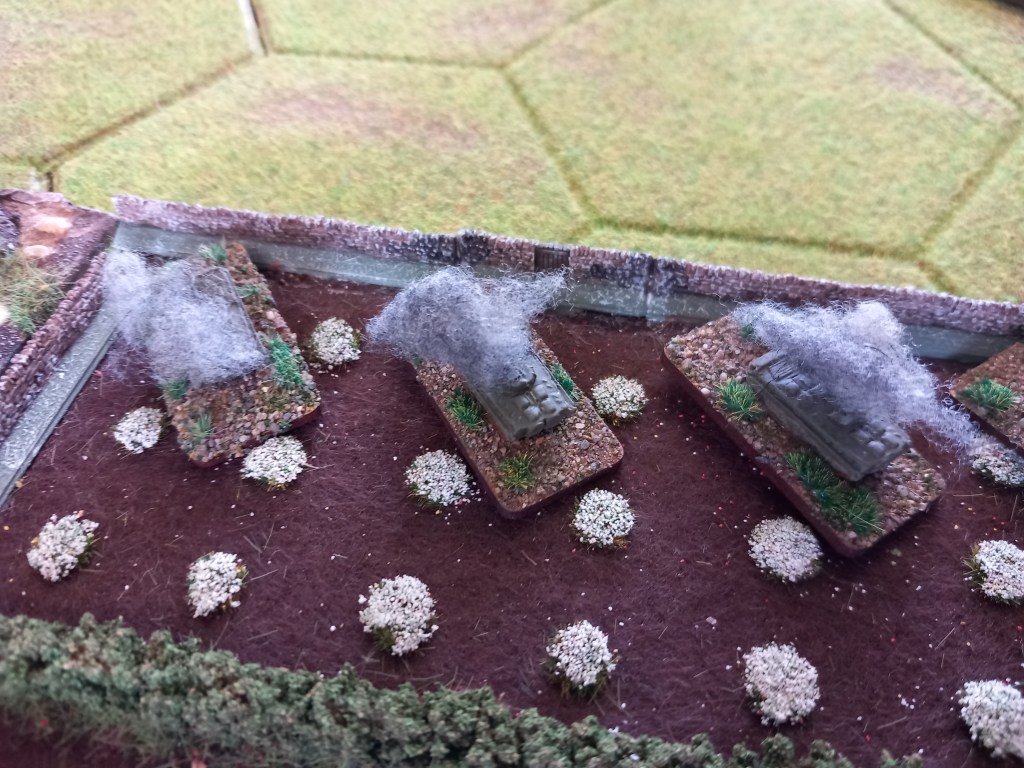
The game was a tough one for the Belgians. They managed to move onto some defendable terrain but once they called in the M109s in a supporting fire role the Soviets zeroed in on them with counter battery fire. It wasn’t devastating but it wore down the company.
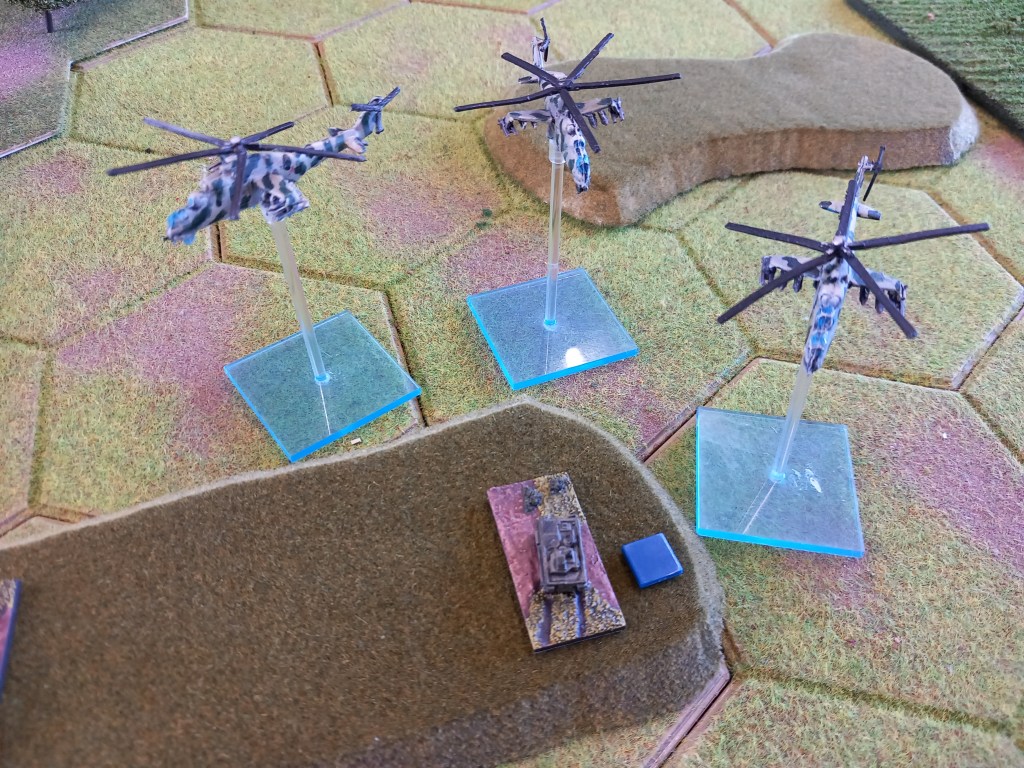
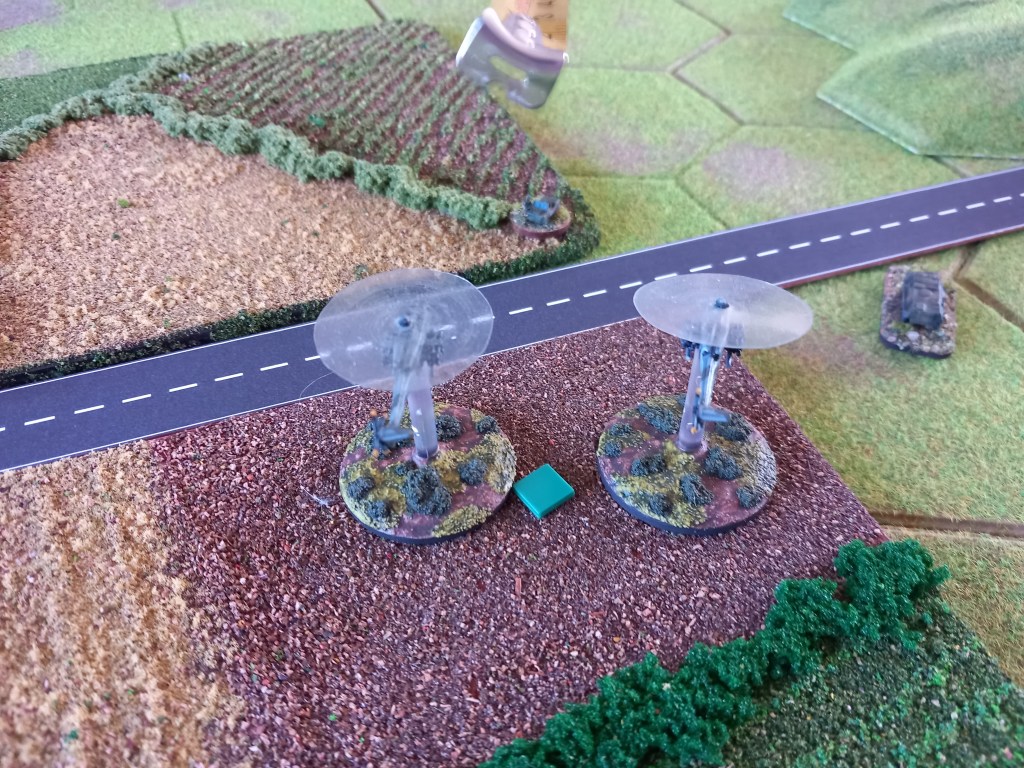
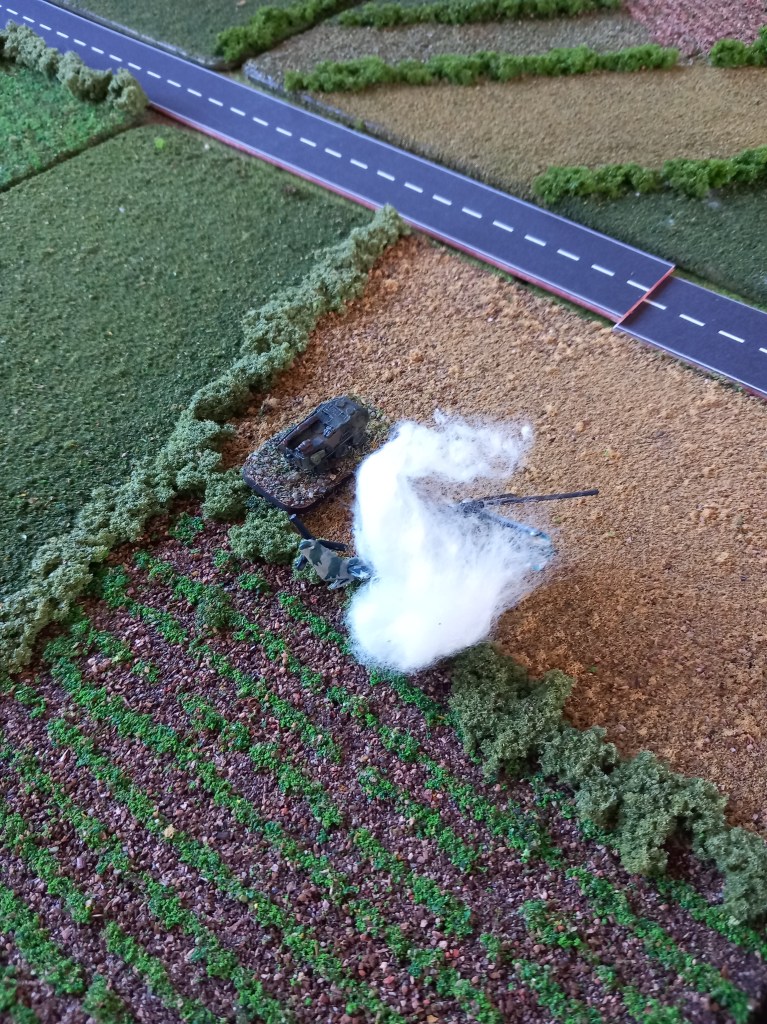
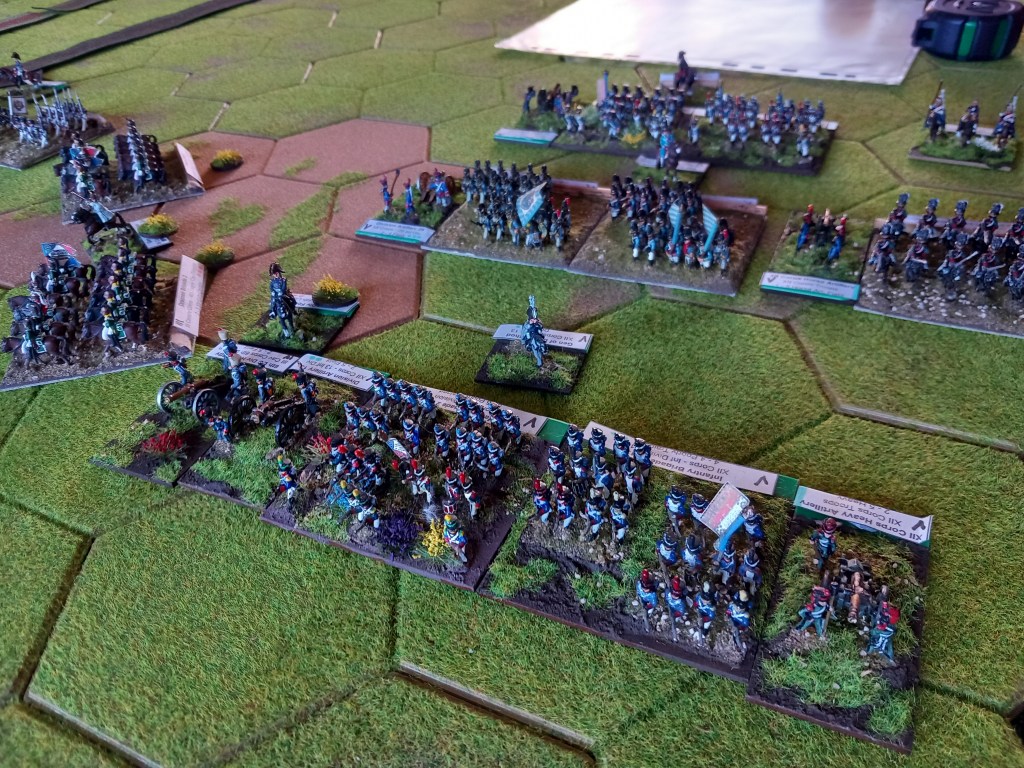
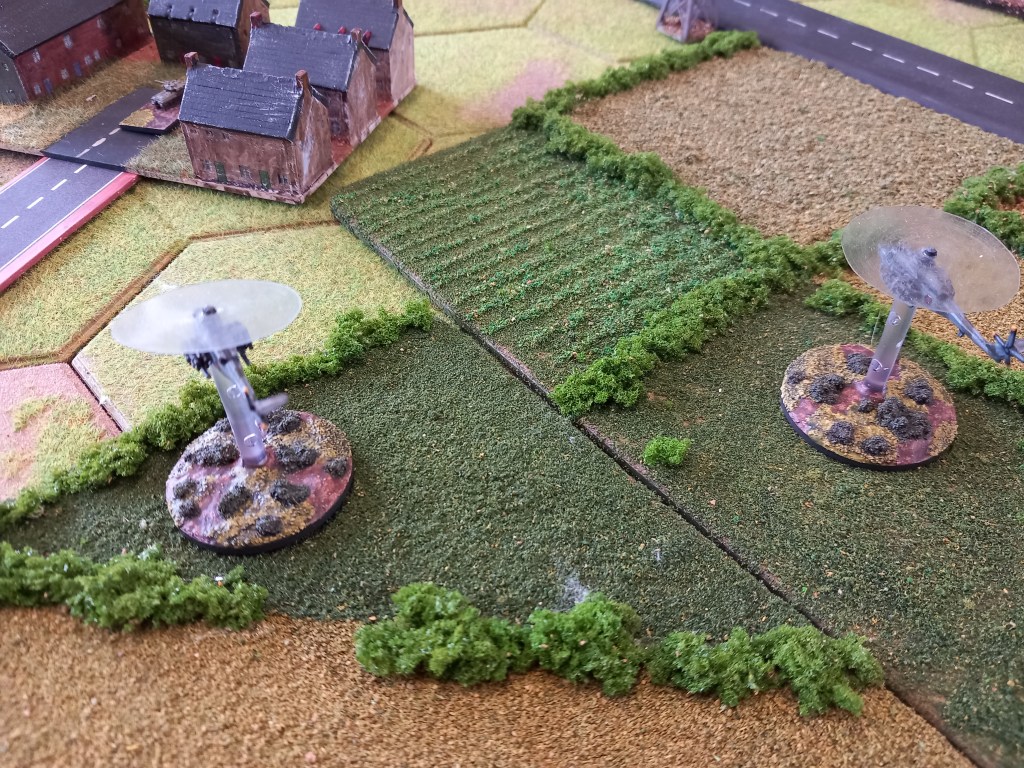
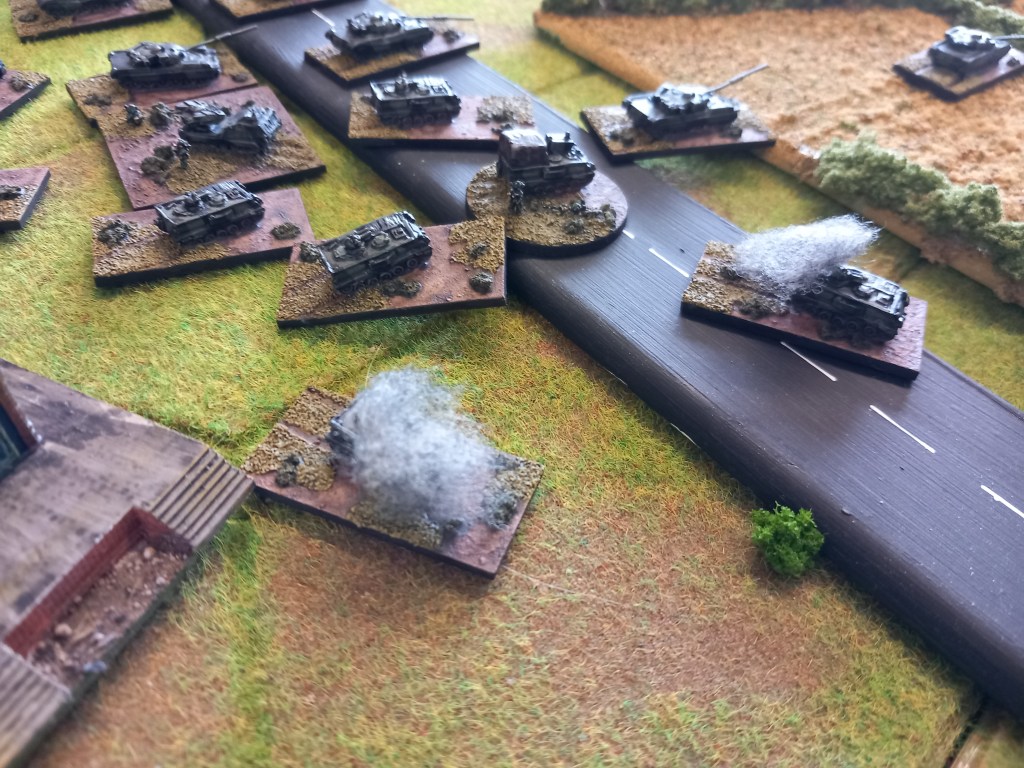
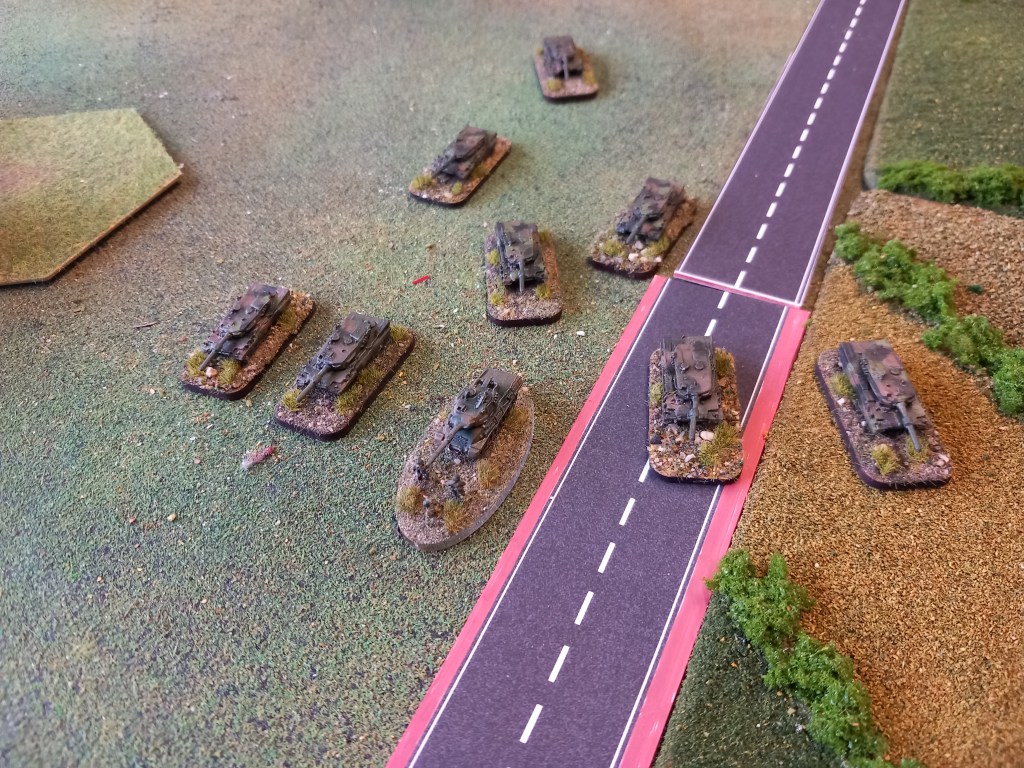
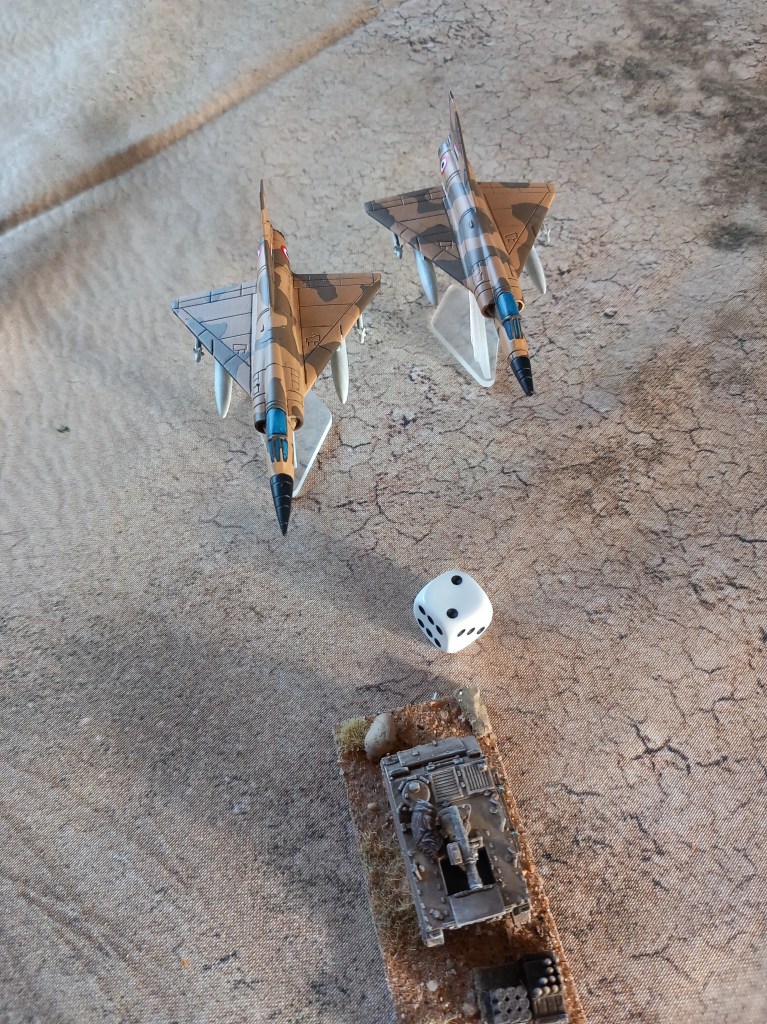
It was the Soviet command of the skies that made the difference however. First on were the deadly Hinds who due to the lack of AA cover were able to free roam. The rules do a good job of restricting where helicopters can go and who they can shoot at so it isn’t a complete turkey shoot but the Belgian player was certainly cursing his lack of AA.
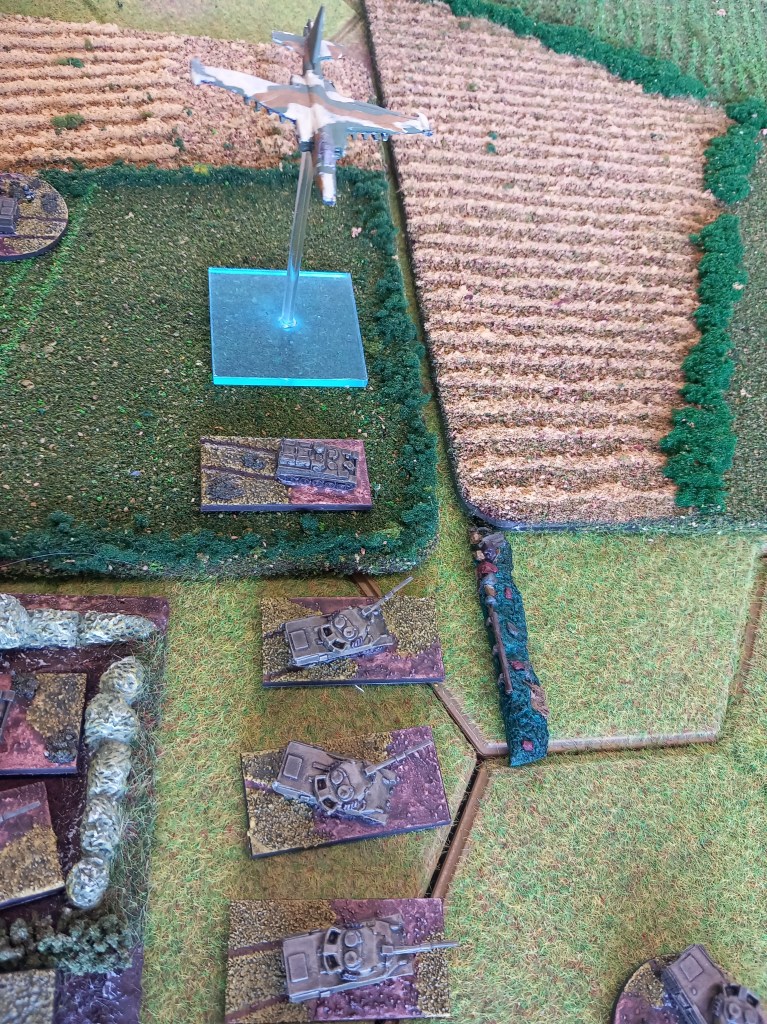
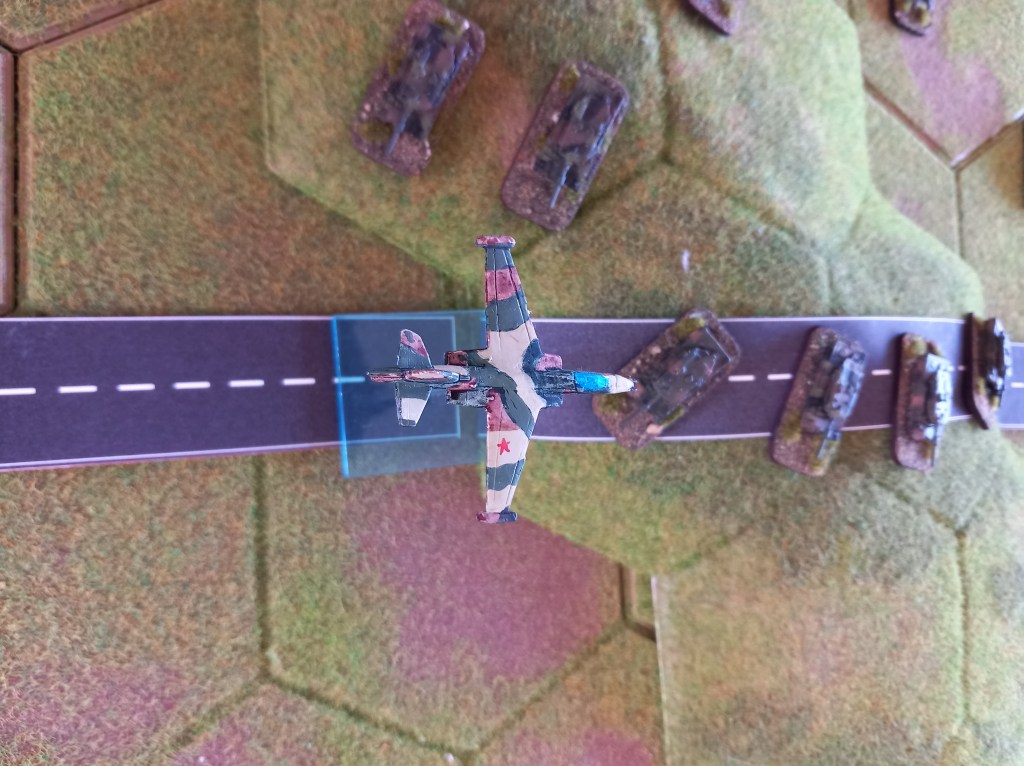
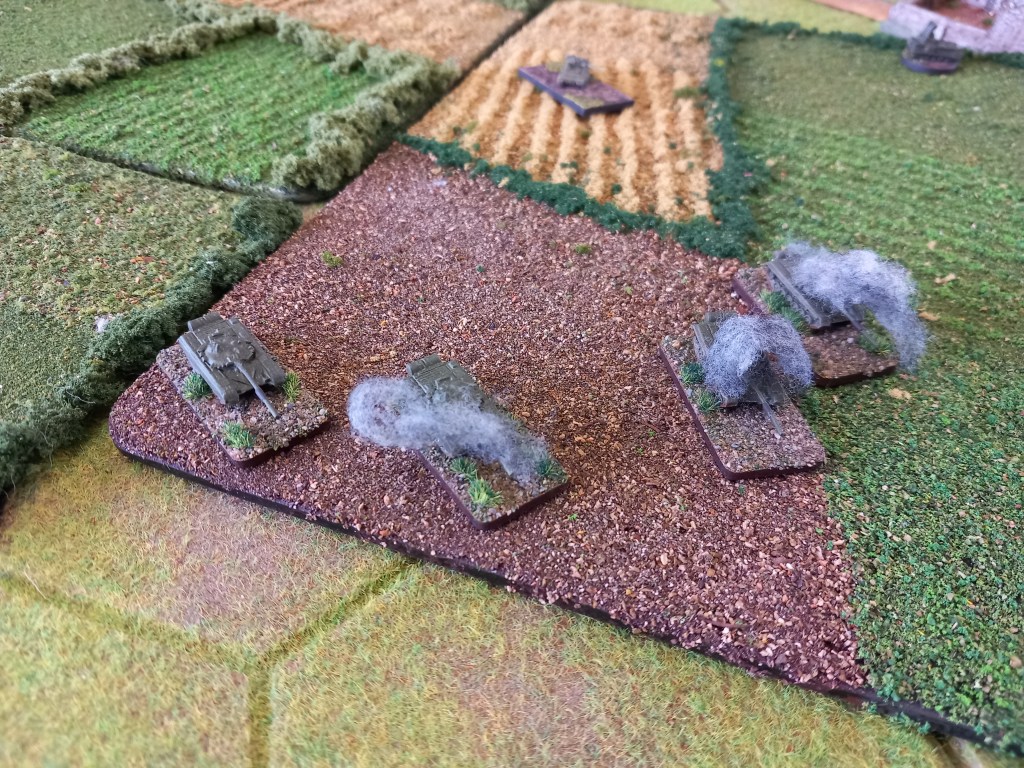
The Frogfoots did indulge in a bit of a turkey shoot and did considerable damage to the Belgian armour. Again the limitations applied by the rules in terms of the number of sorties prevented this from becoming overpowering although that probably wasn’t the view of the Belgian player 😂🤣
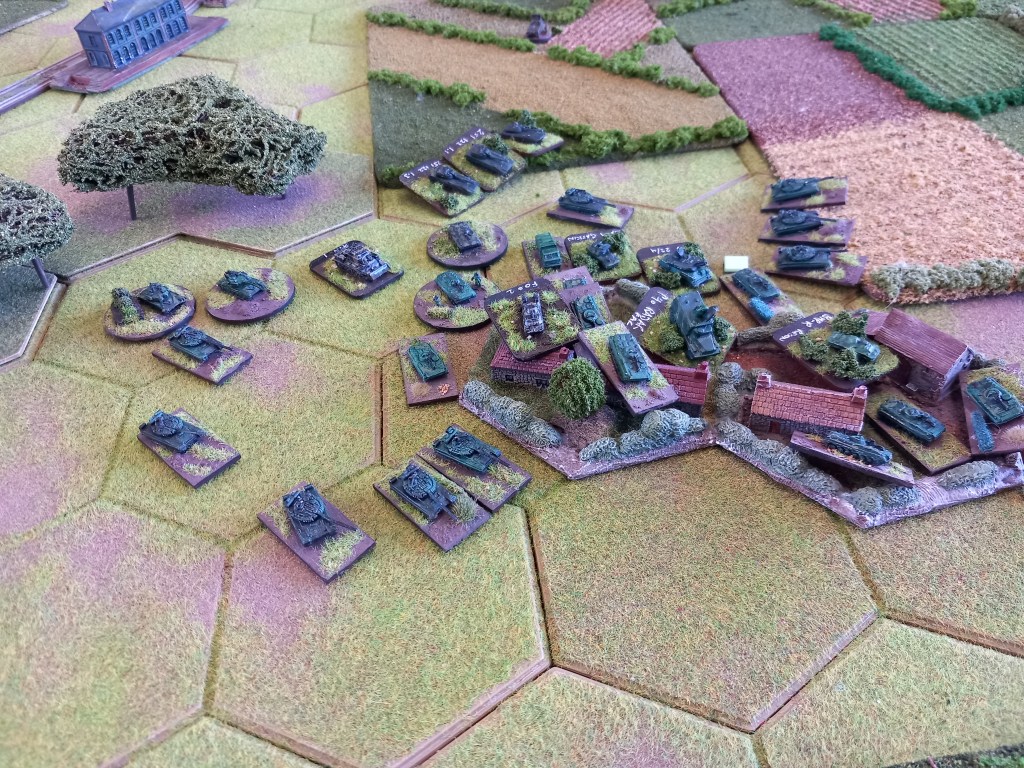
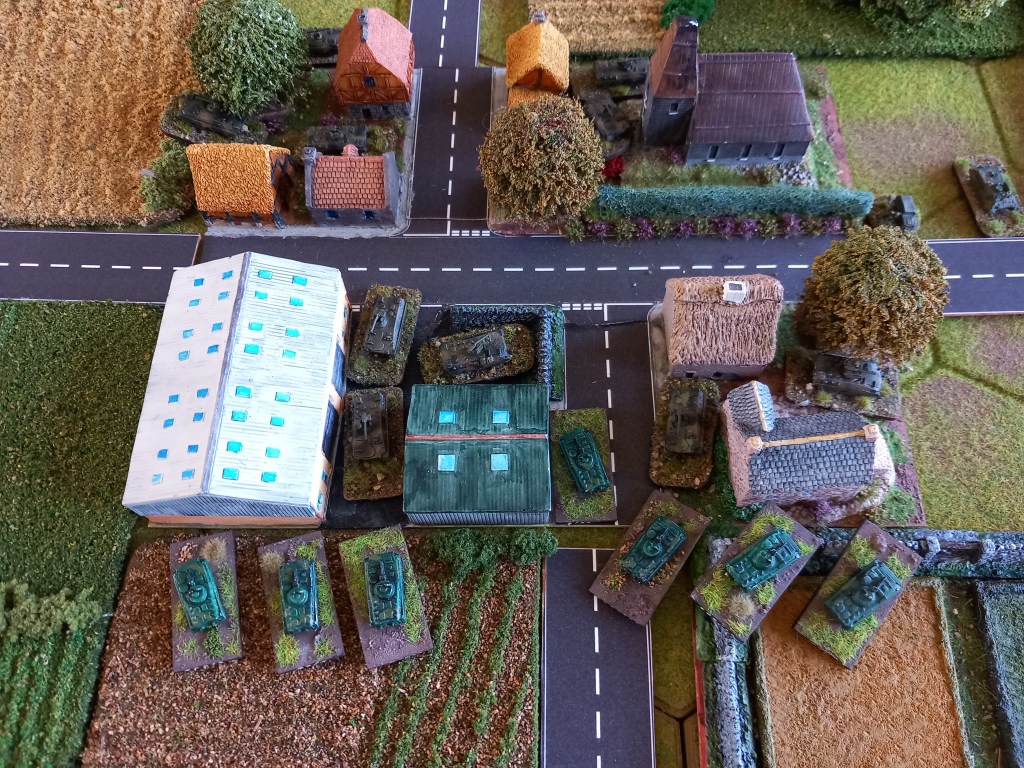
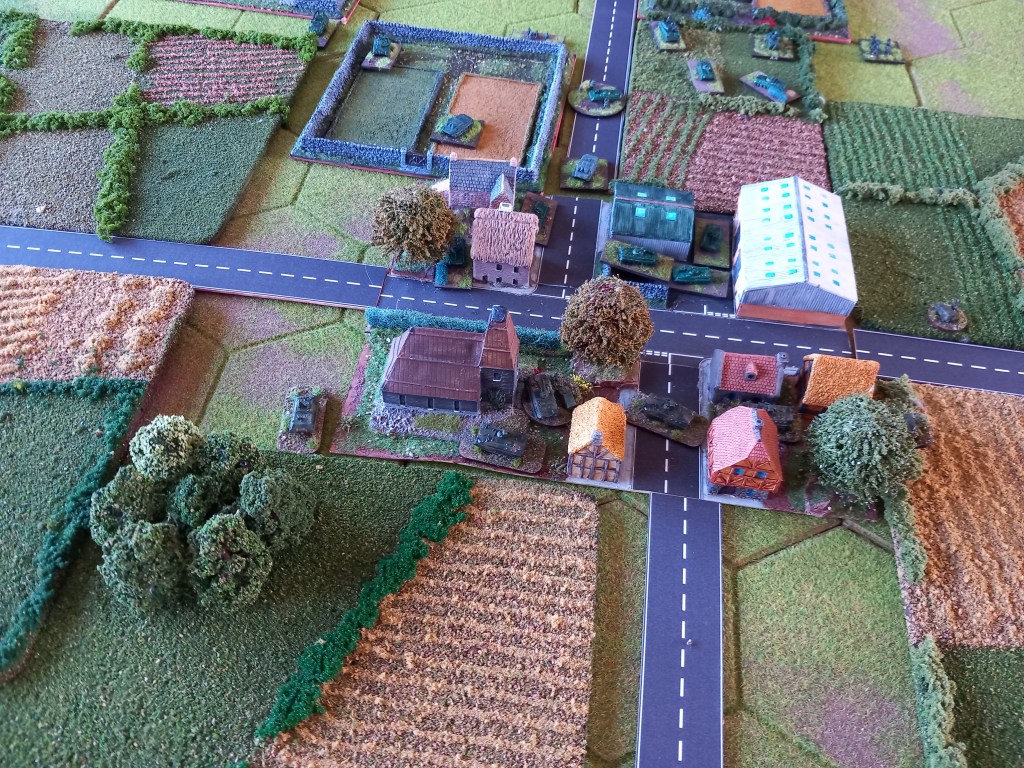
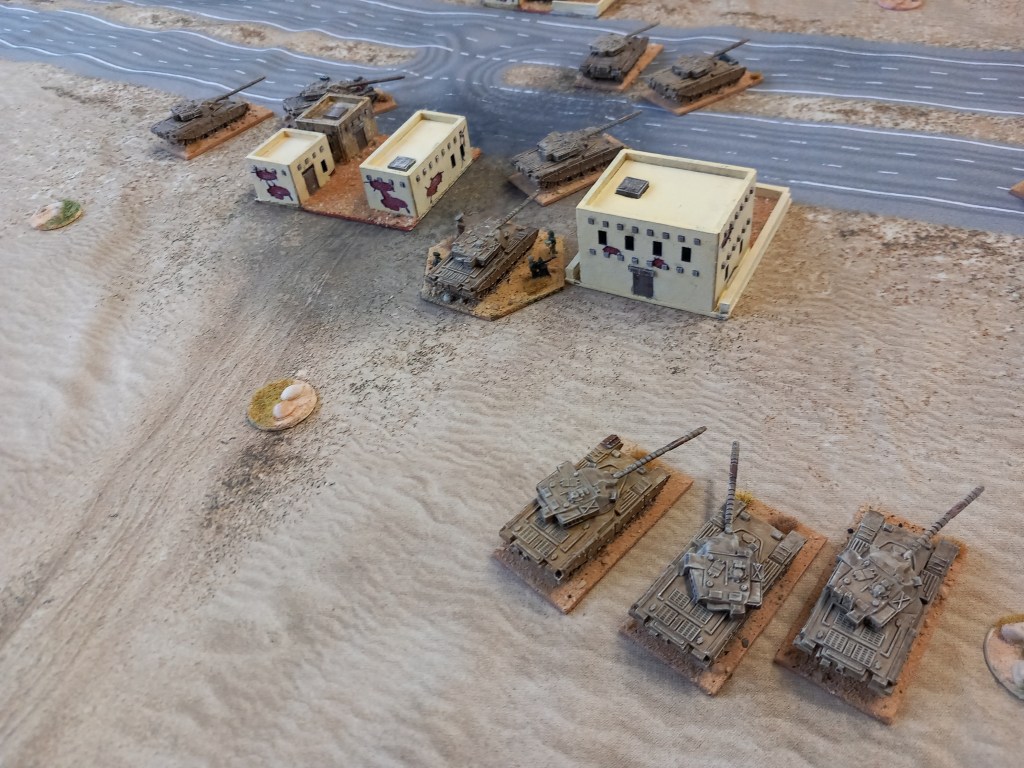
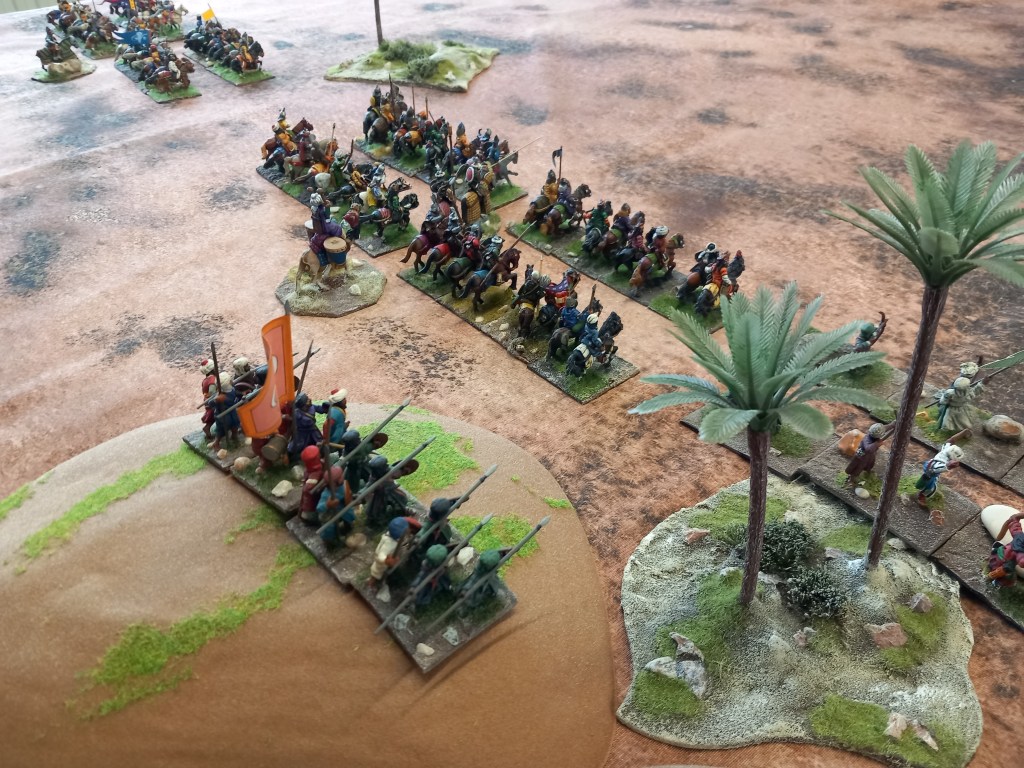
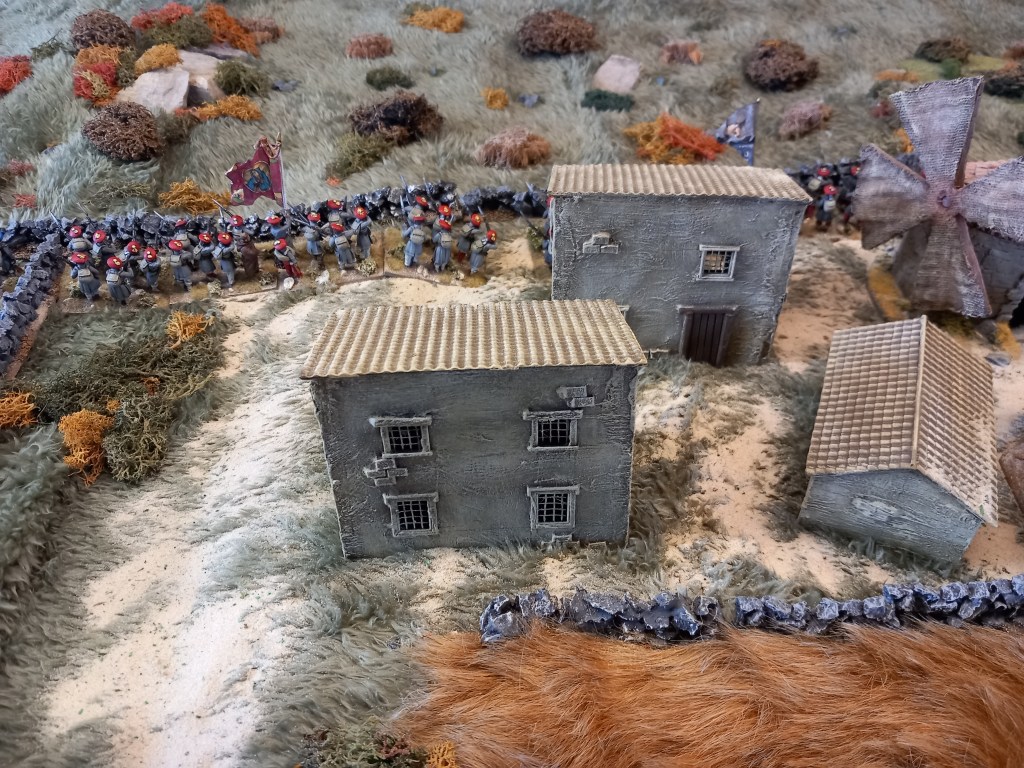
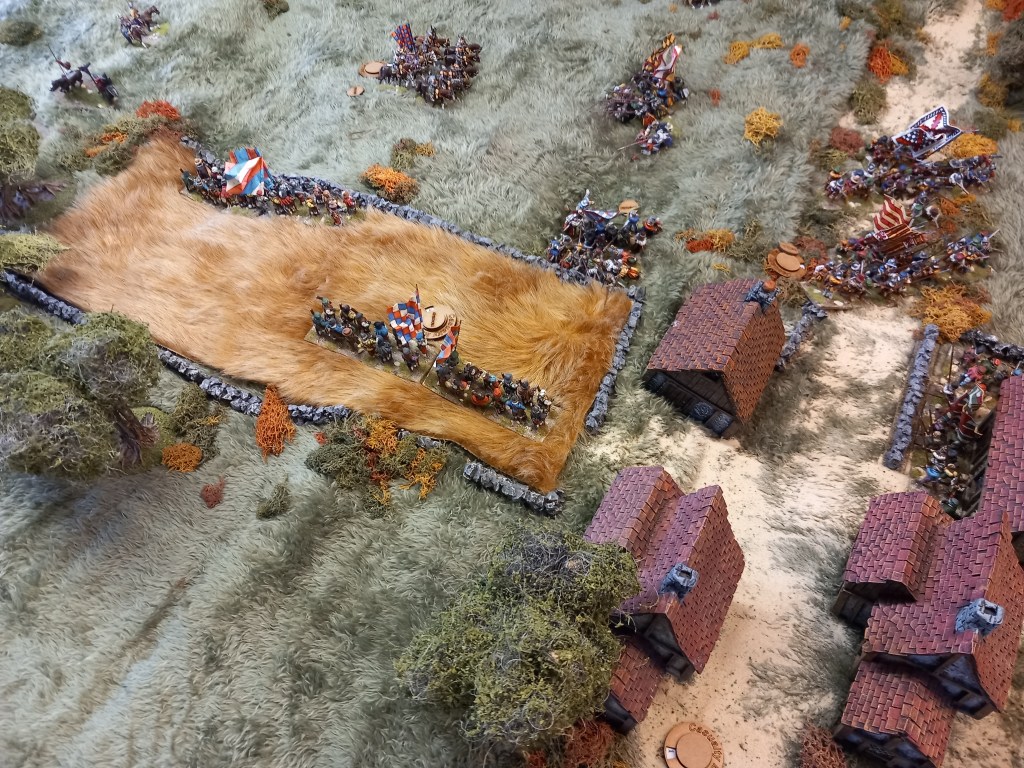
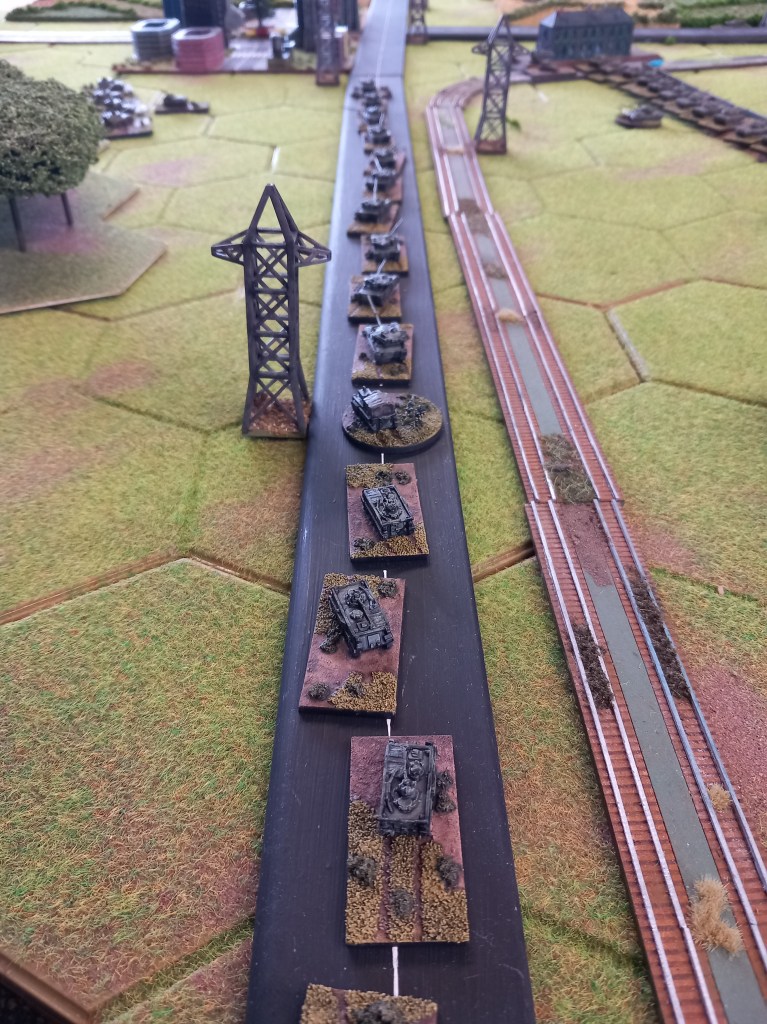
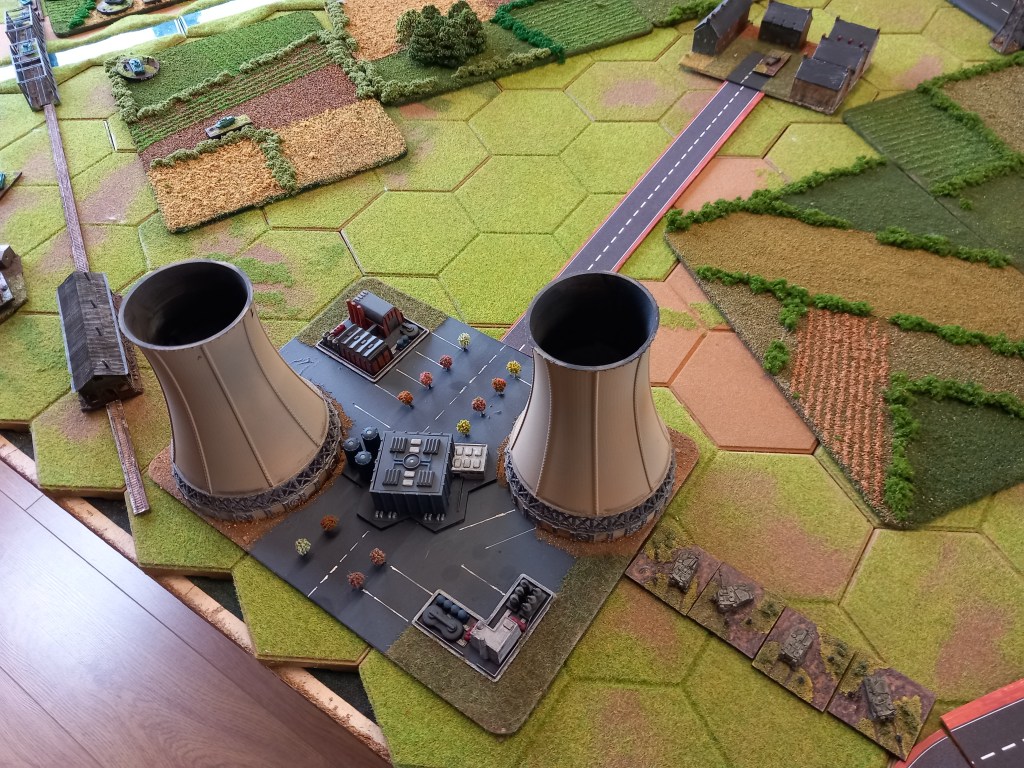
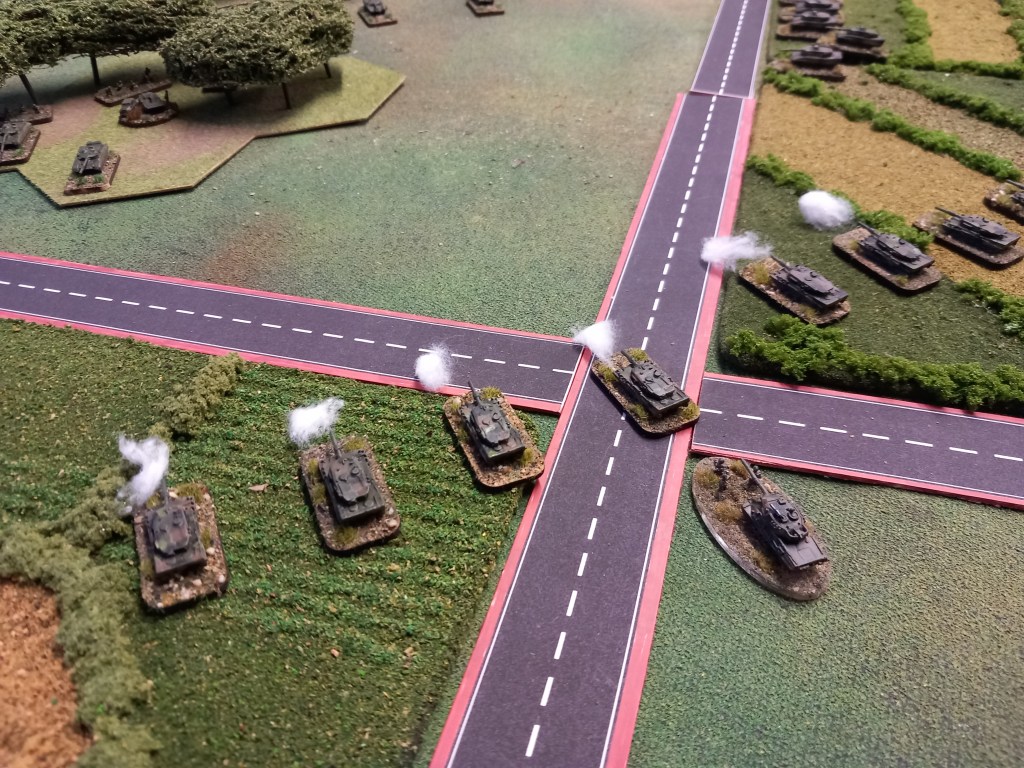
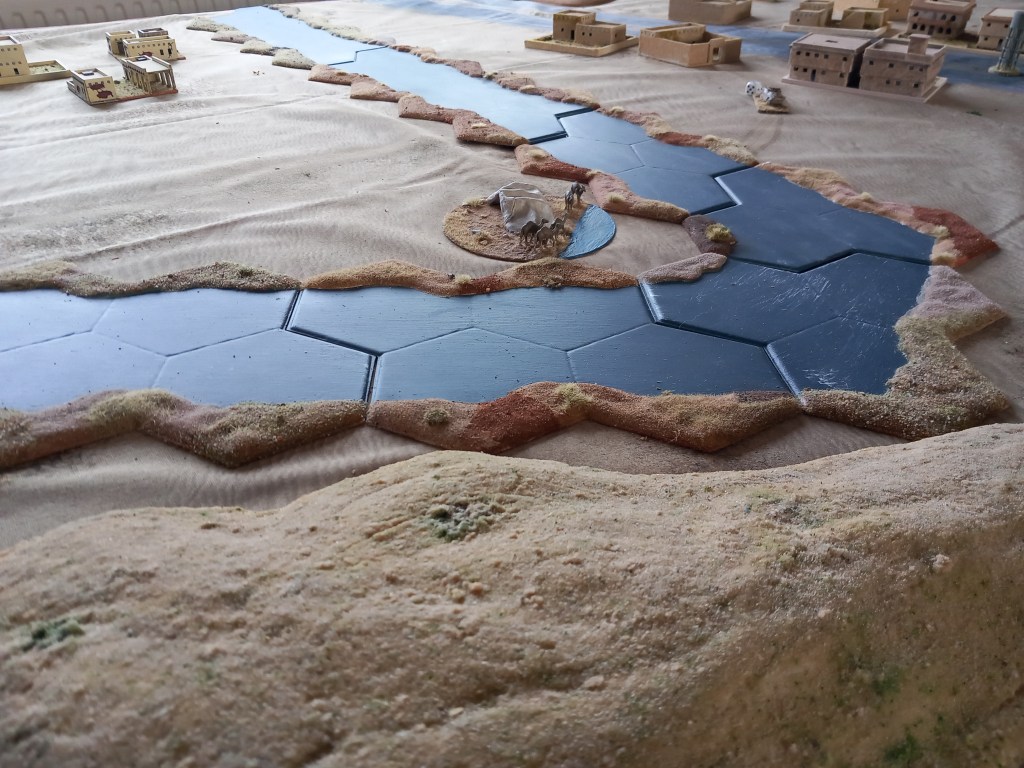
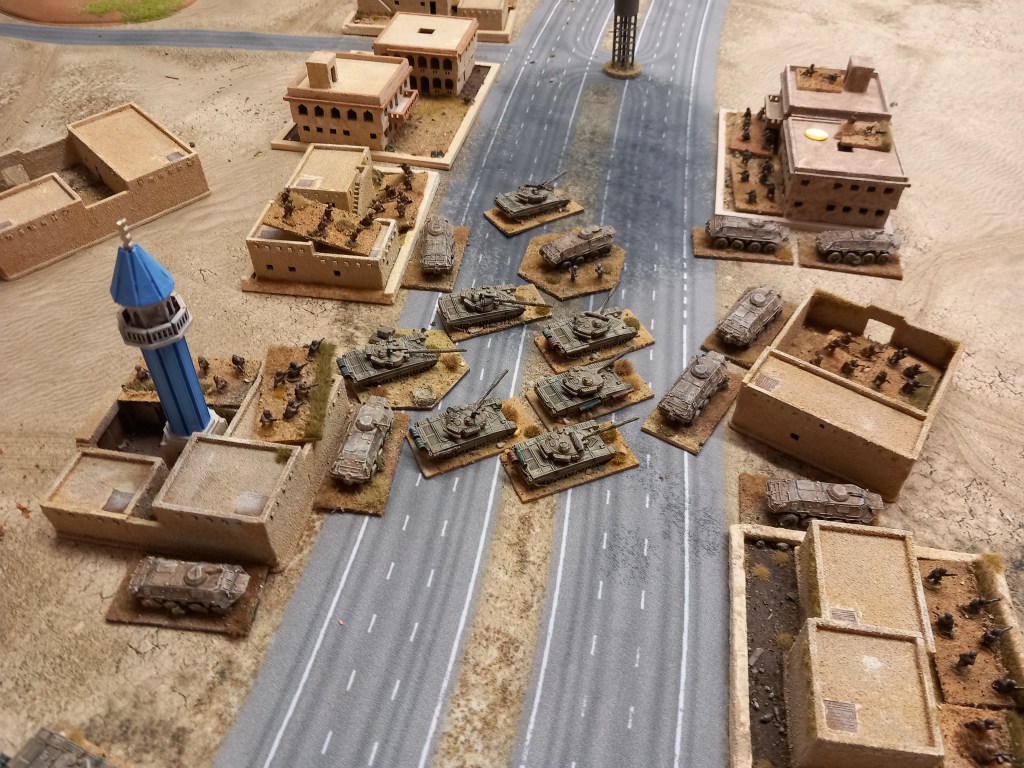
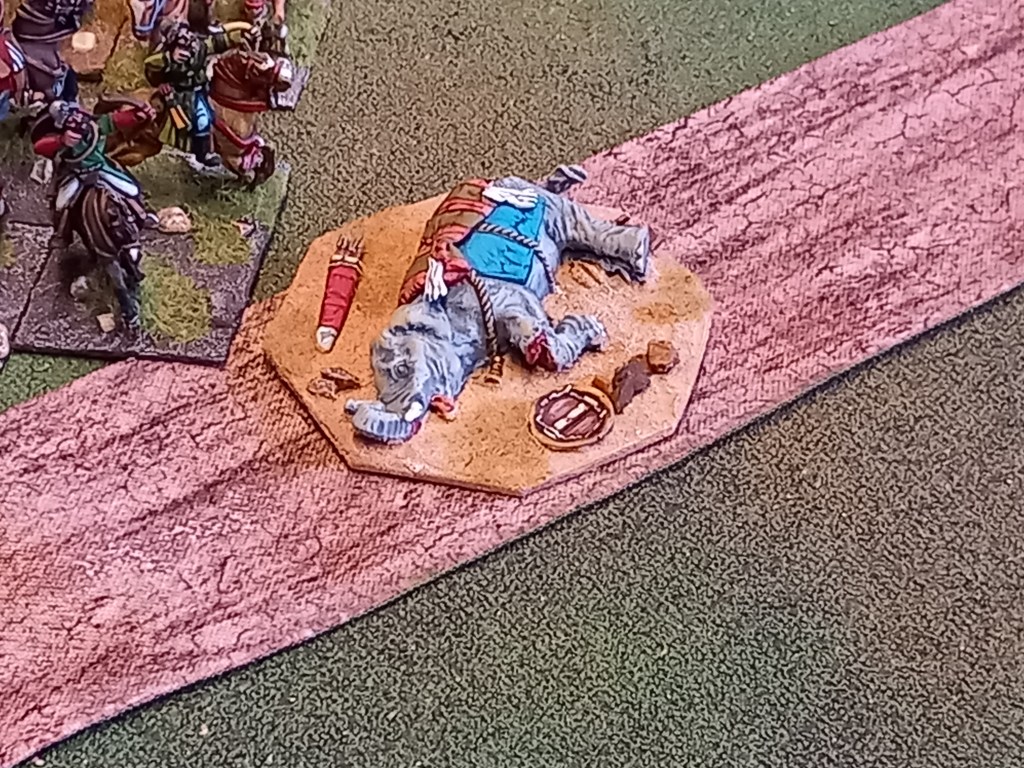
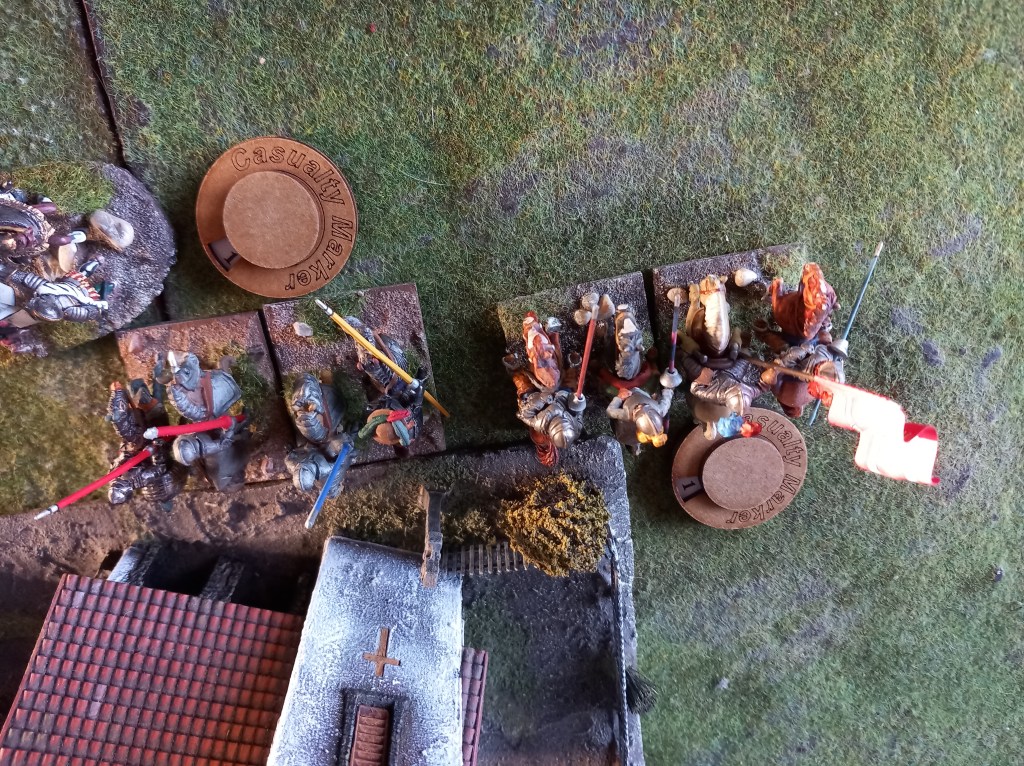
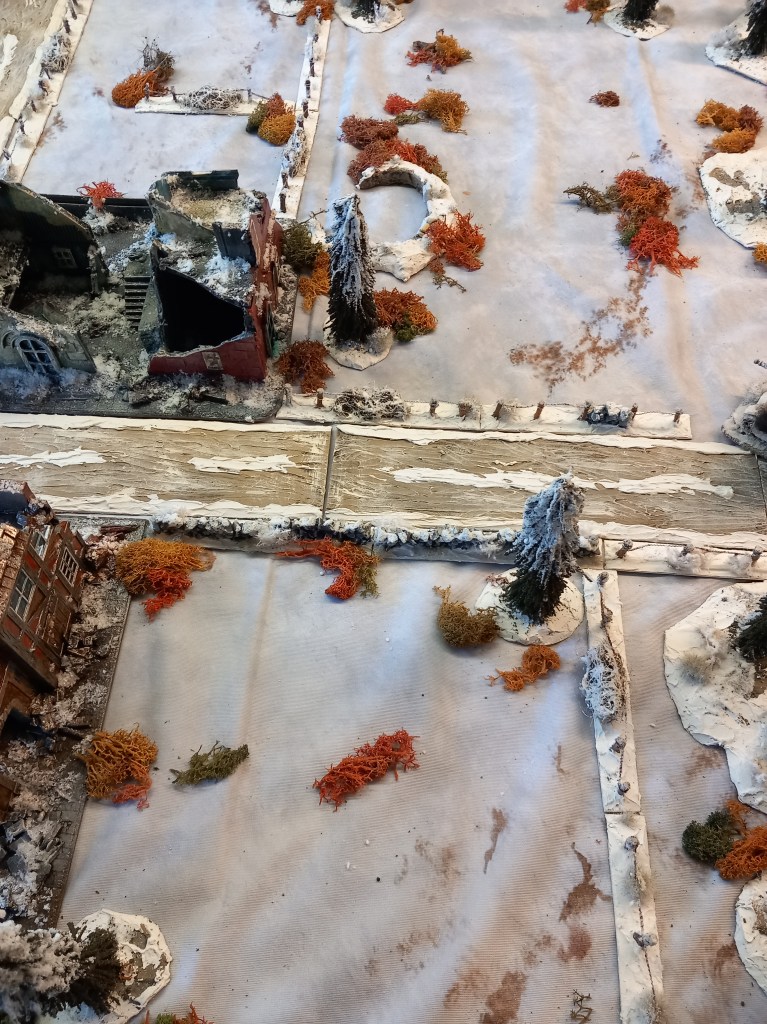
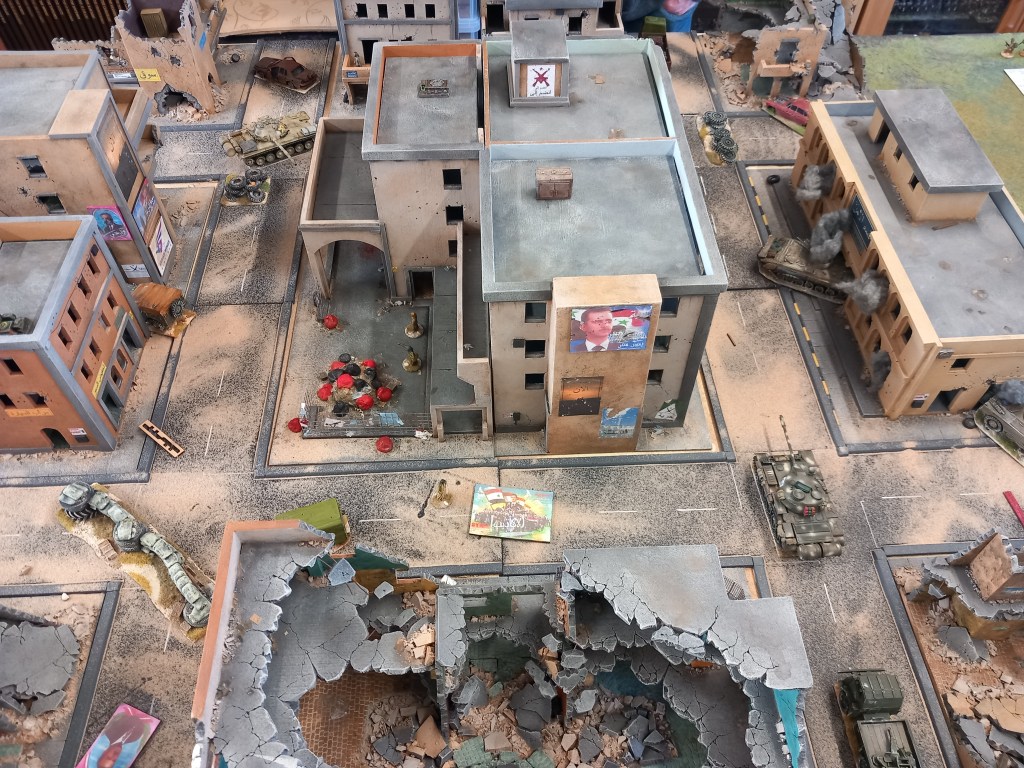
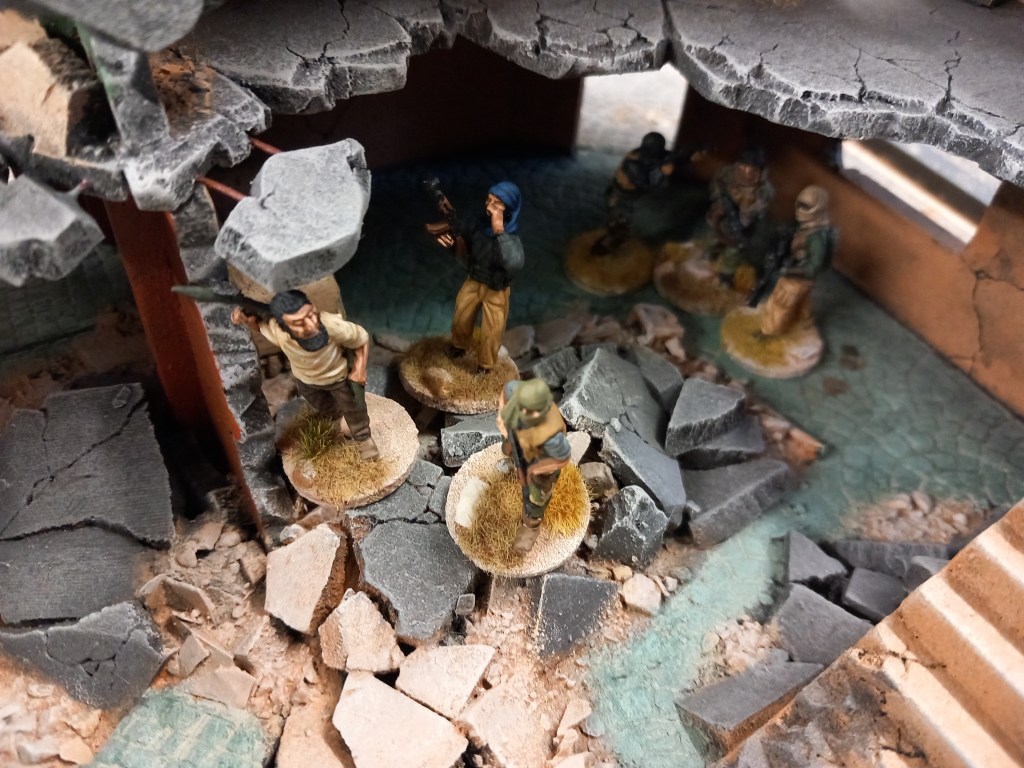
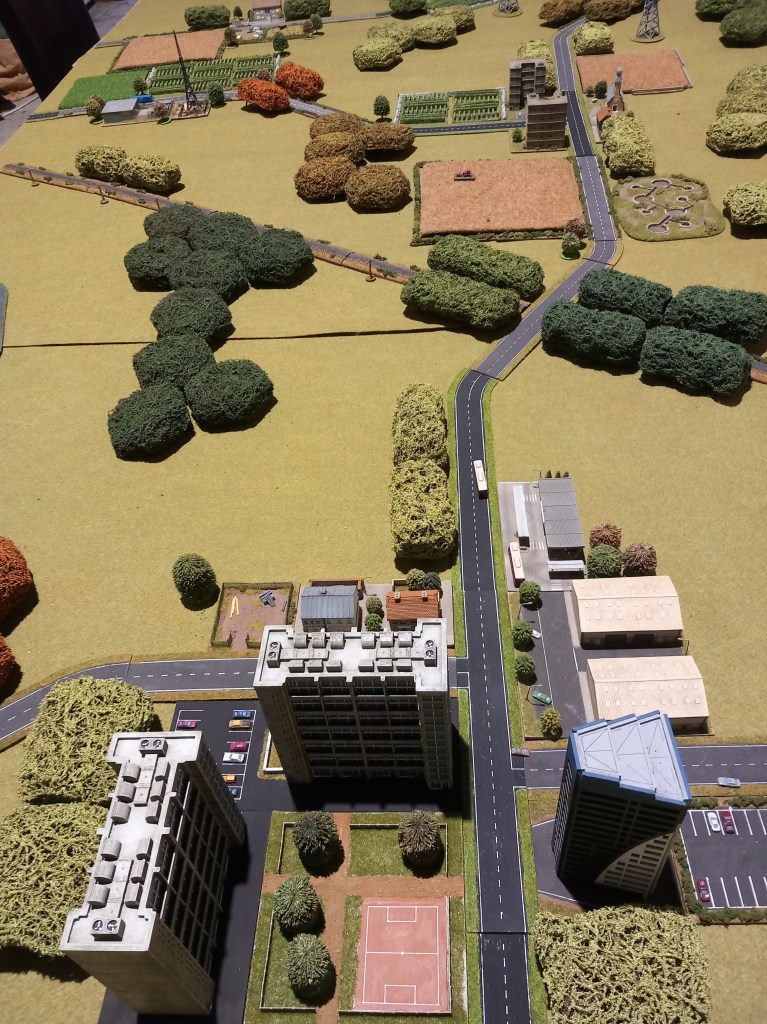
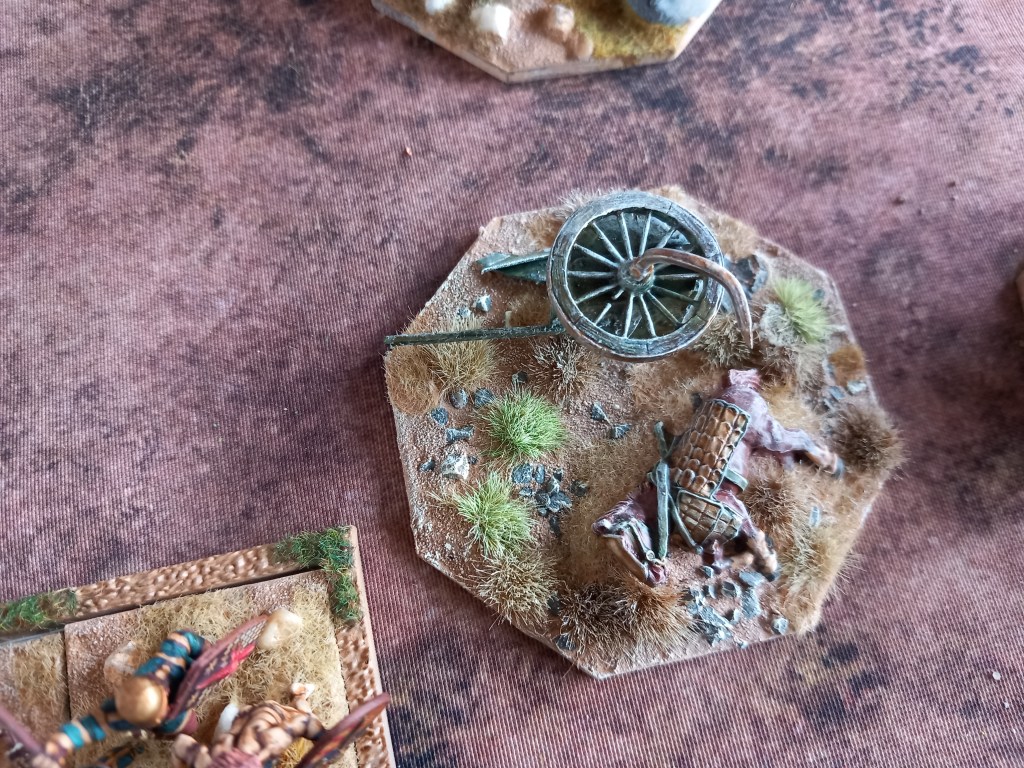
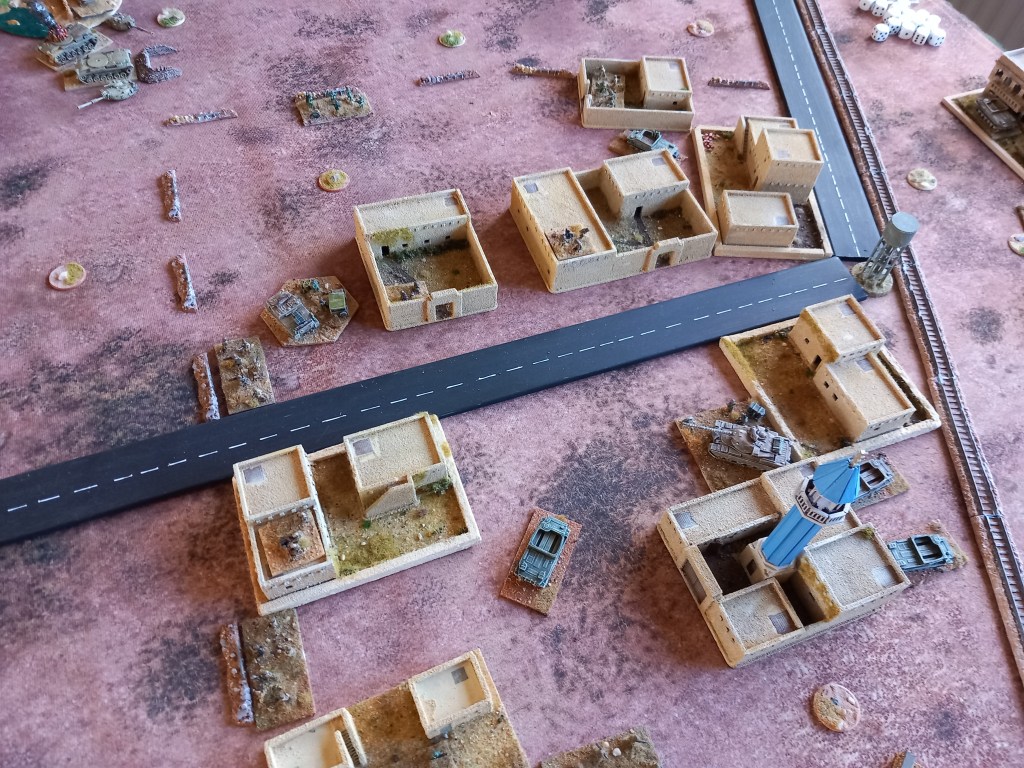
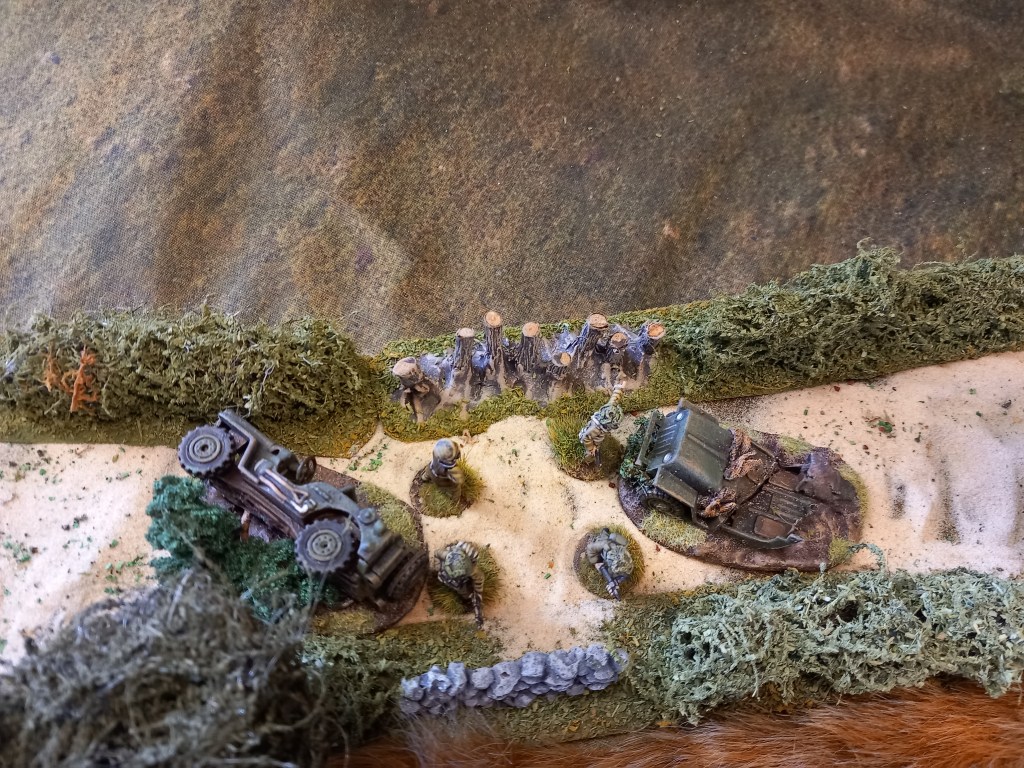
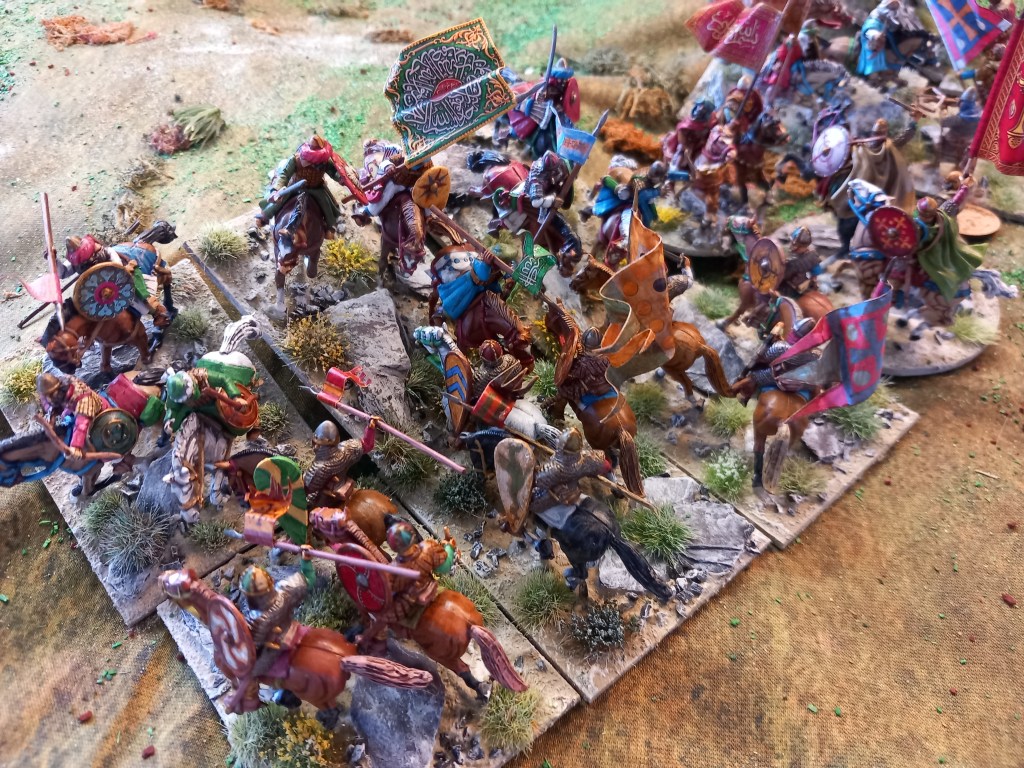
As the game progressed the Soviets started to capture their objectives – apologies for the tanks sitting on top of rooves, I need to curate the protos better, it isn’t a board game!
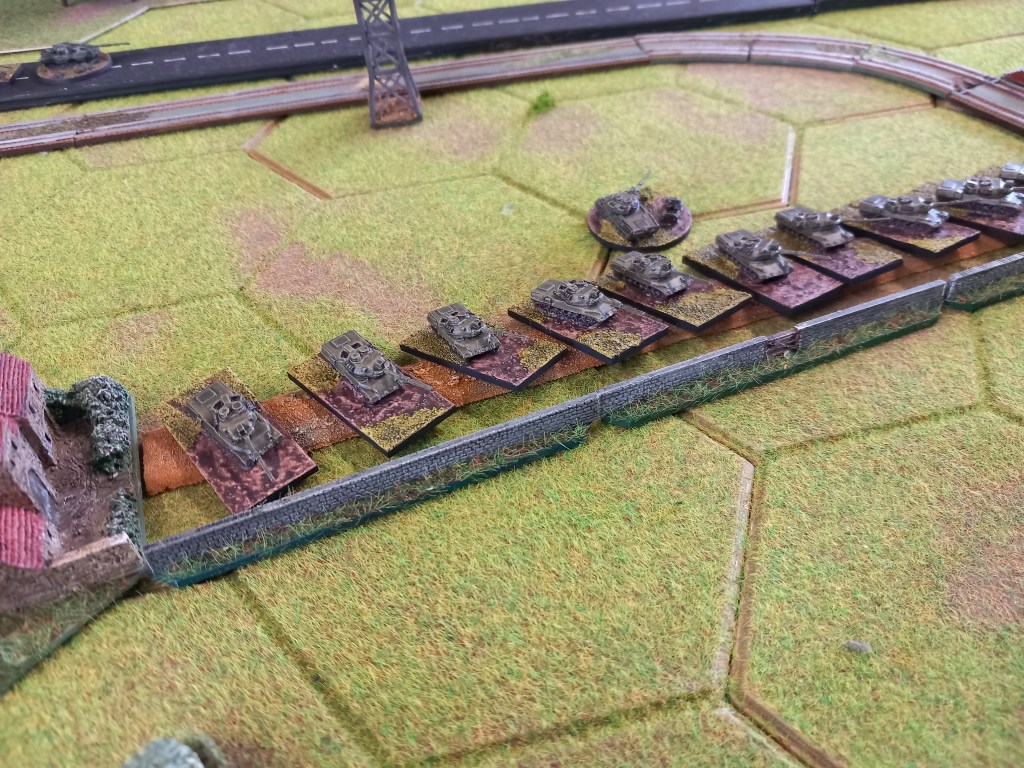
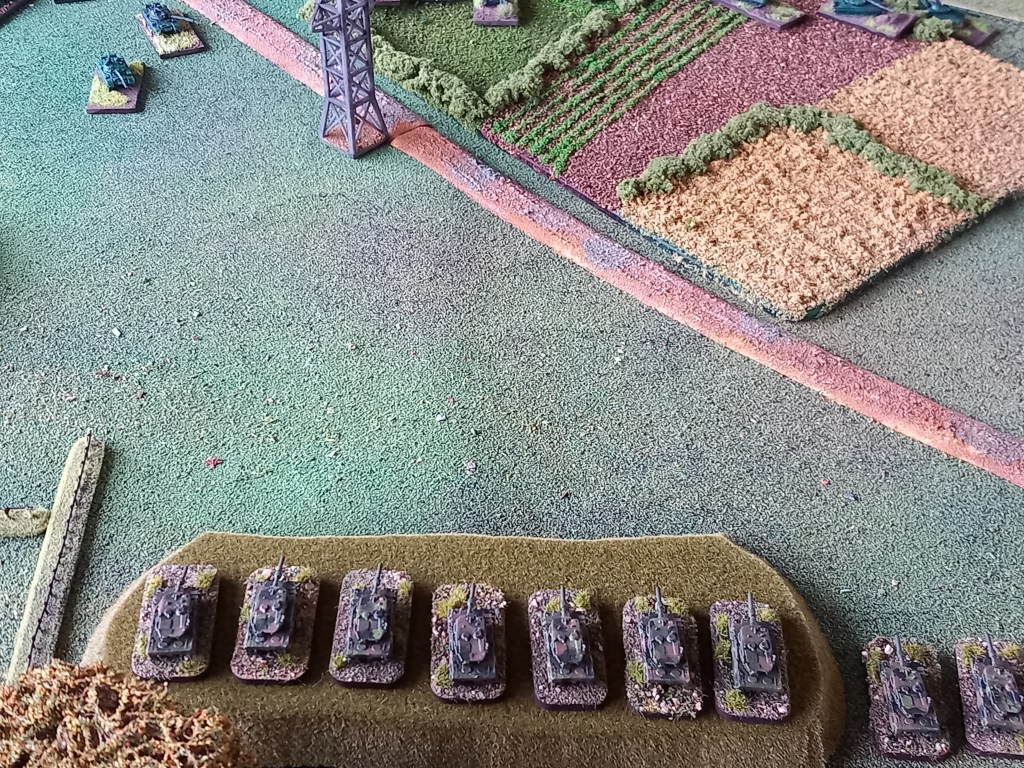
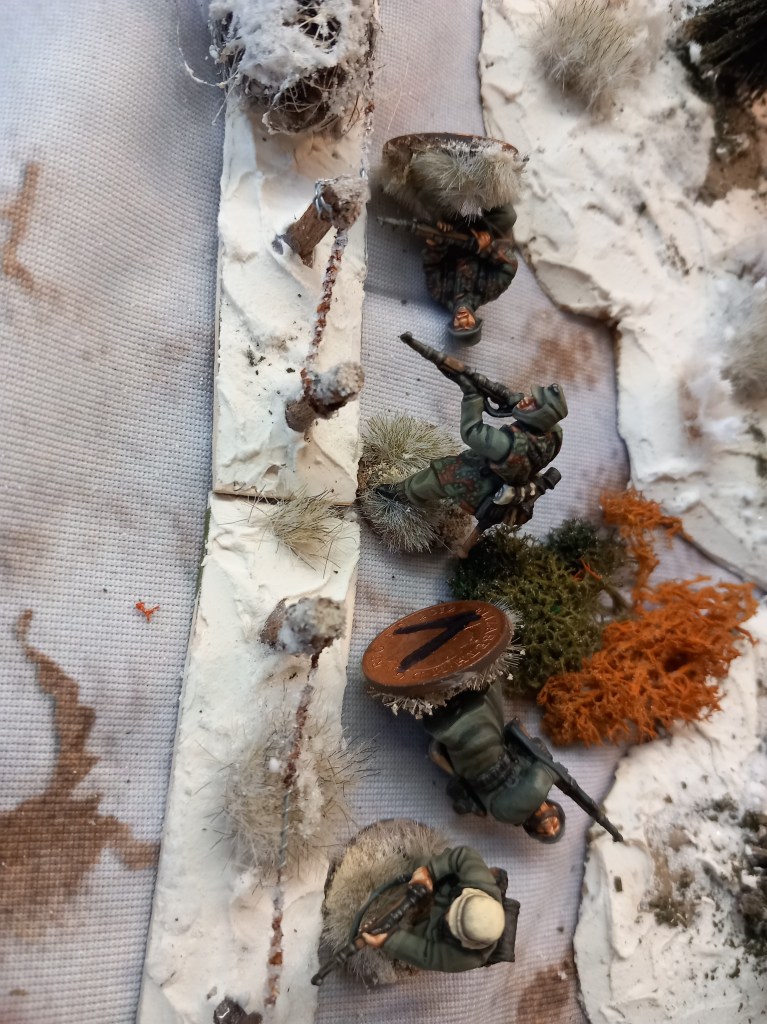
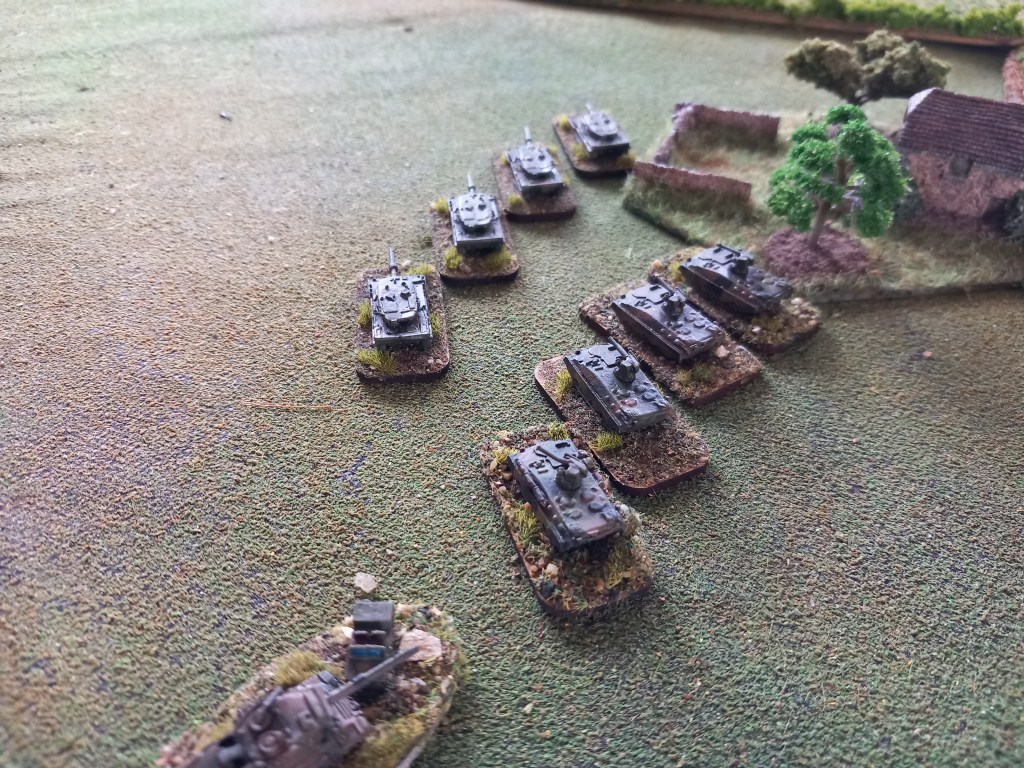
Although gamely putting together a defence, with one Carabineer battalion retreated off and a Guides battalion reduced to one third strength, the Belgians had to concede they were in no position to prevent a Soviet breakthrough.
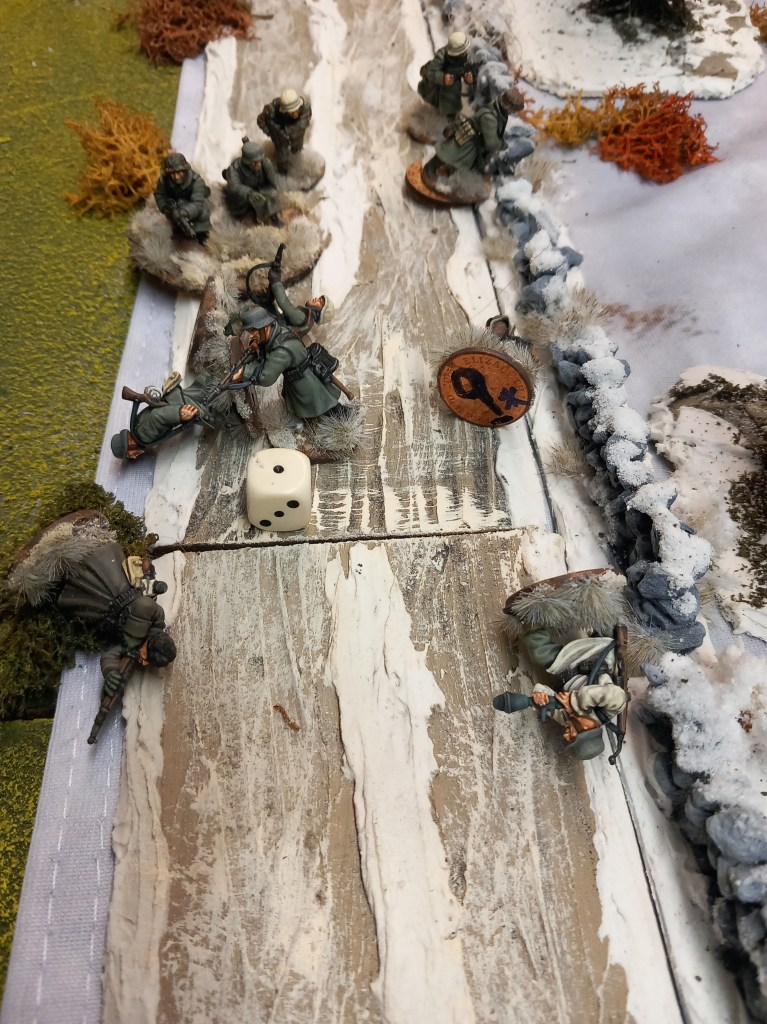
I think we have pretty much grasped the rules now, the next task is designing scenarios that are both balanced and enjoyable.
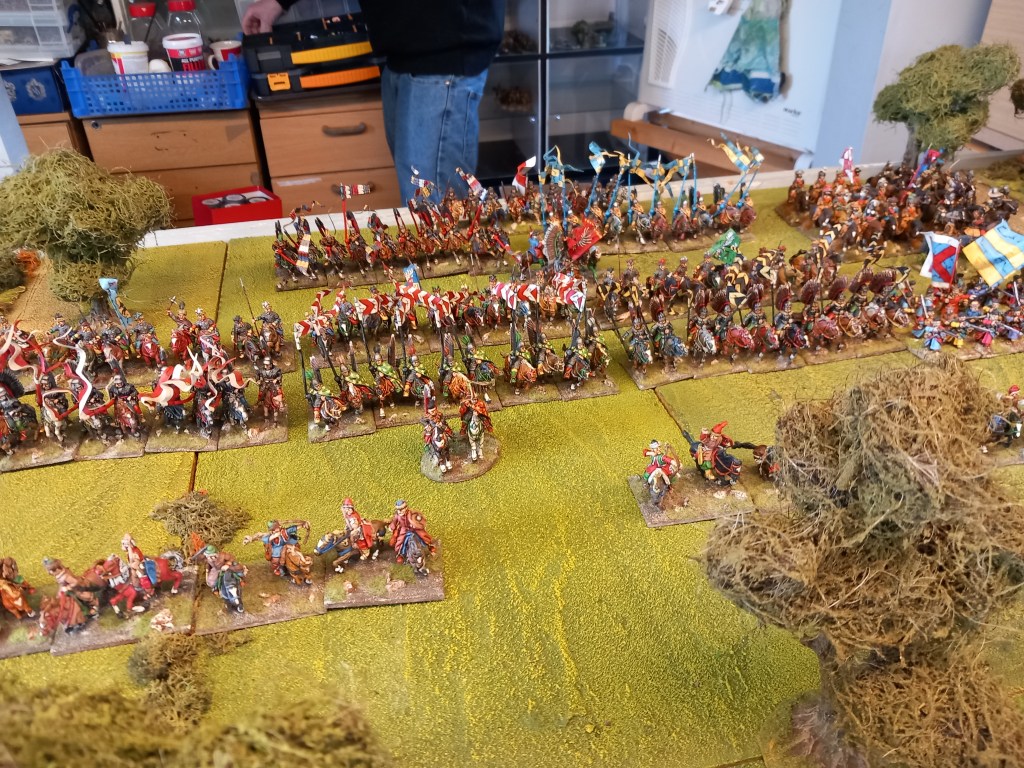
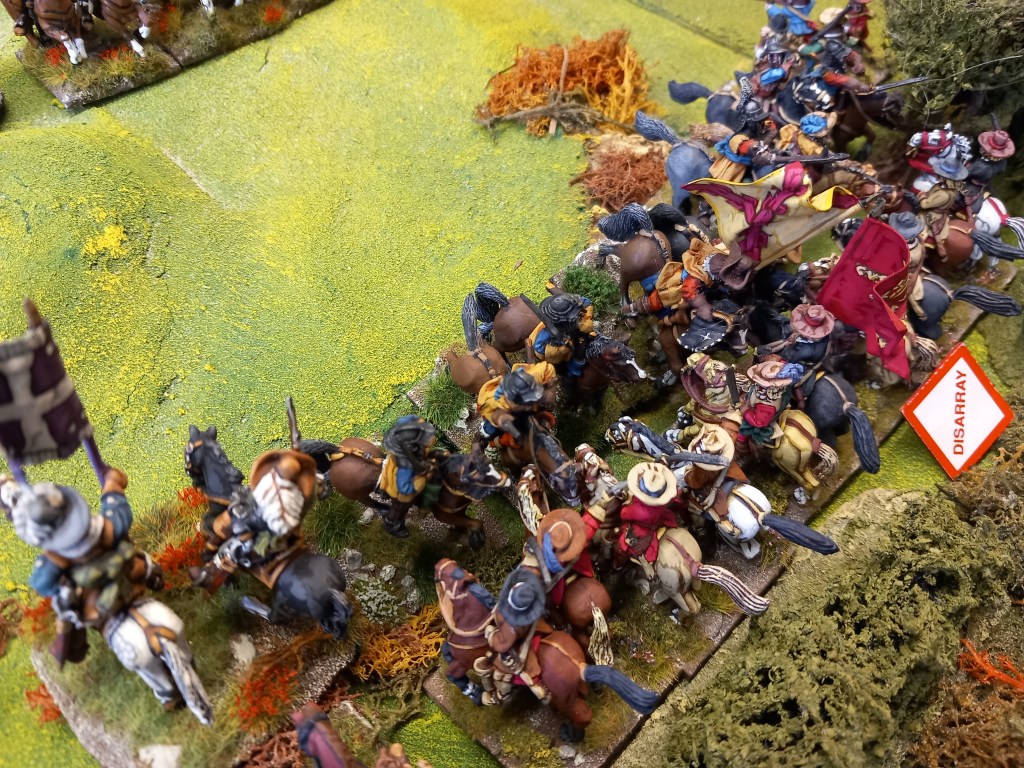
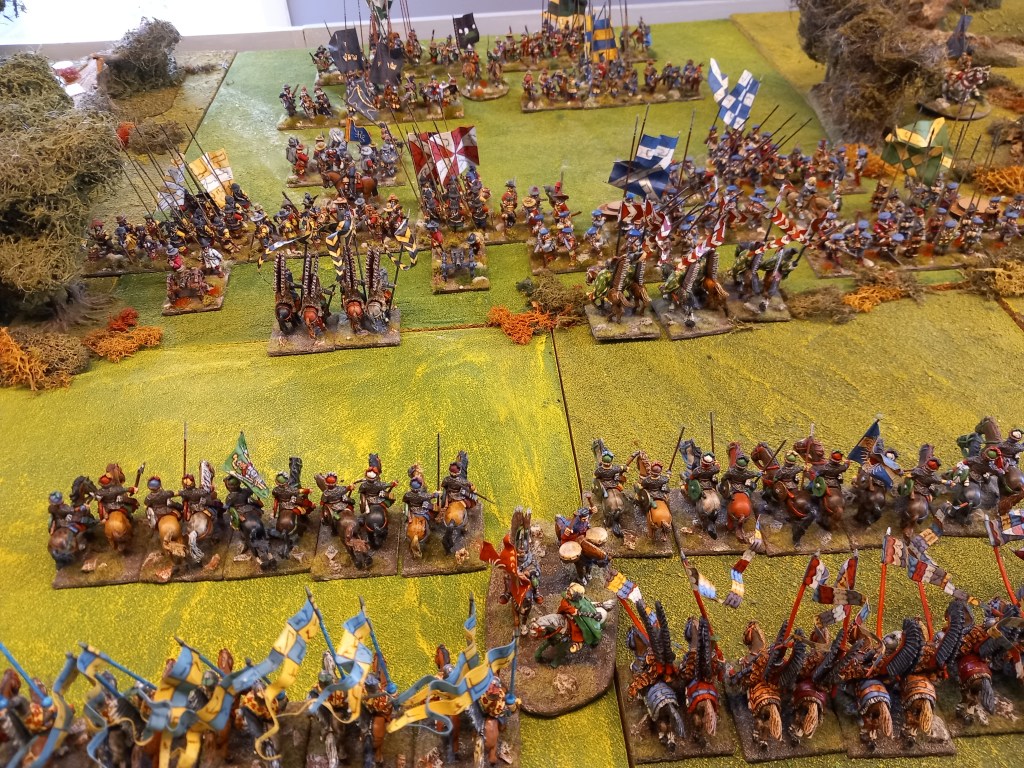
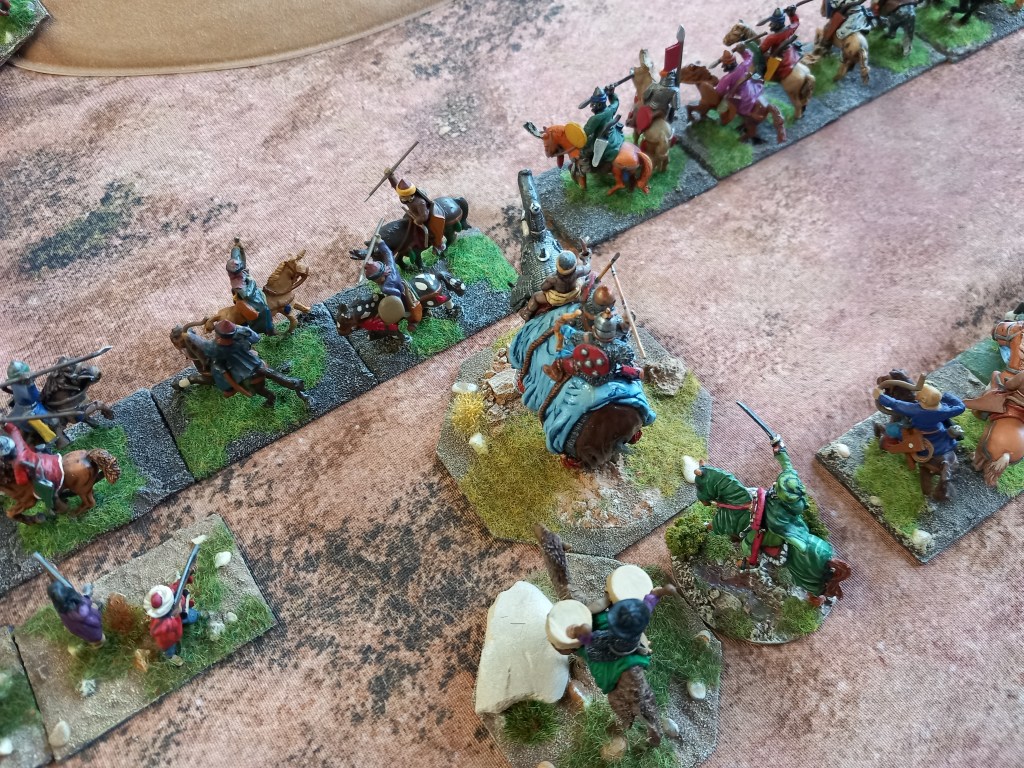
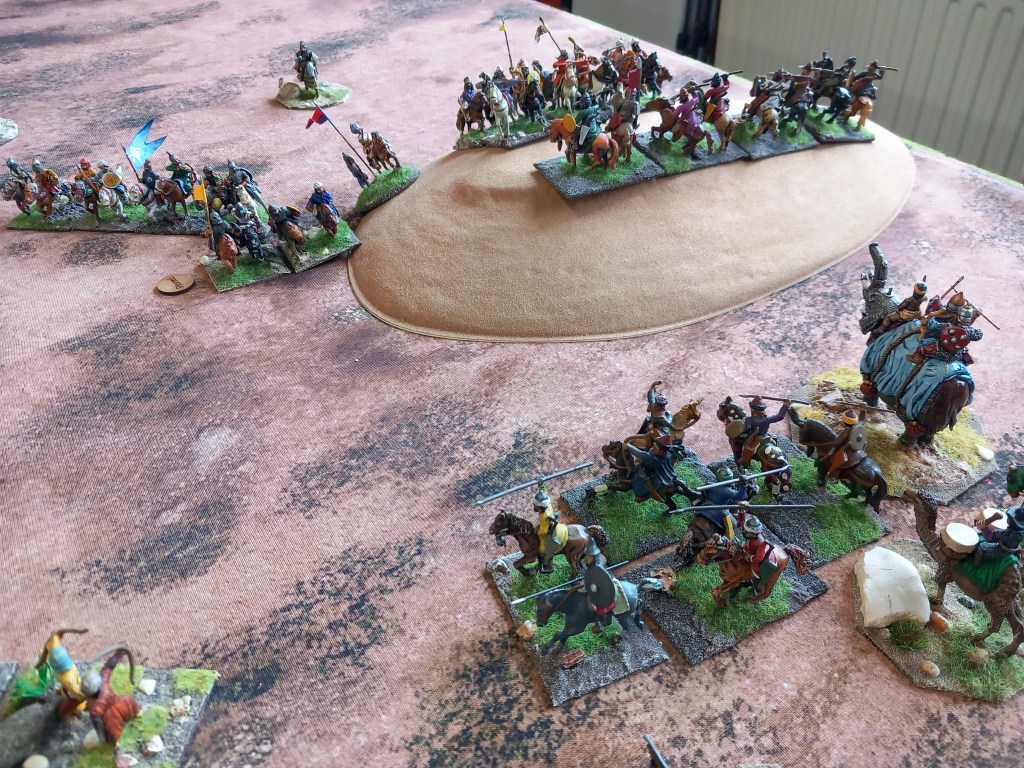
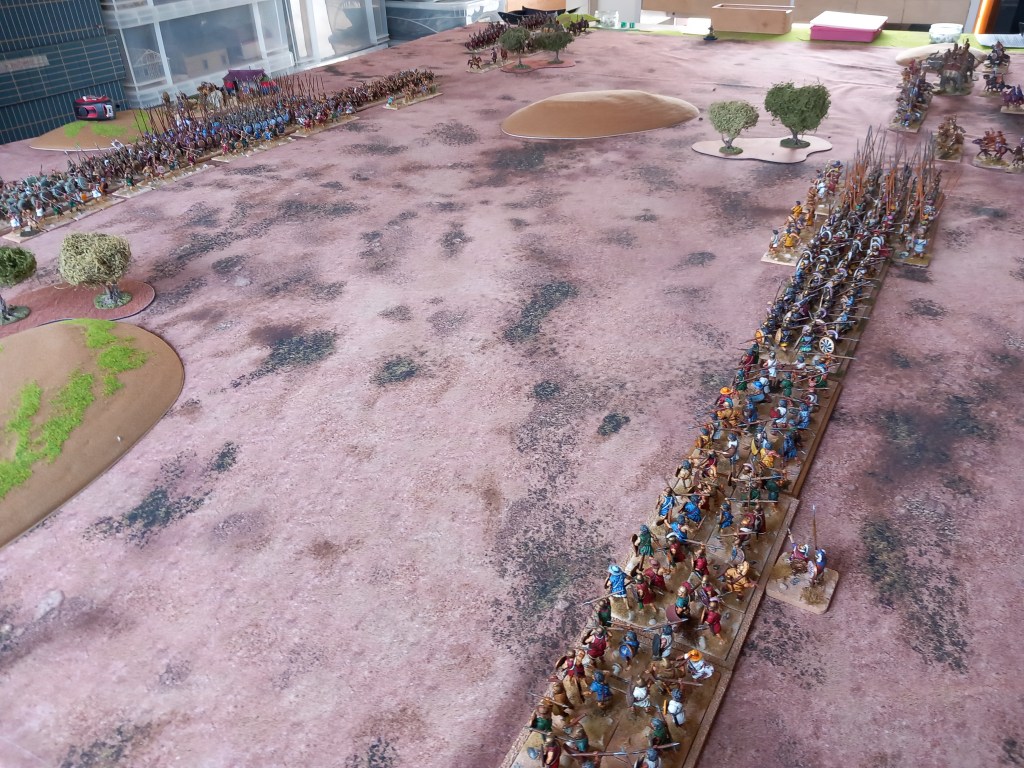
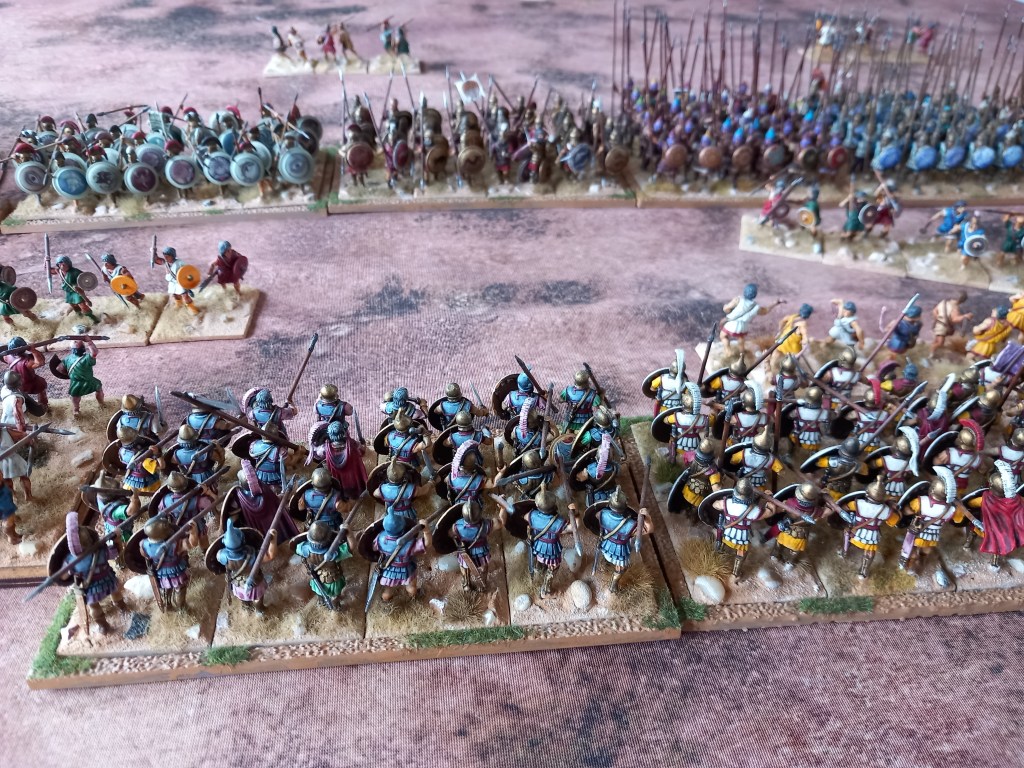
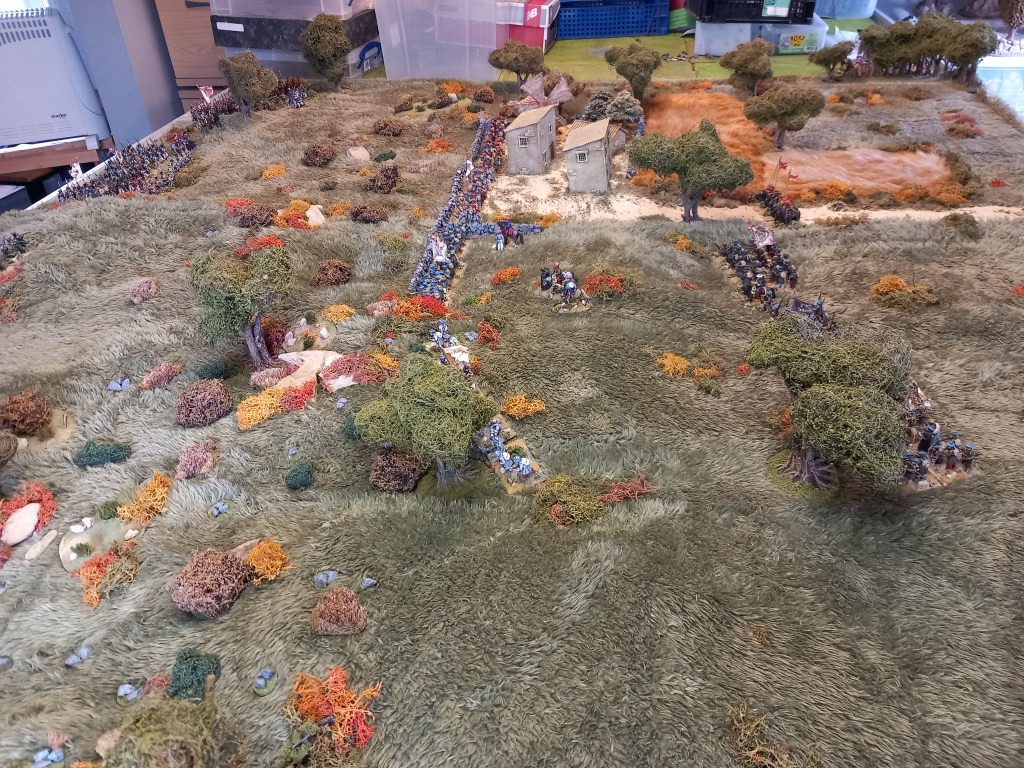
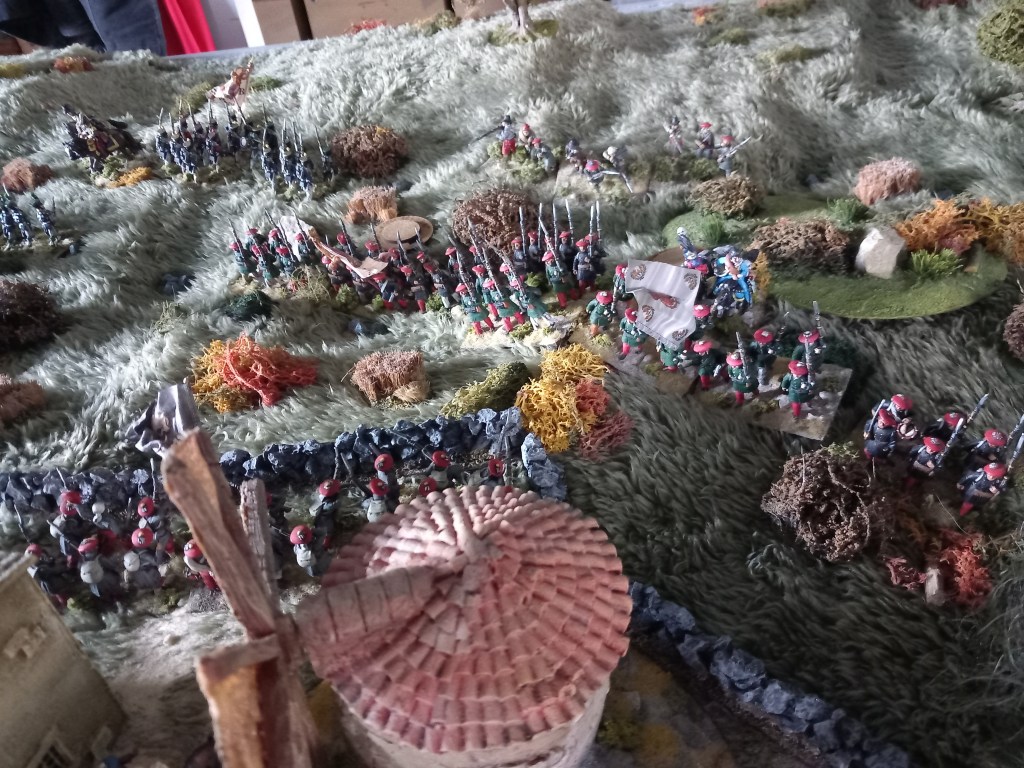
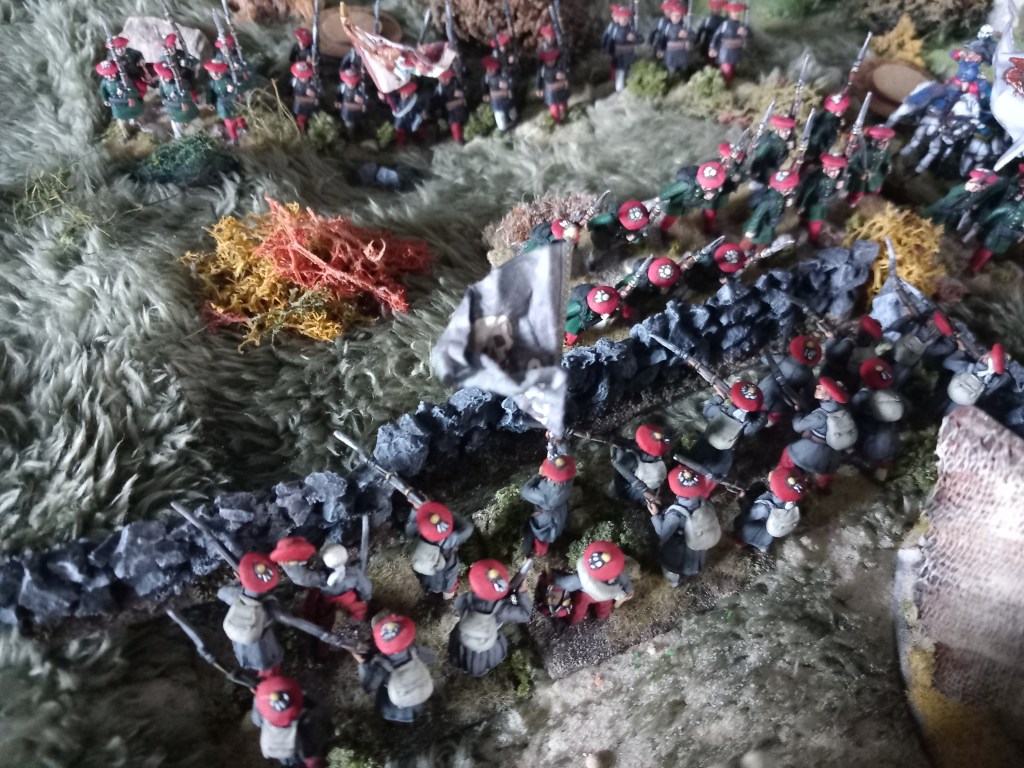
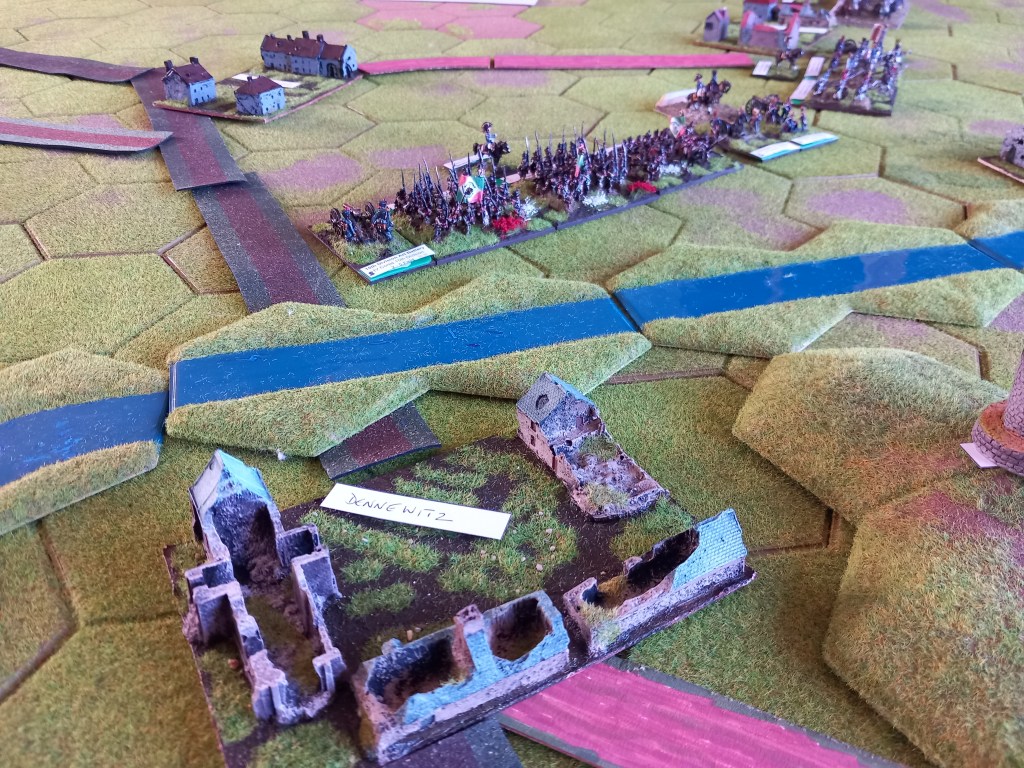
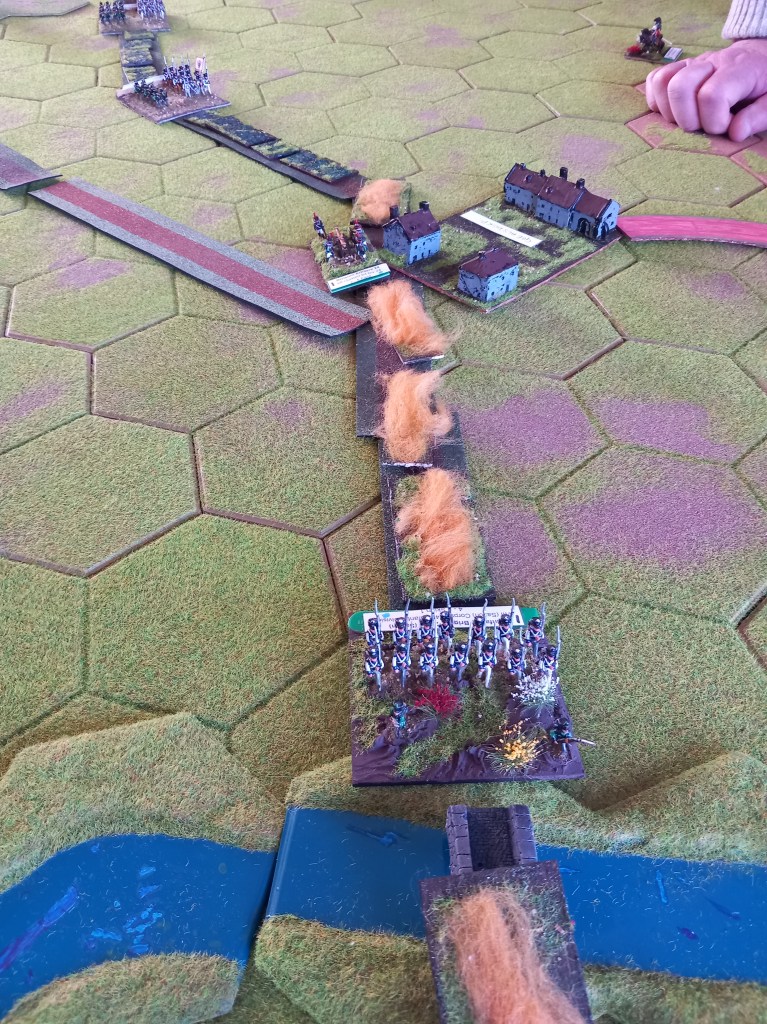
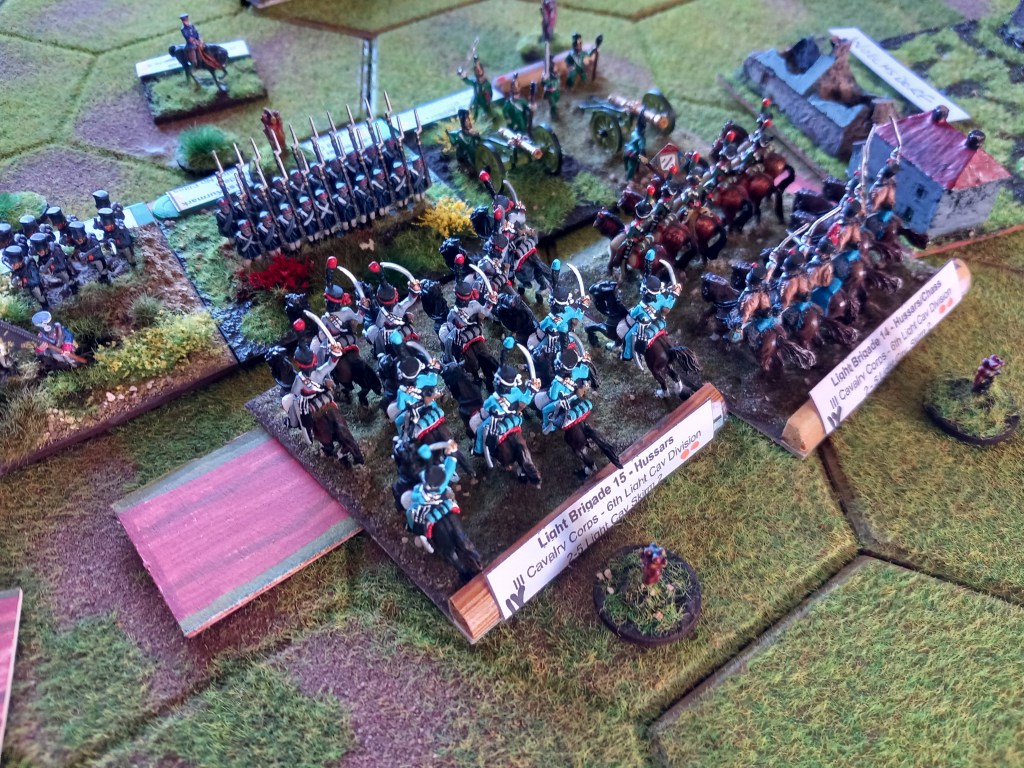
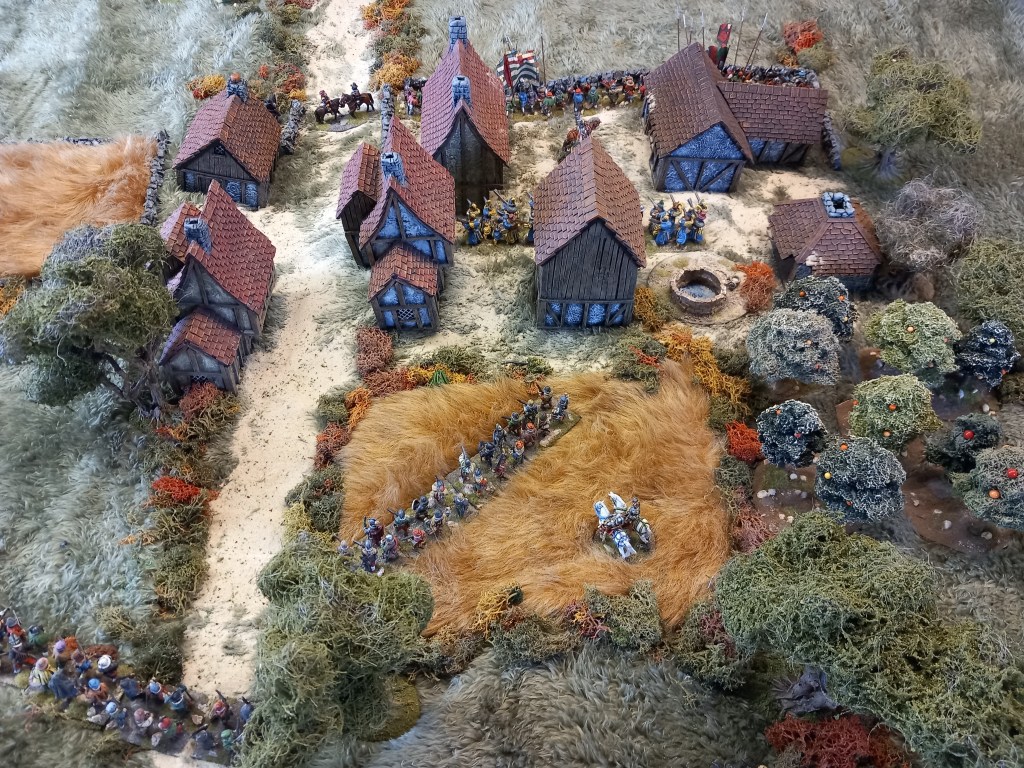
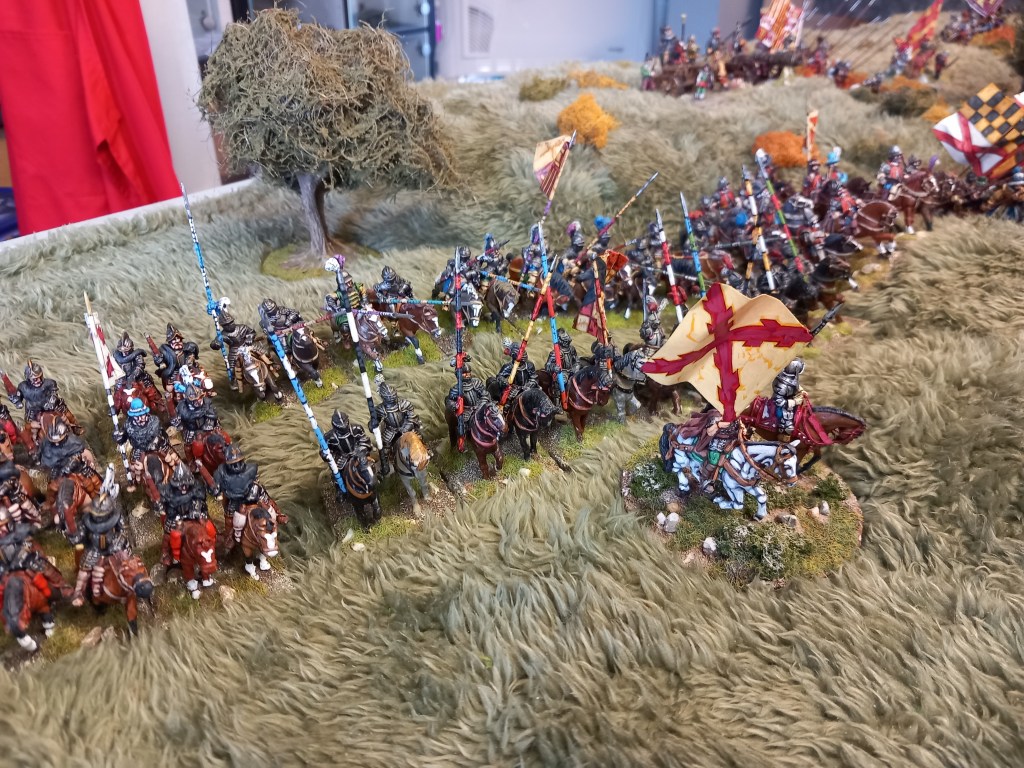
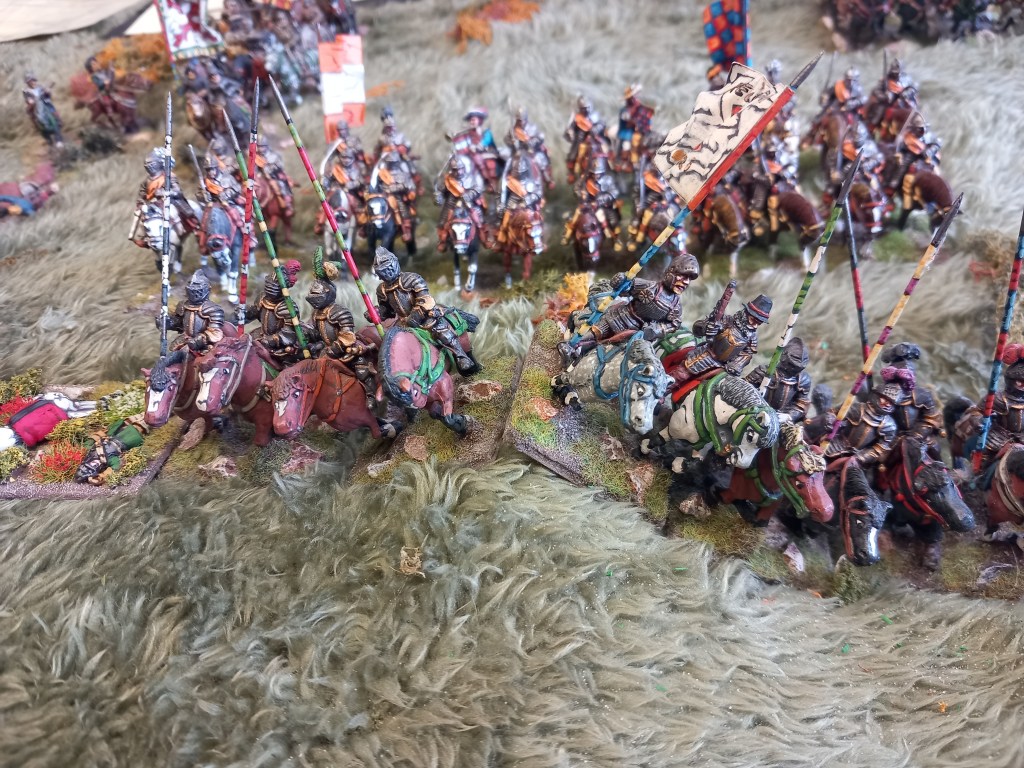
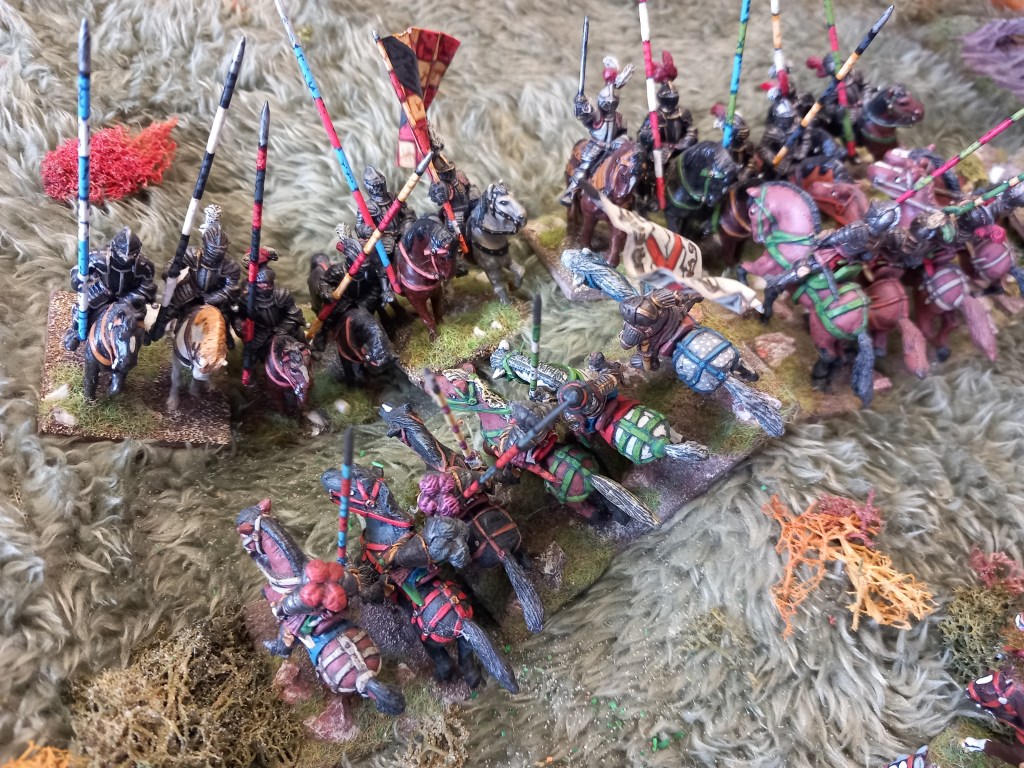
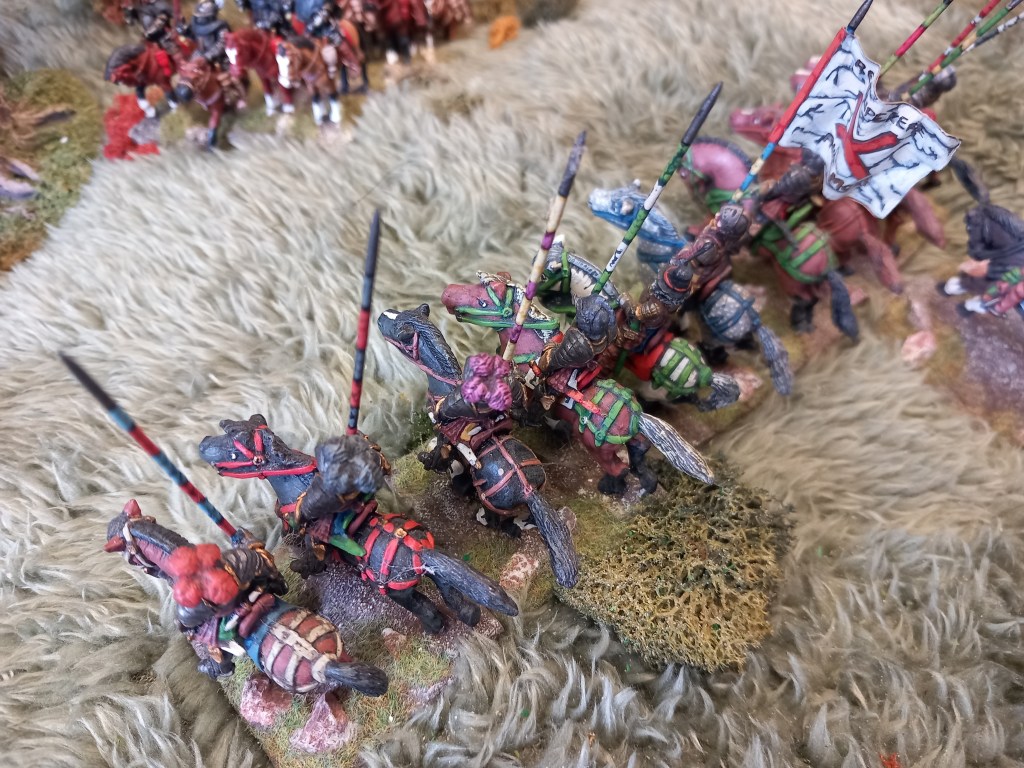
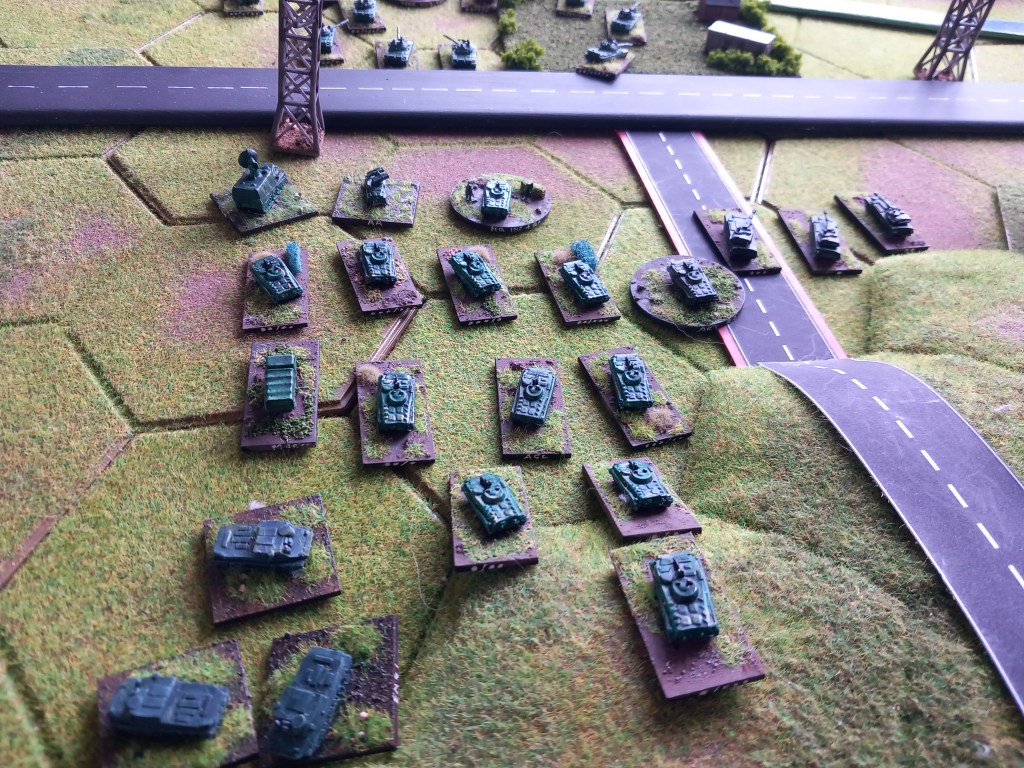
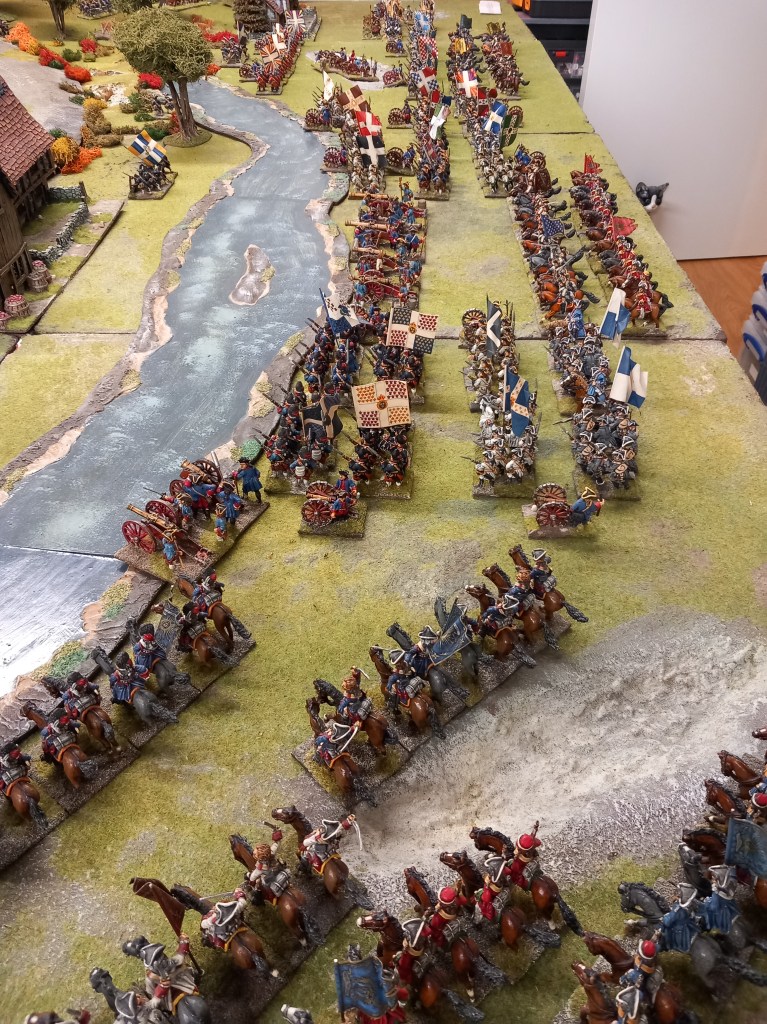
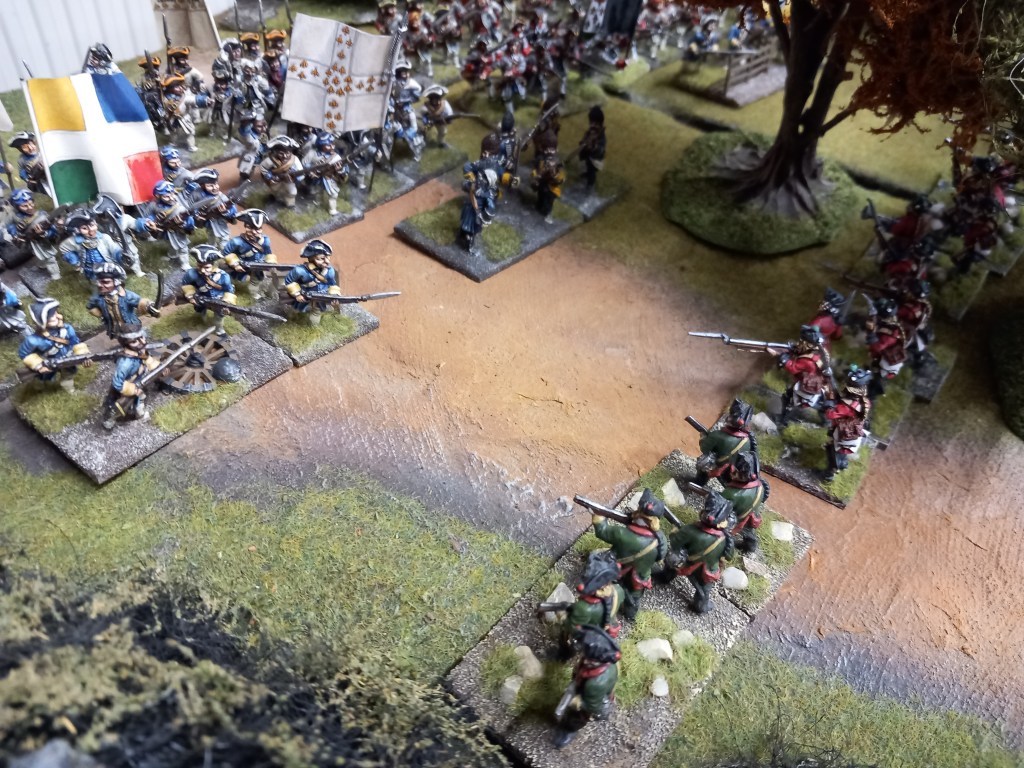
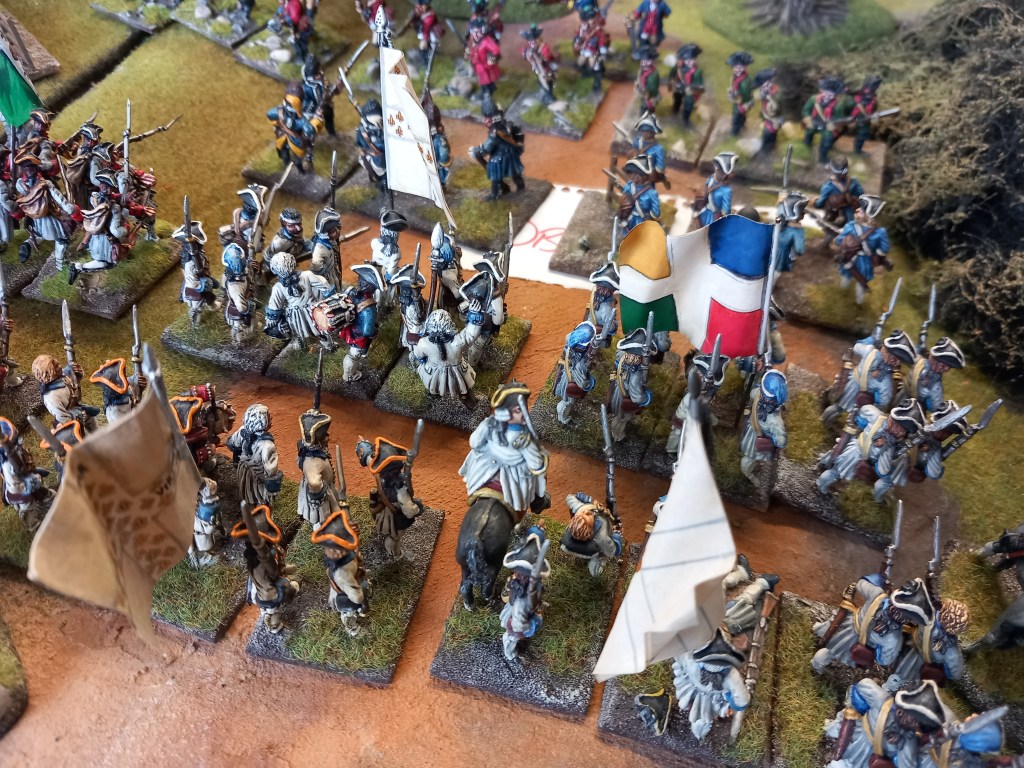
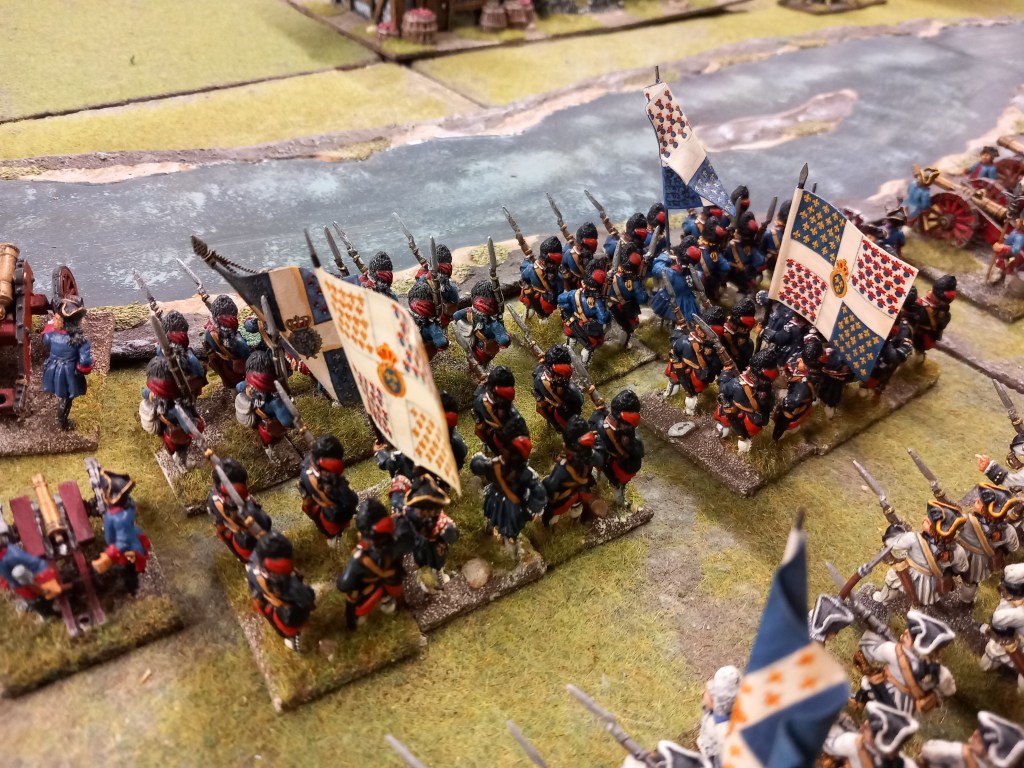
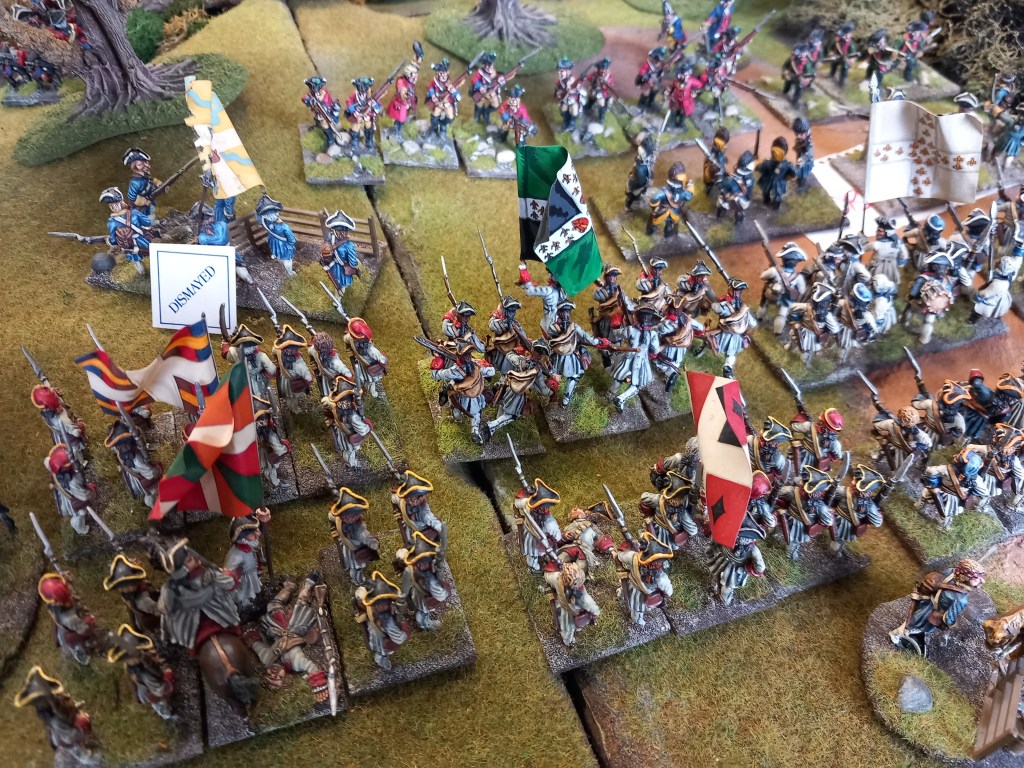
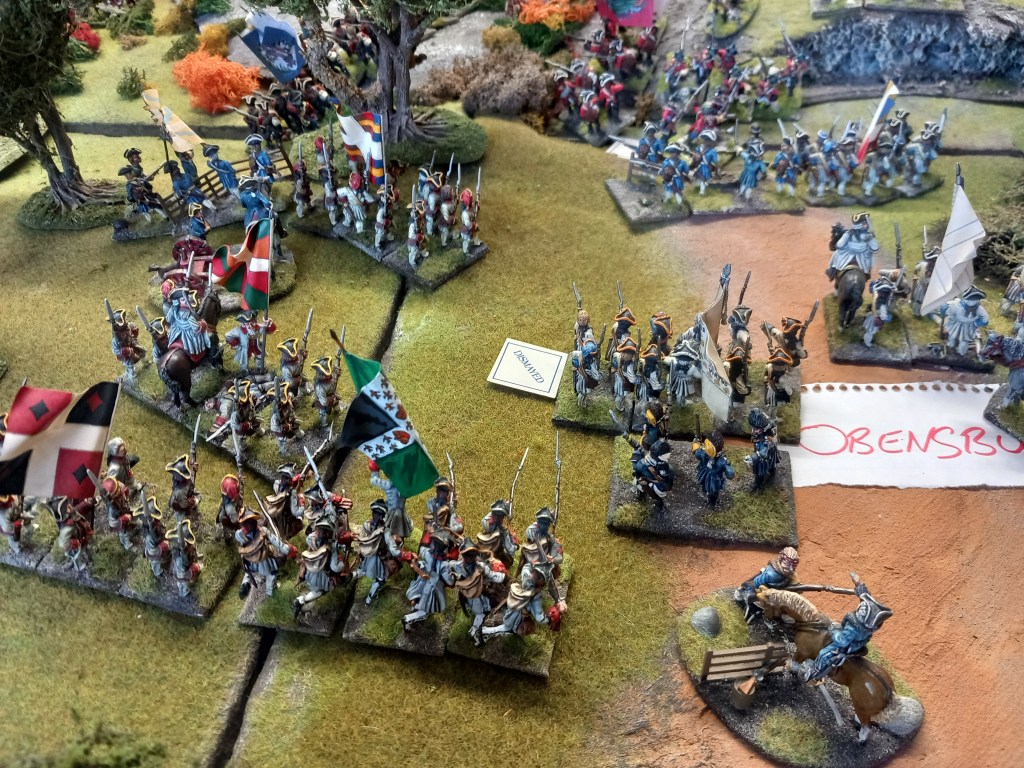
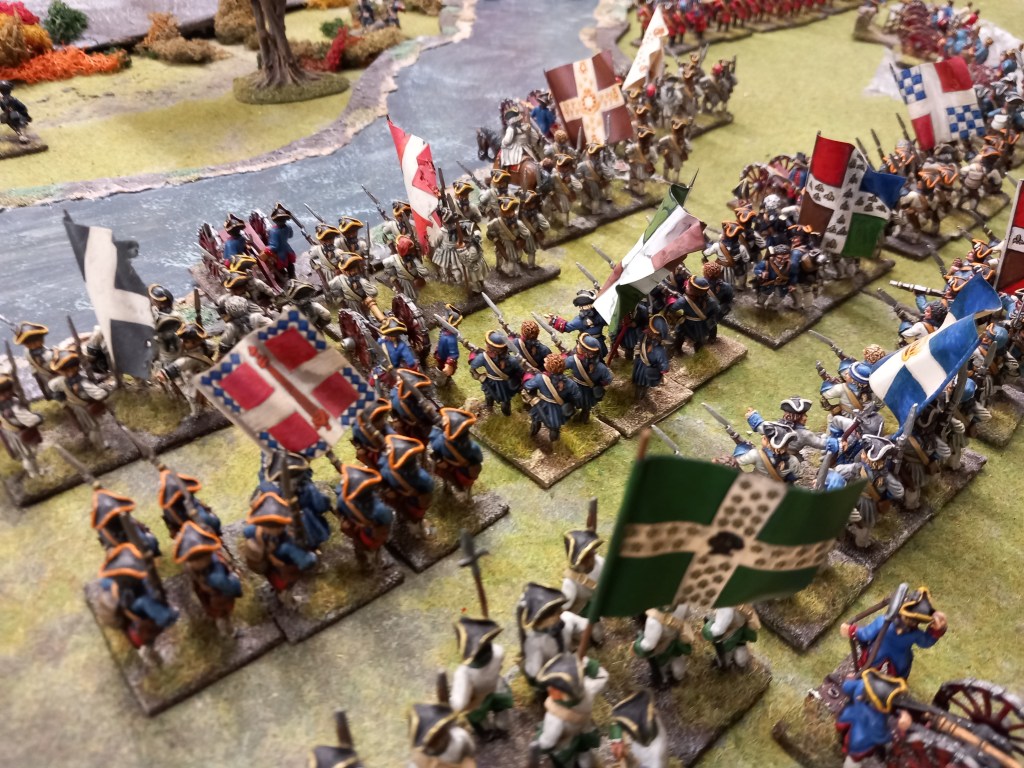
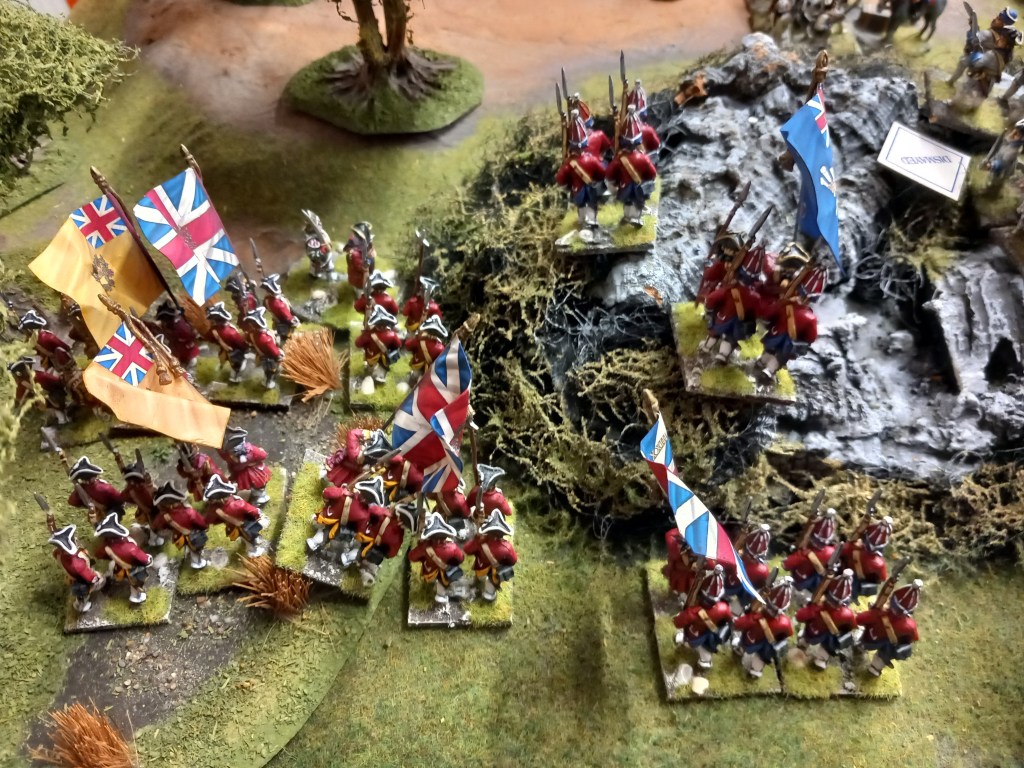
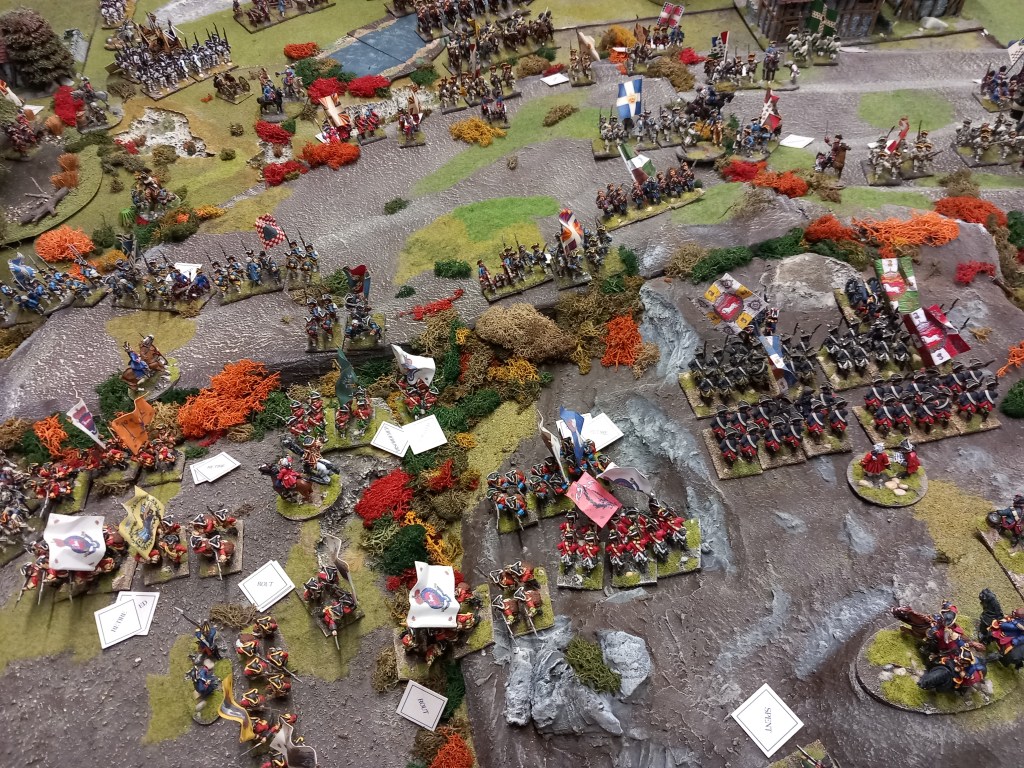
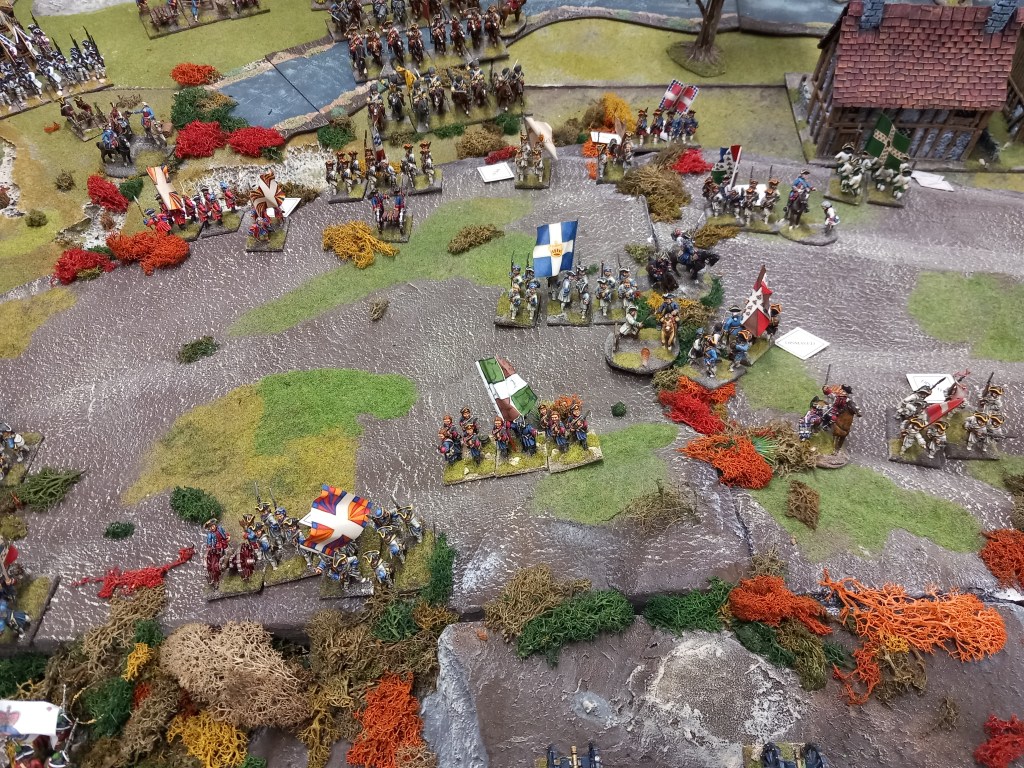
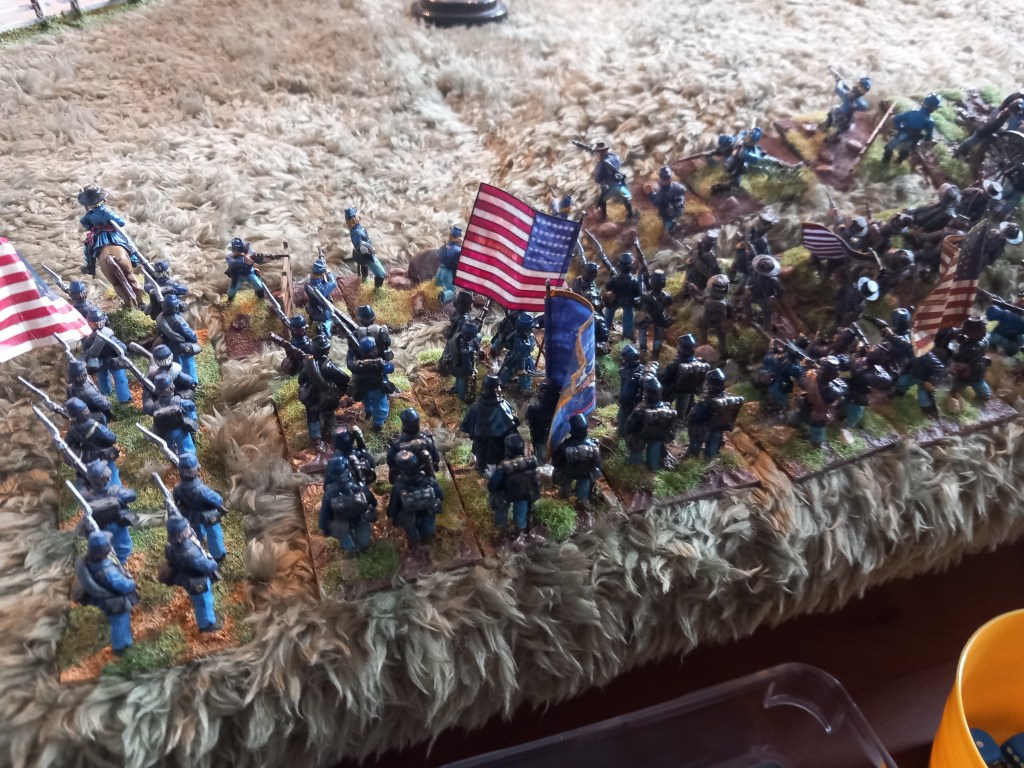
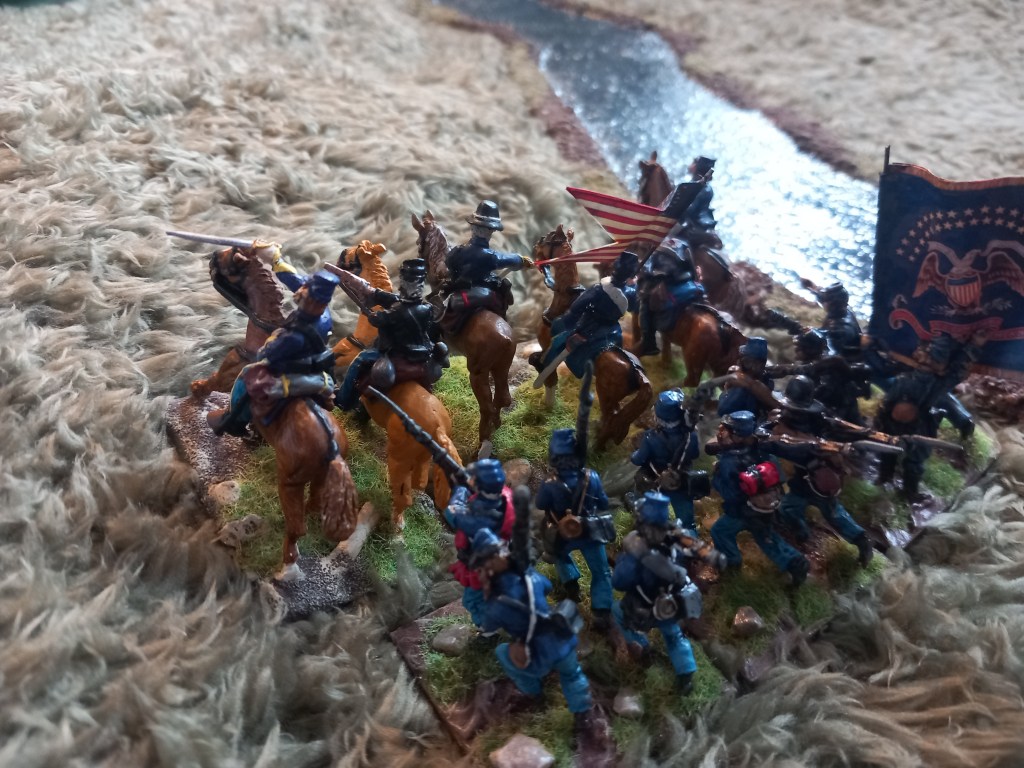
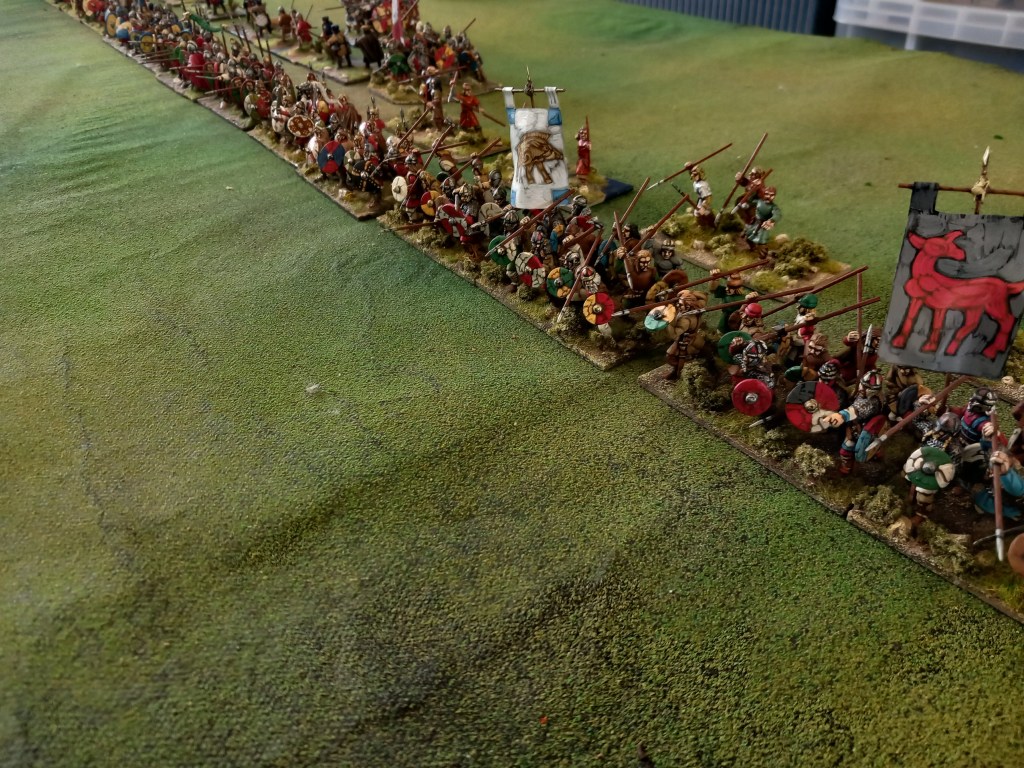
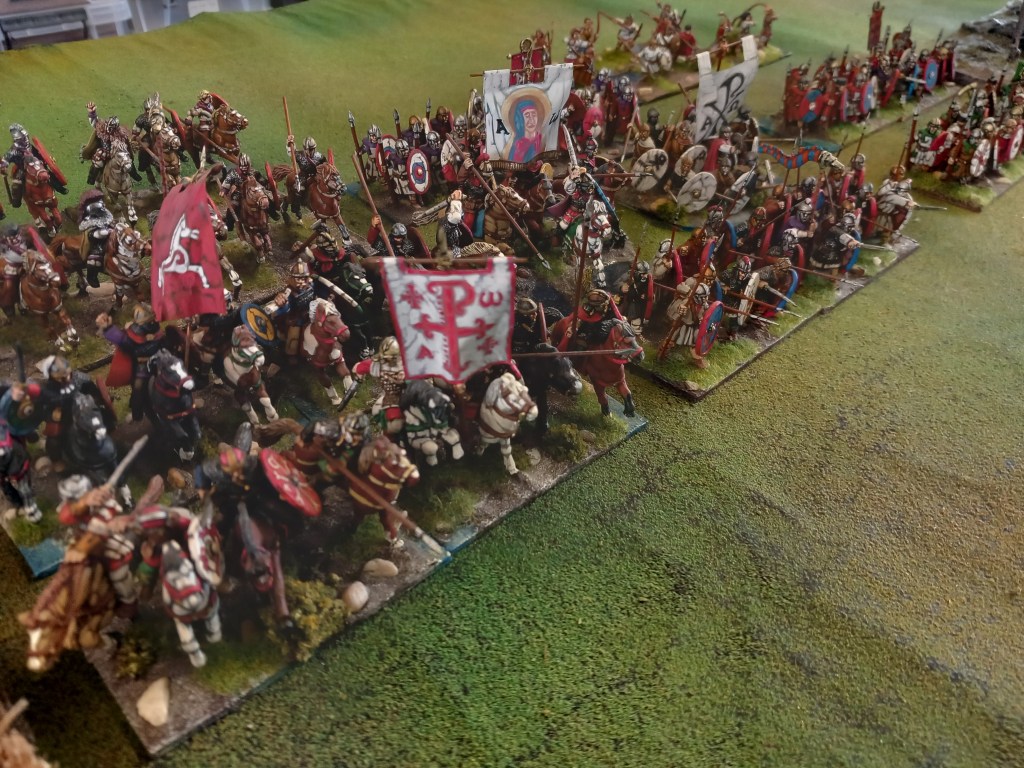
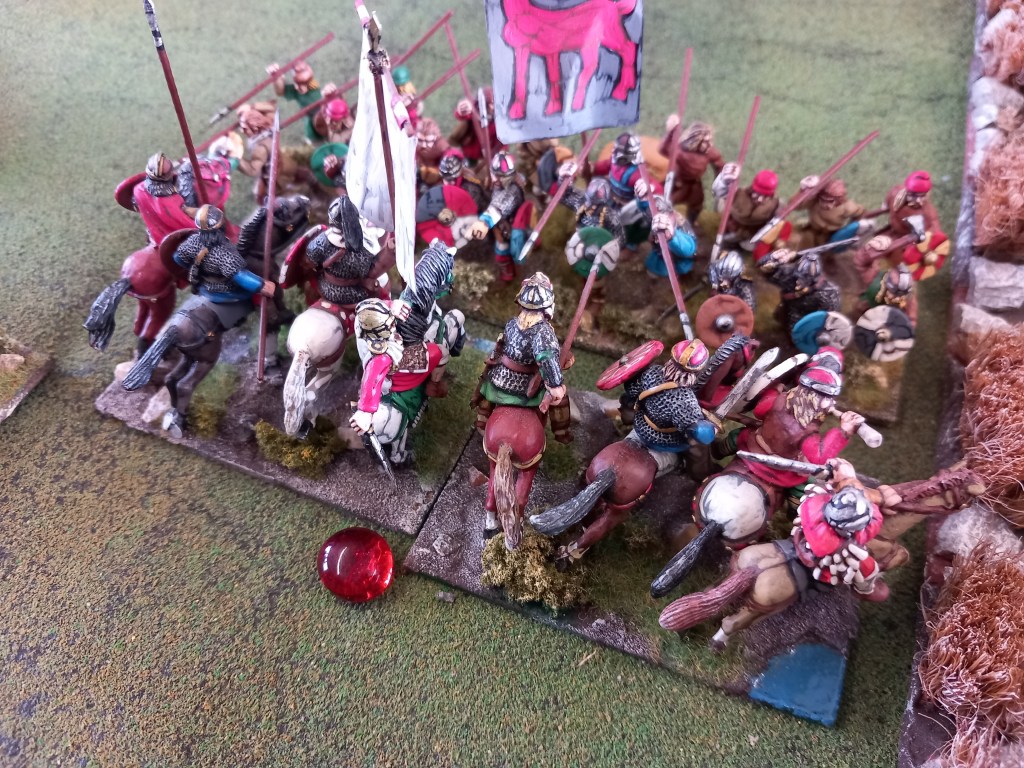
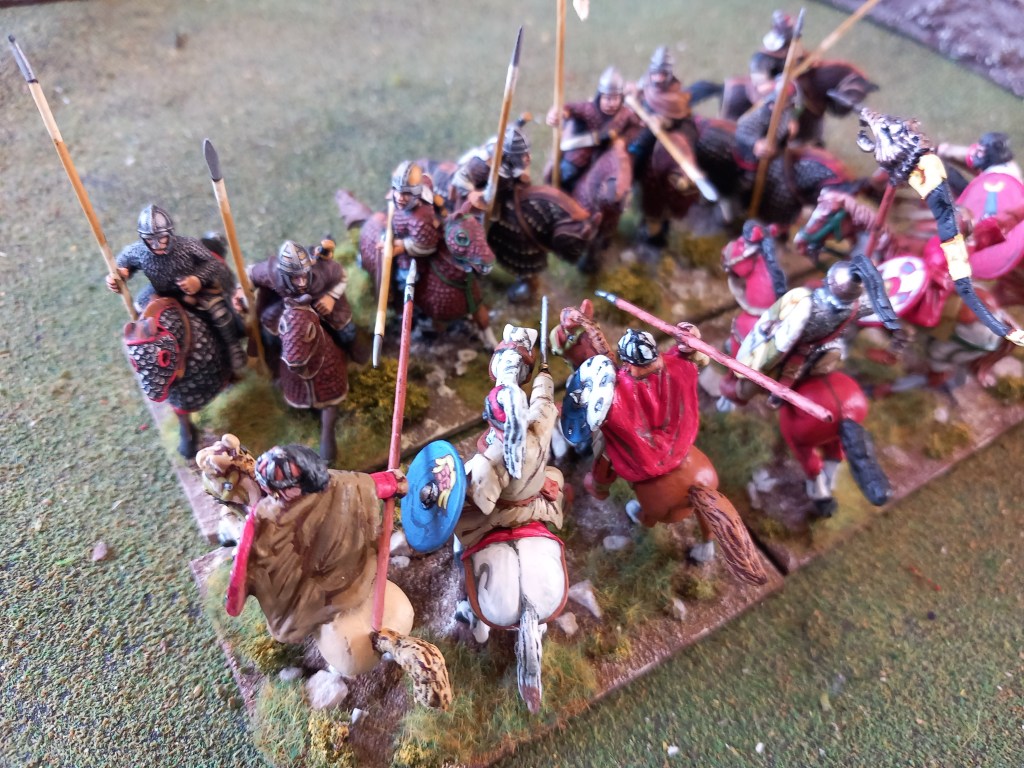
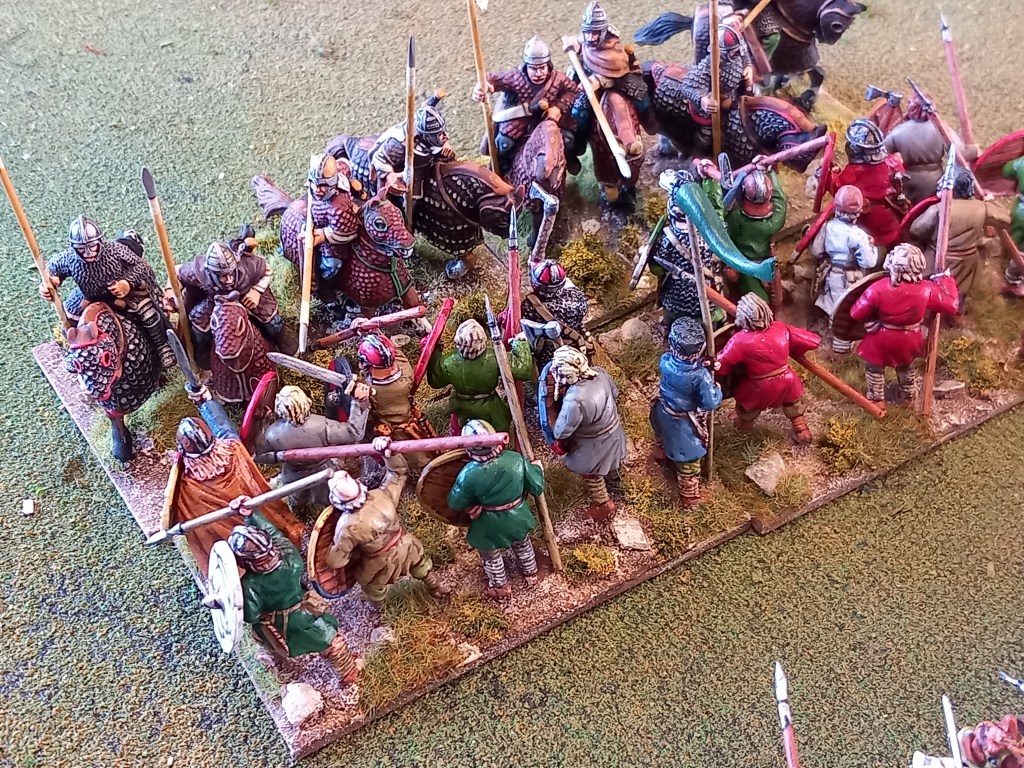
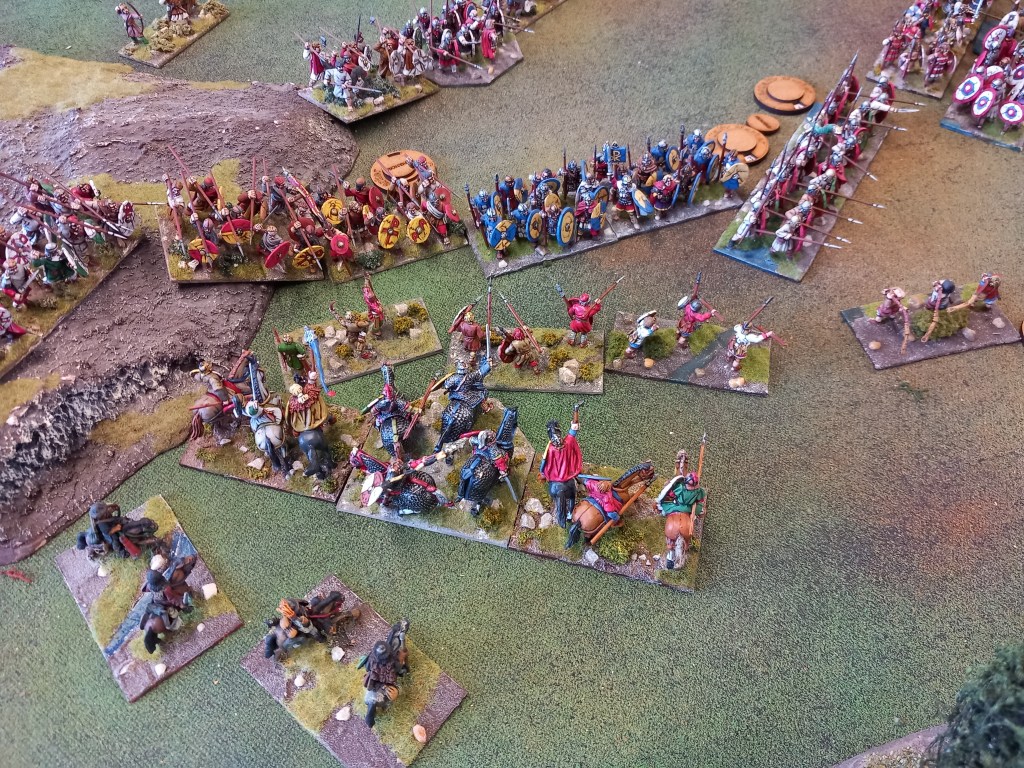
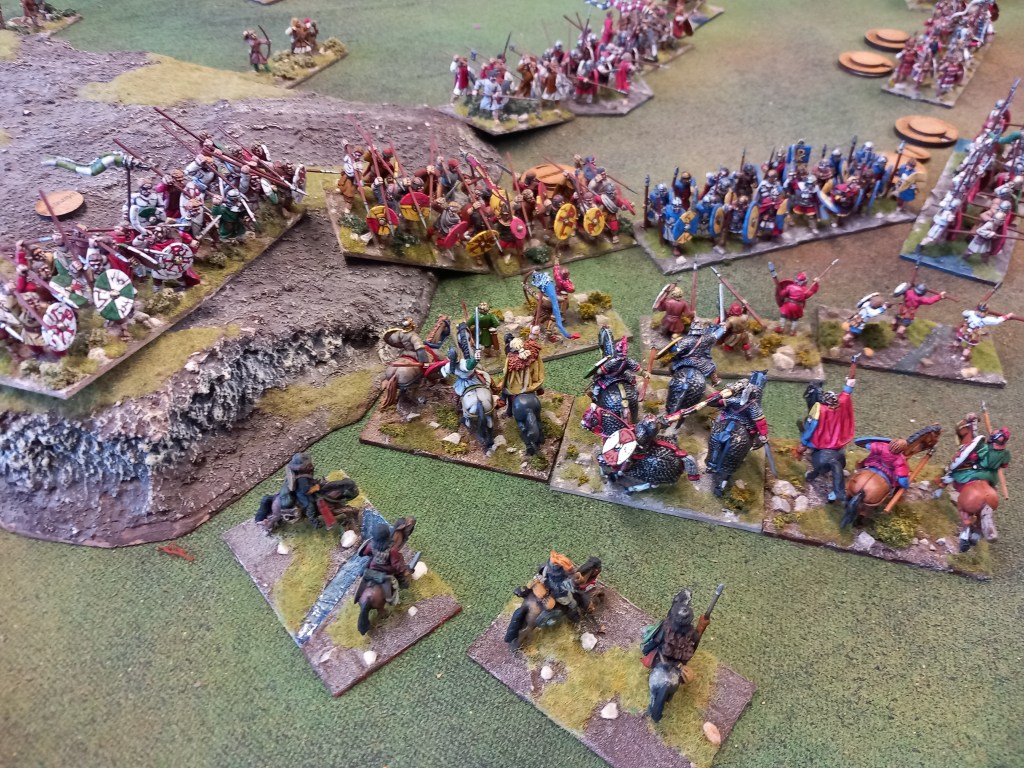
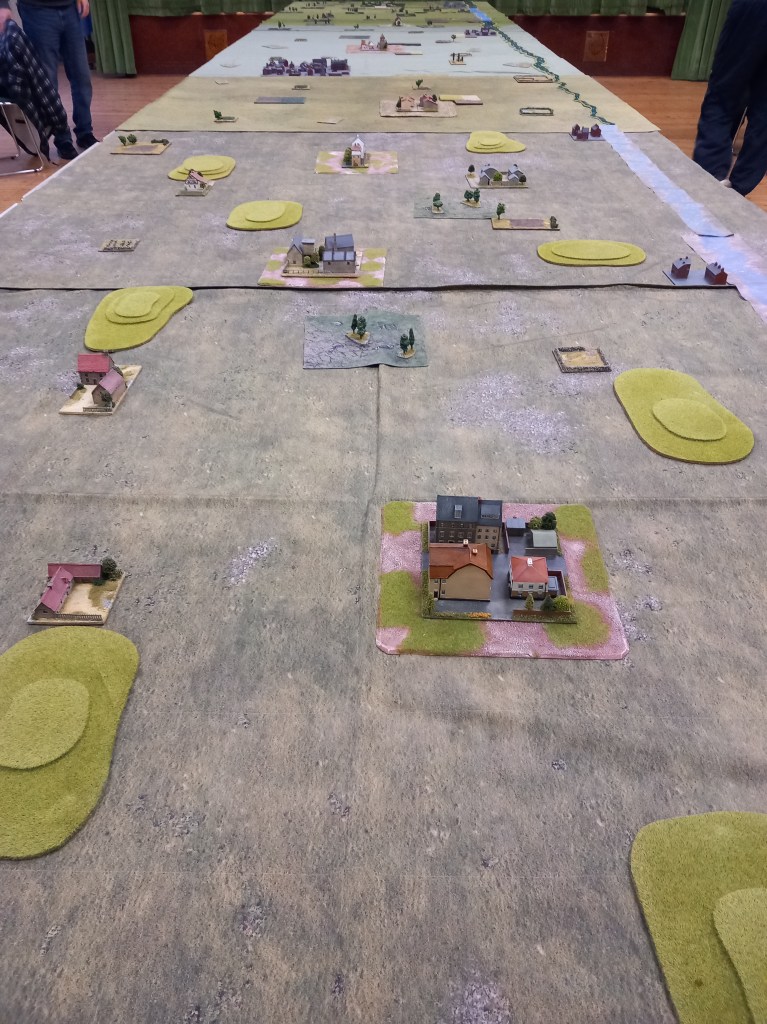
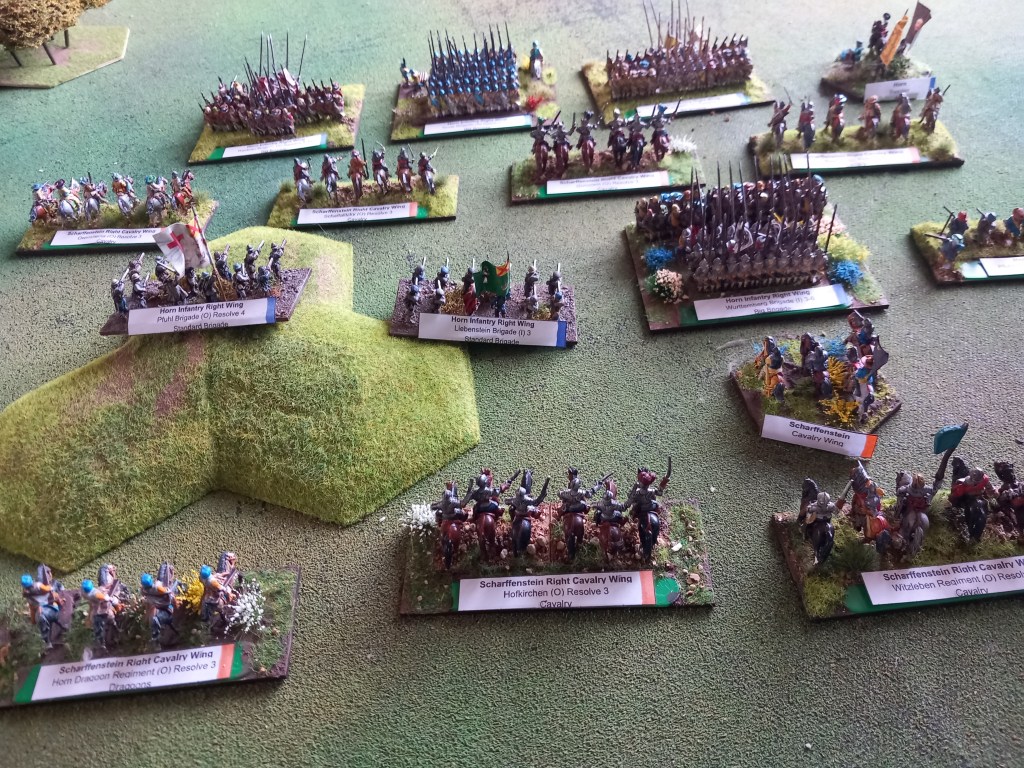
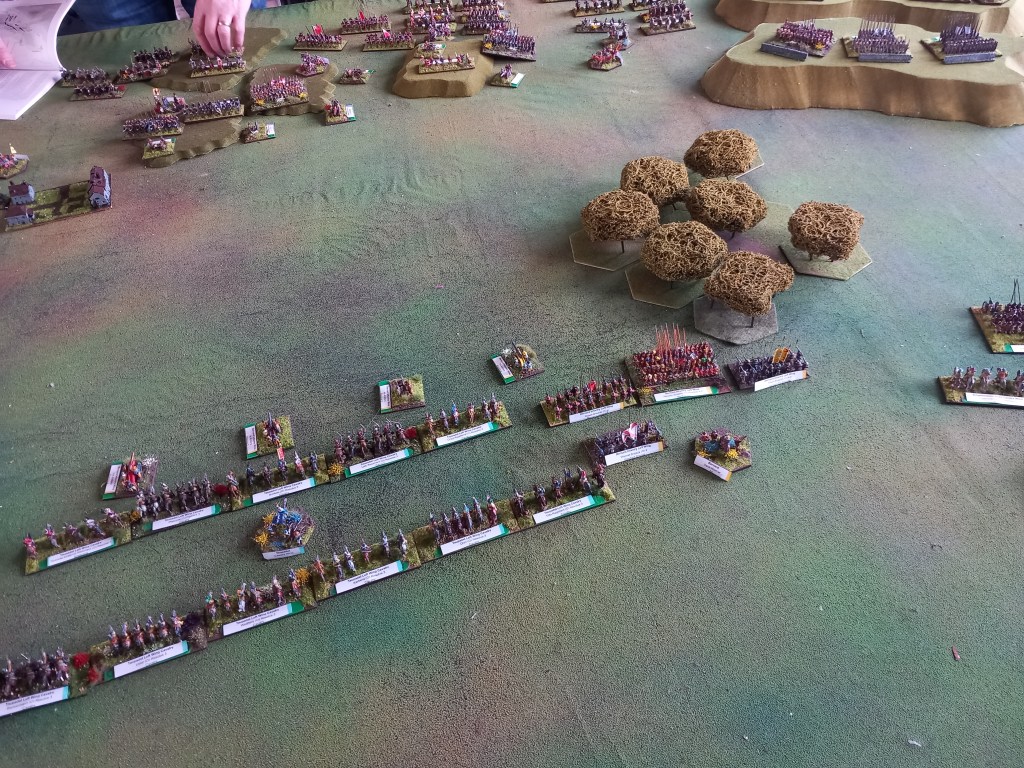
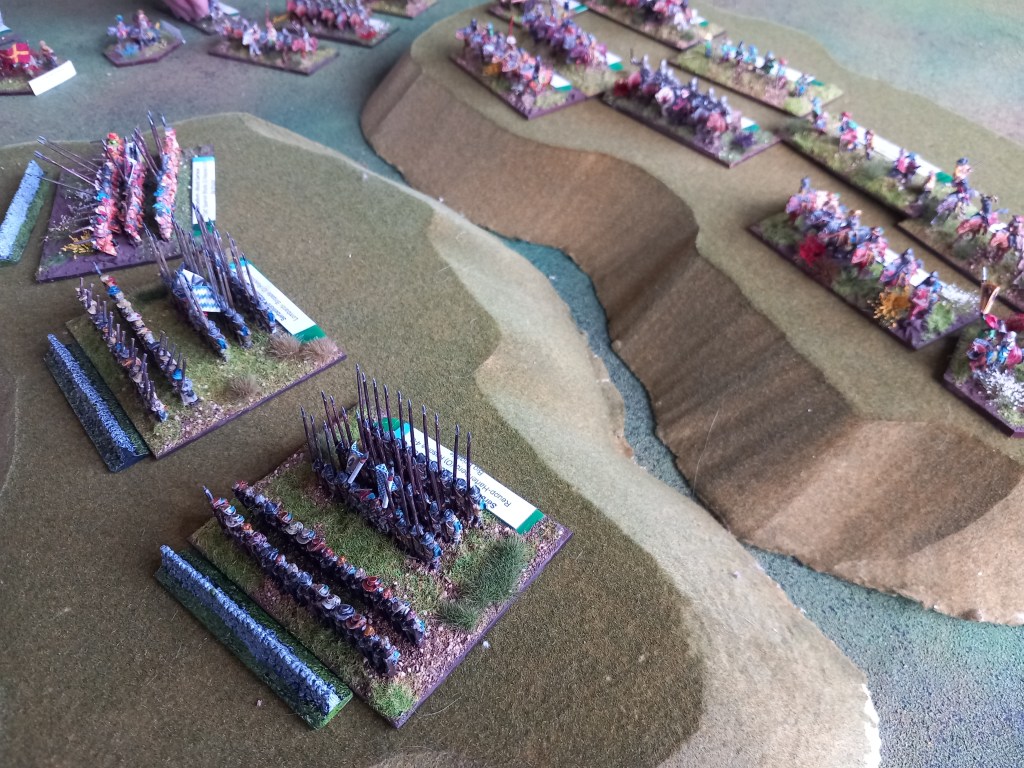
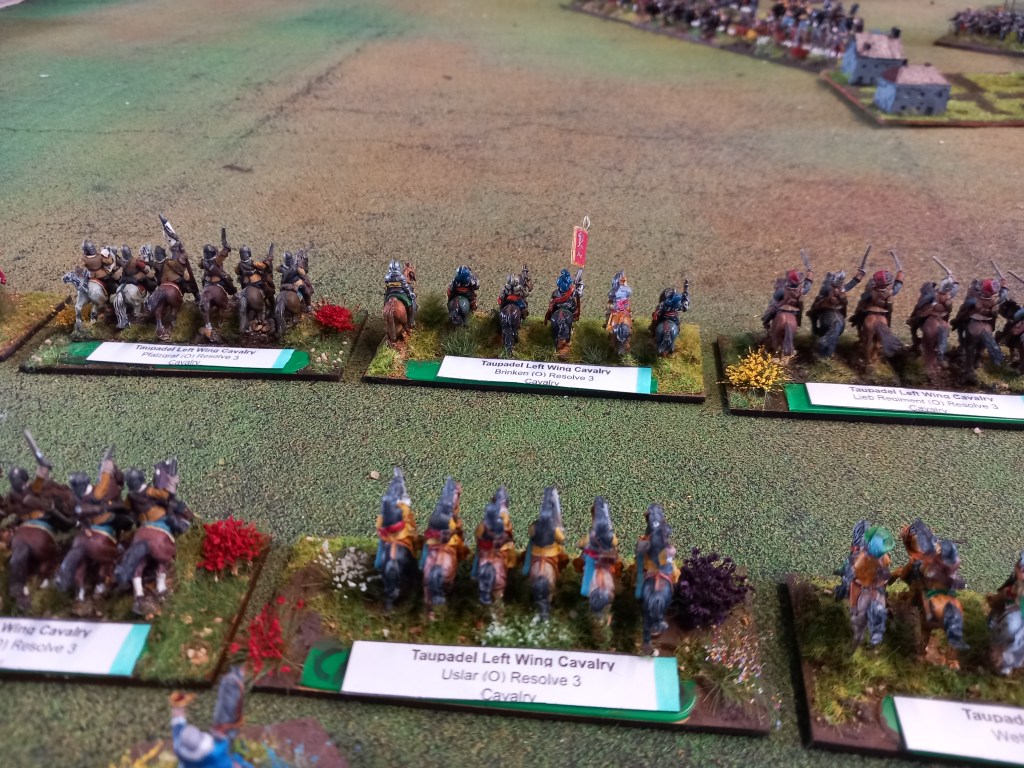
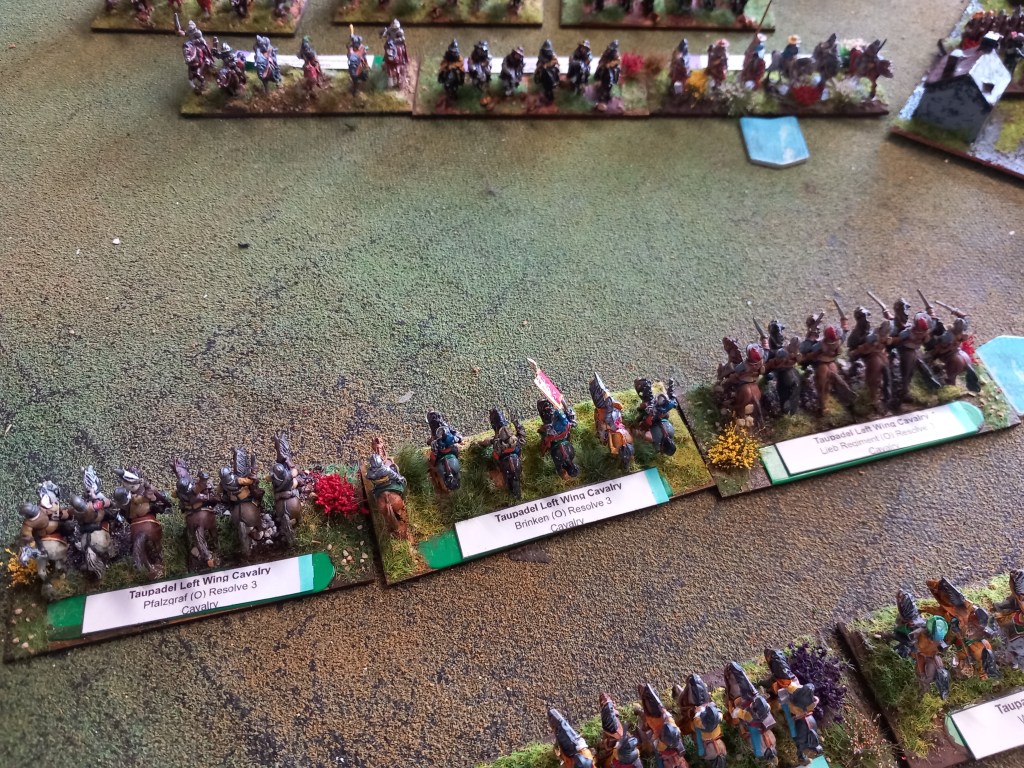
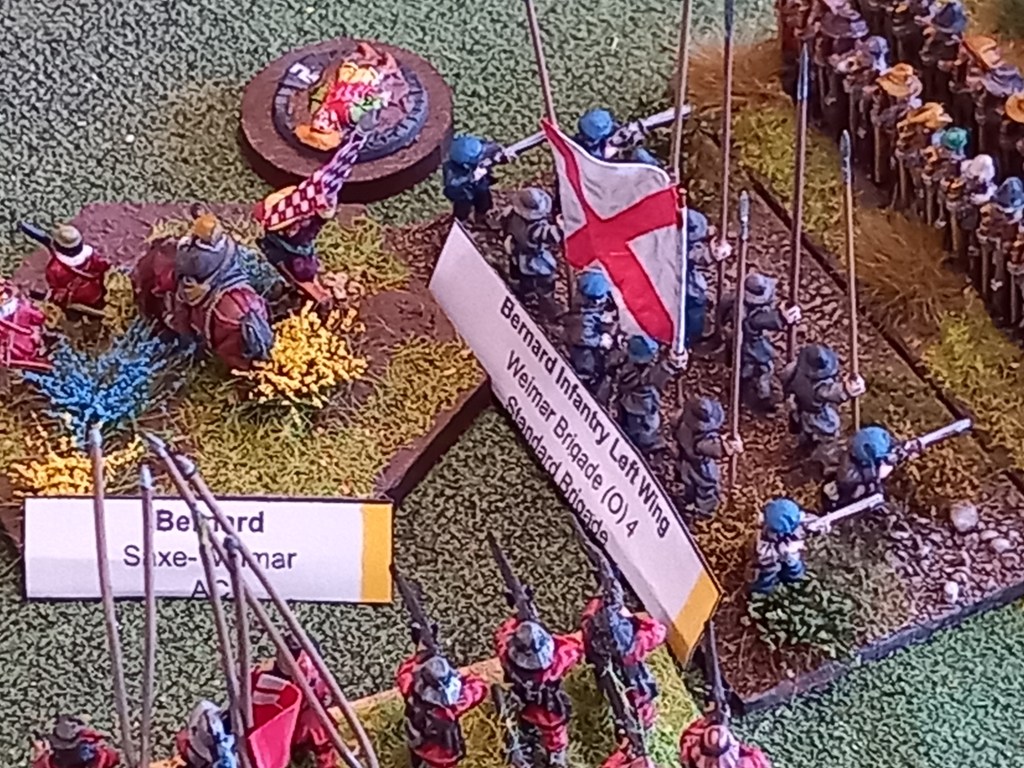
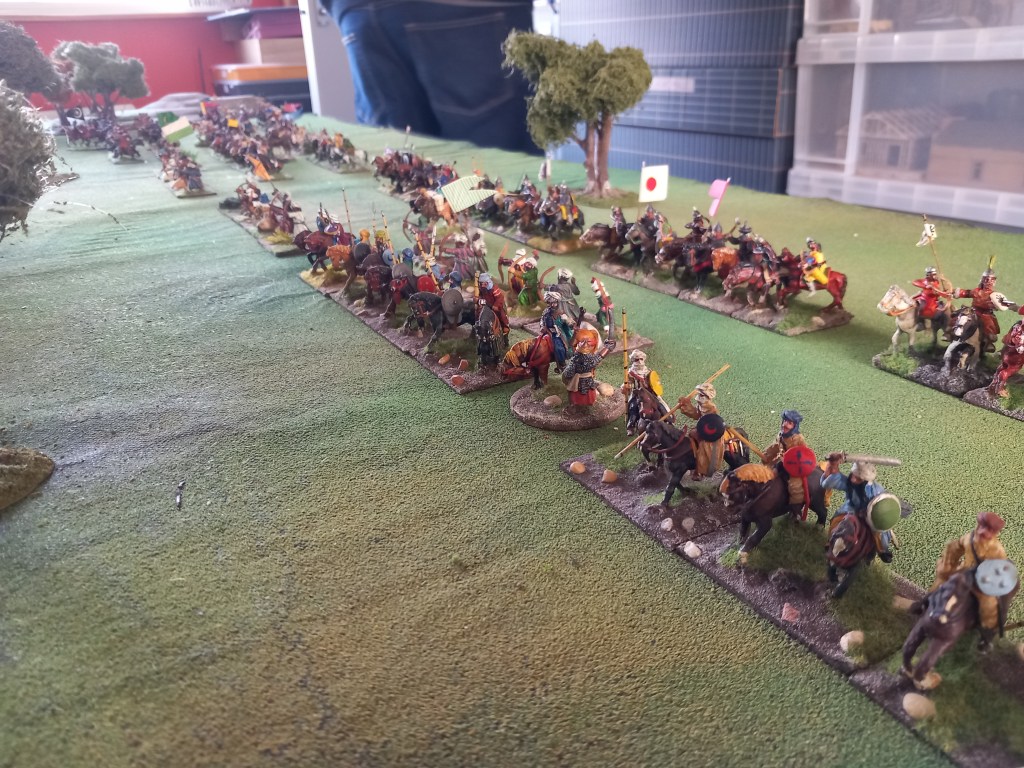
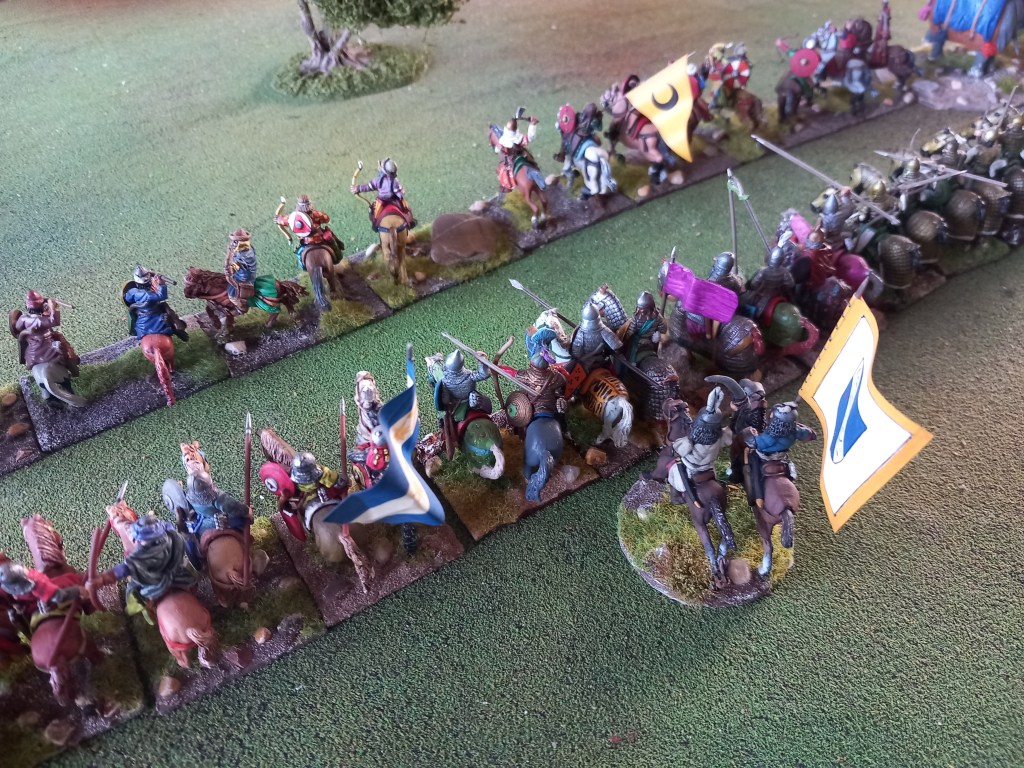
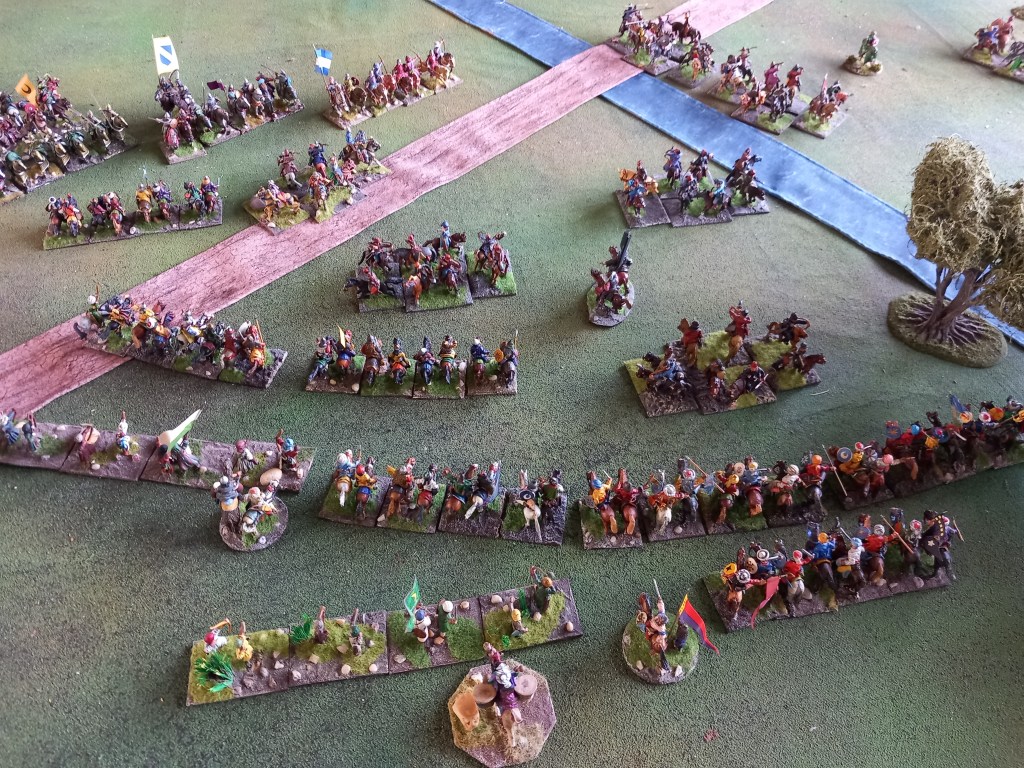
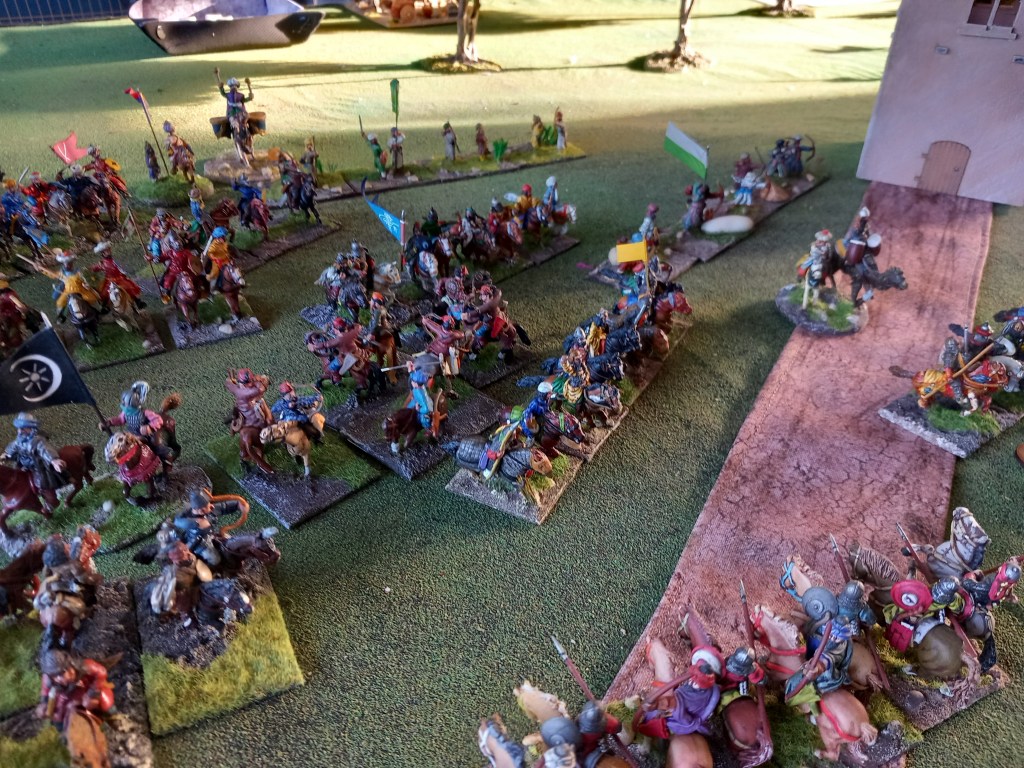
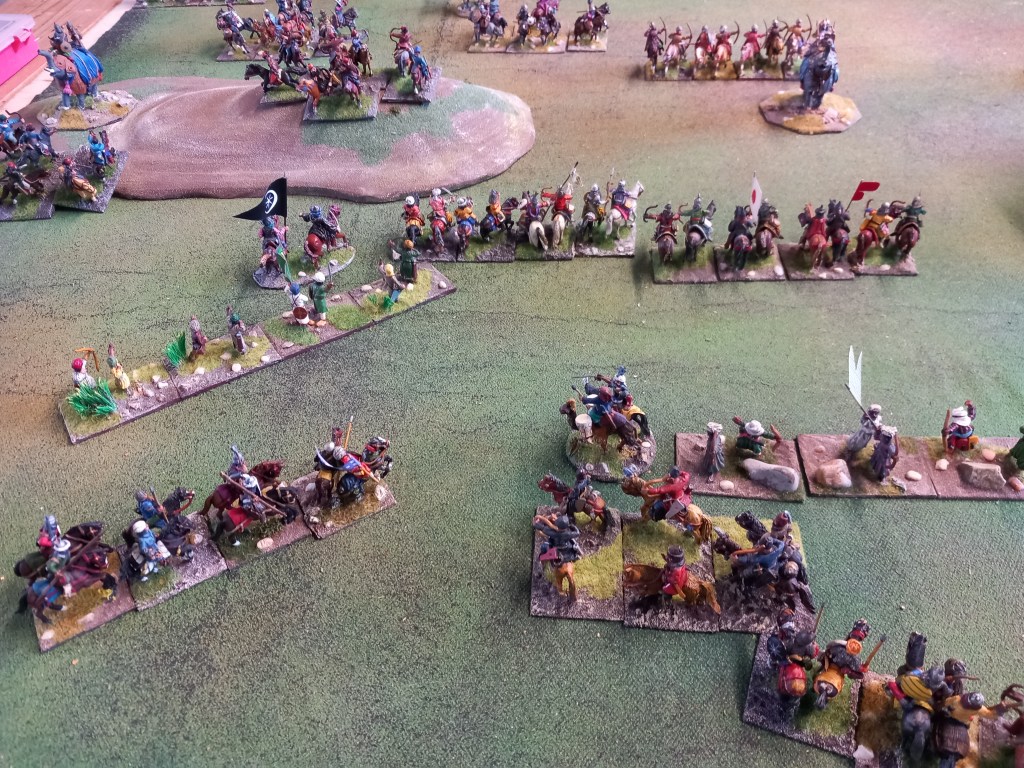
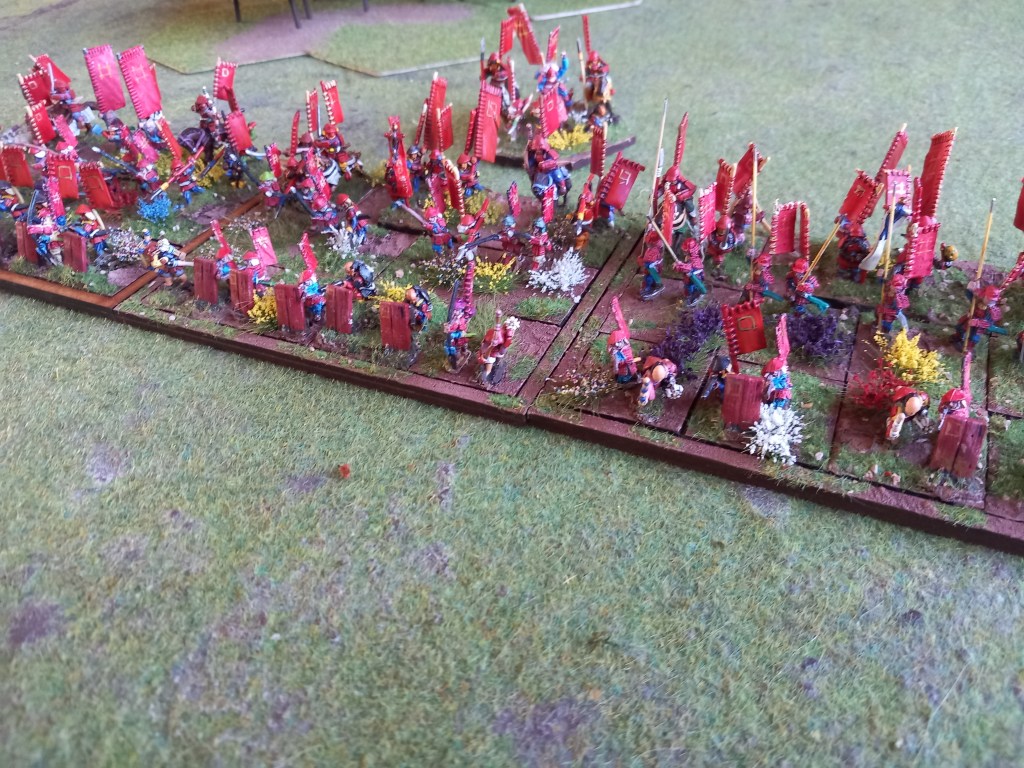
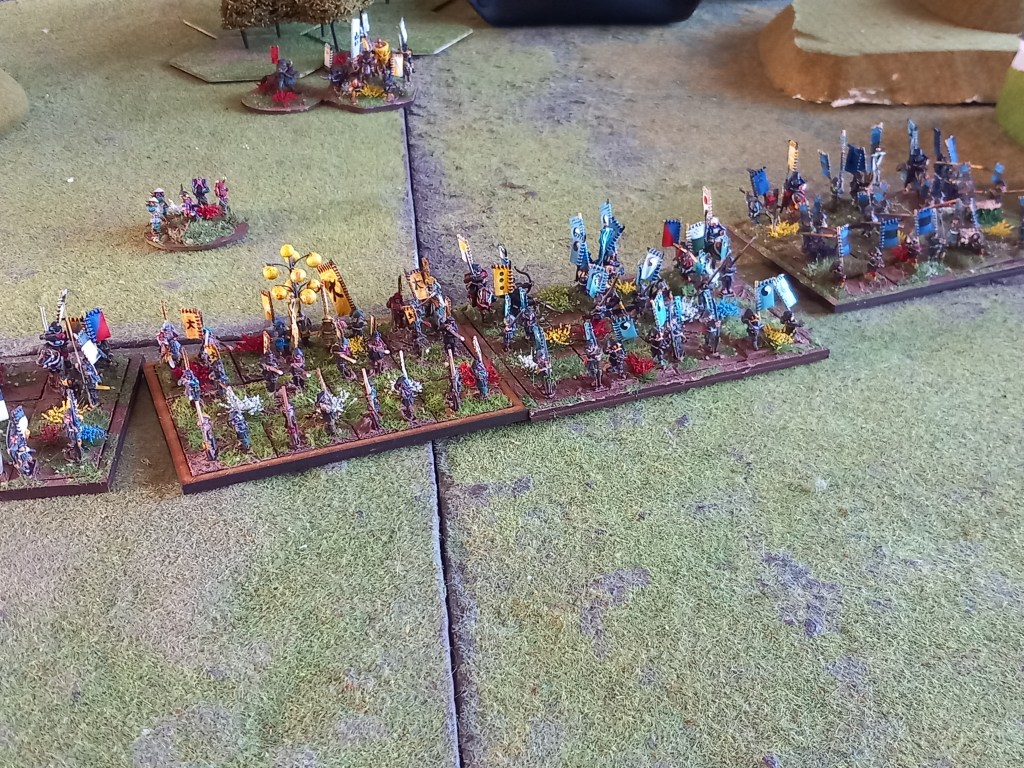
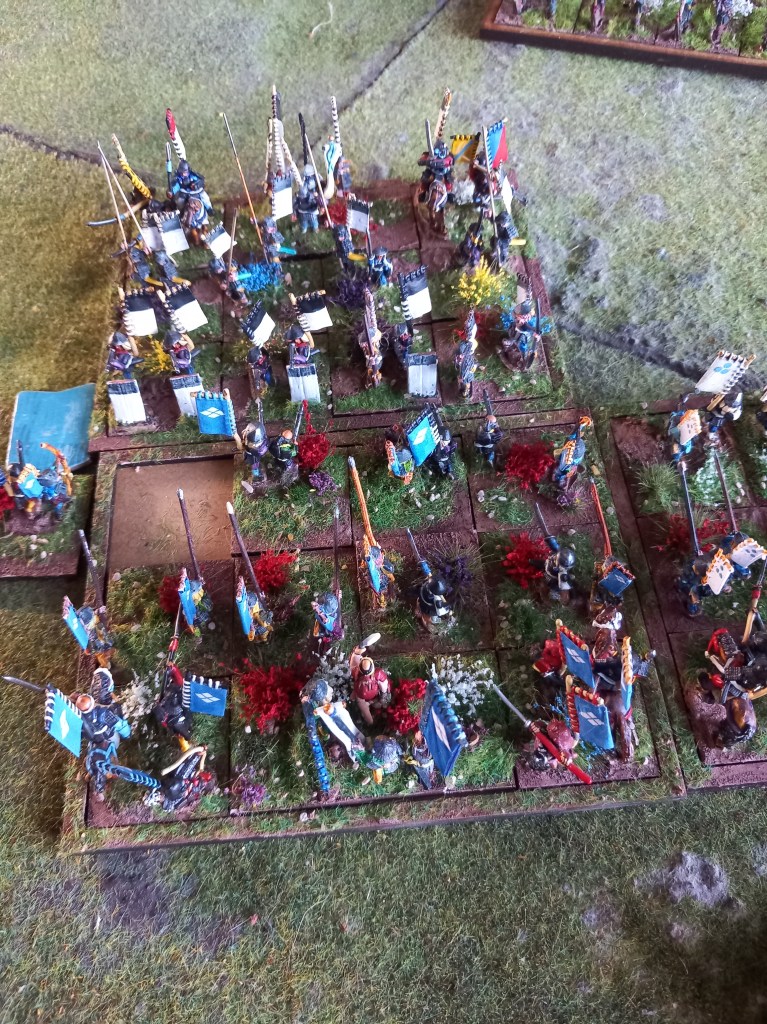
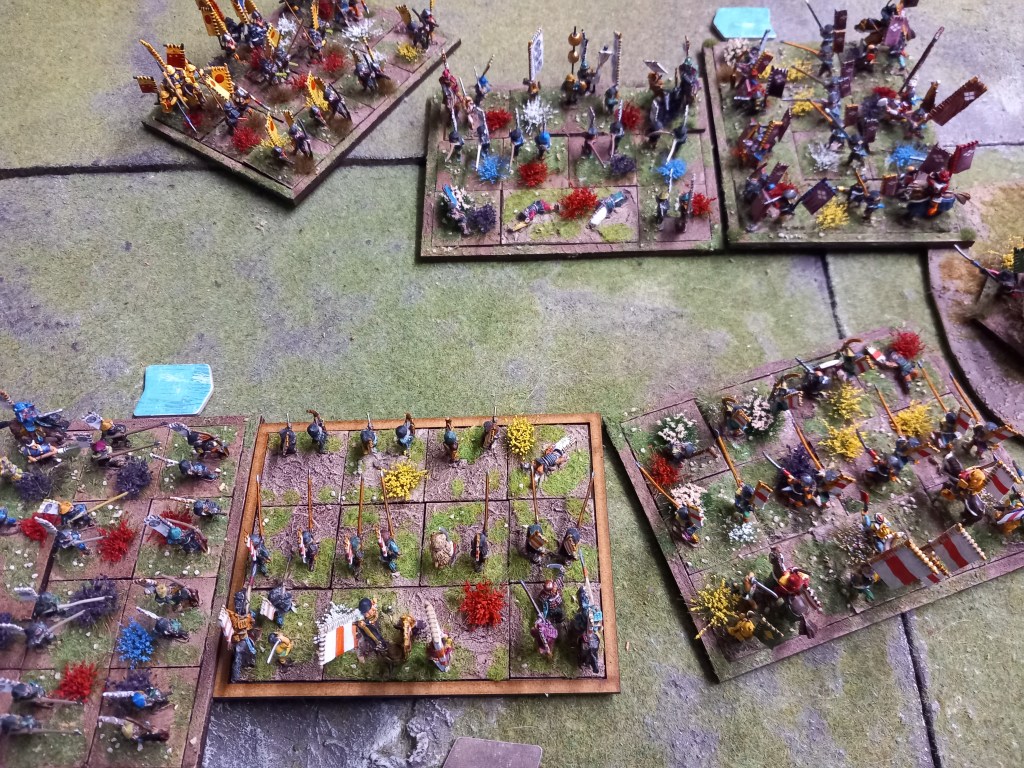
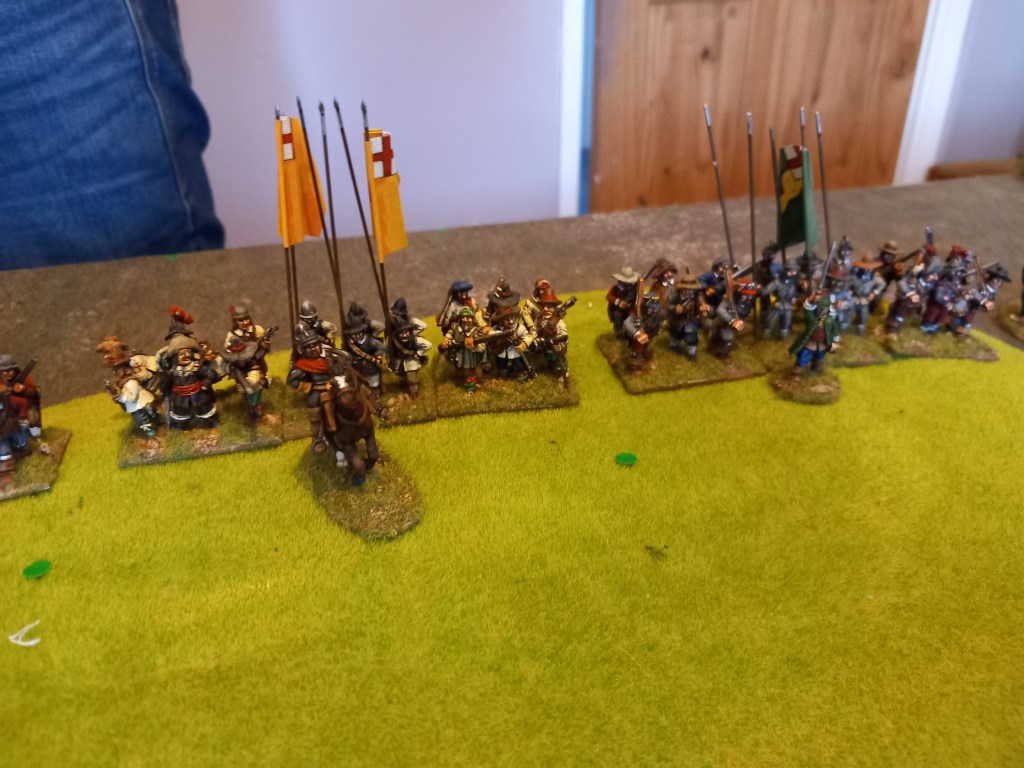
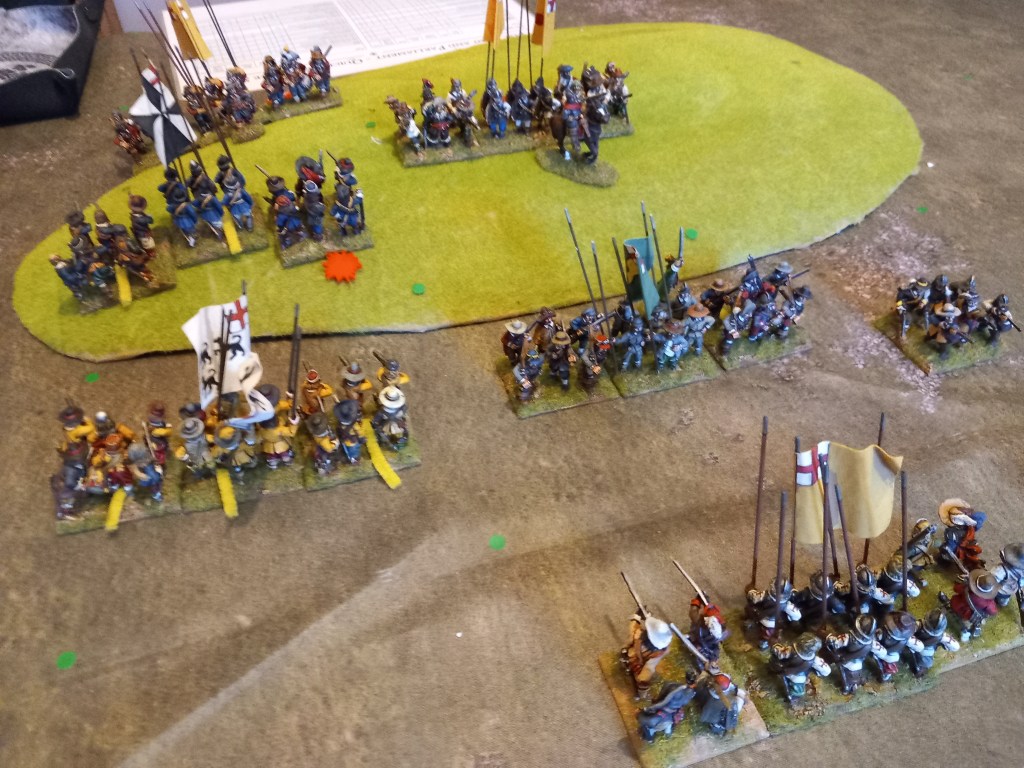
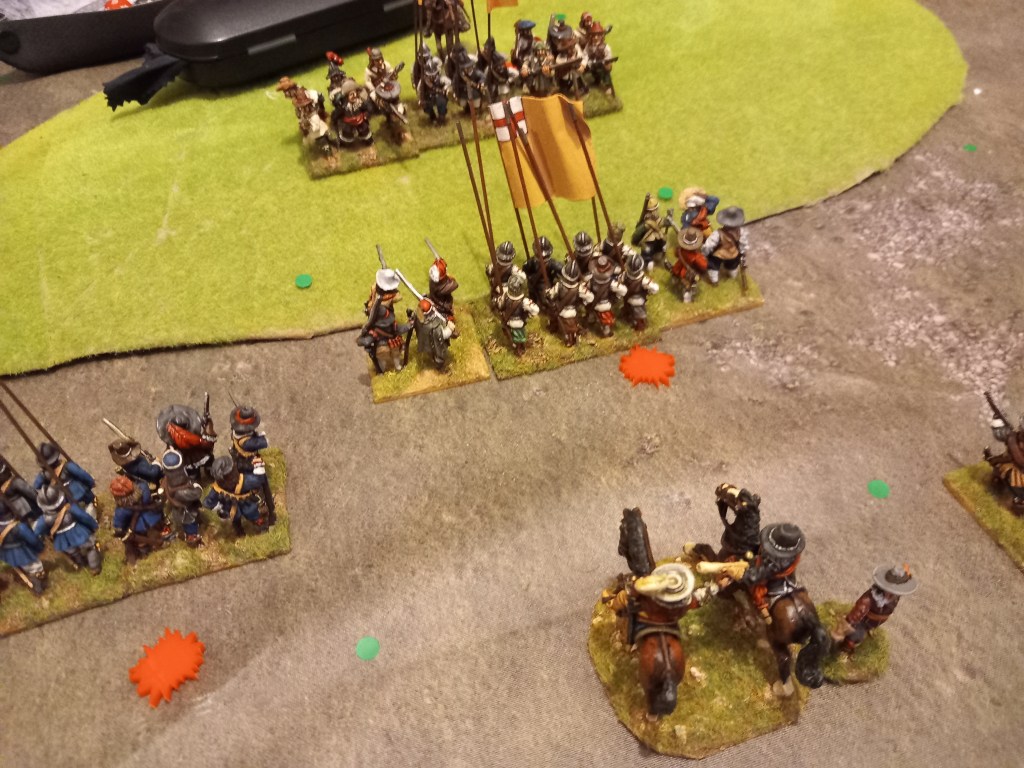
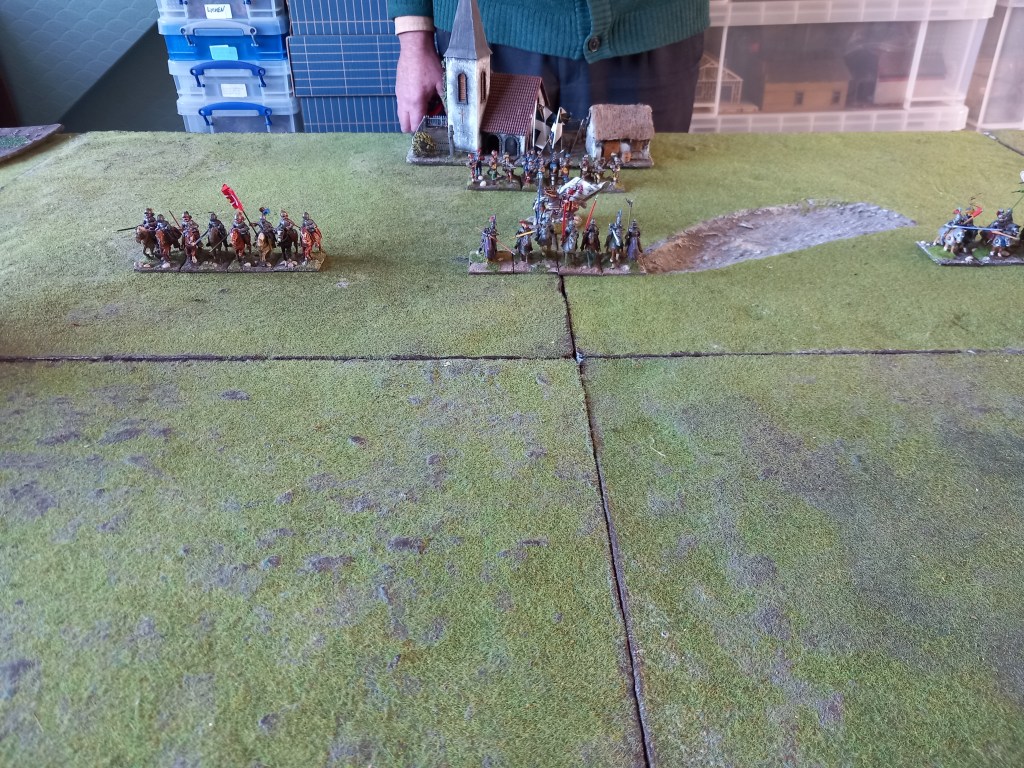
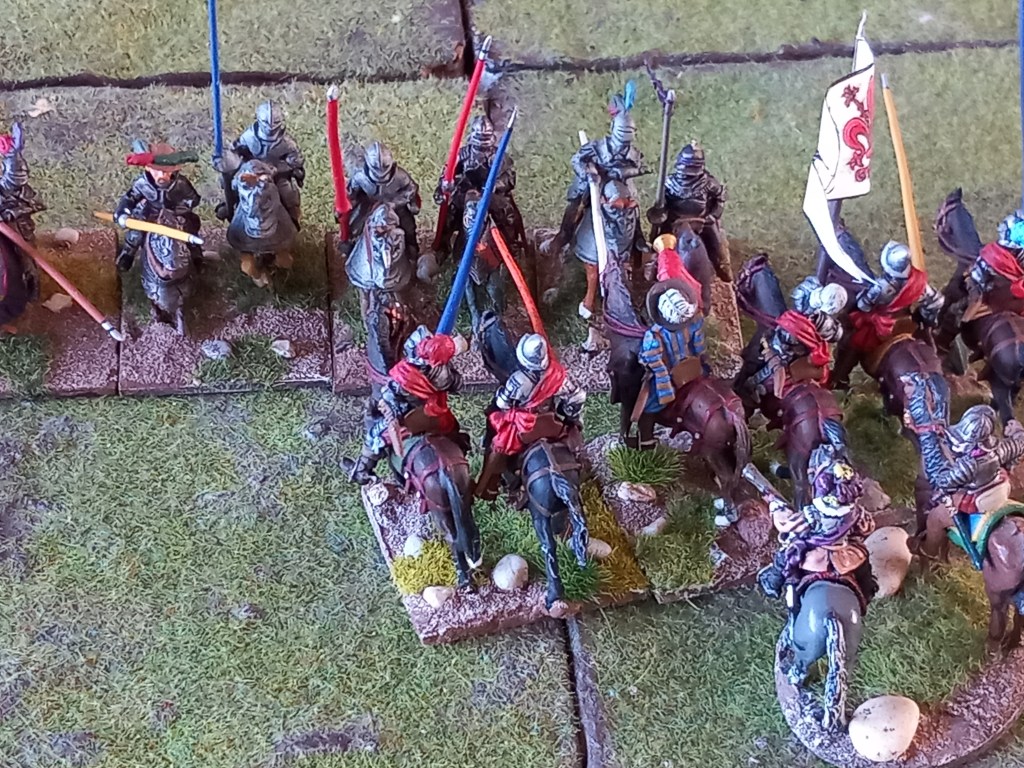
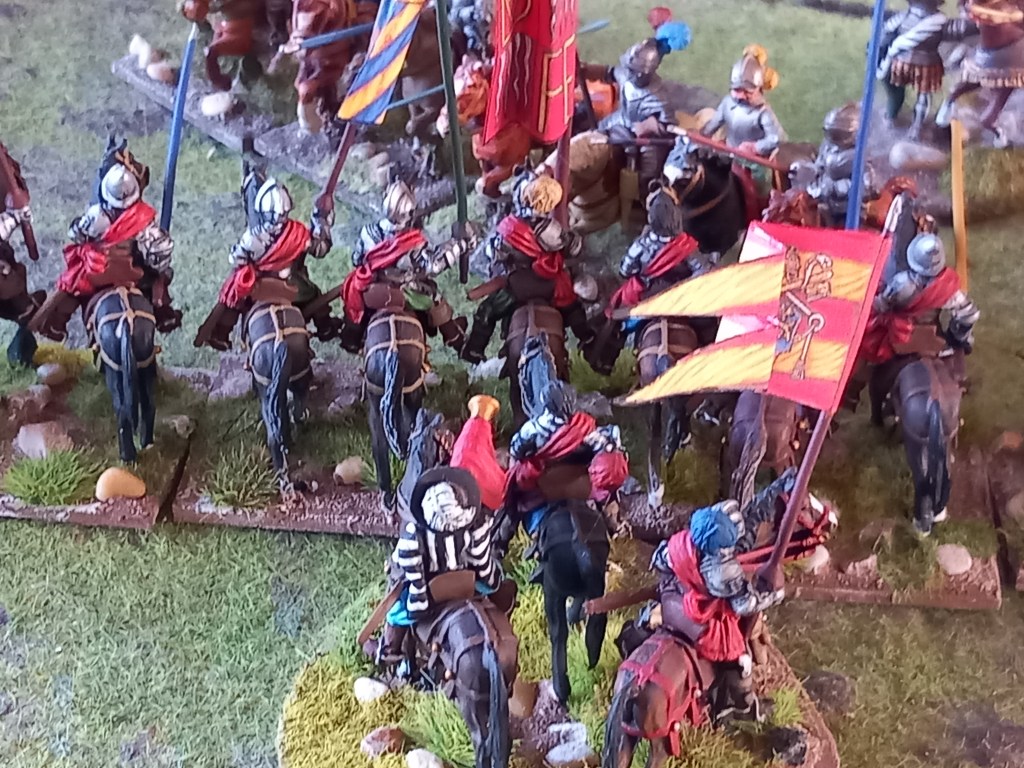
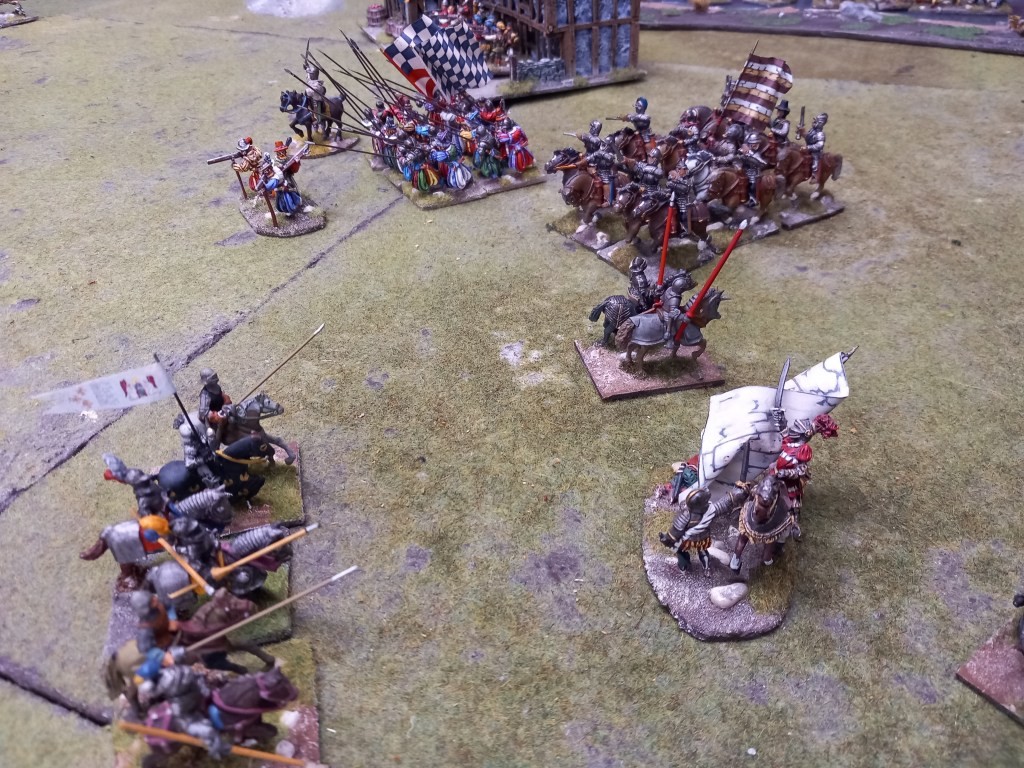
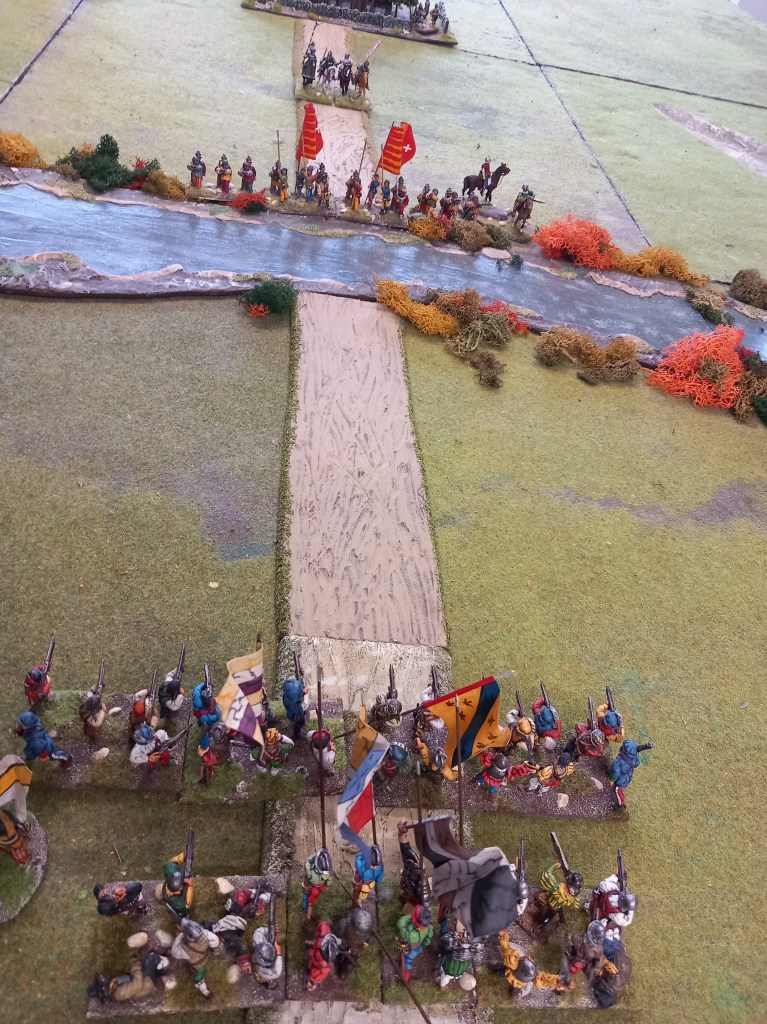
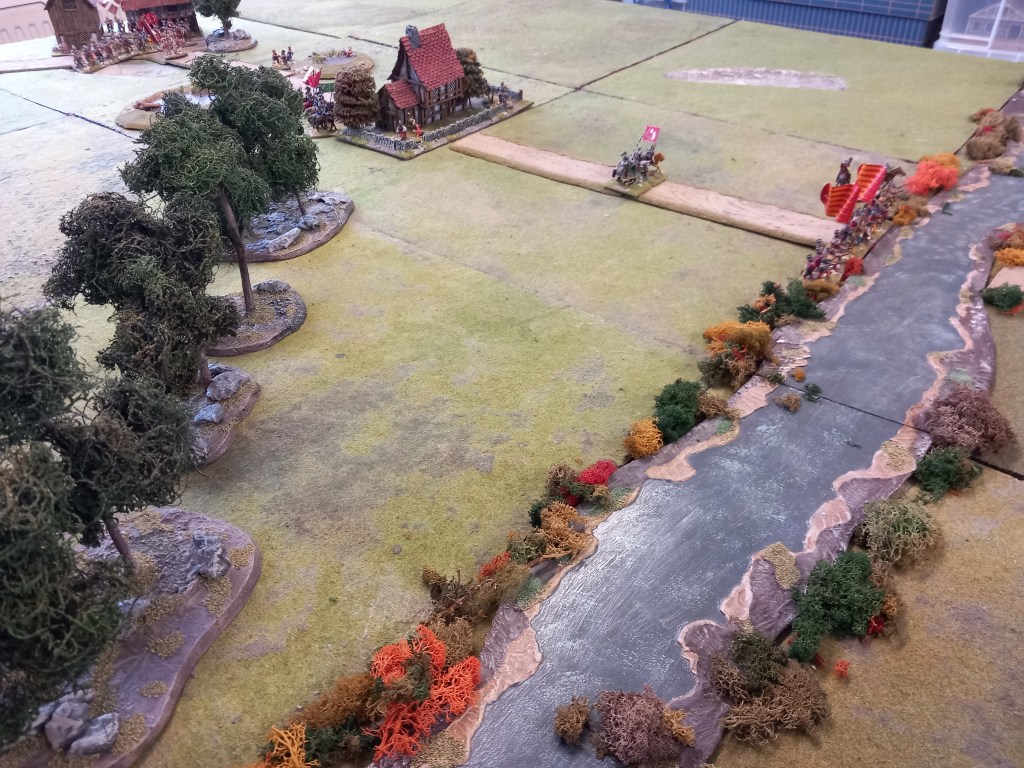
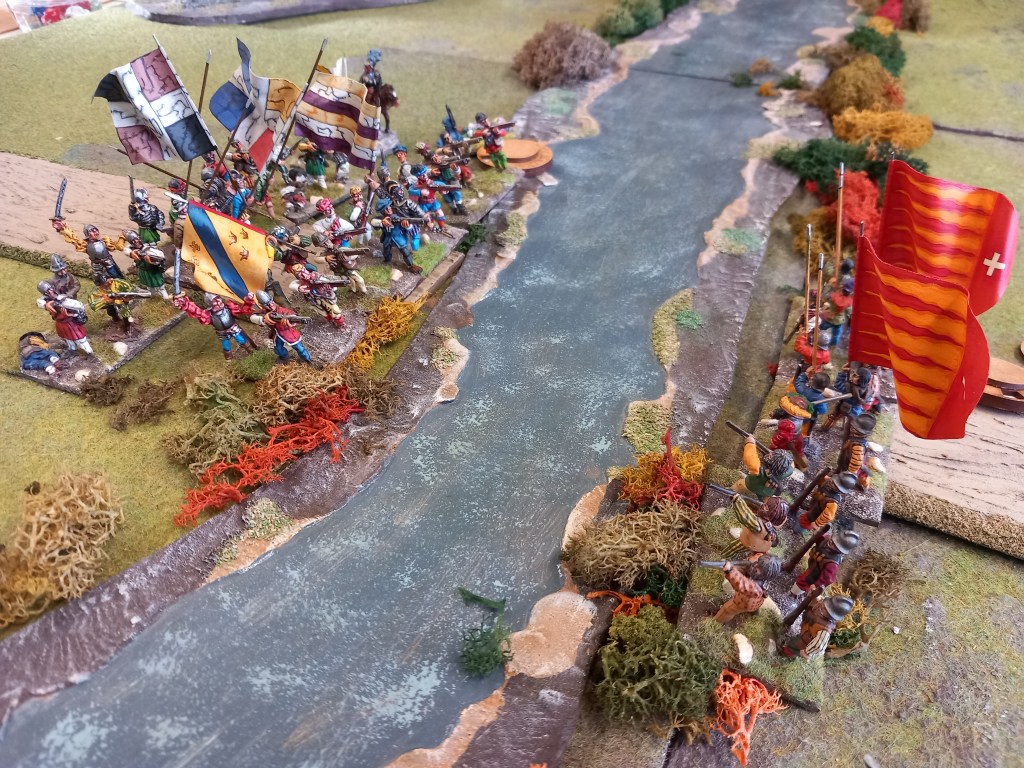
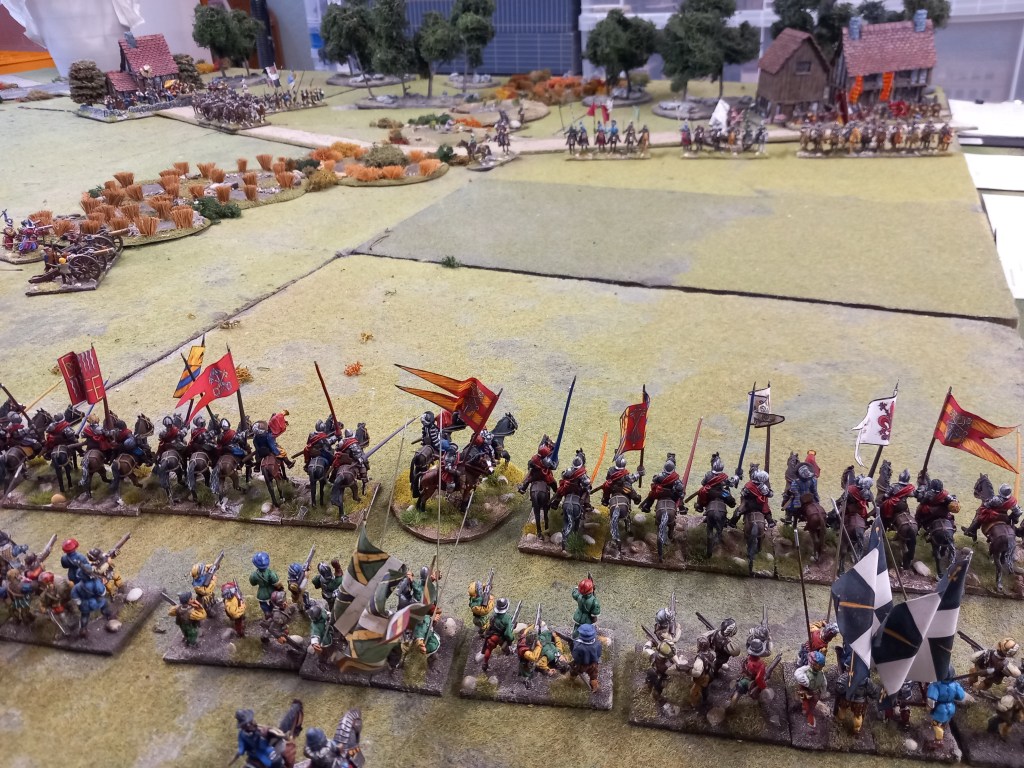
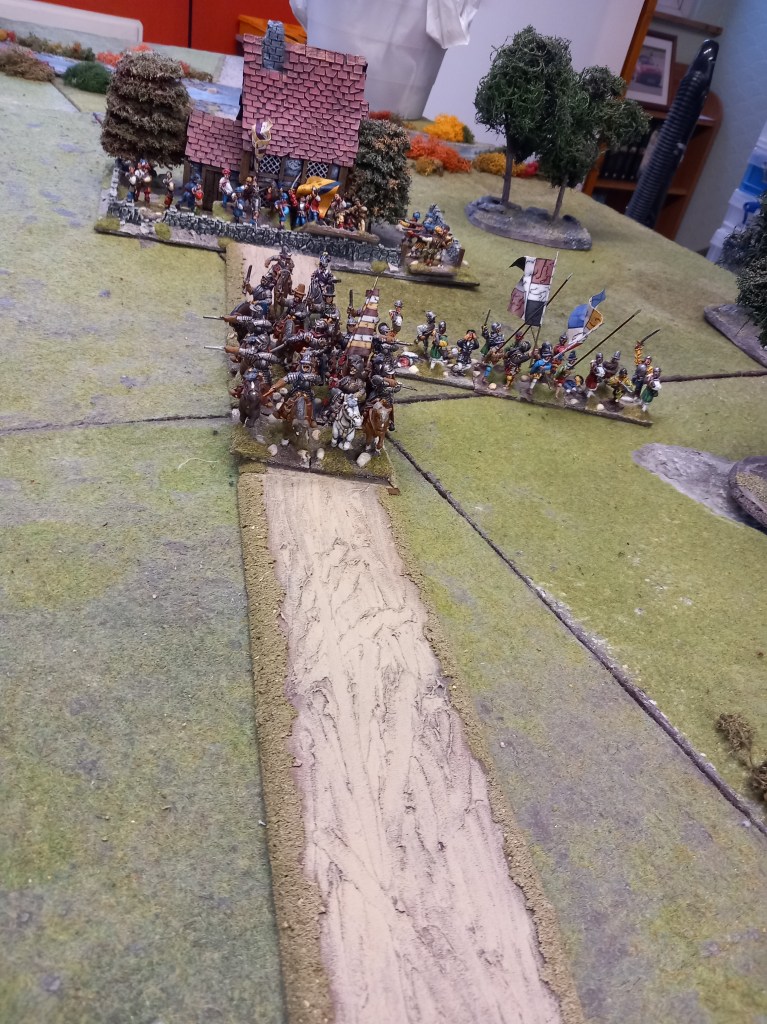
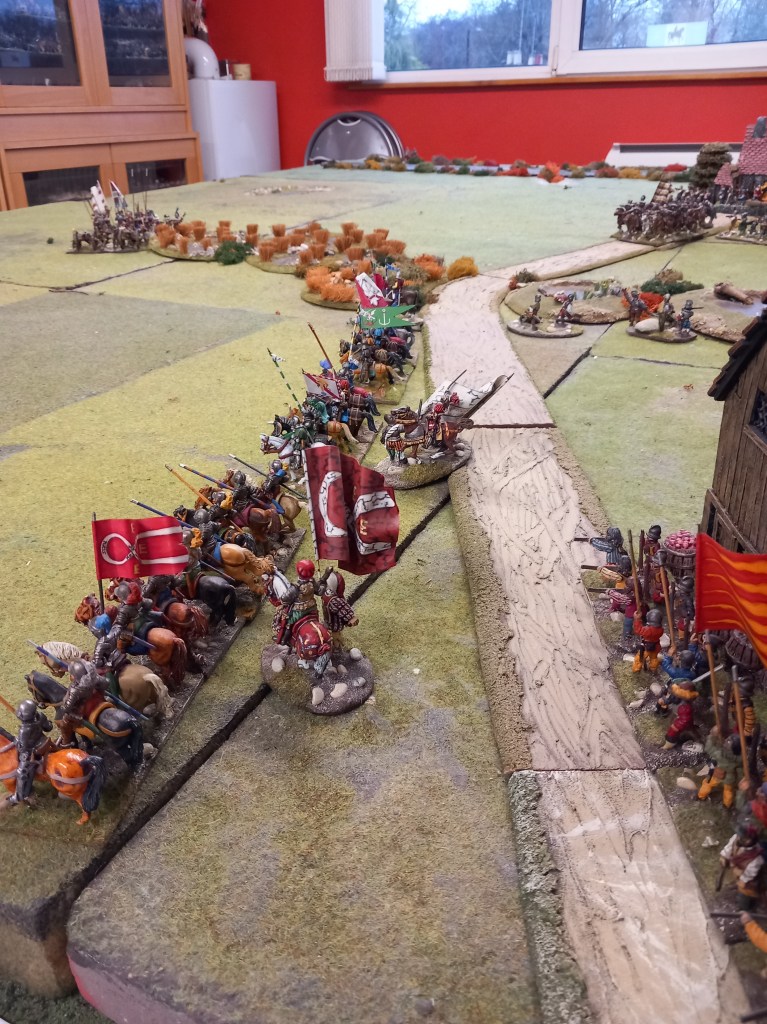
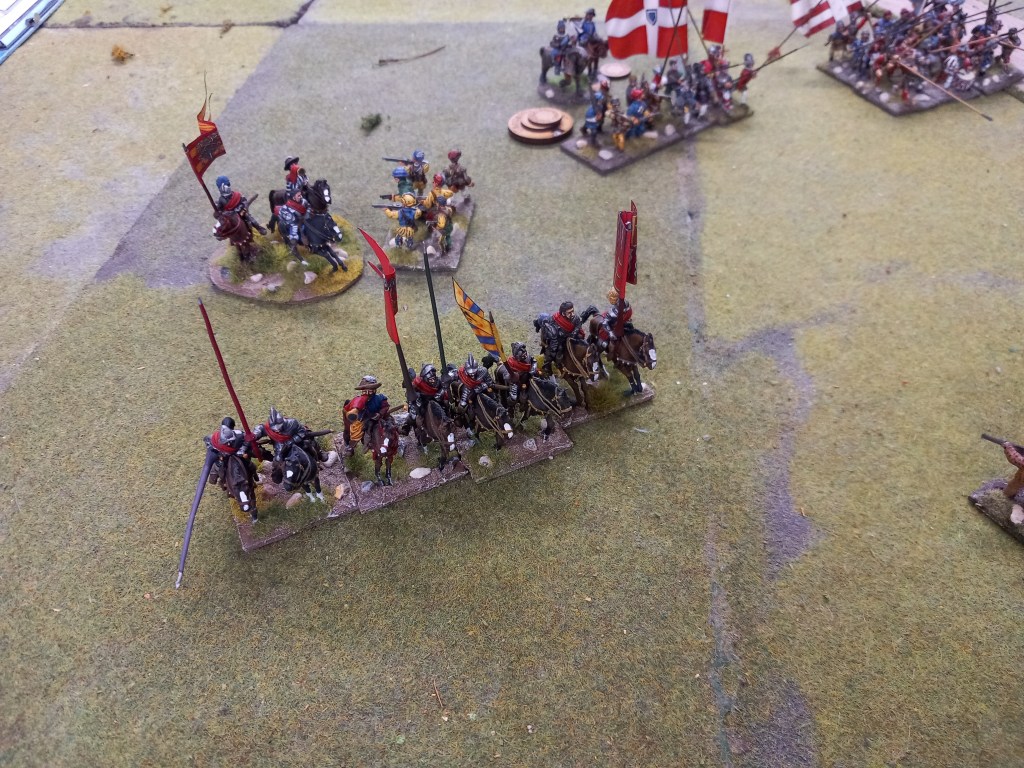
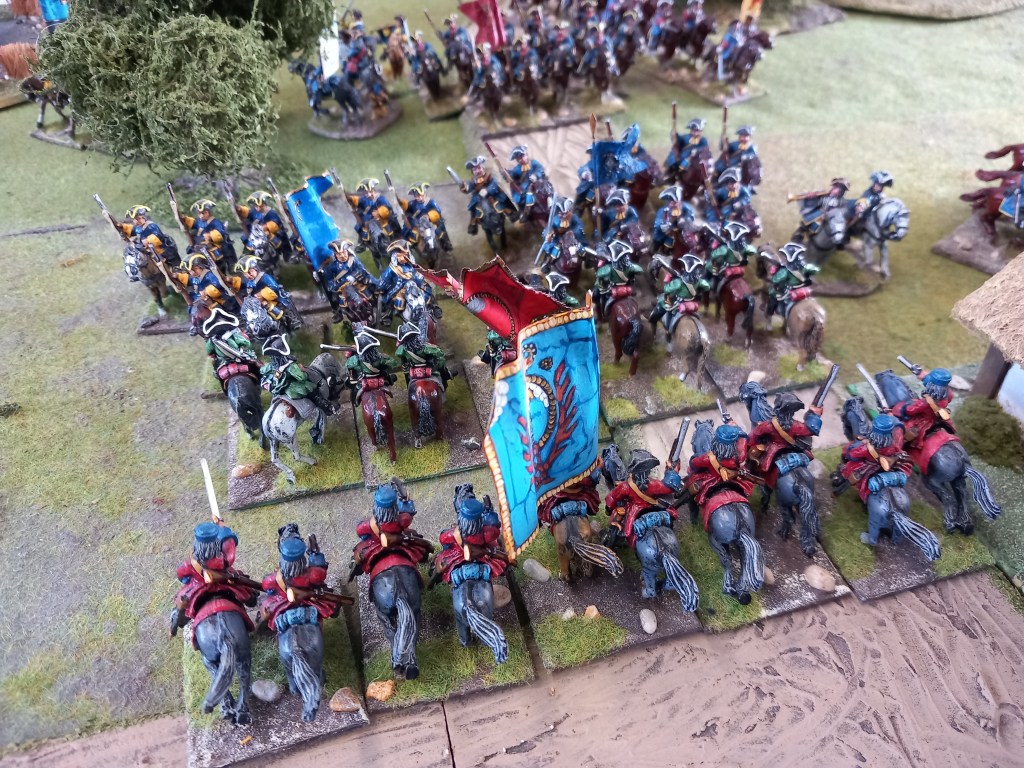
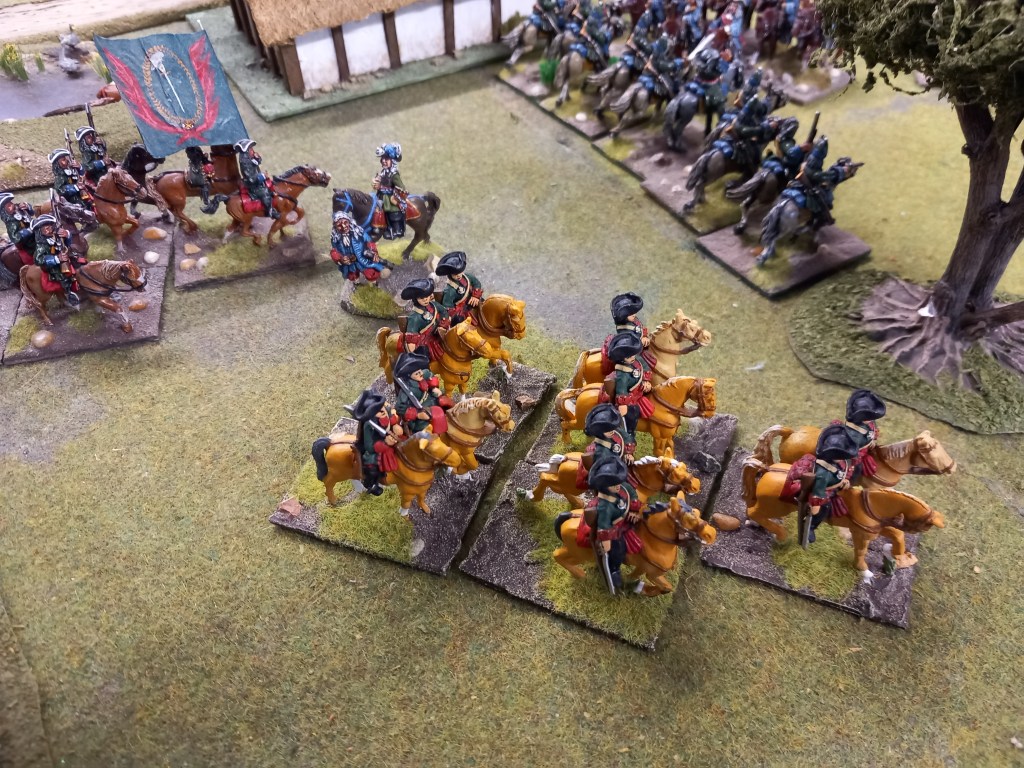
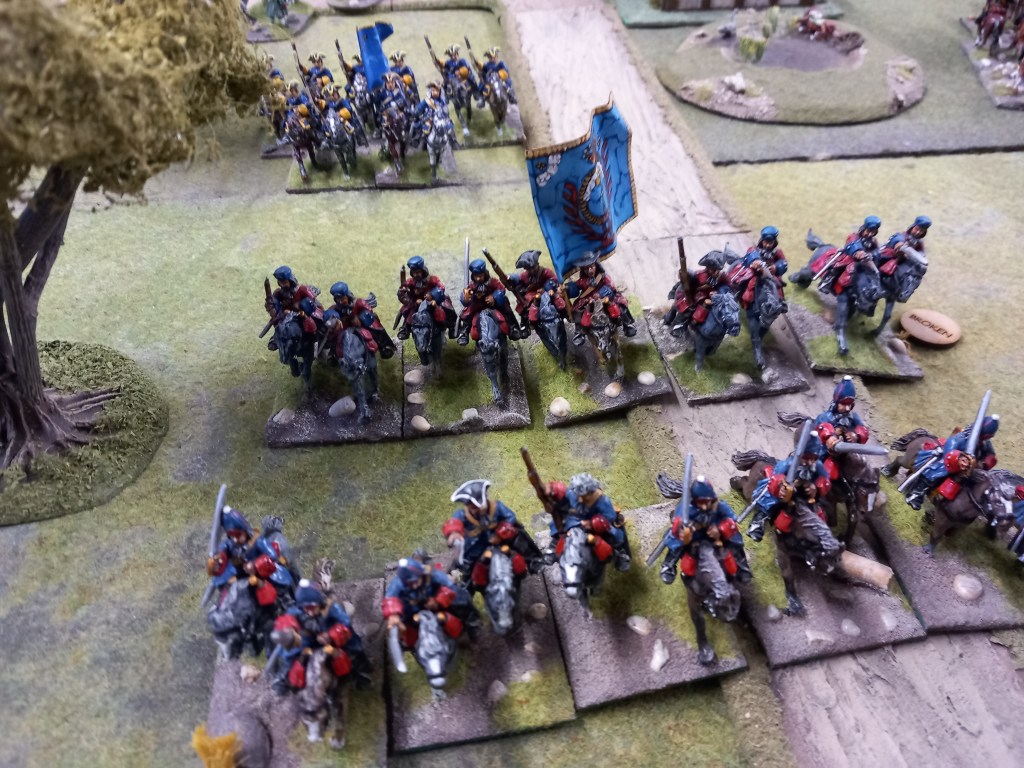
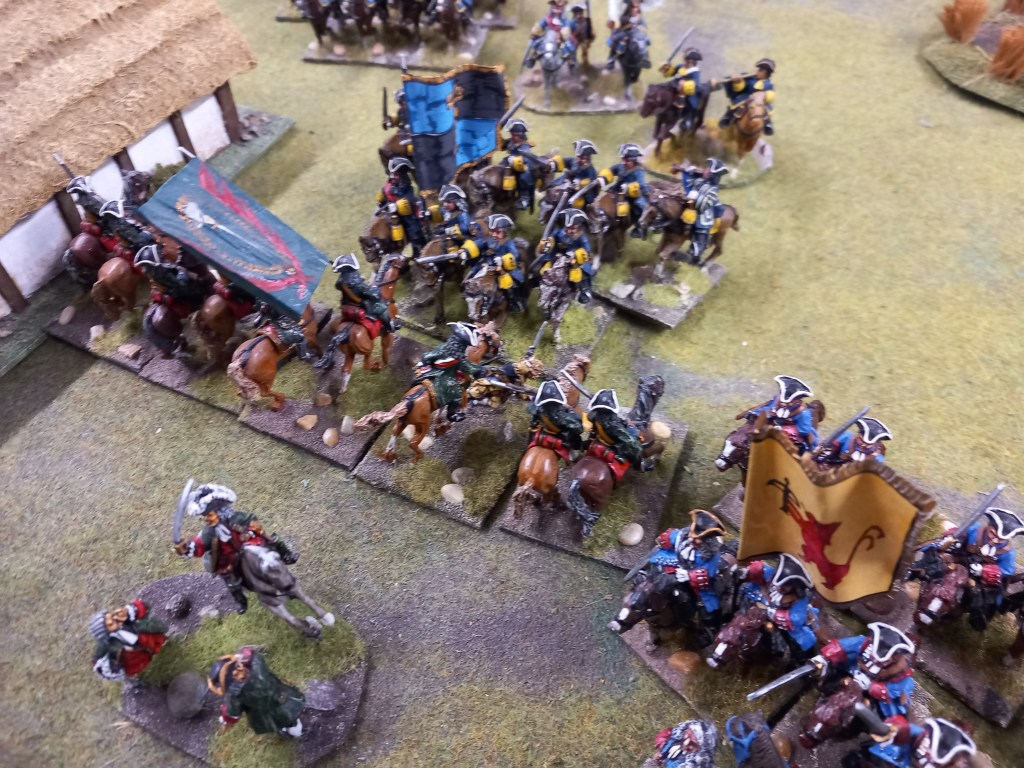
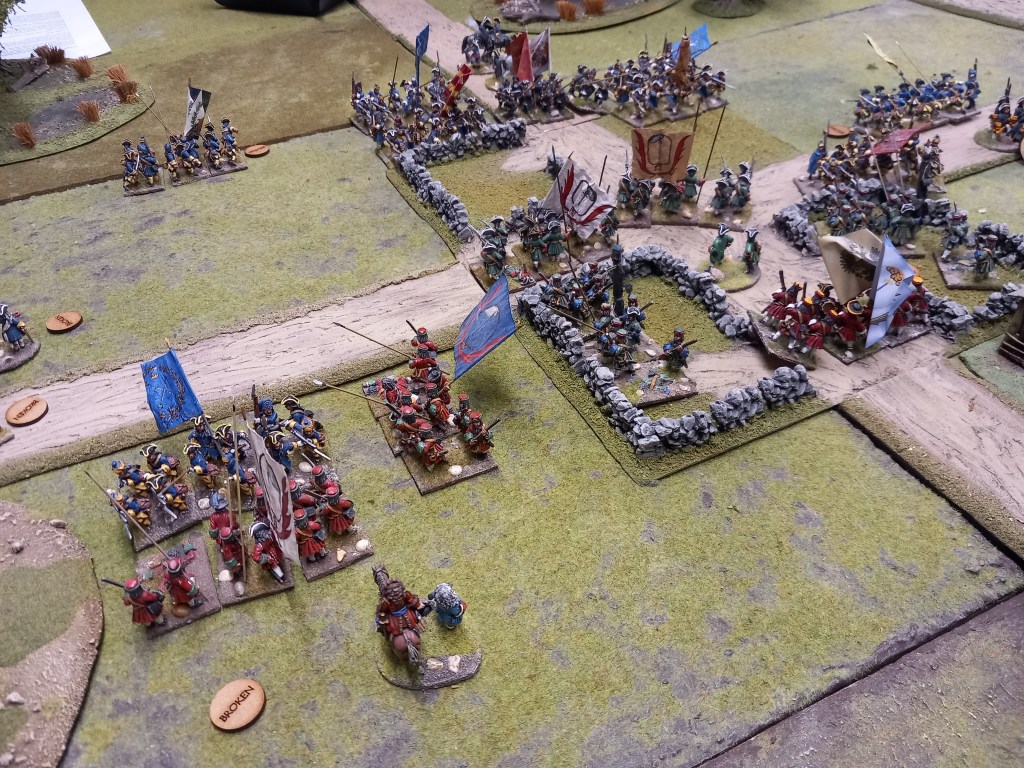
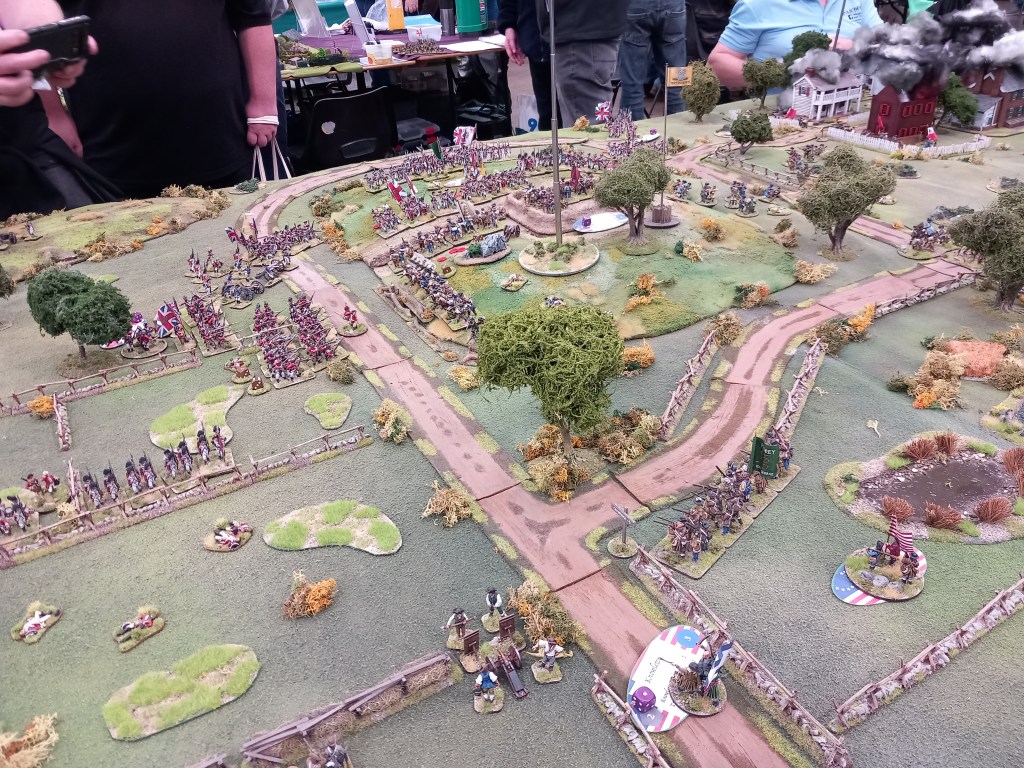
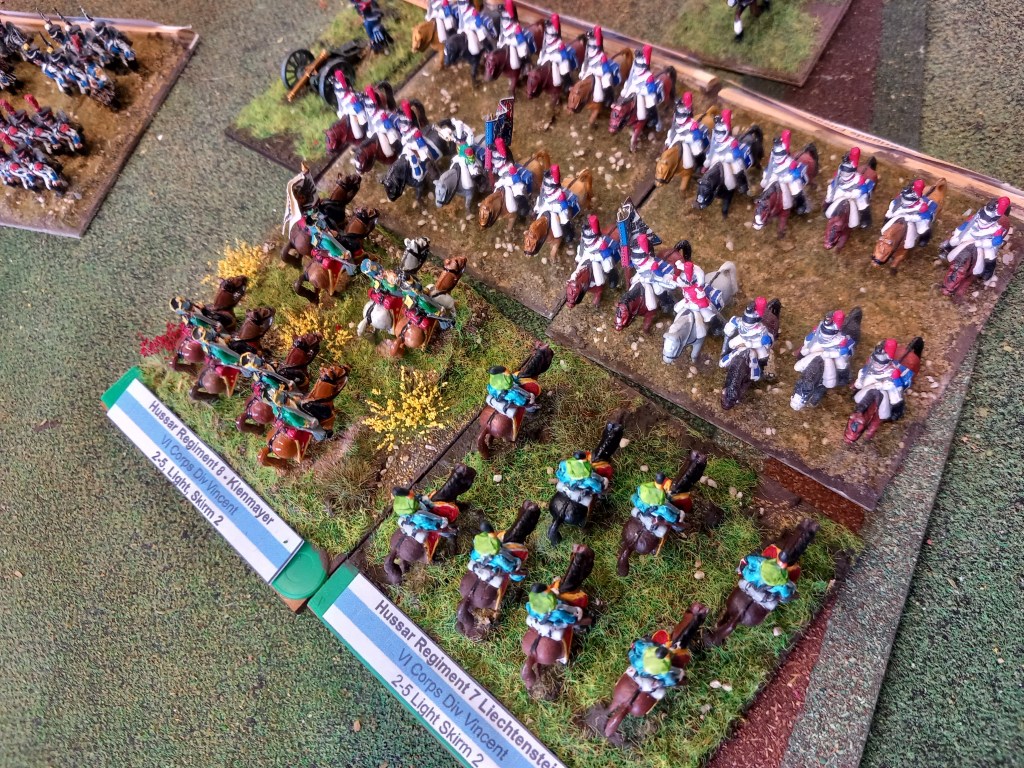
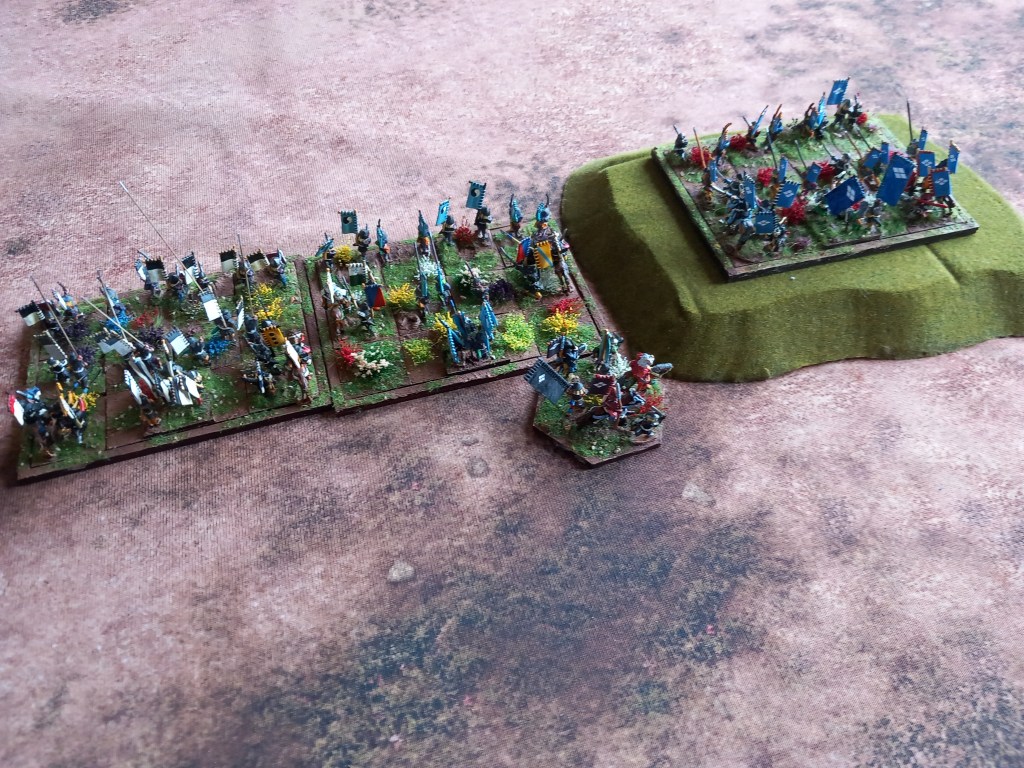
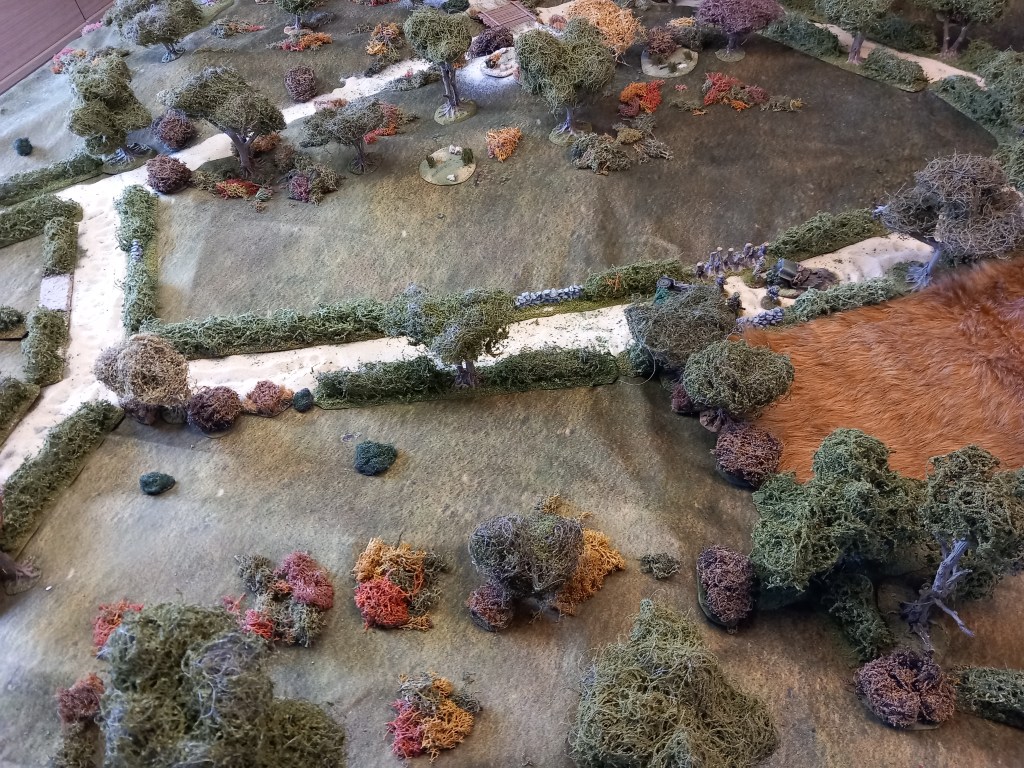
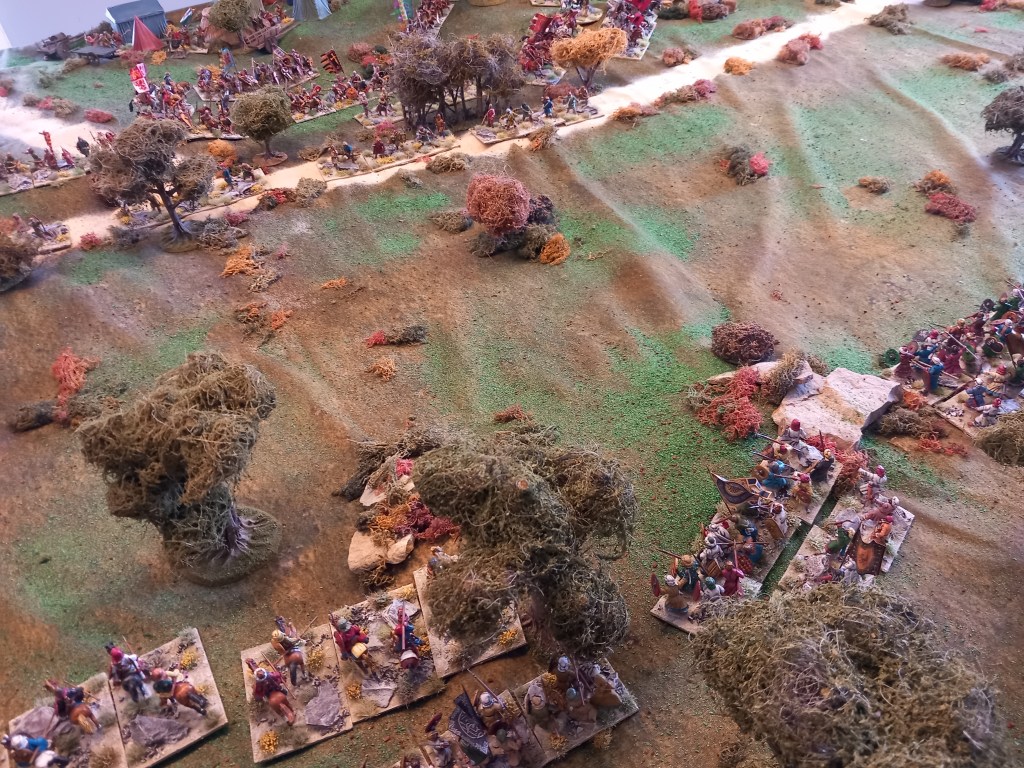
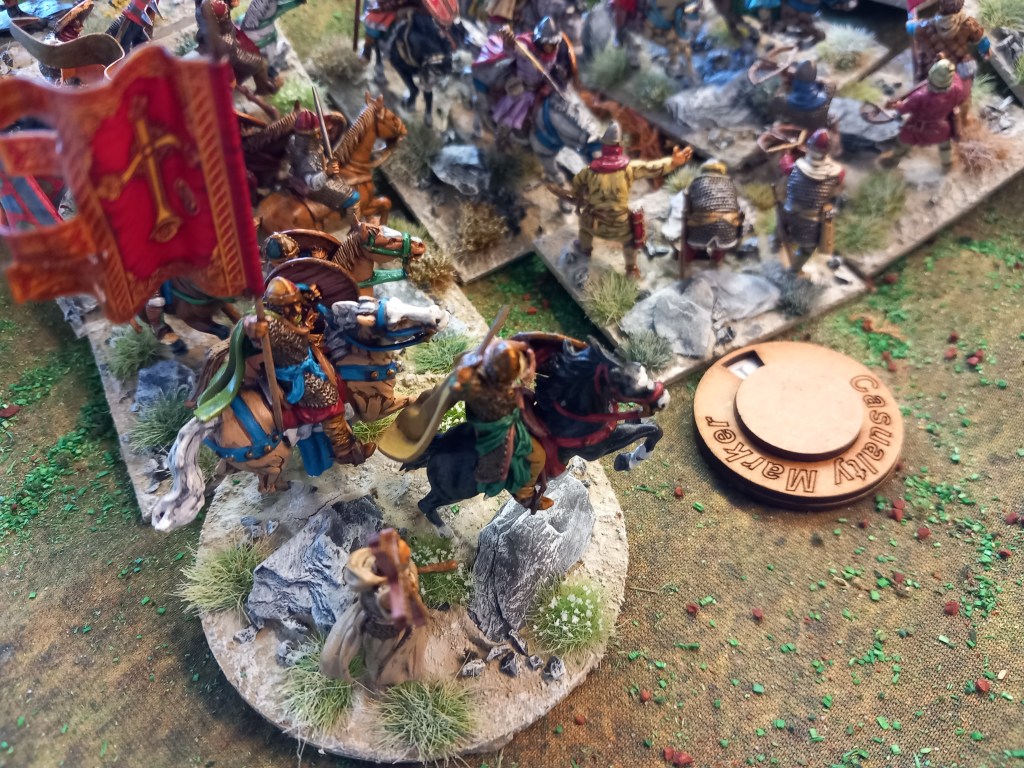
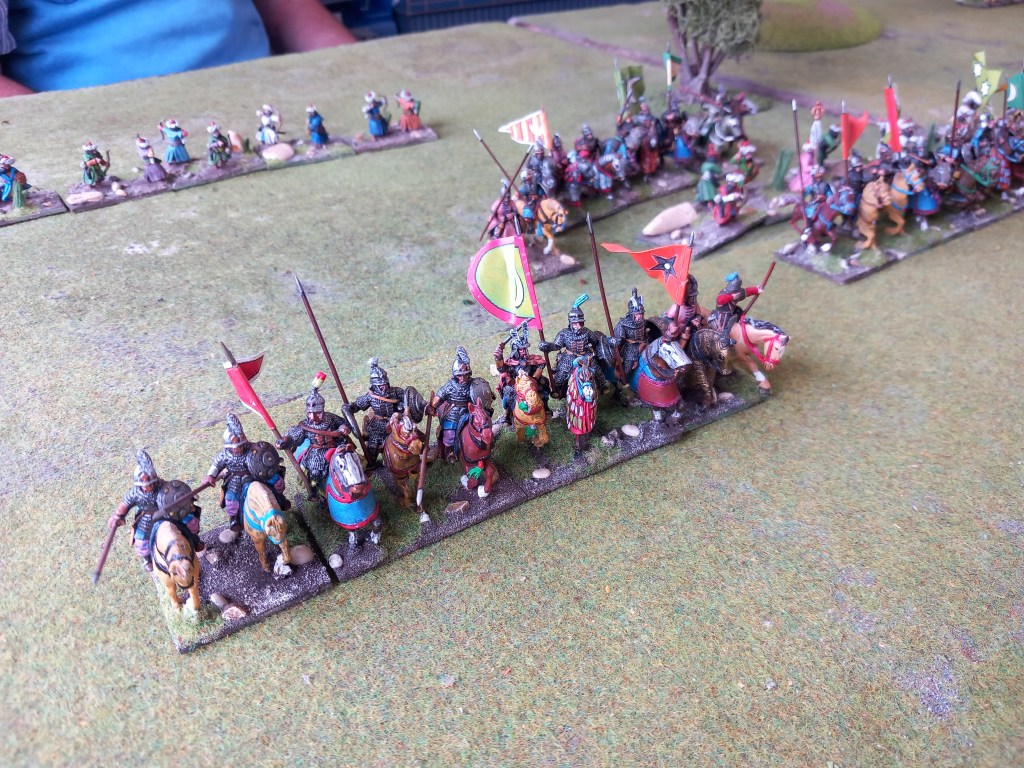
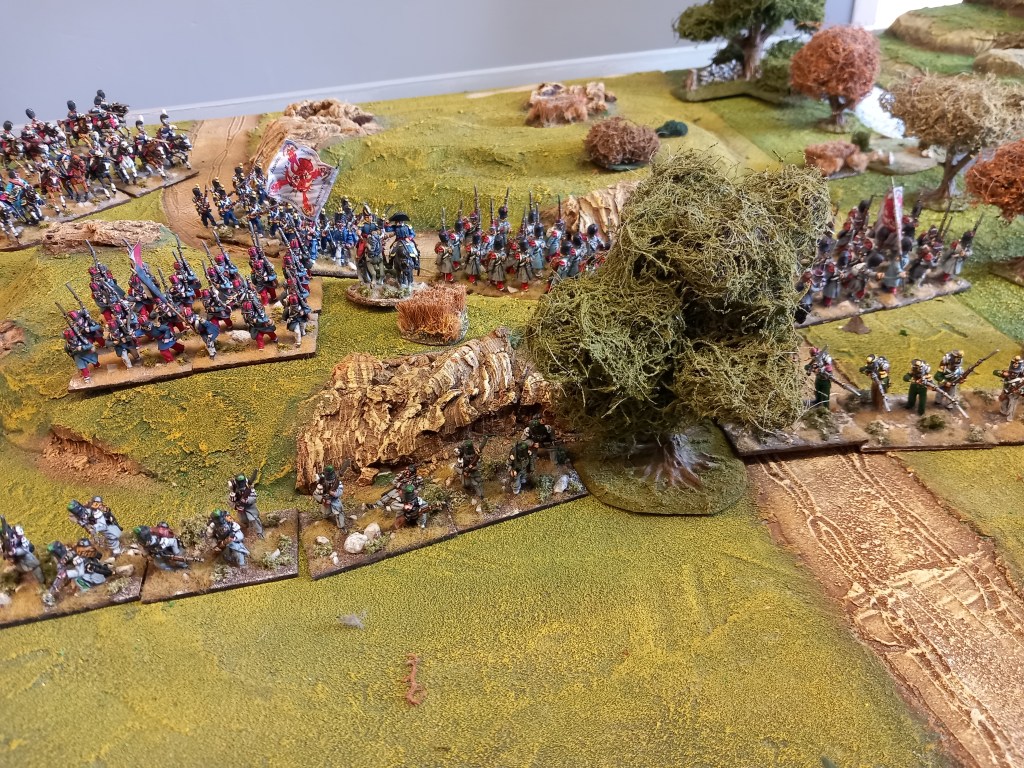
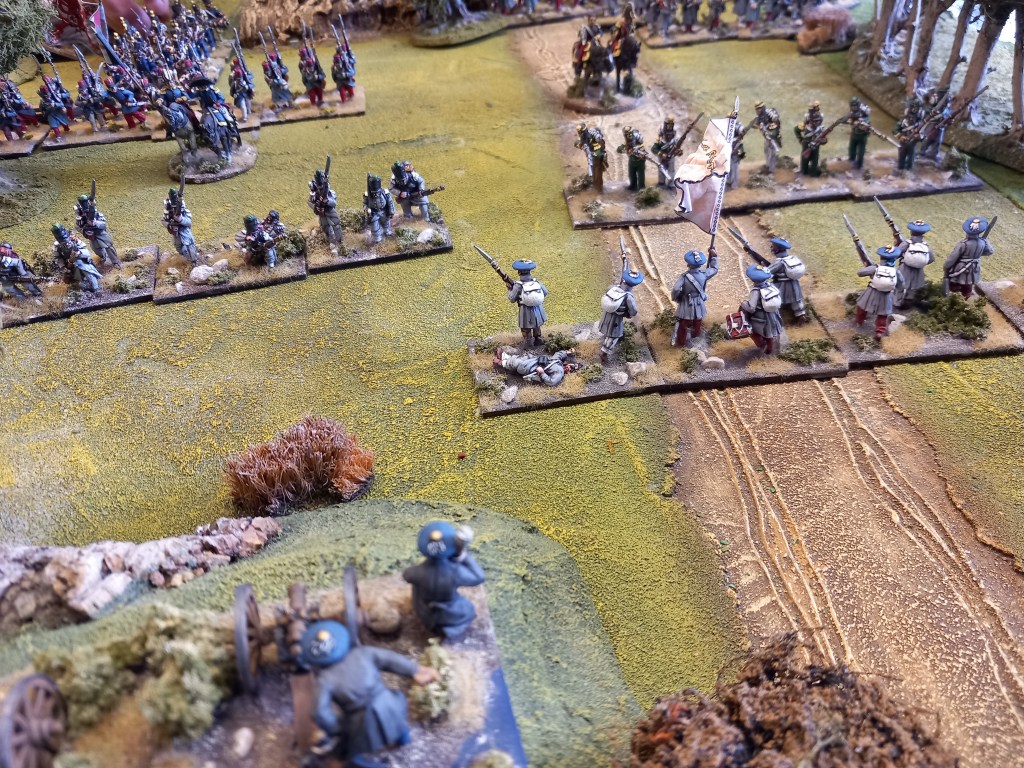
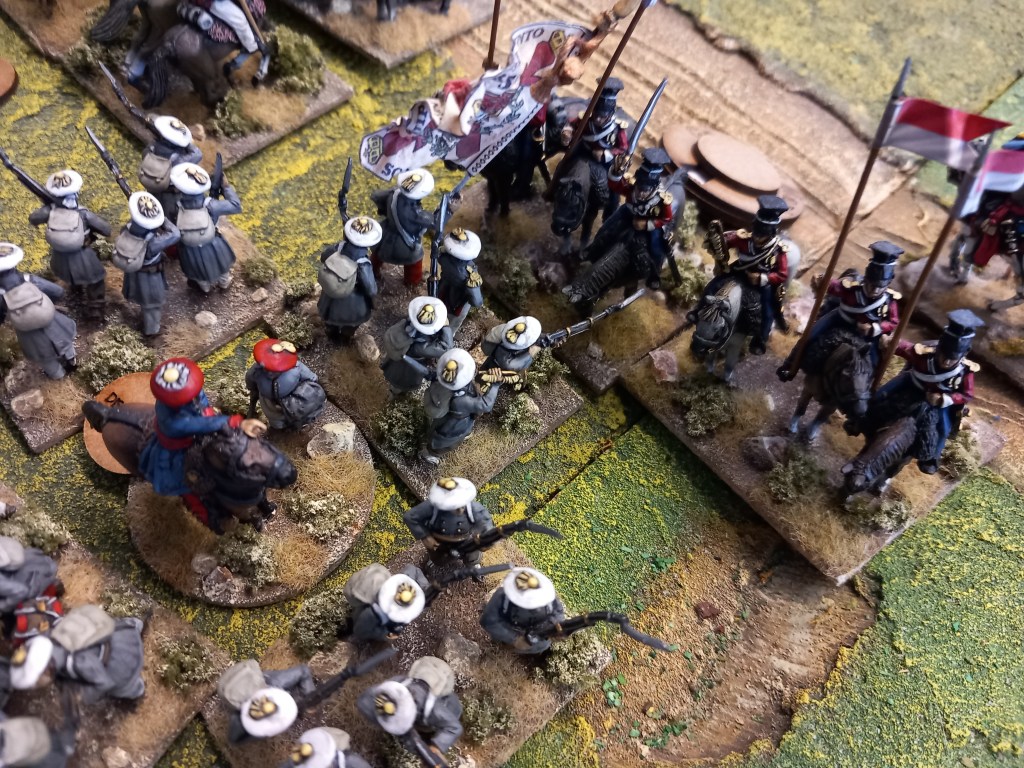
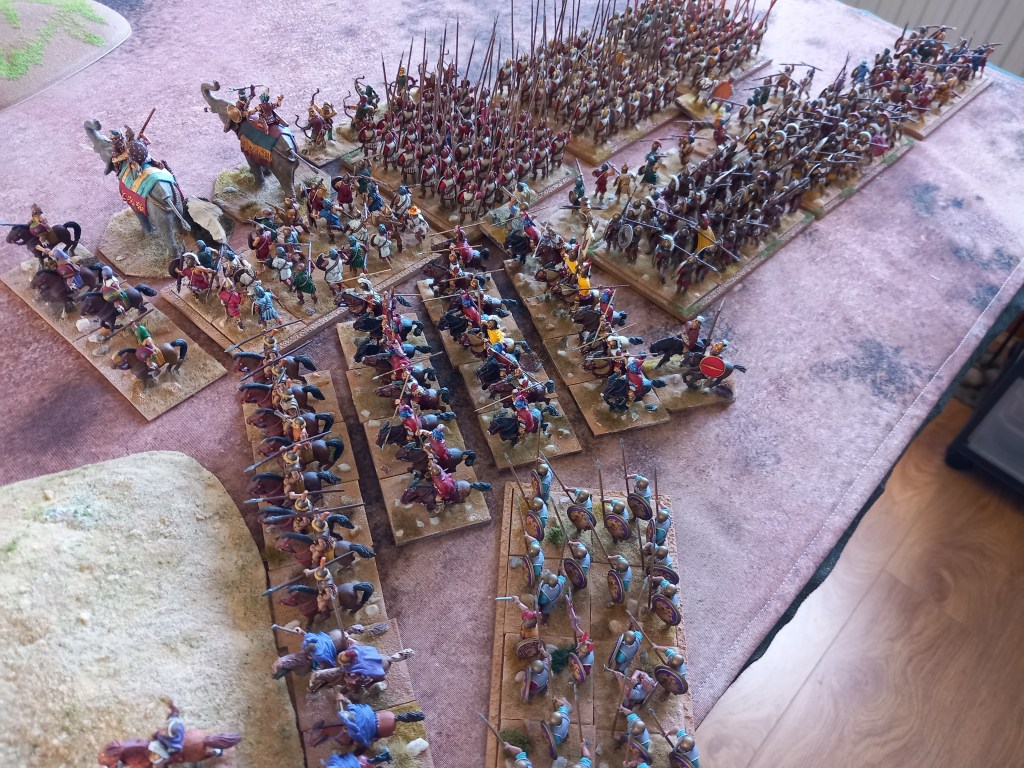
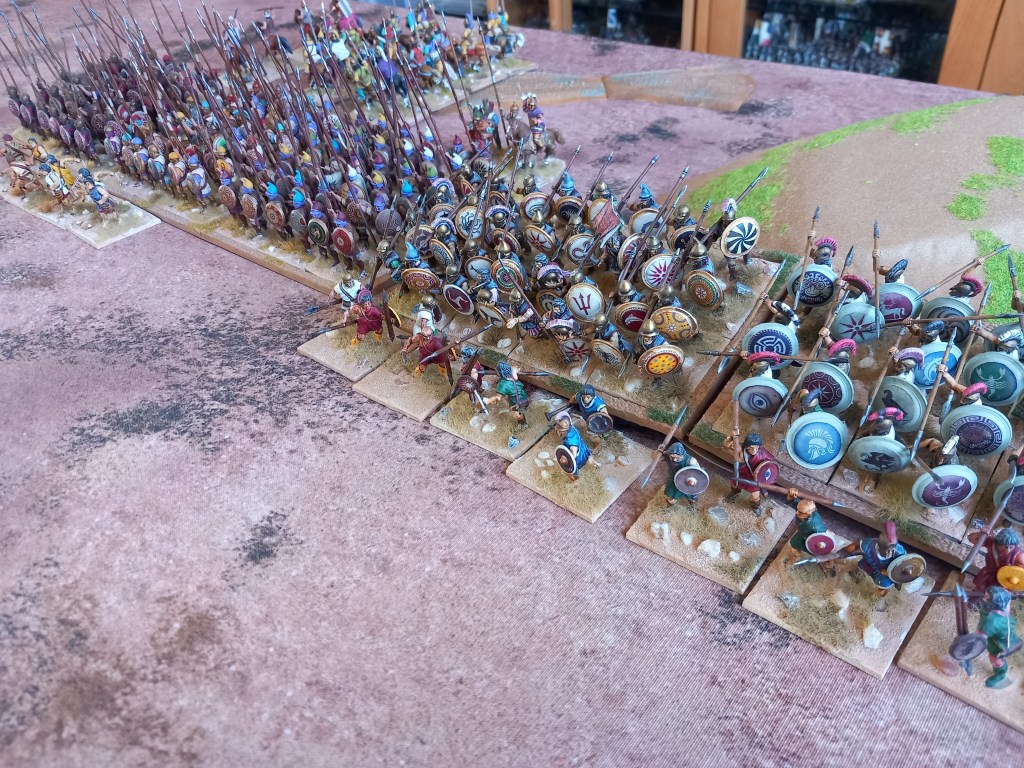
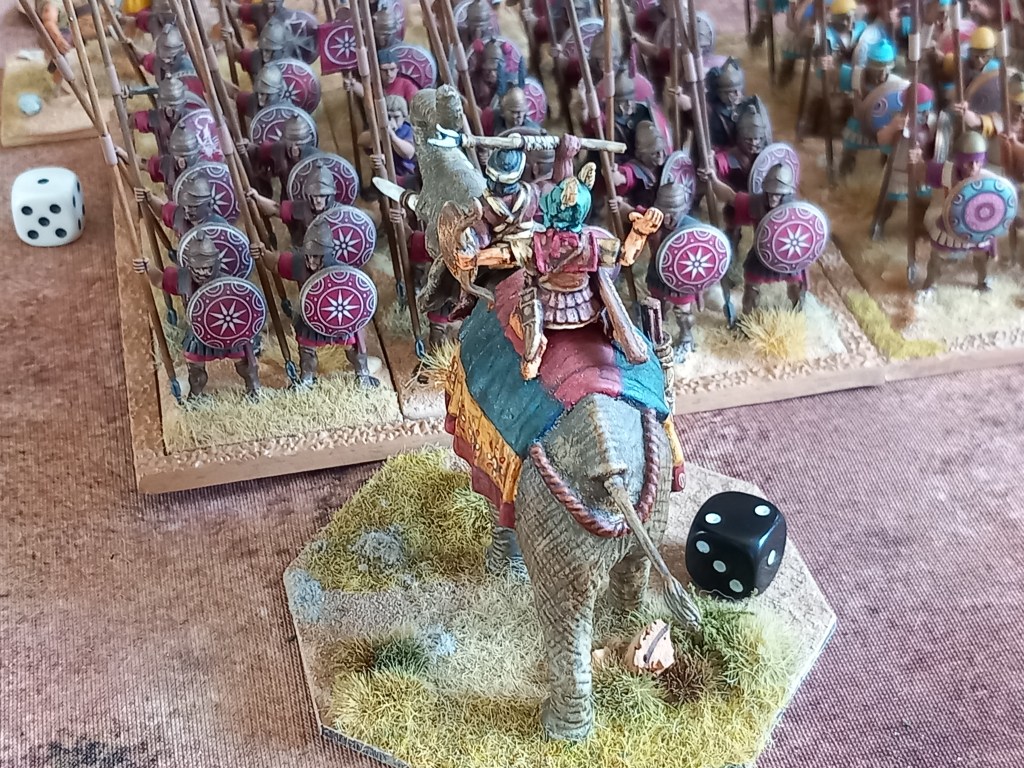
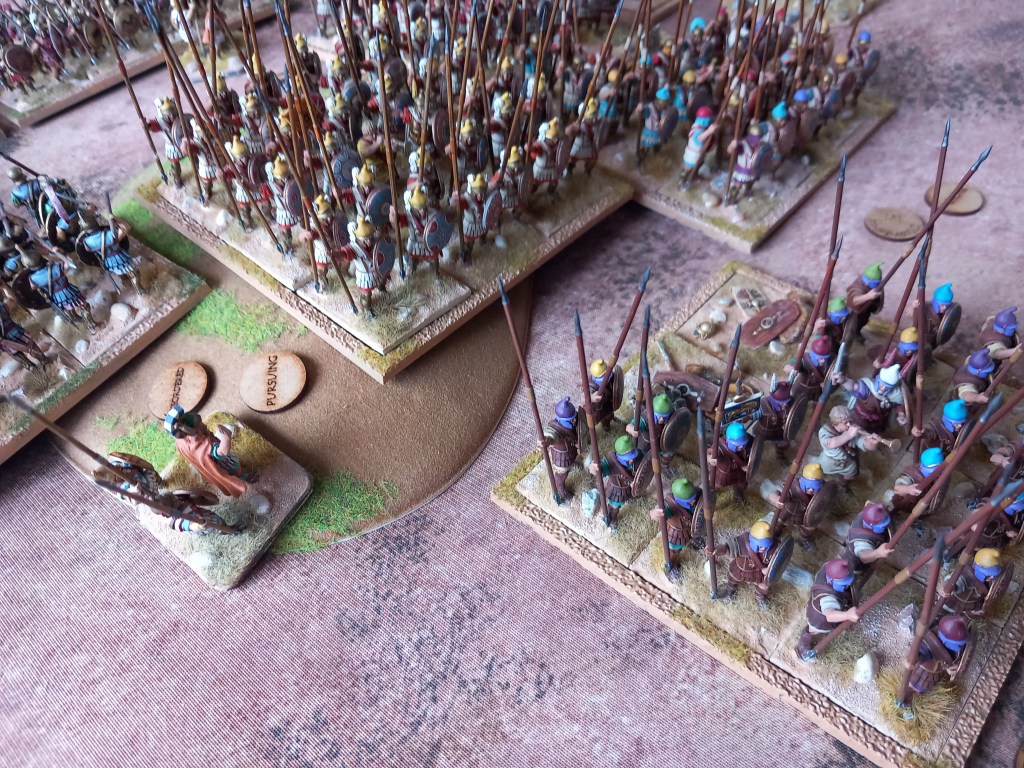
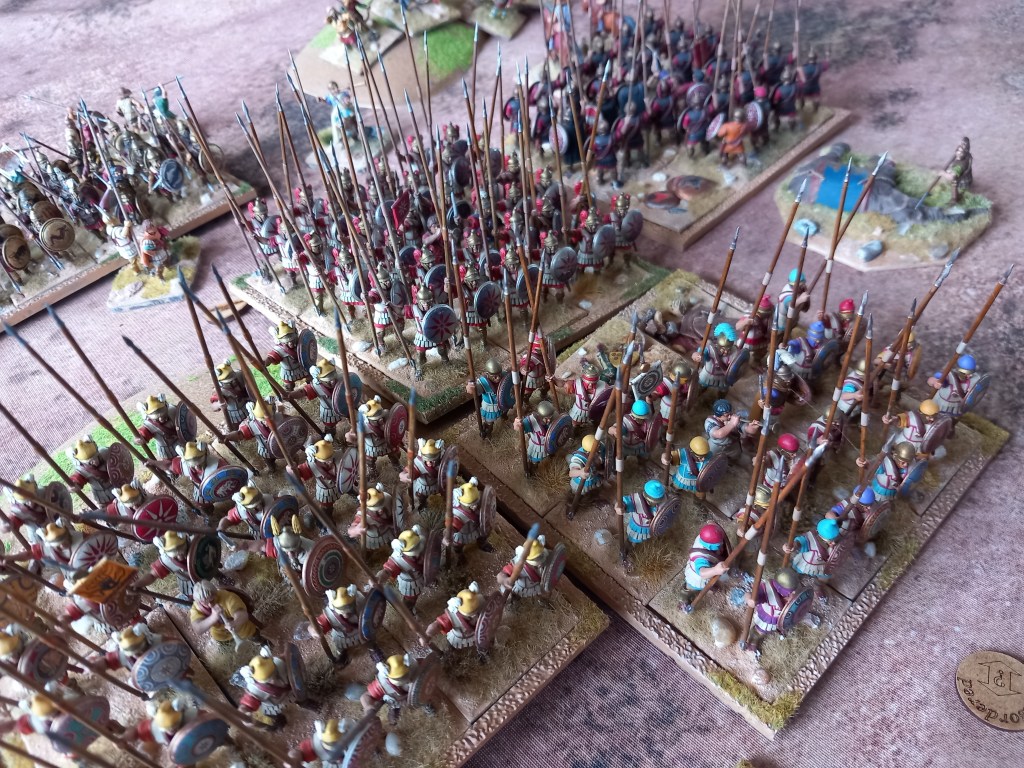
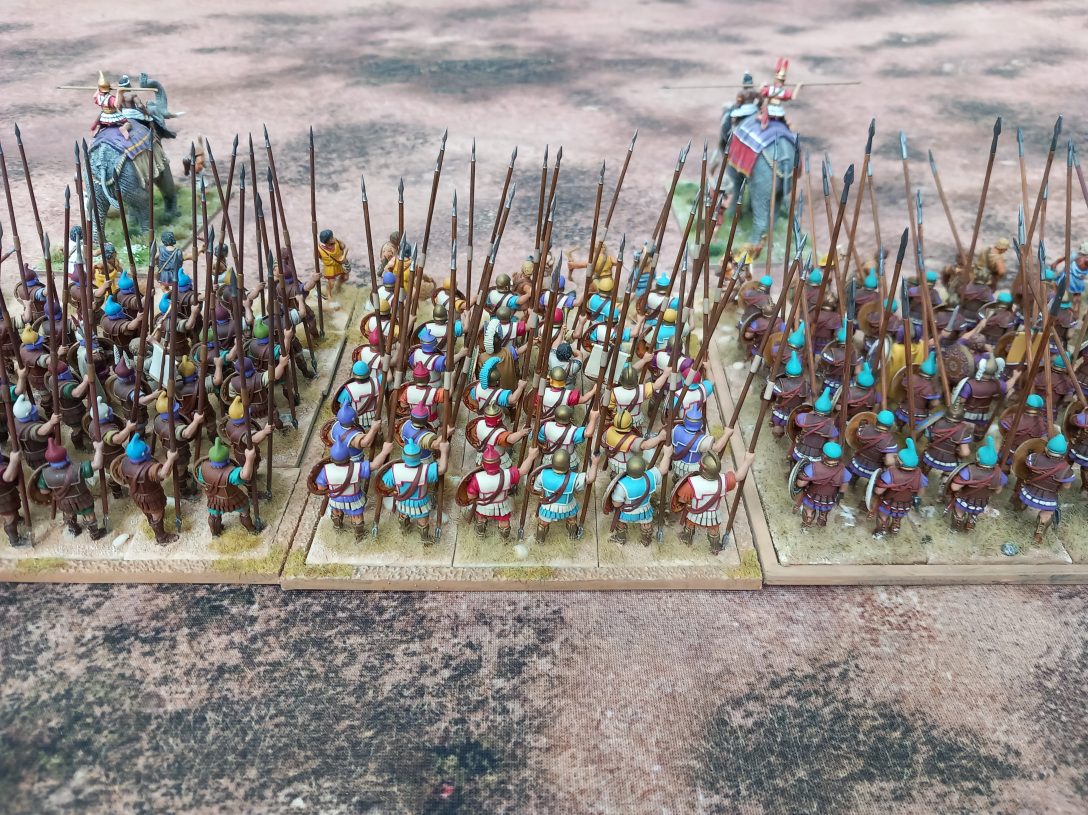
Our next game was in fact our demonstration game of the battle of Minden 1759 at Partizan – that came round fast! We had a bit of drama regarding early set up on the Saturday so Sunday was a bit of a rush round to be ready when the doors opened.
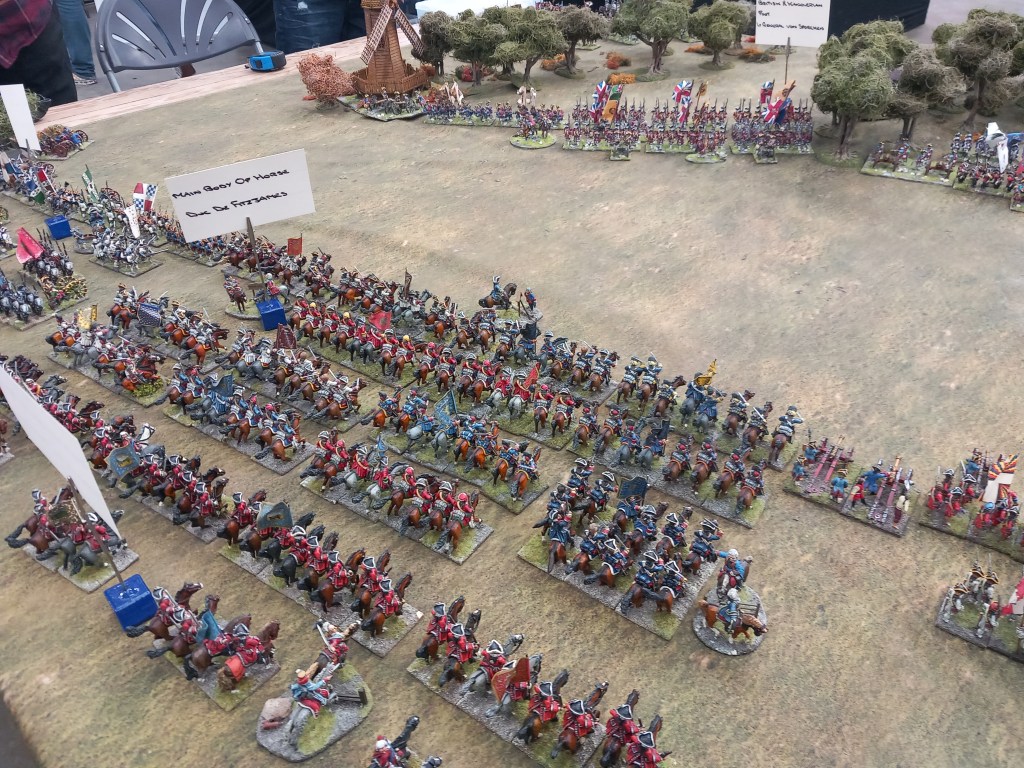
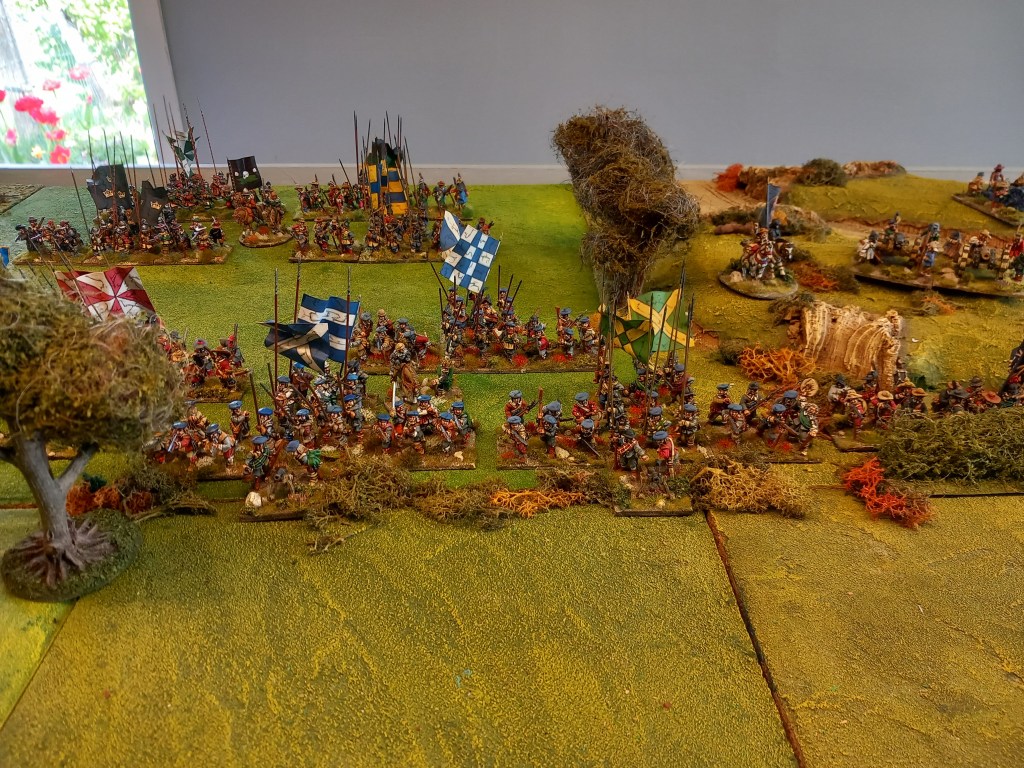
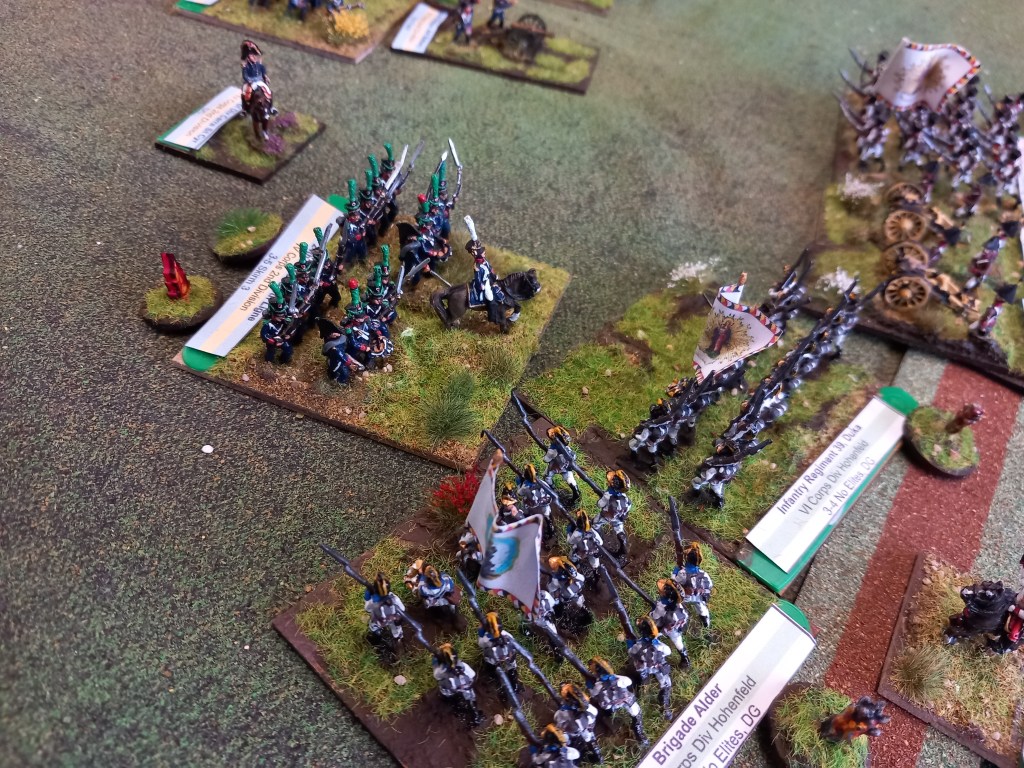
Minden is one of those battles much loved by British military history writers and wargamers but frankly a bit of a bore to play. However it was a bit of a passion project for Dave who has spent the last two years off and on painting all the Allied units that were at the battle – and very pretty they looked too 😀
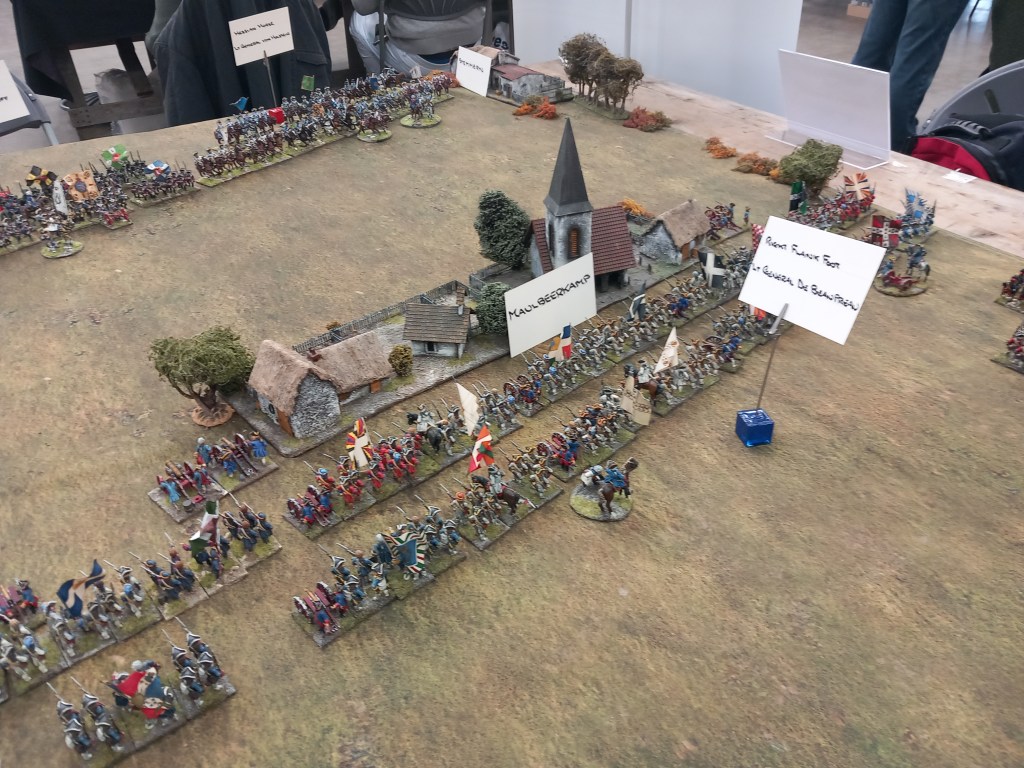
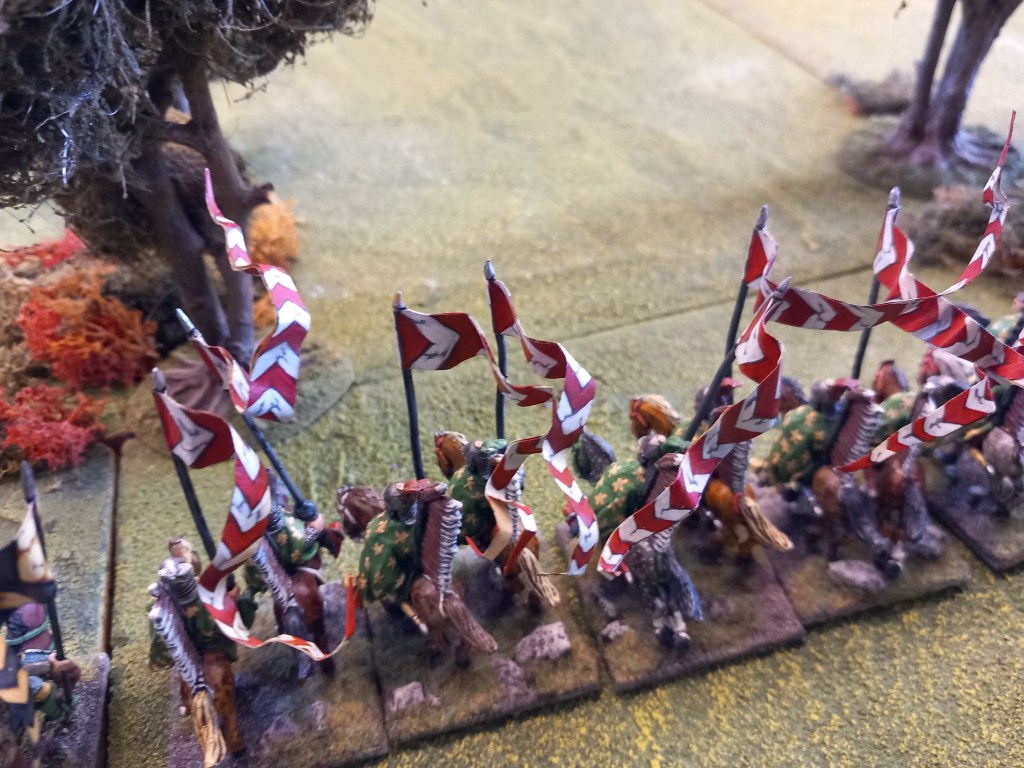
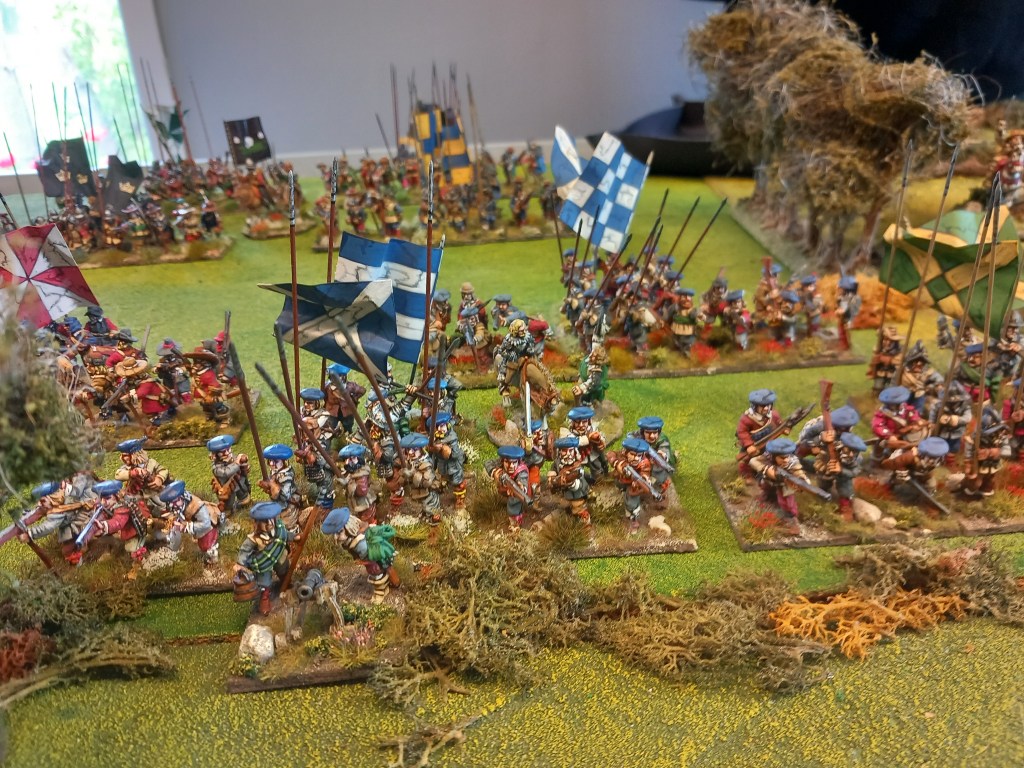
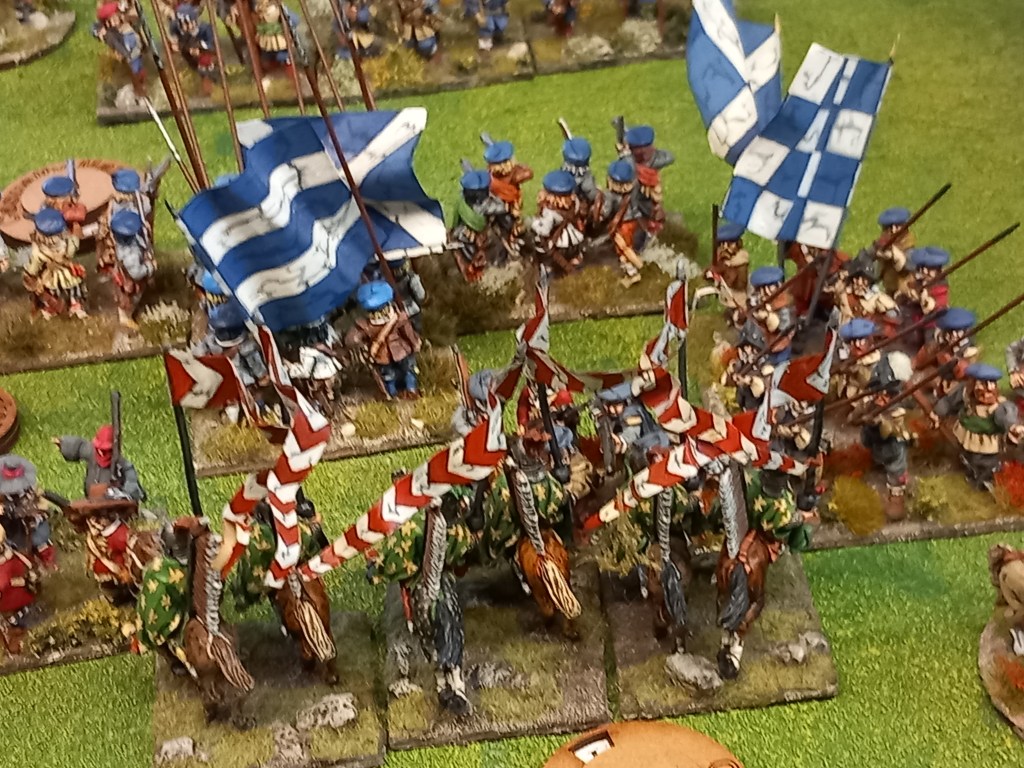
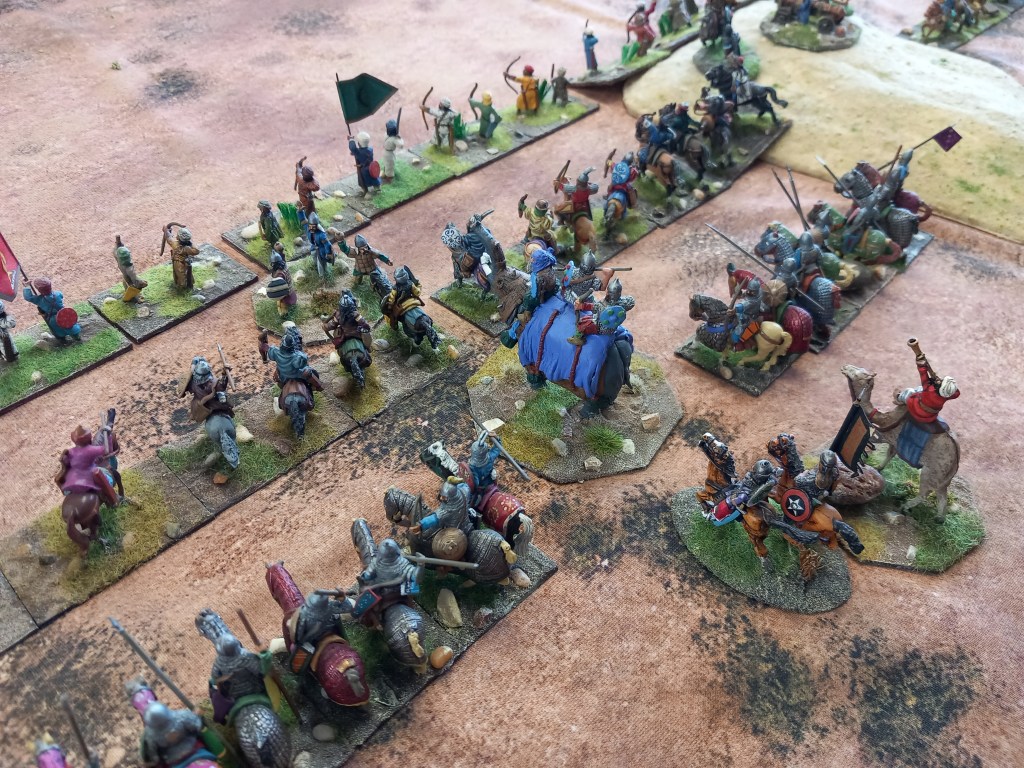
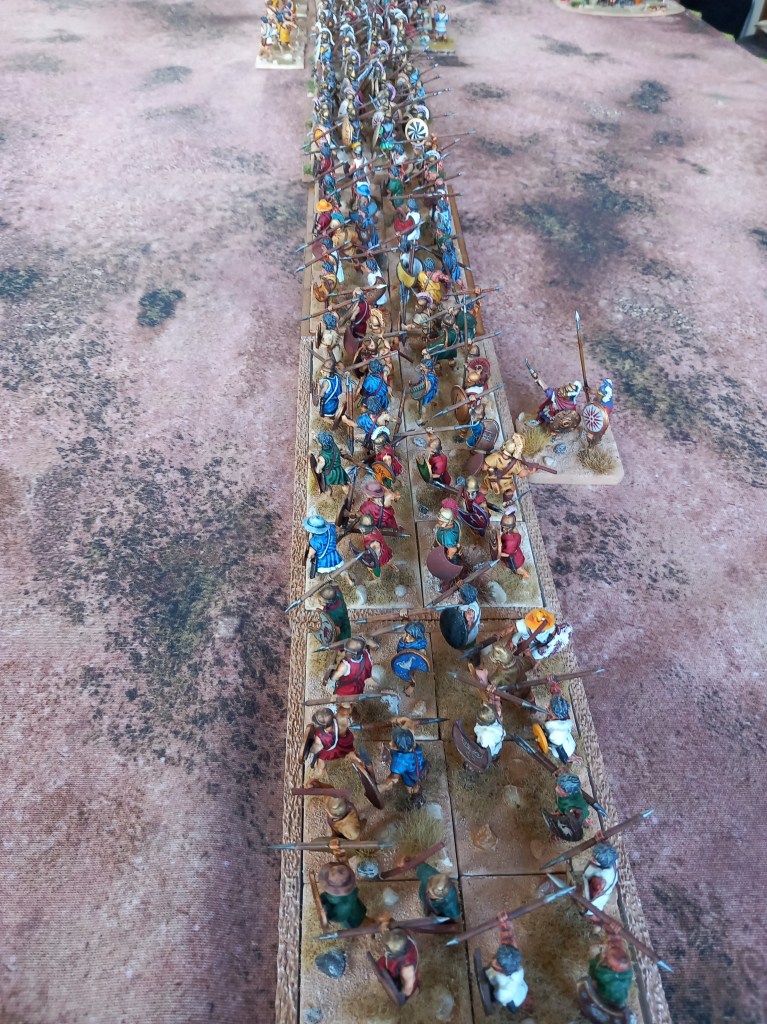
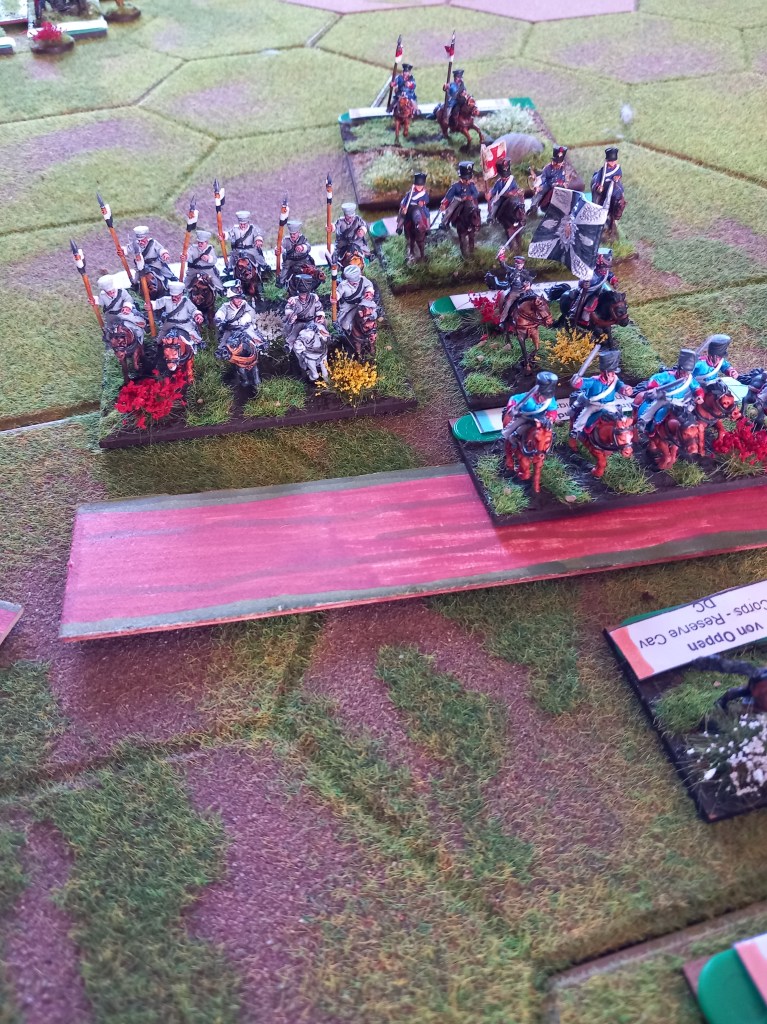
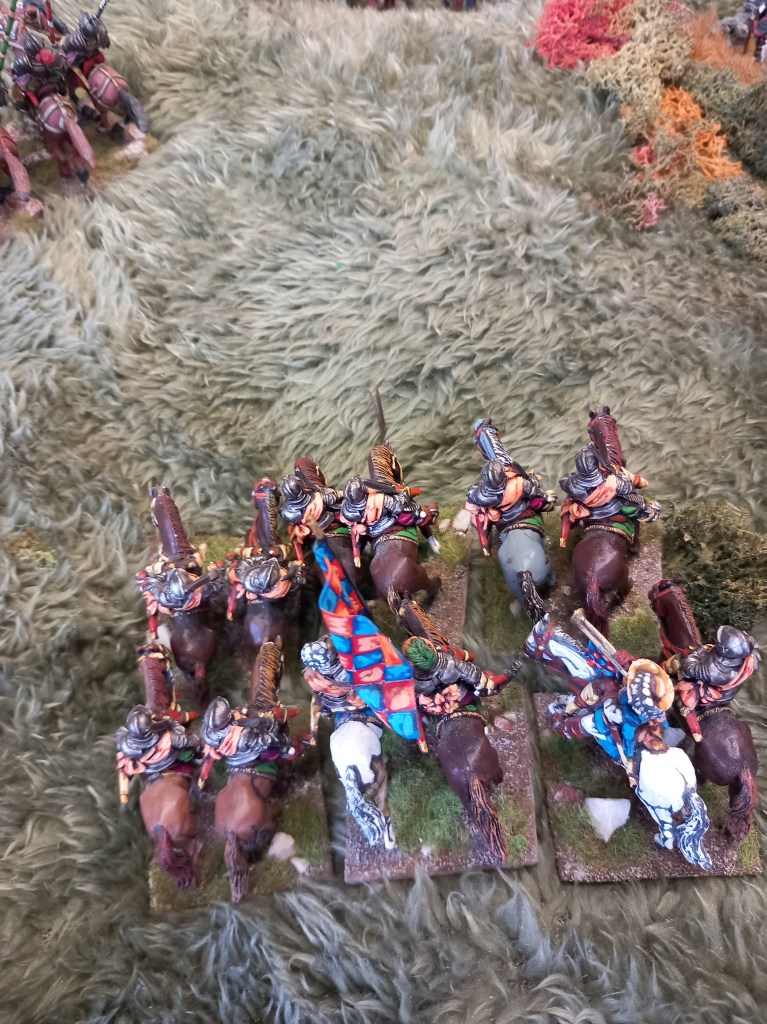
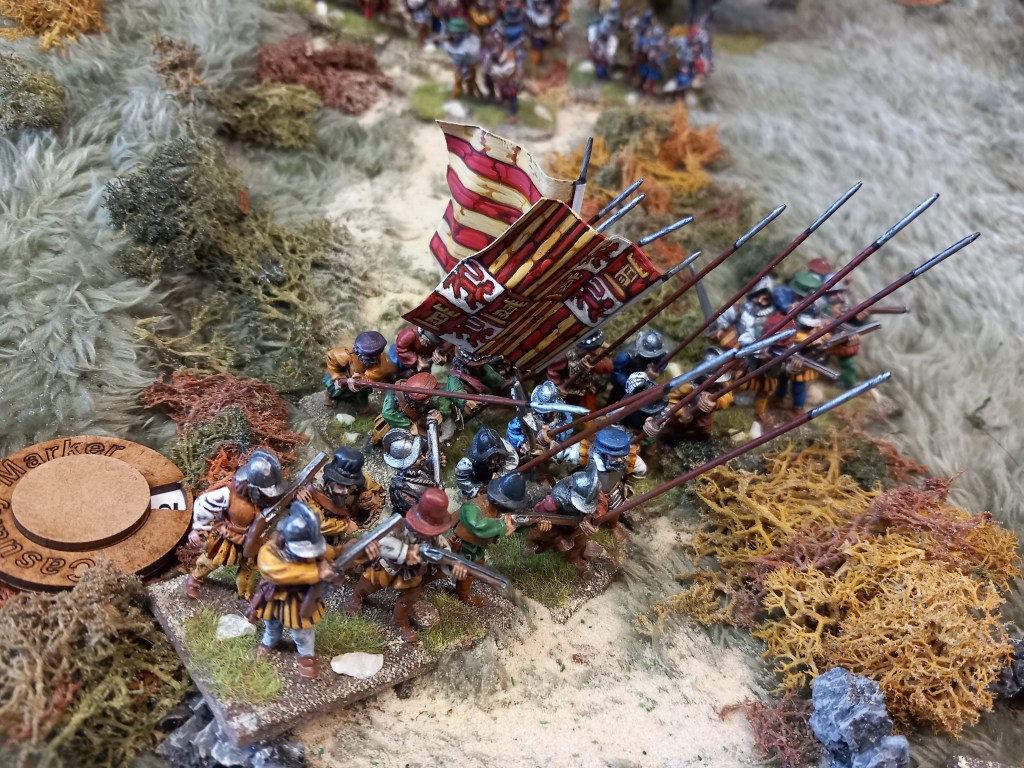
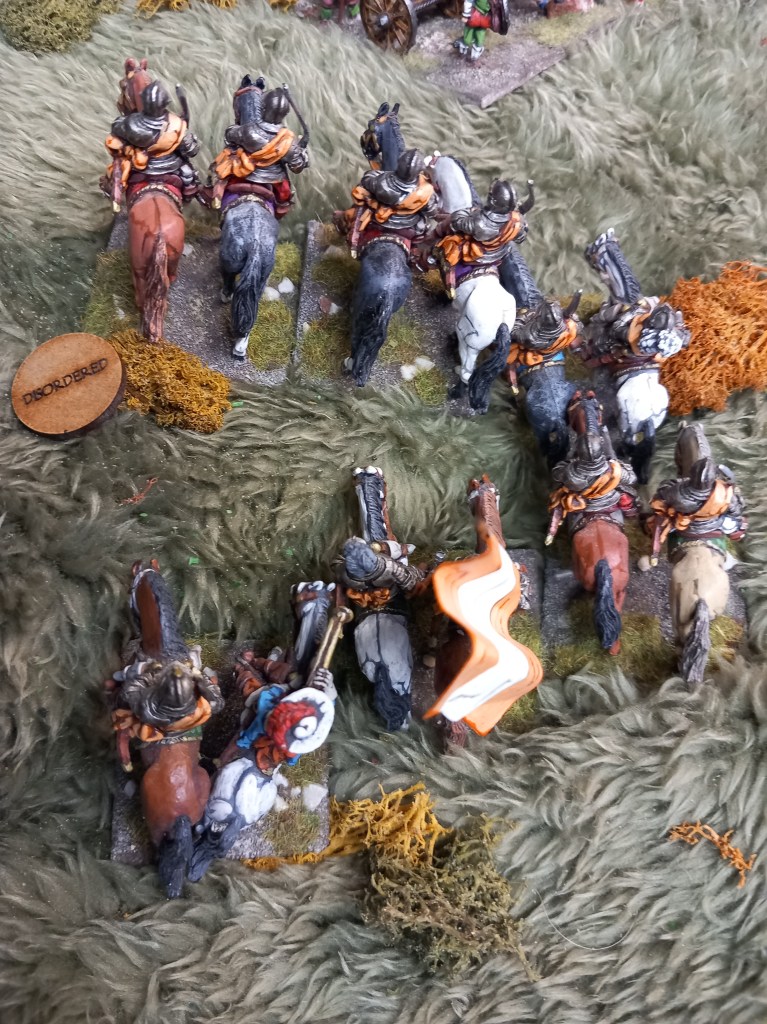
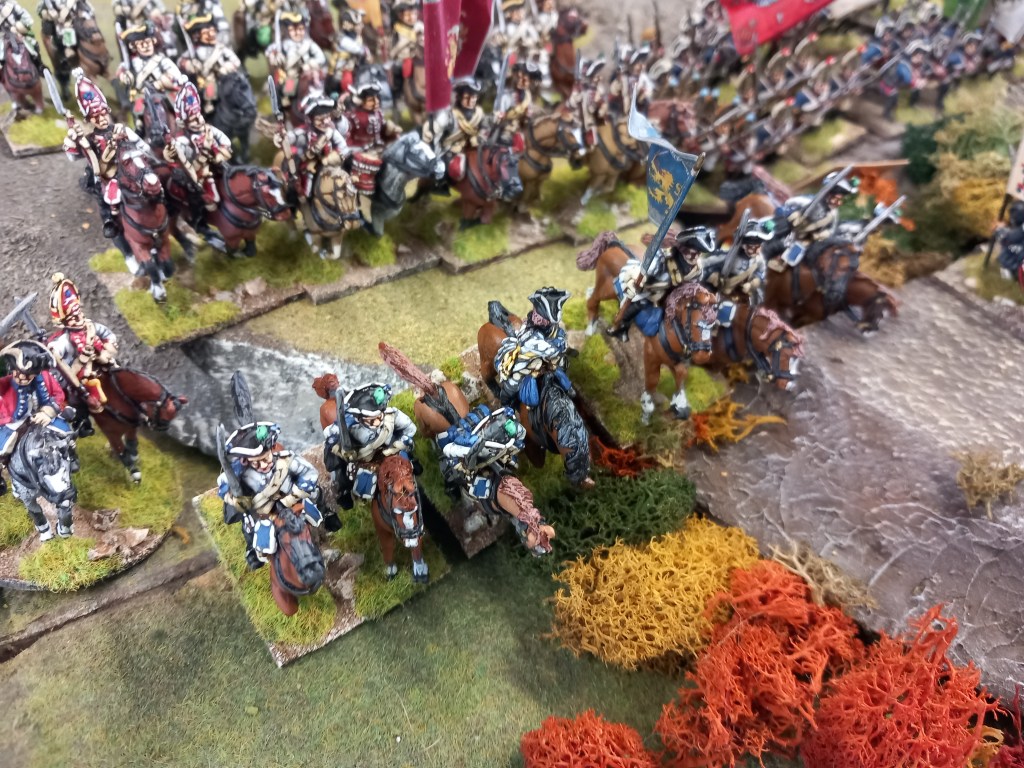
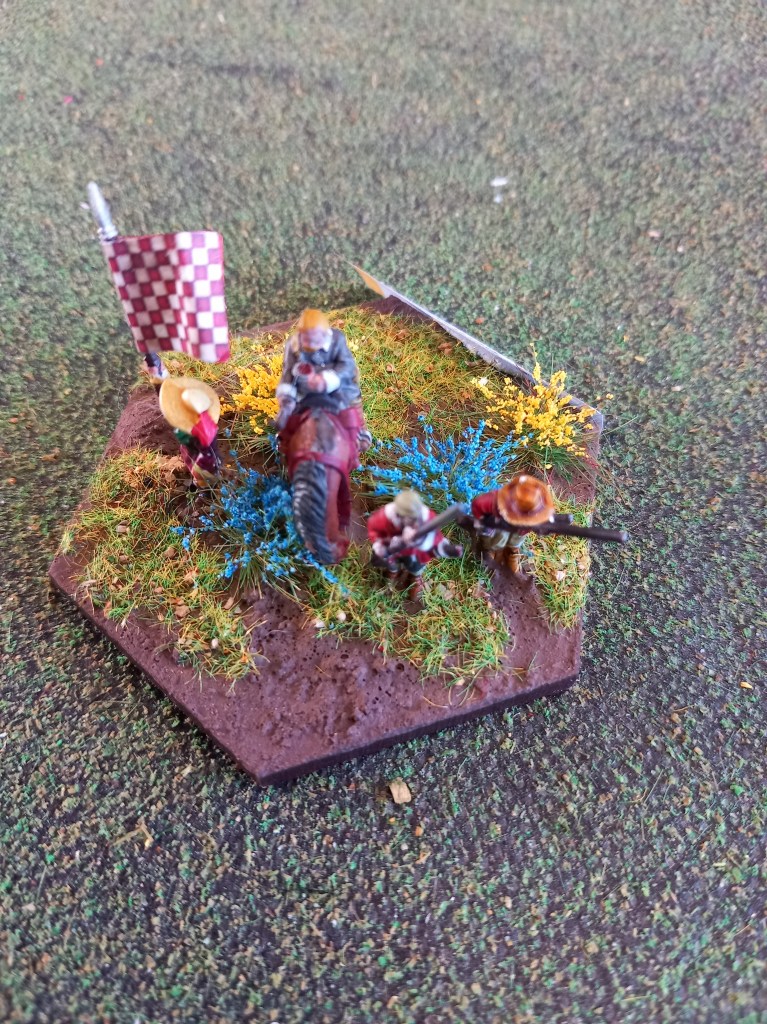
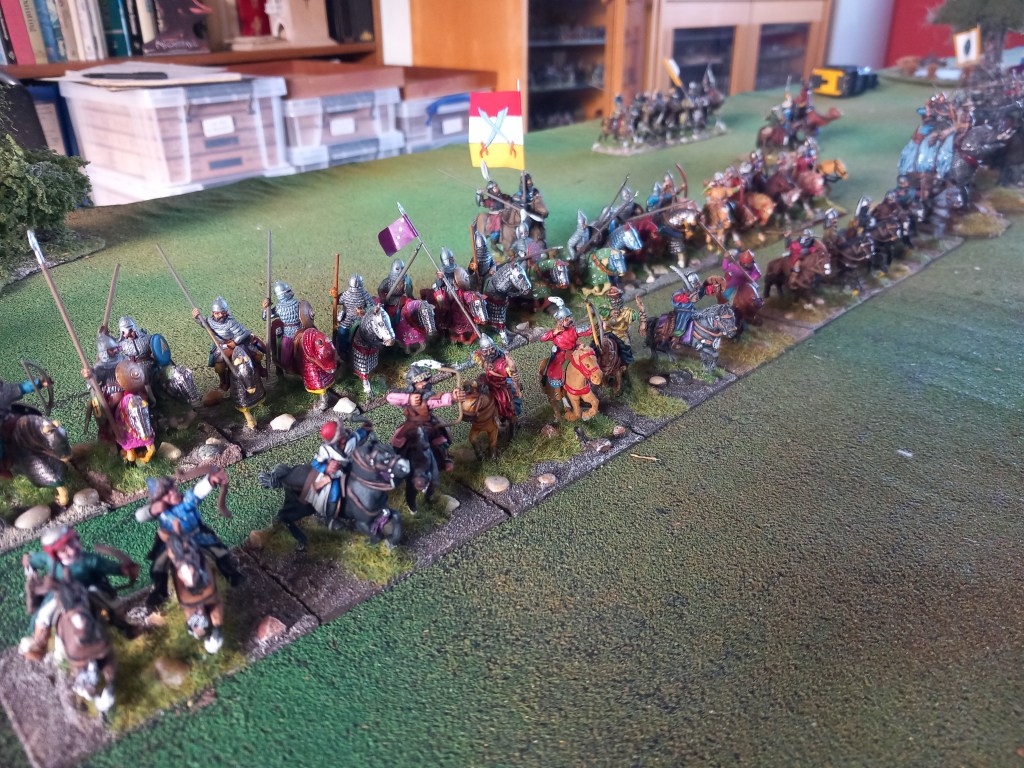
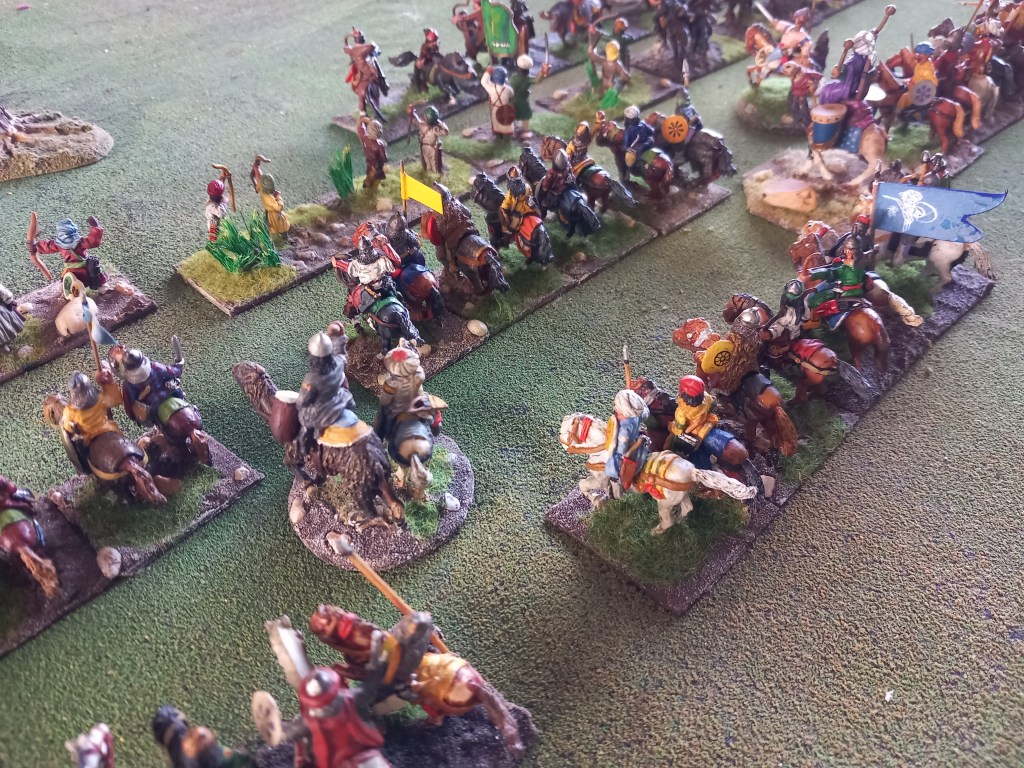
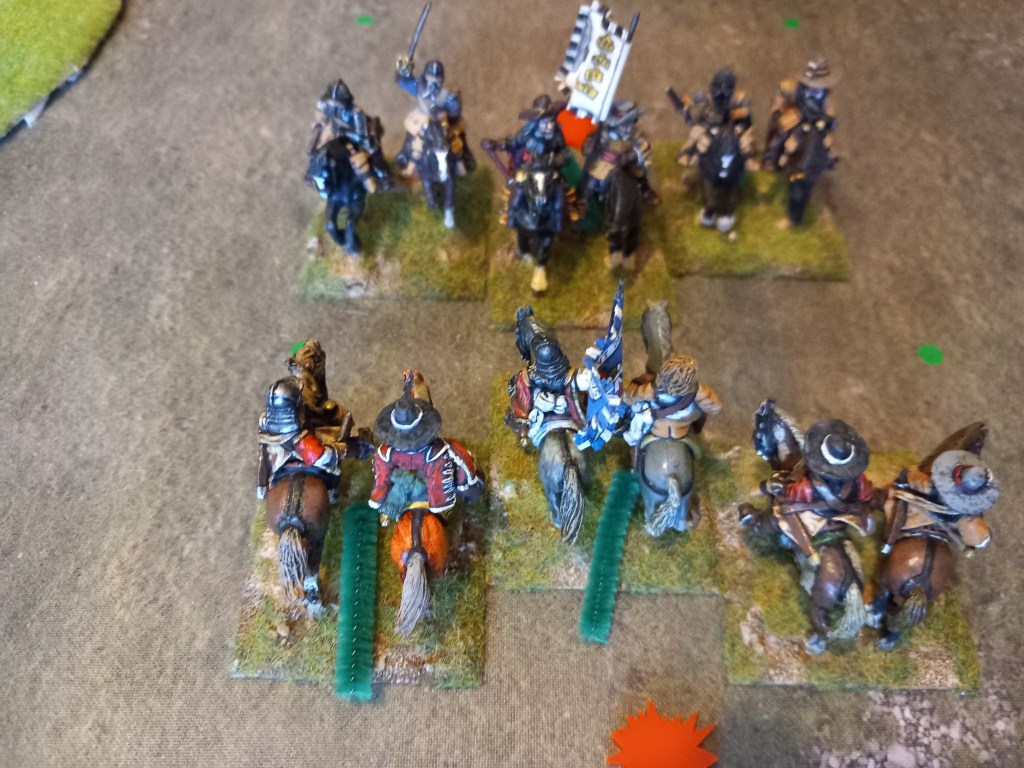
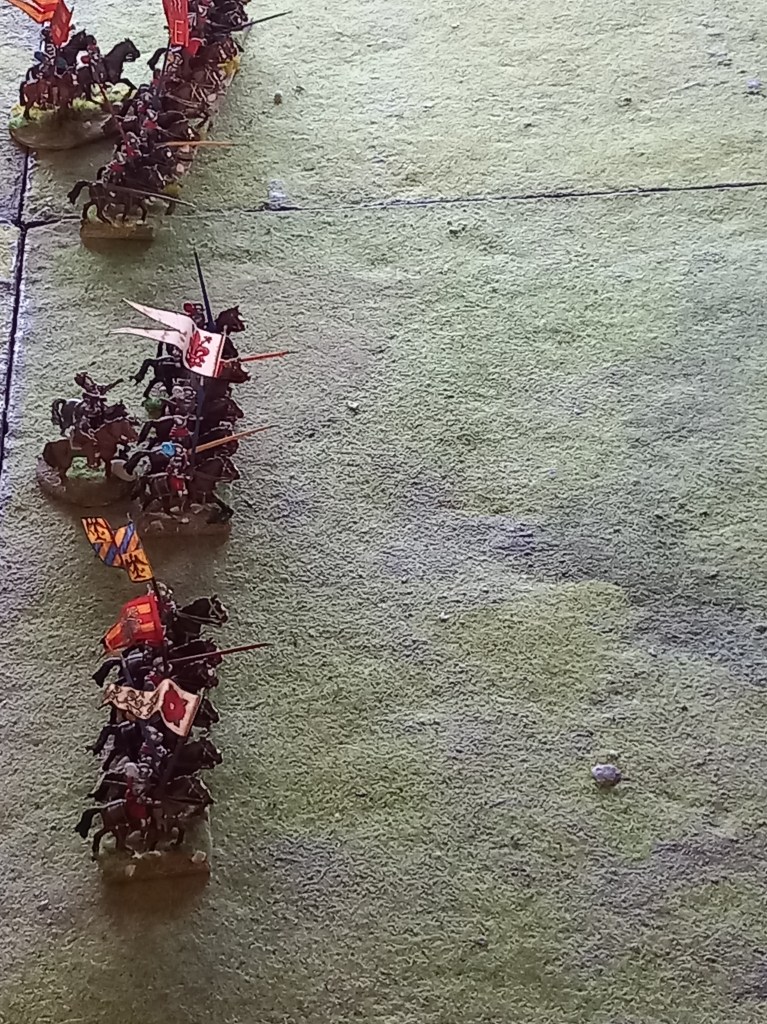
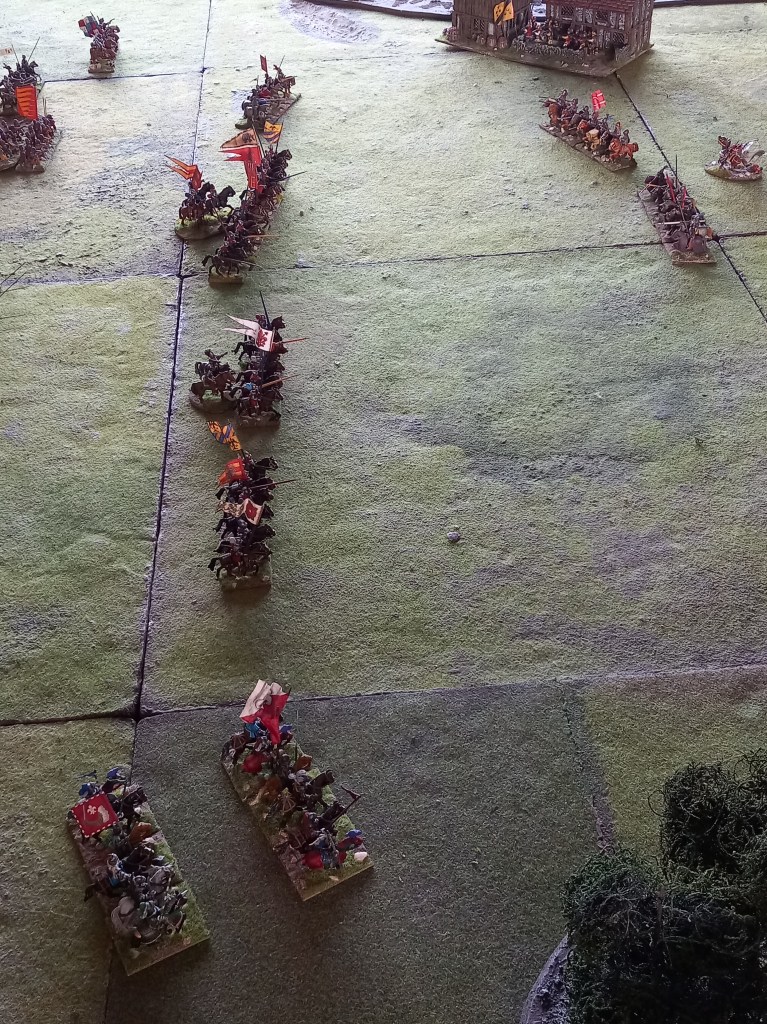
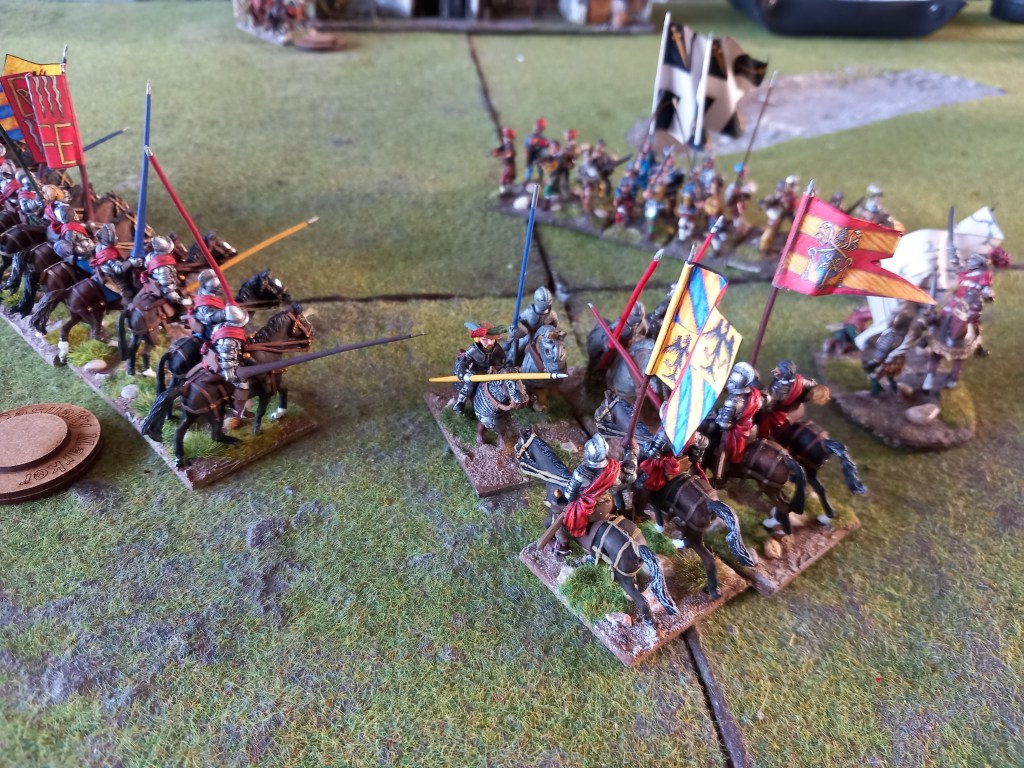
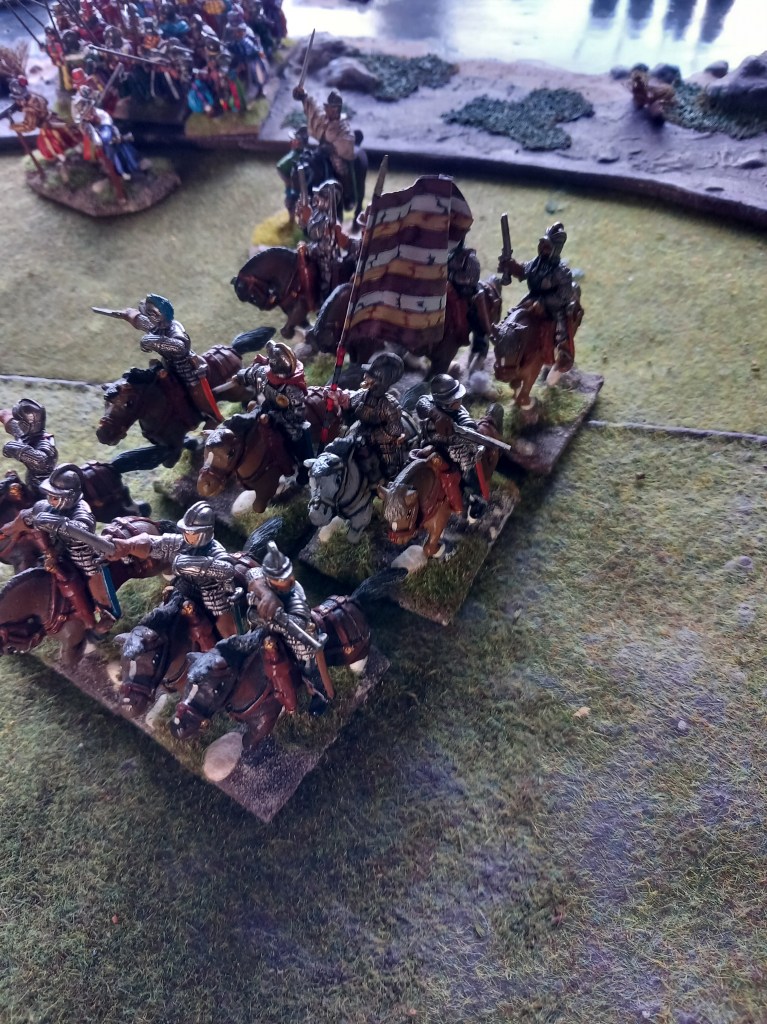
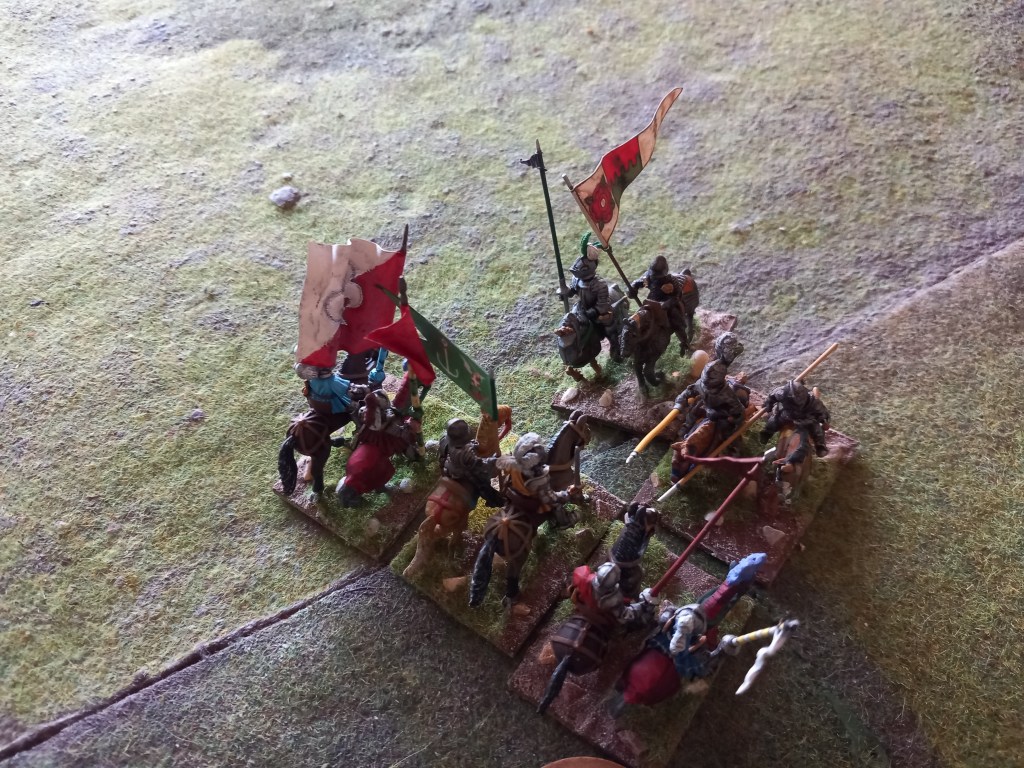
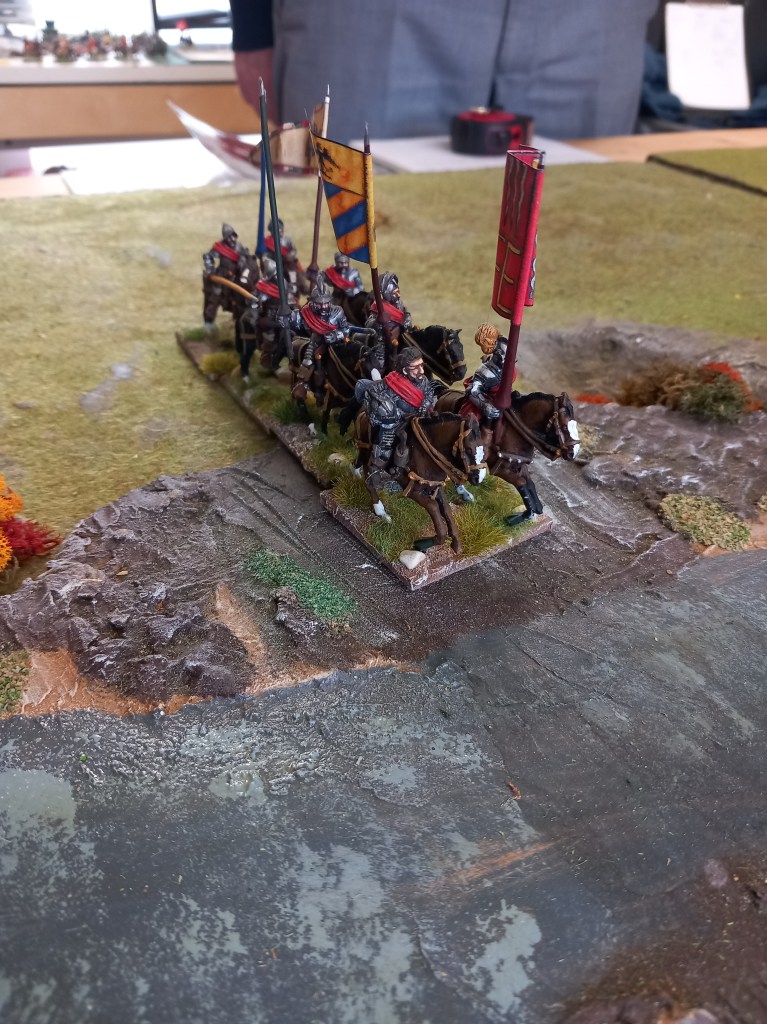
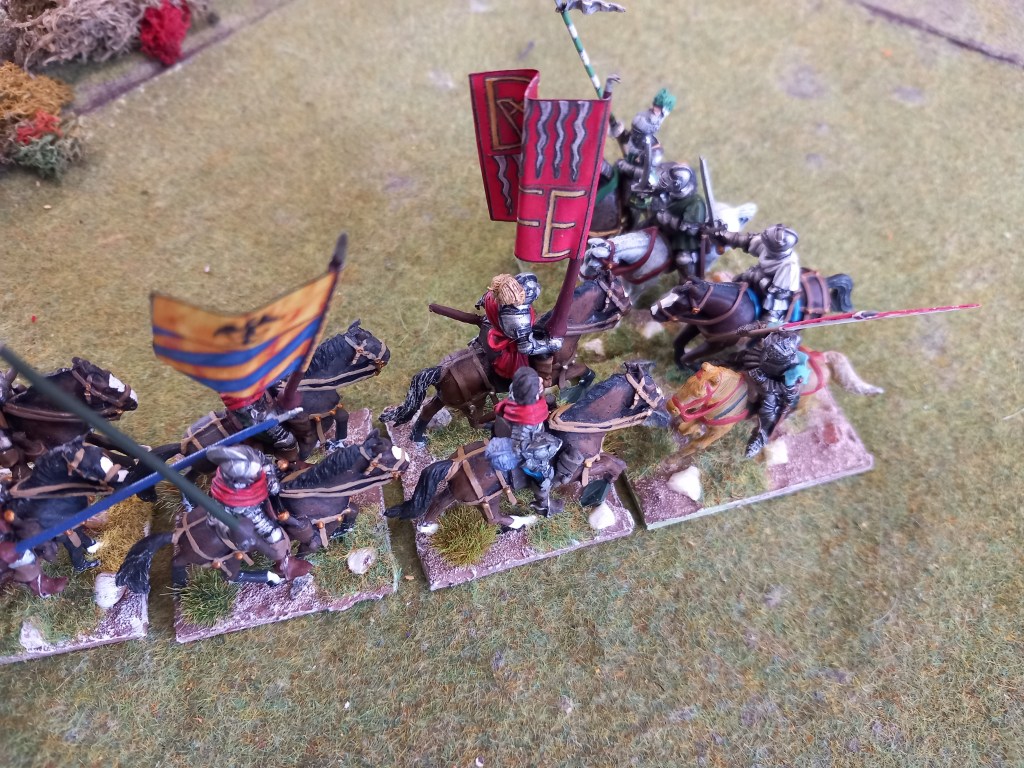
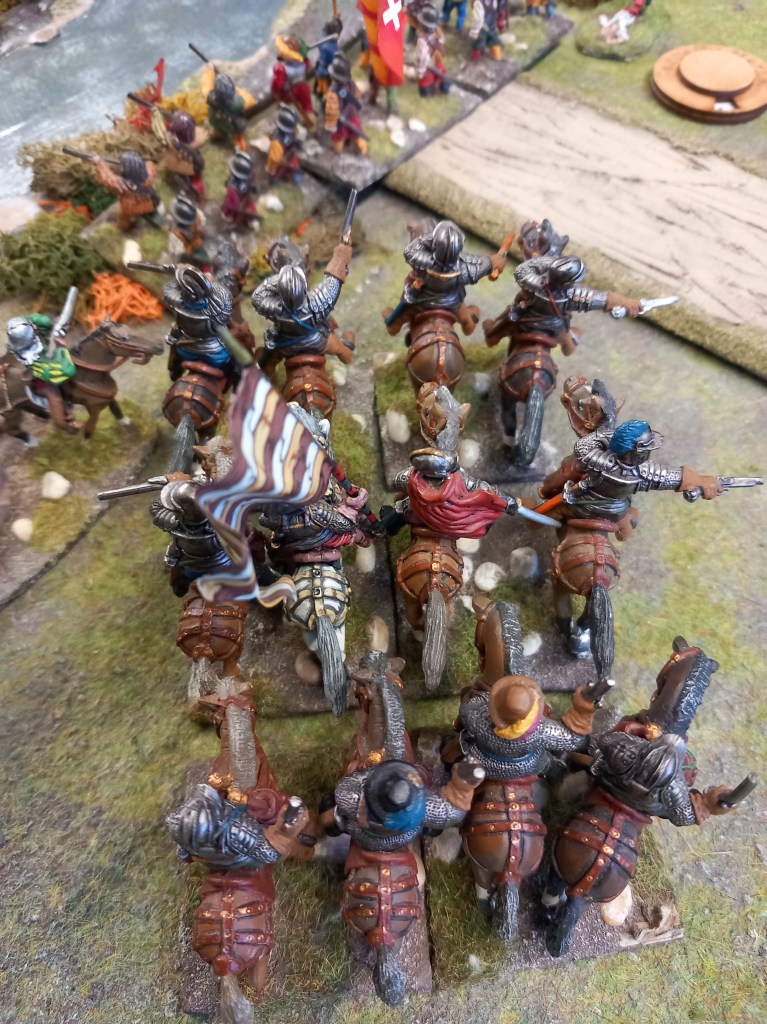
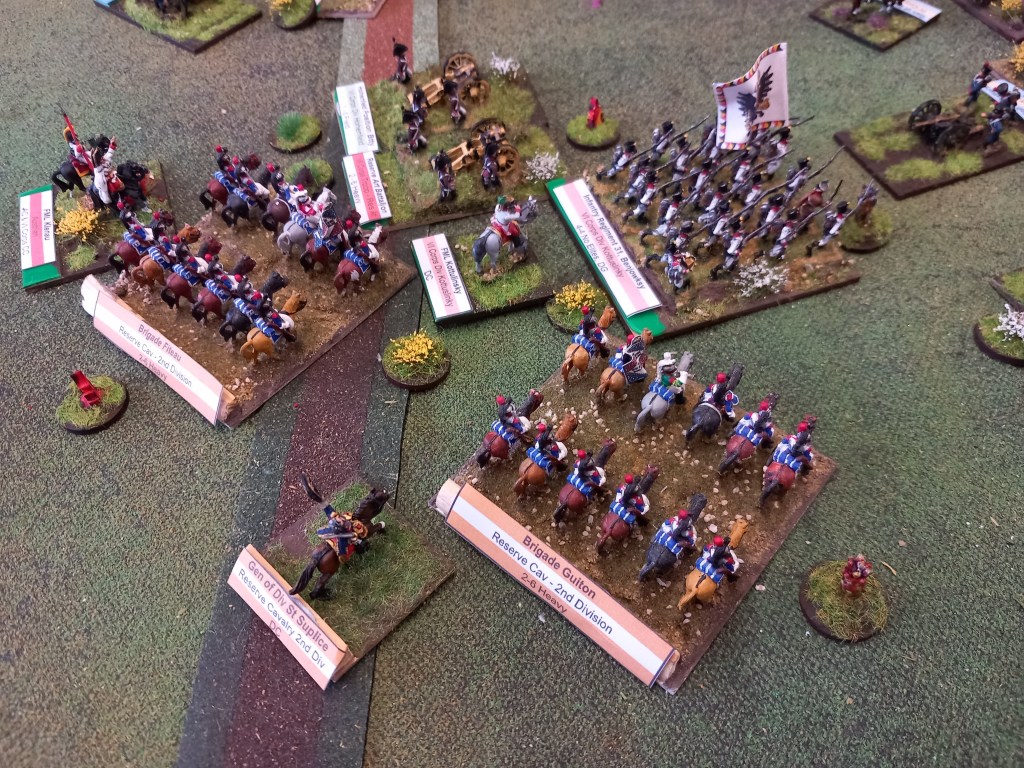
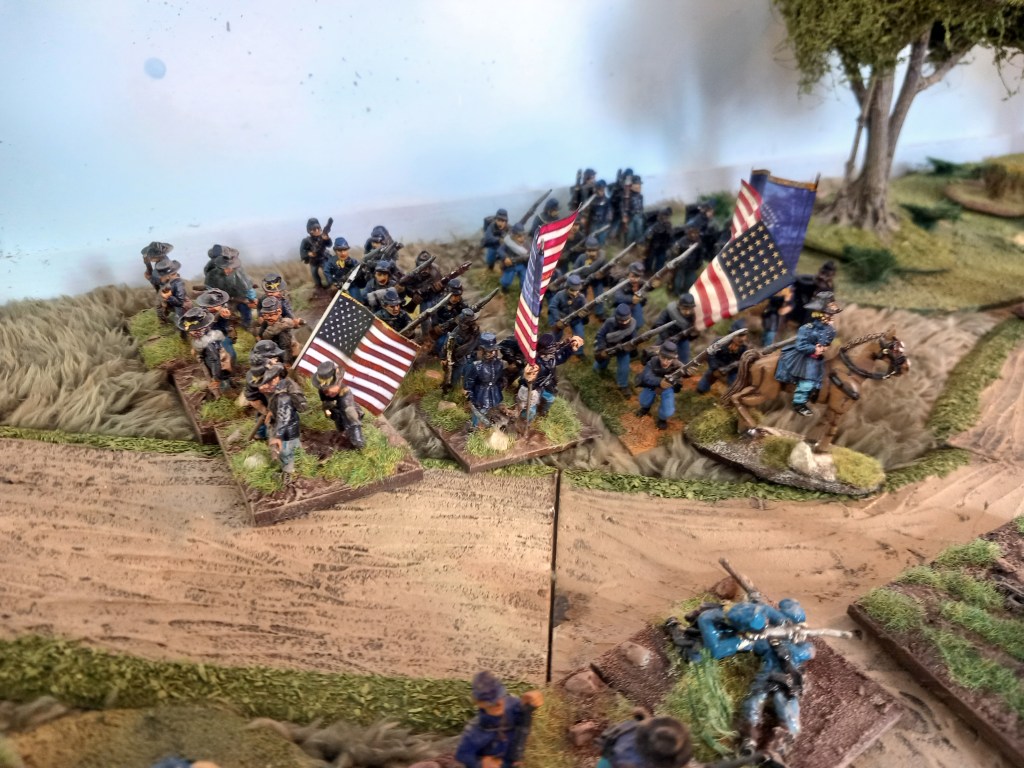
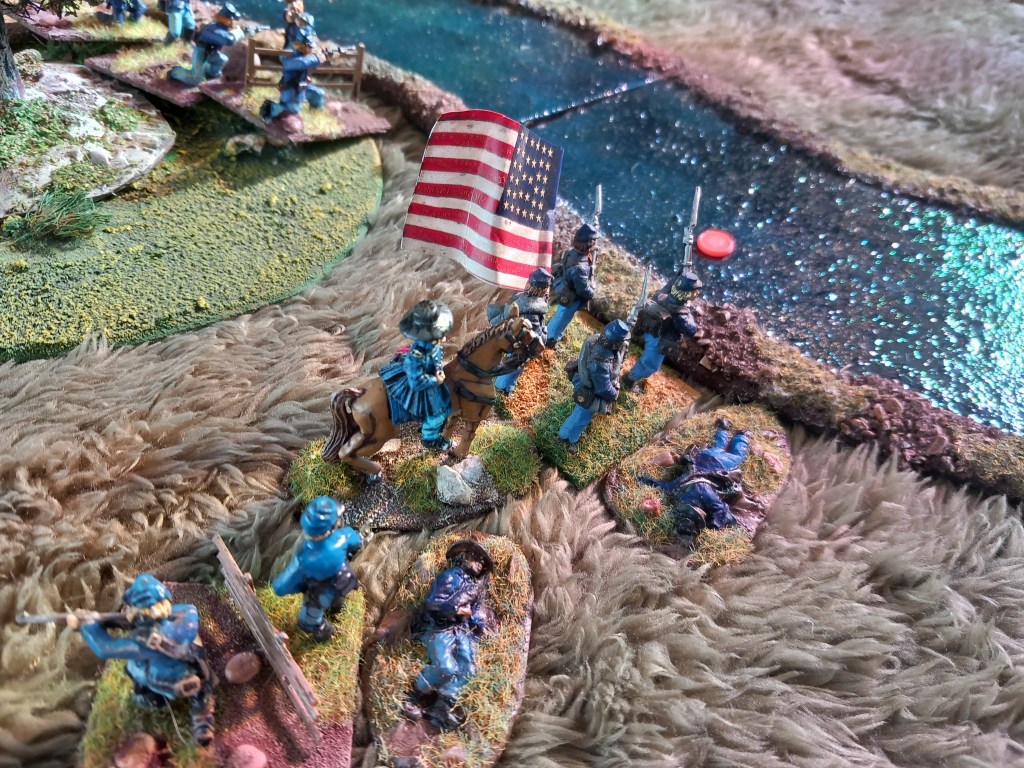
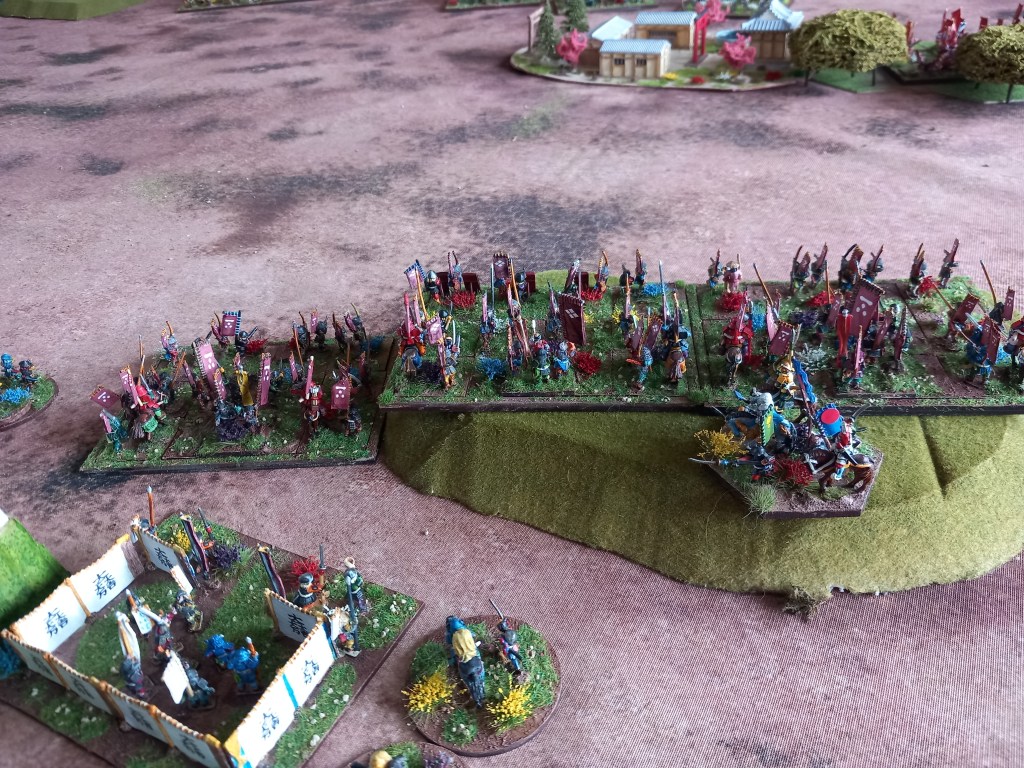
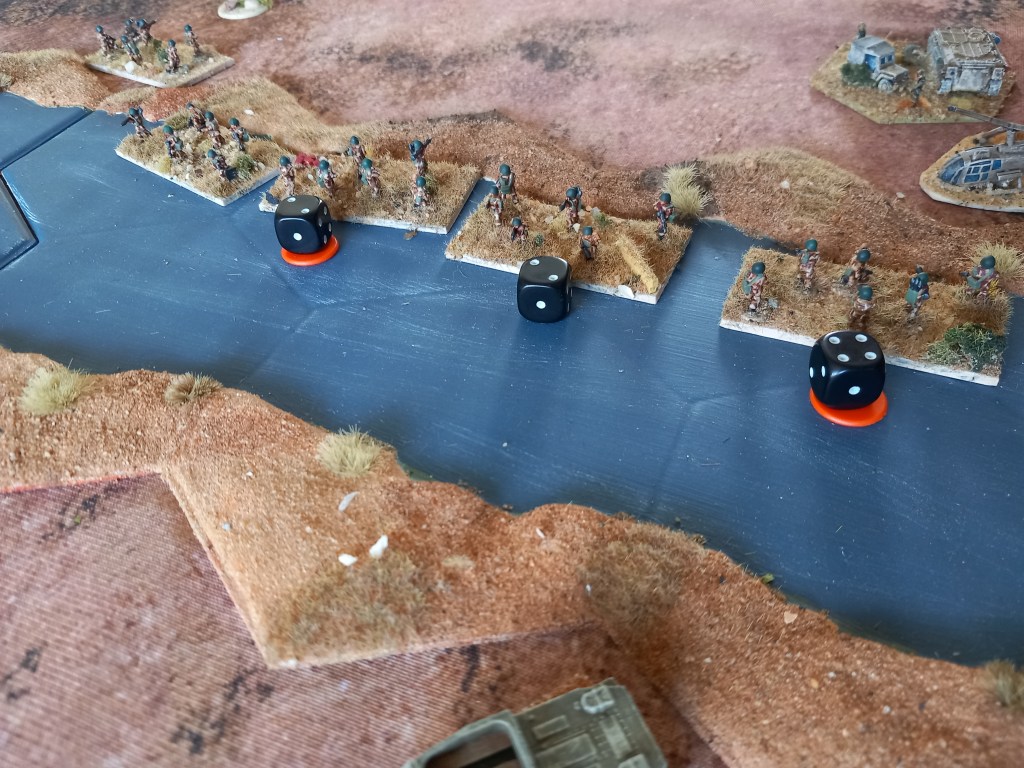
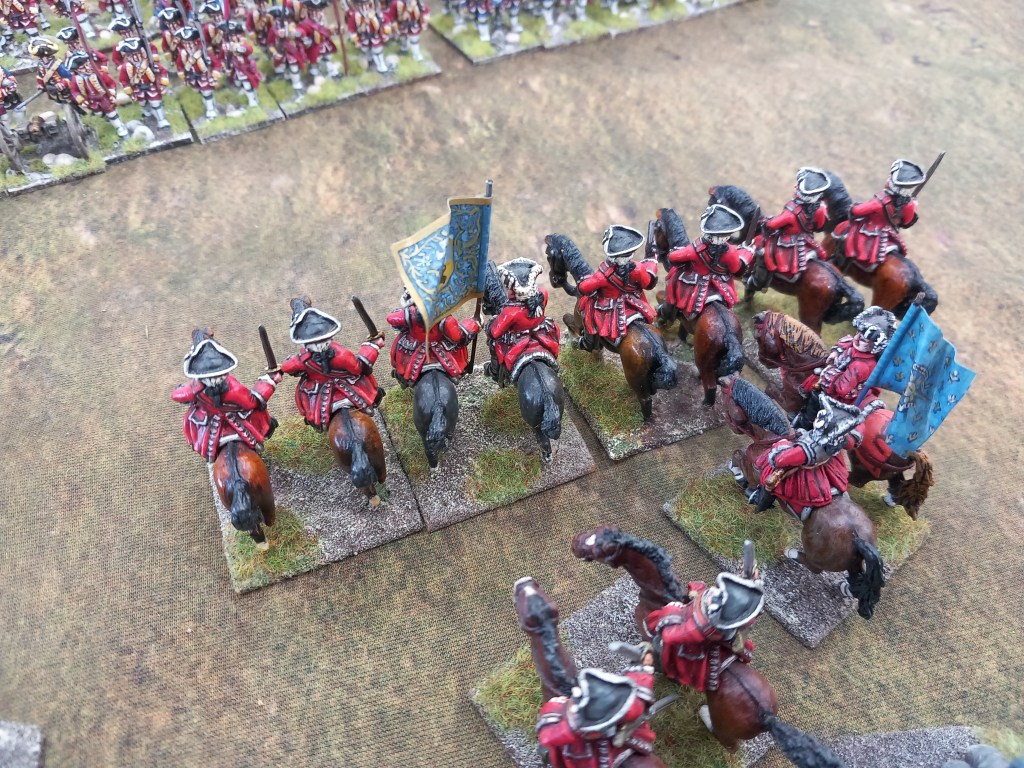
For those whose SYW history is a bit hazy here is the potted history of the action. Prince Ferdinand of Brunswick, commanding an allied army of British, Hanoverian, Hessian & Brunswick troops tempted a larger French army under Marshal Louis de Contades to give battle on the plains outside the fortress of Minden. In a confusion of orders, 8 regiments of British & Hanoverian infantry under General von Sporcken, advanced on the mass of French cavalry occupying the centre of the French line. Faced with no alternative, the French cavalry, under the Duc de Fitzjames, attacked in three successive waves, the third being the elite Gendarmerie of France, and were shot to pieces as they came. There then followed another confusion of orders when Lord George Sackville, commanding the British & Hanoverian right wing cavalry, misunderstood/ignored repeated messages from Ferdinand to lose his cavalry and roll up the French line. The shattered French retreated and were of no further threat for the rest of the year, Sackville was court martialled and removed from command, Contades was also replaced in the ever revolving door of French command.
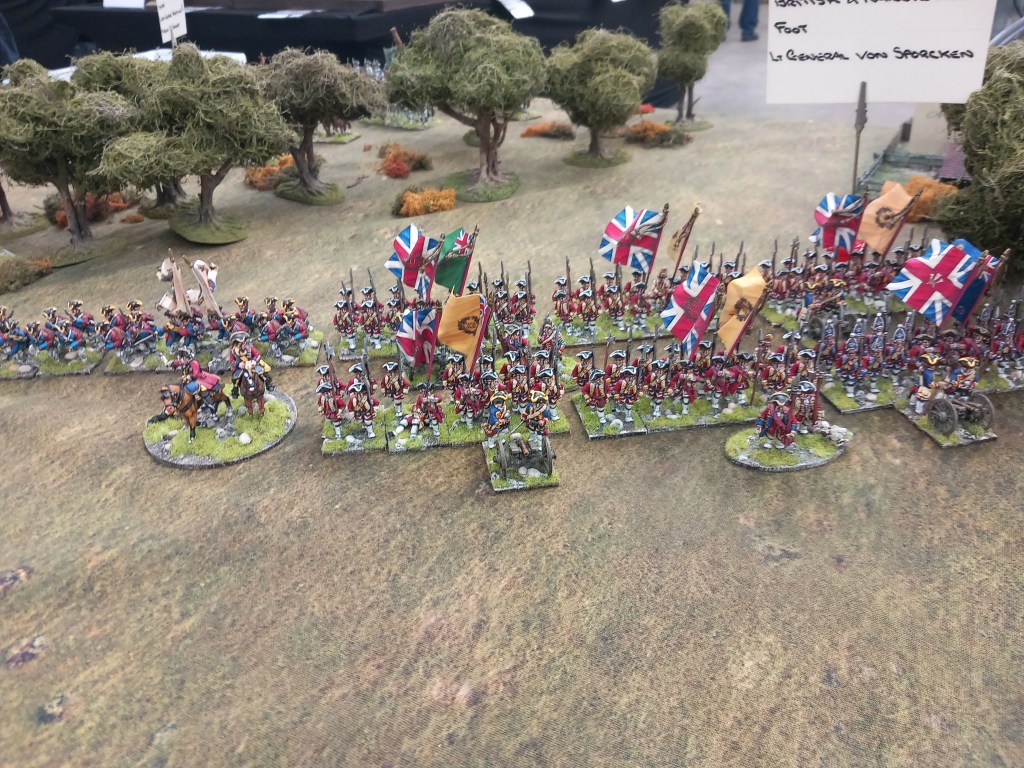
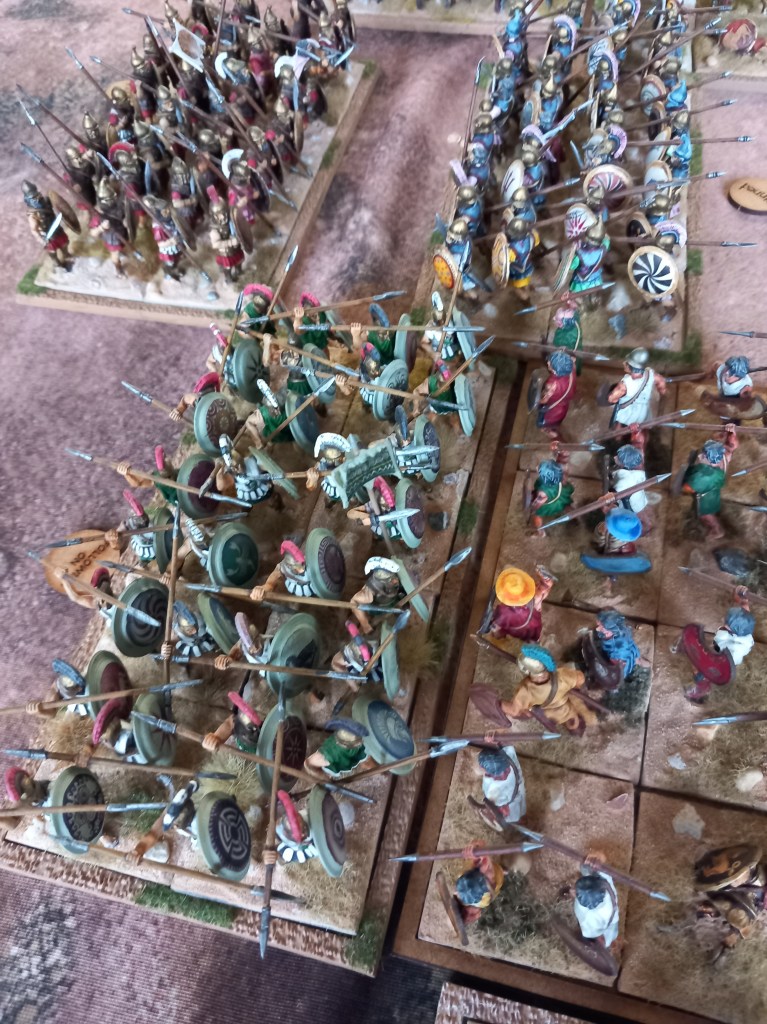
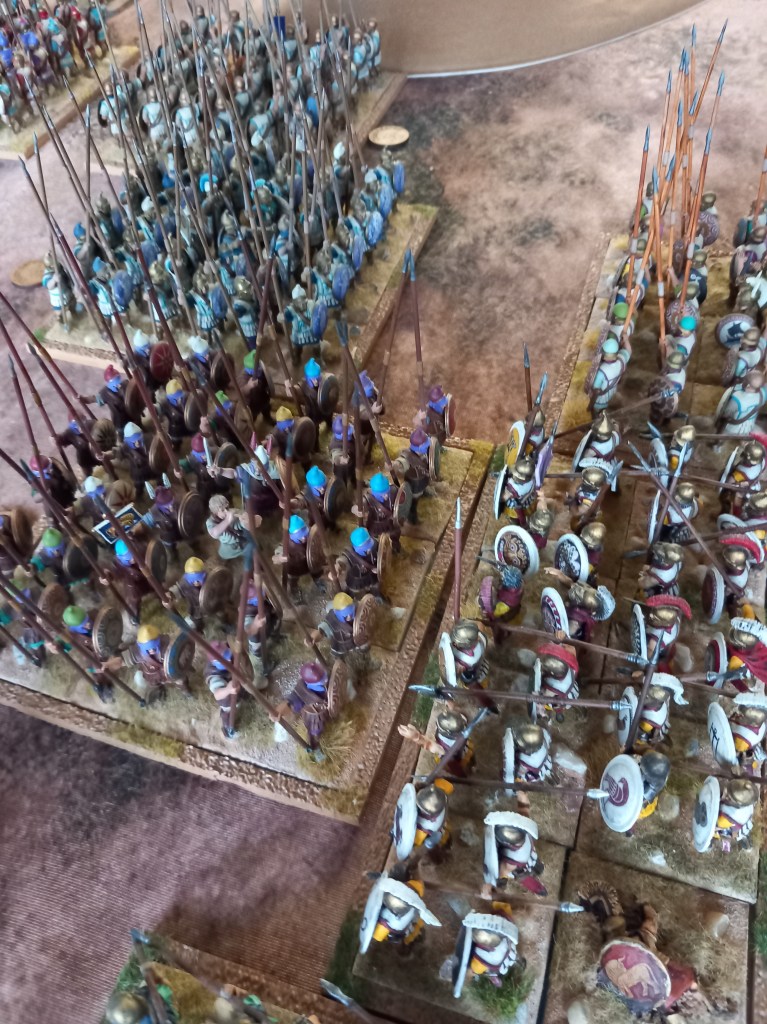
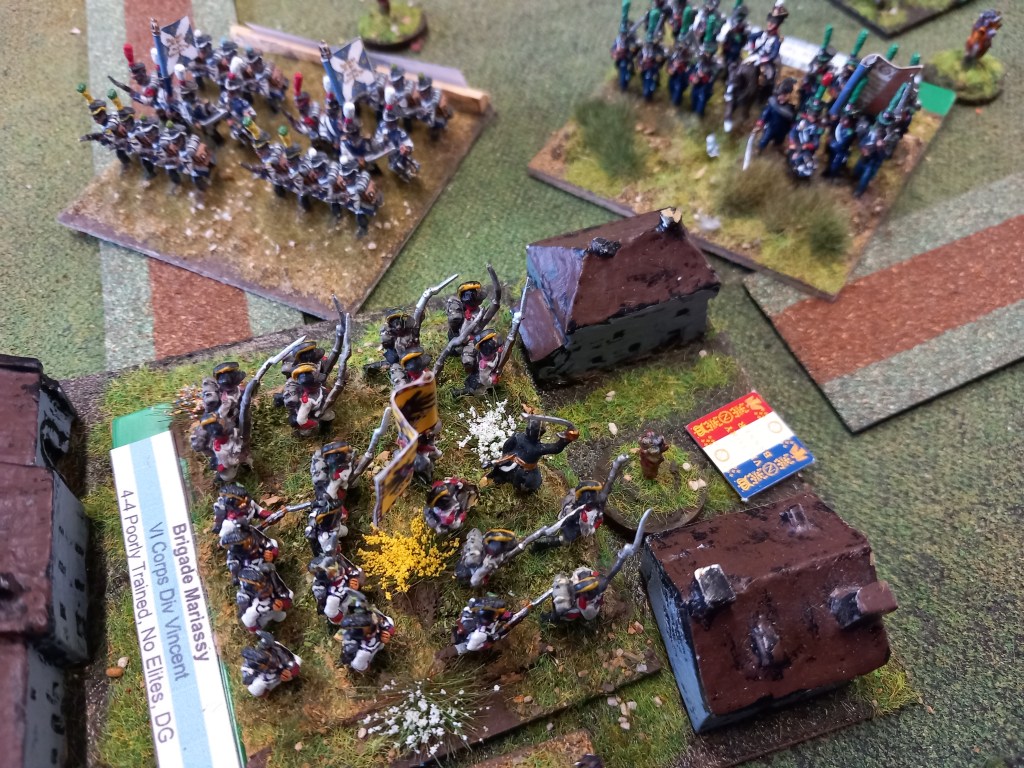
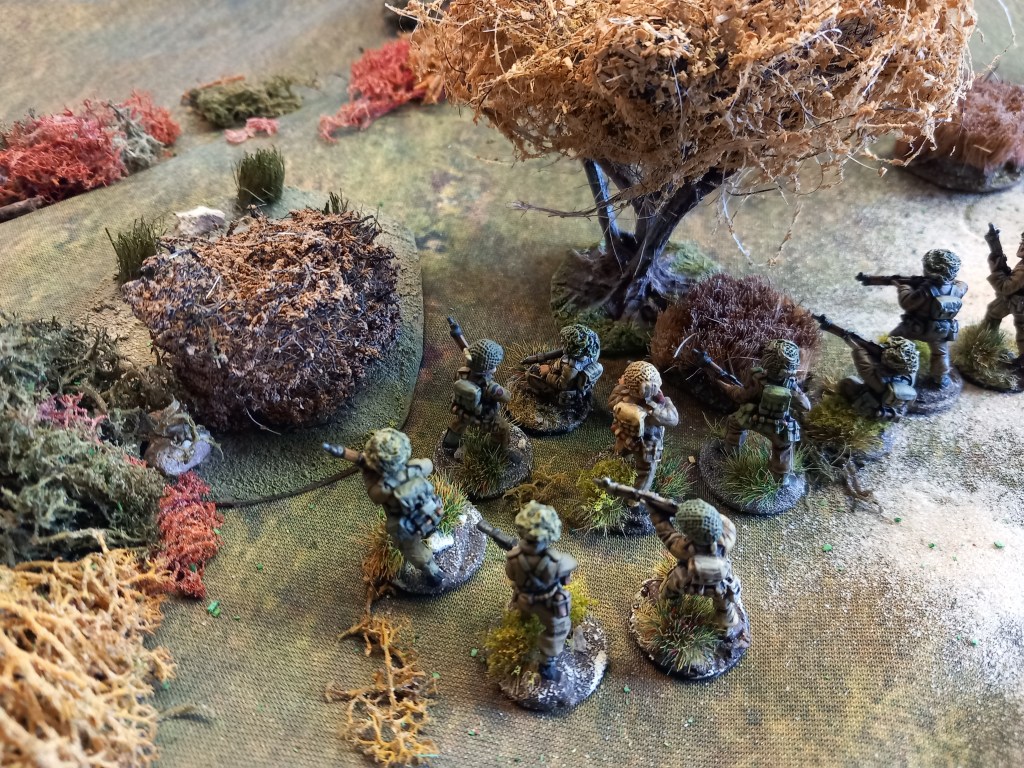
For our refight all units were in their historical starting points and mainly had hold orders. Sporcken would be sent orders to advance as soon as the French did something – their infantry advanced on the village of Maulbeerkamp and the odds favoured him obeying.
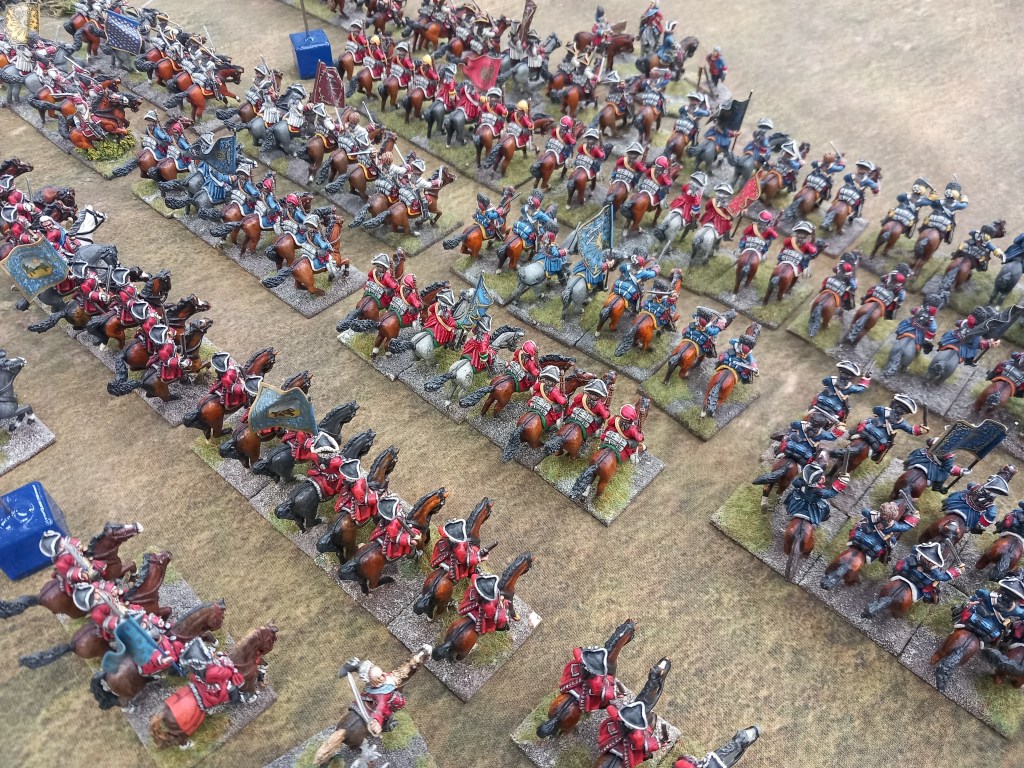
Fitzjames would issue orders to his three cavalry commanders as soon as the British advanced. Elsewhere the battle was essentially static.
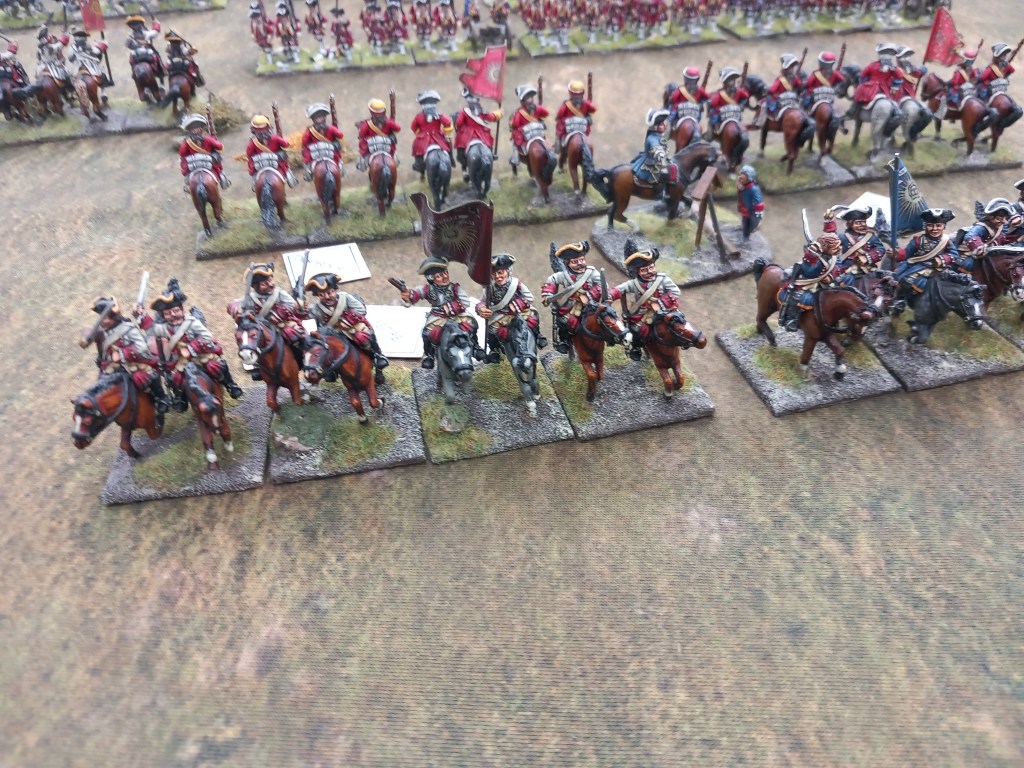
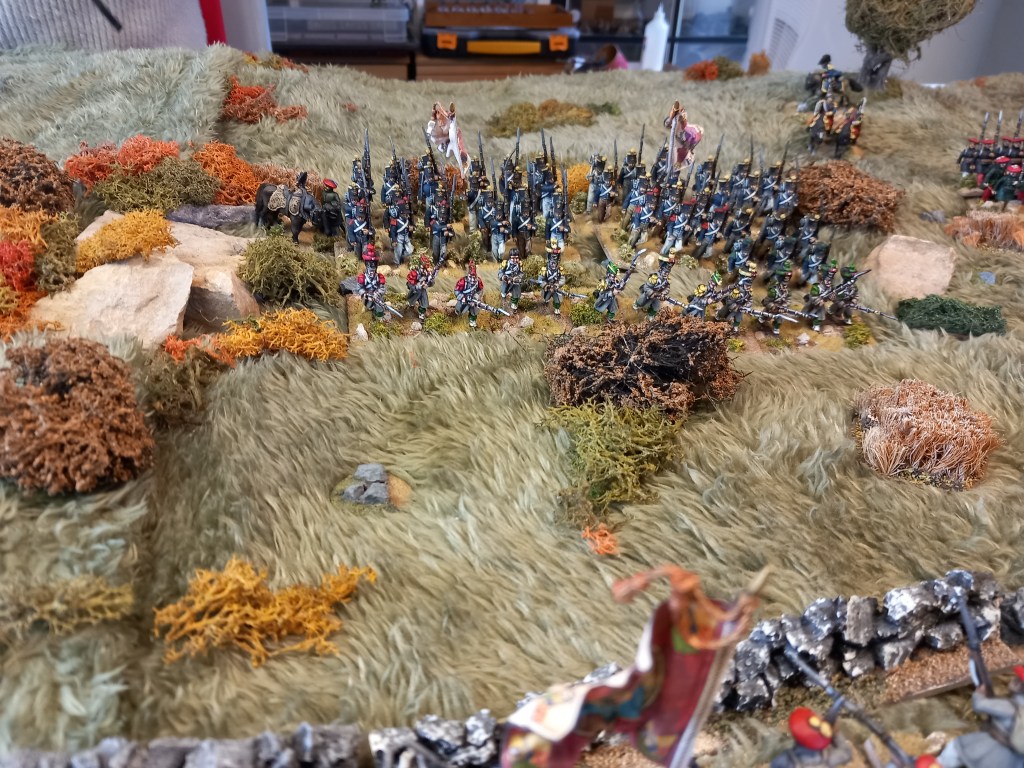
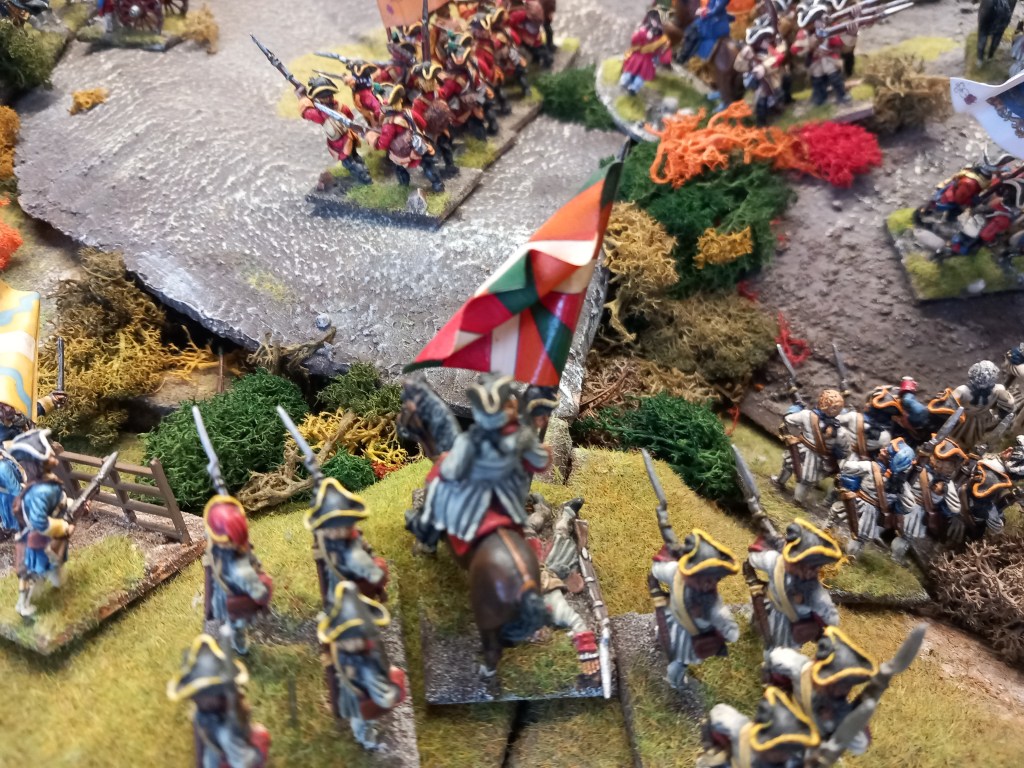
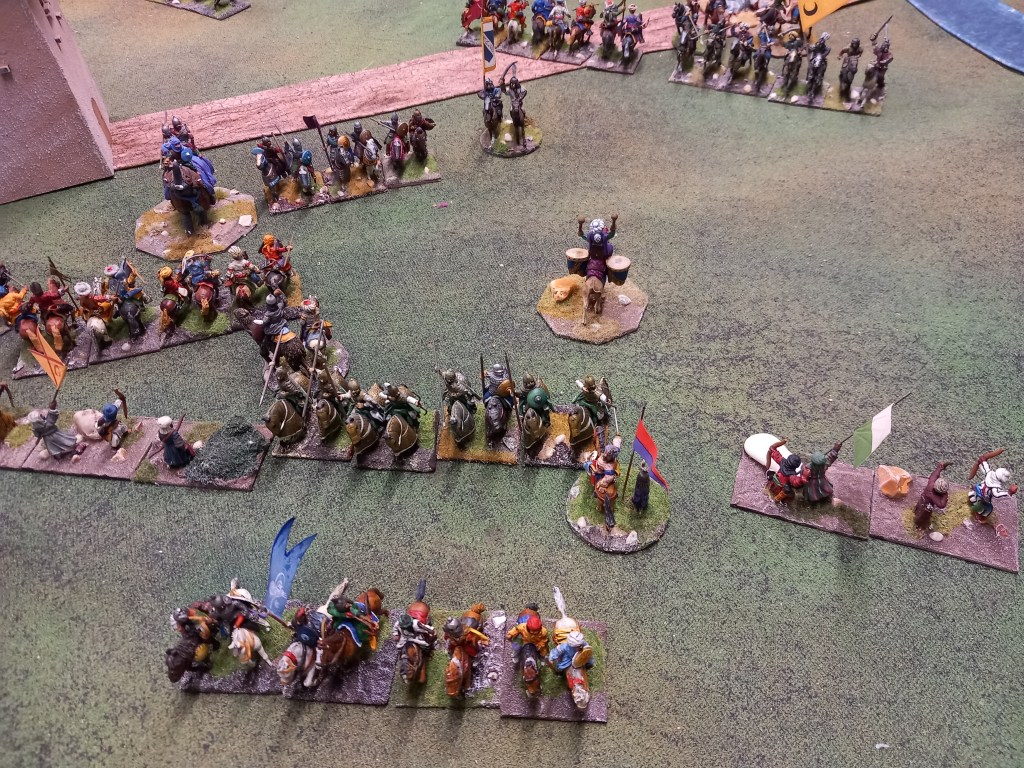
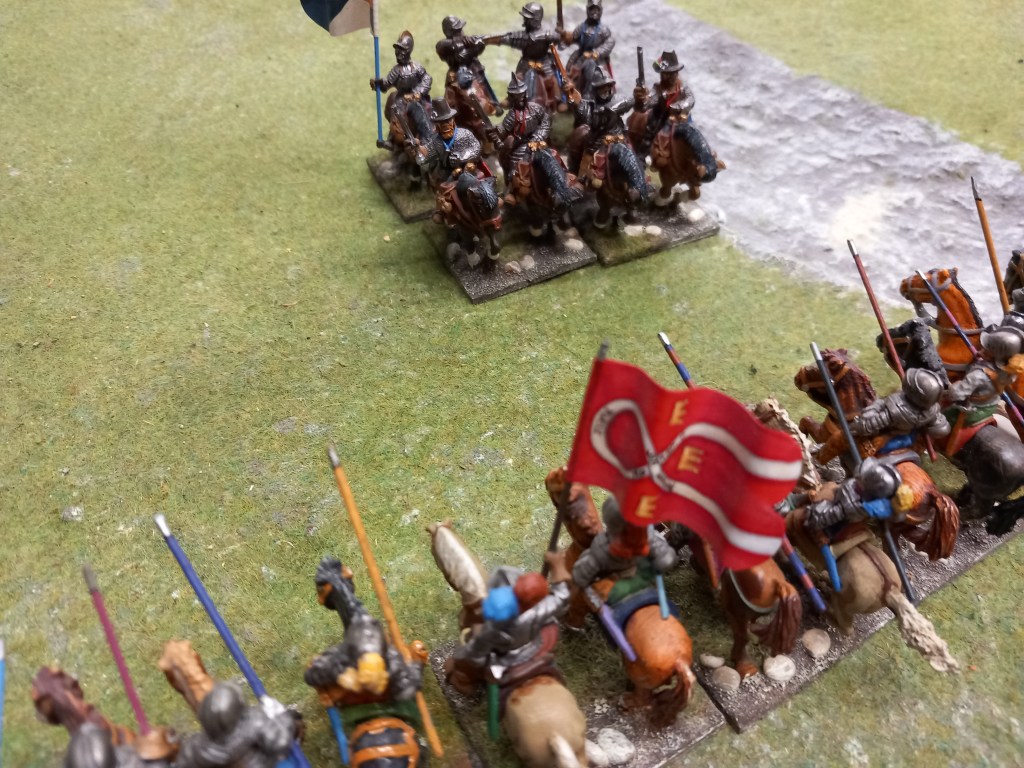
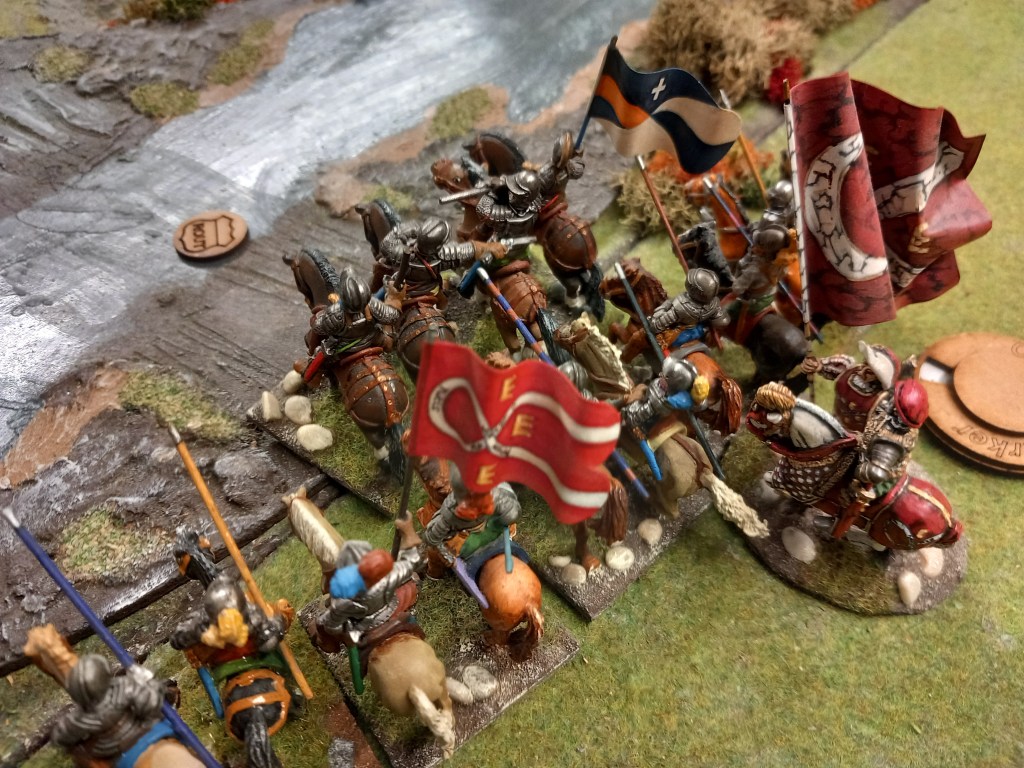
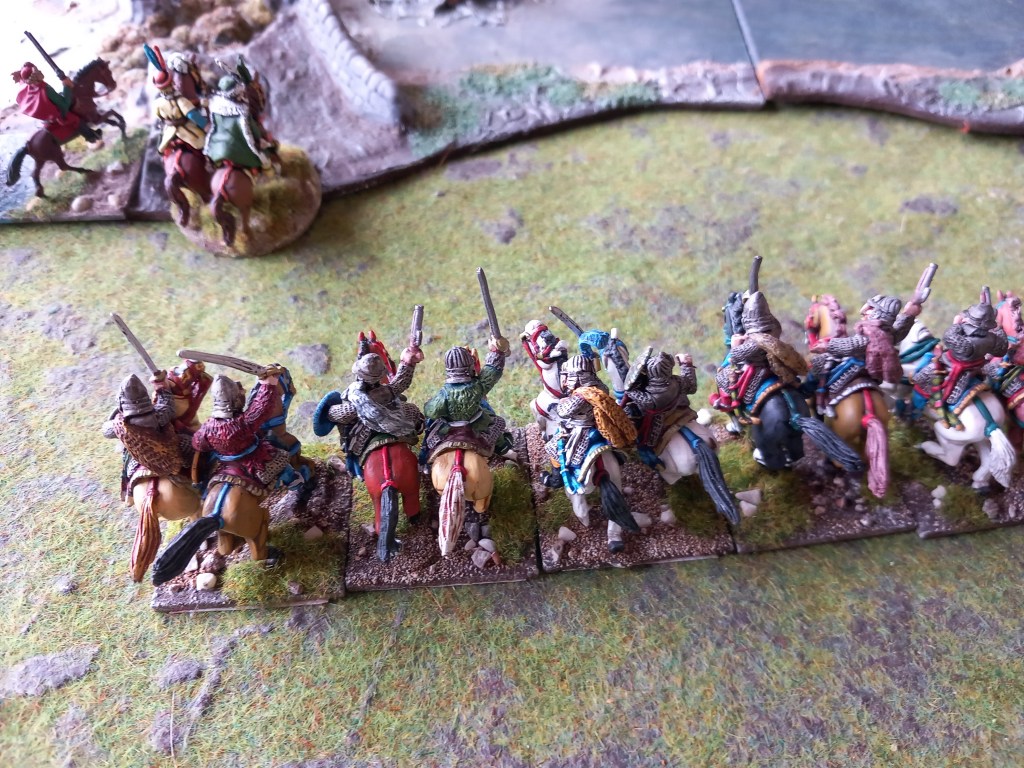
The game went much as the real event. The cavalry advanced, the infantry shot them (plus support from nearby artillery), and the cavalry retreated. Rinse and repeat.
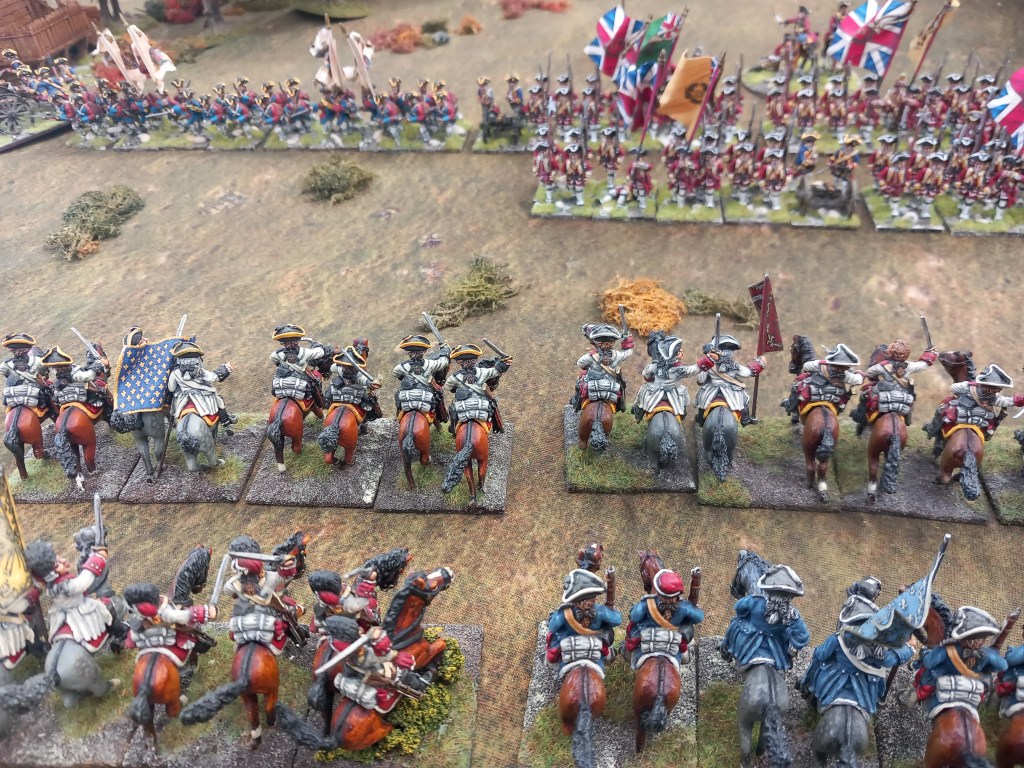
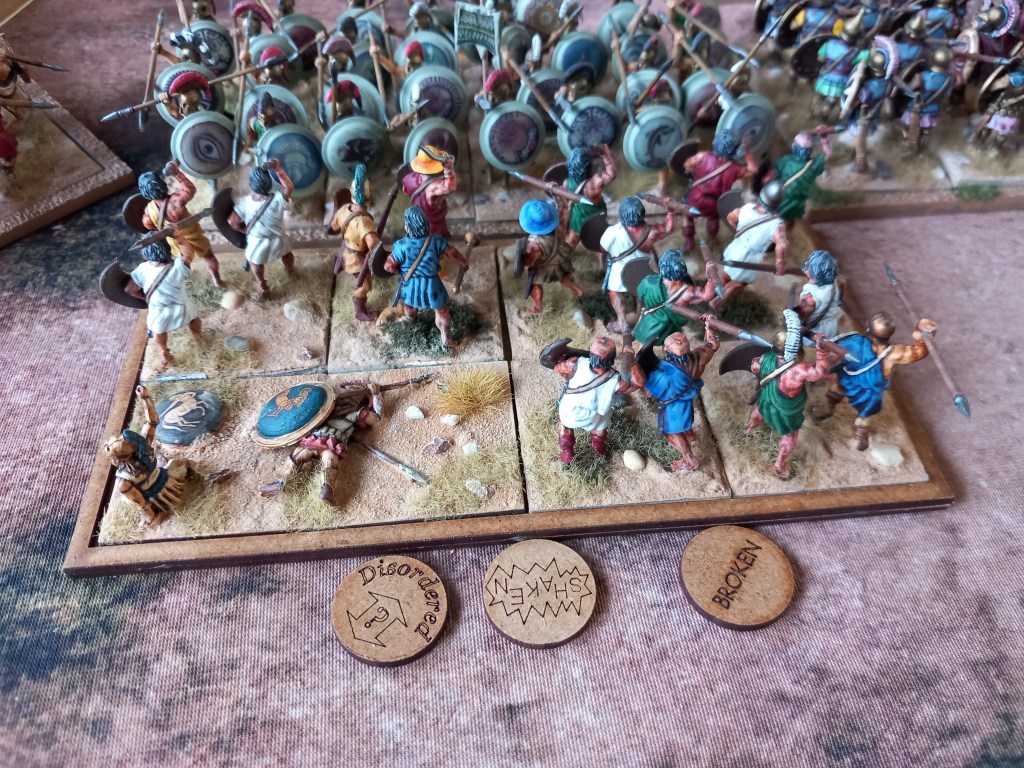
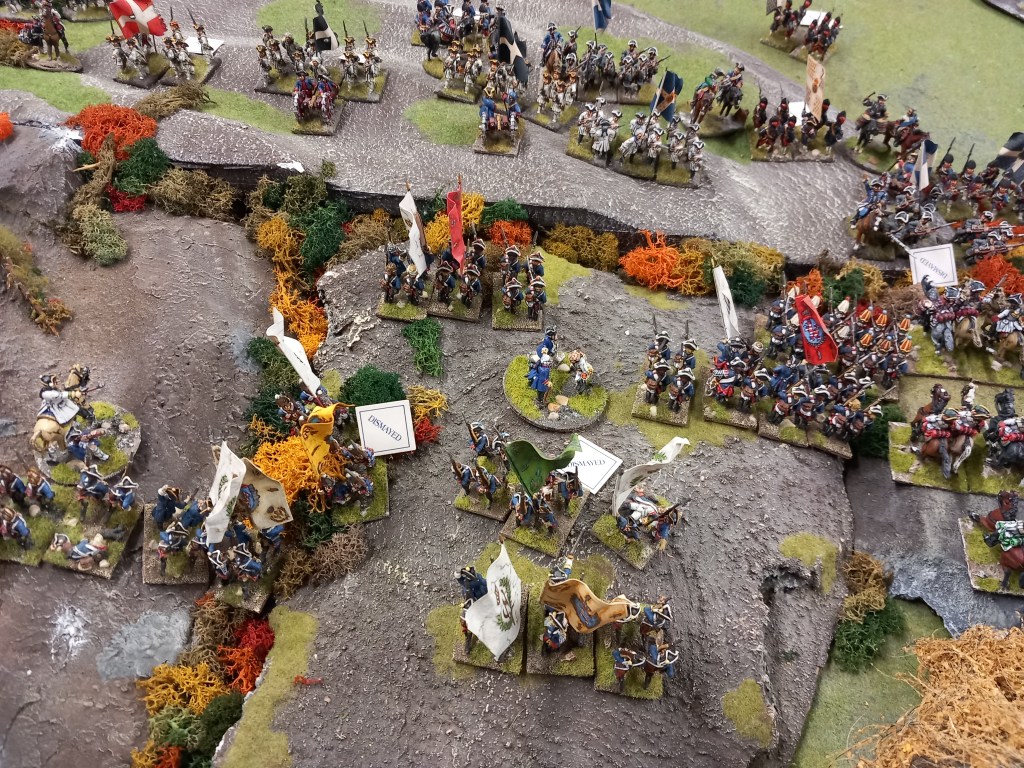
It did look very pretty and we hoped the spectacle was enjoyable for those who visited the stand but as for playing, well that wasn’t so great.
On the plus side, our long standing home grown rules set coped with the numbers and the vagaries of command very well and we didn’t have to surreptitiously fiddle the results of a firefight or a melee to suit the narrative. Next year something a bit less crowded 😁

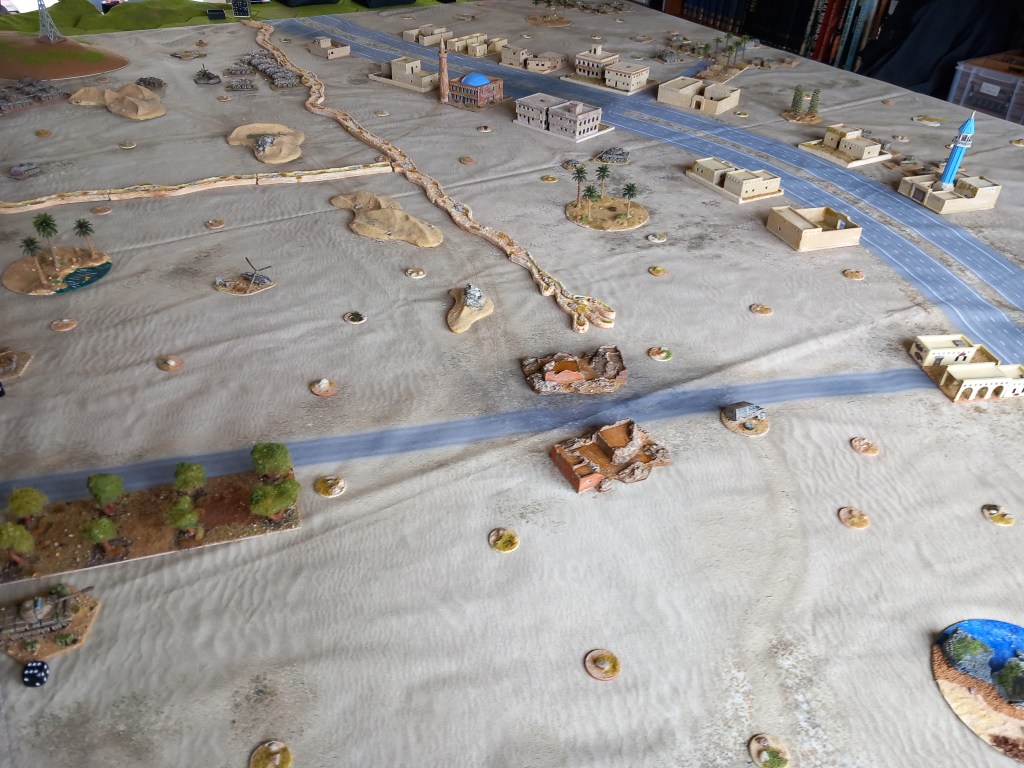
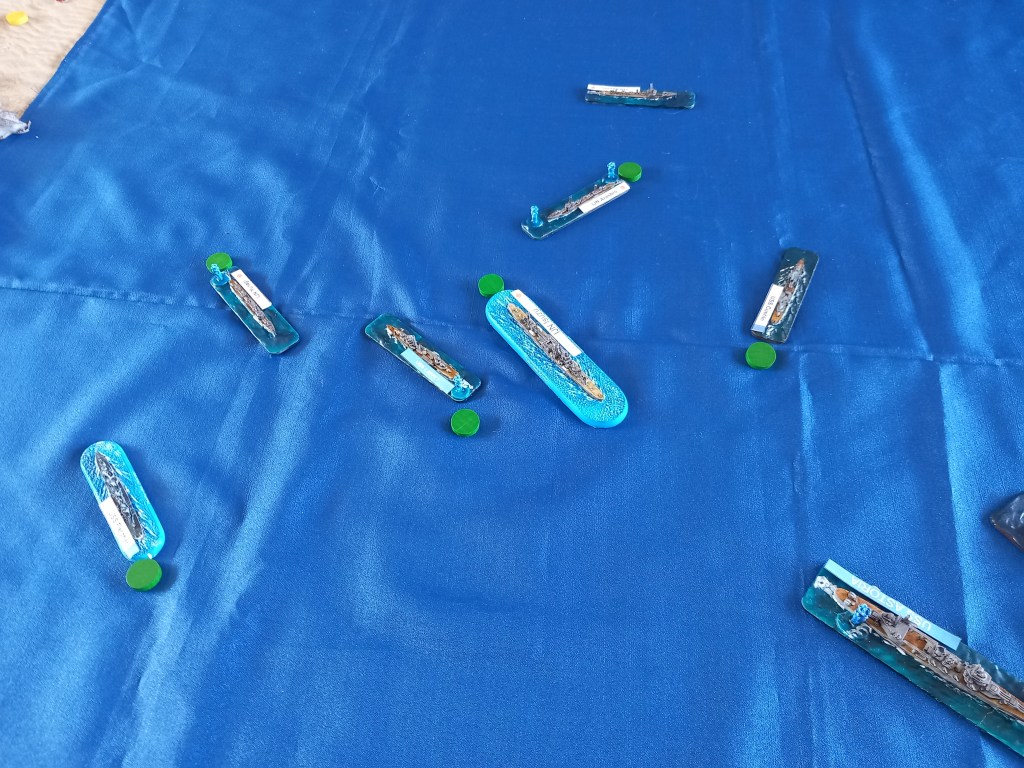
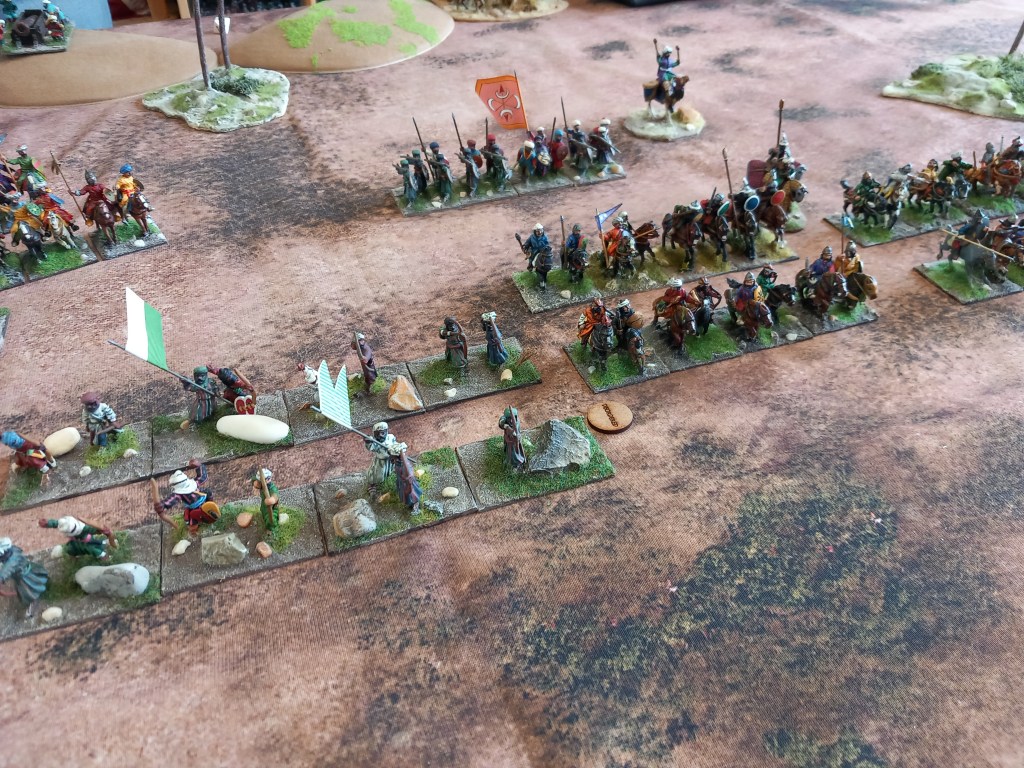
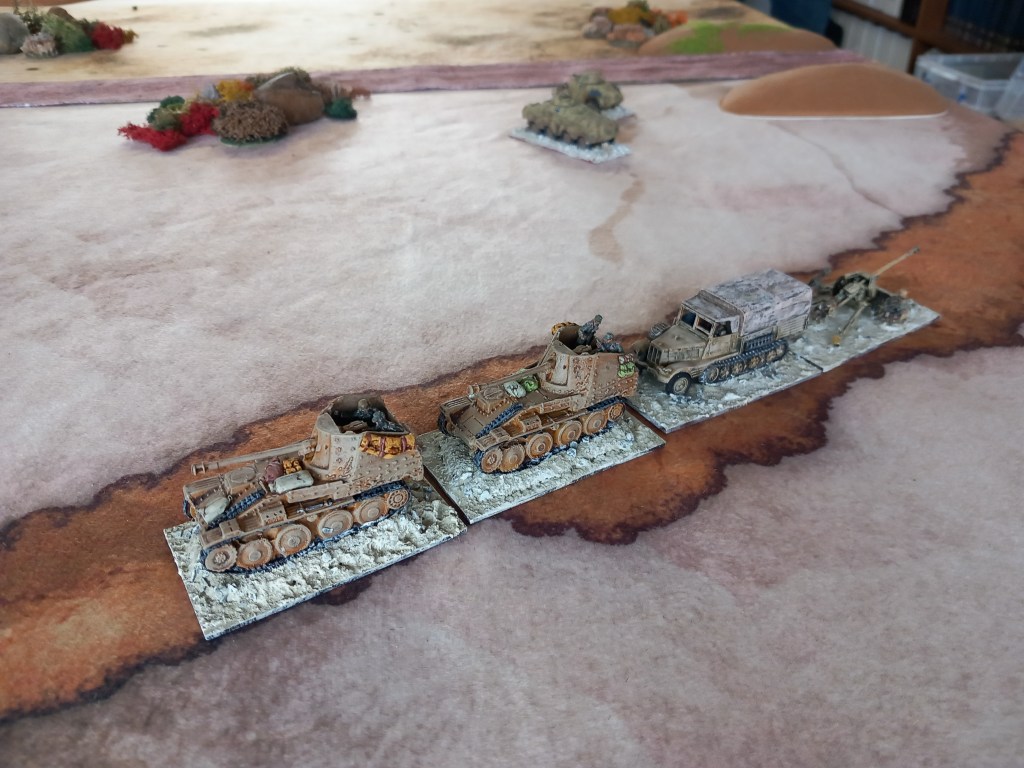
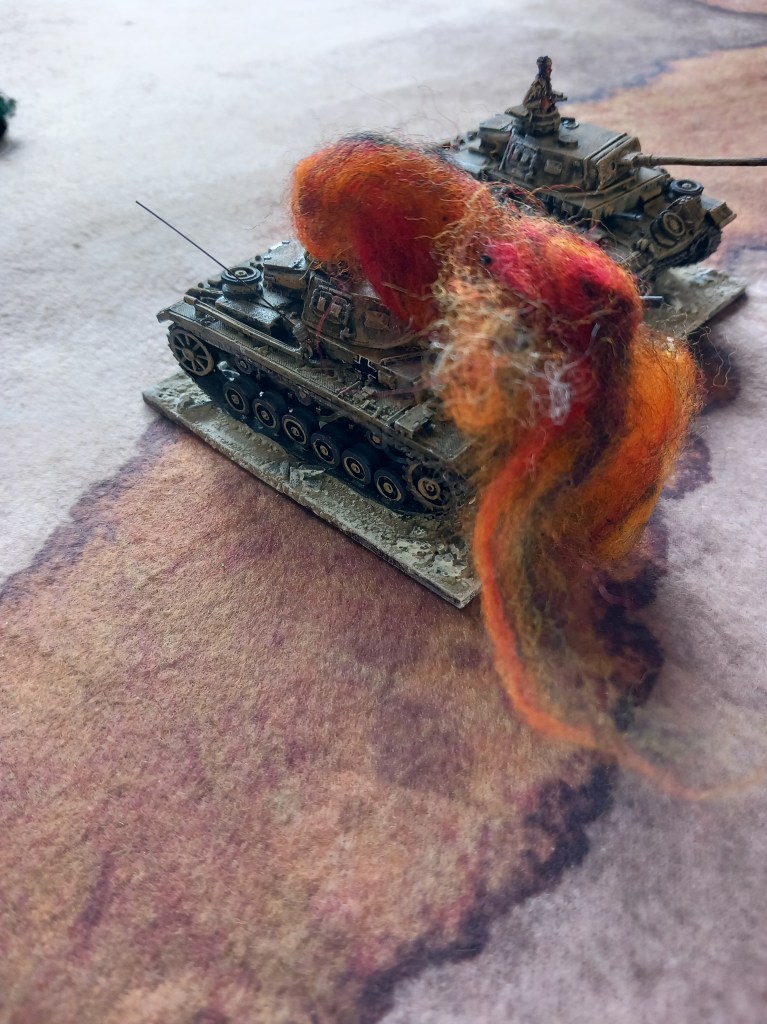
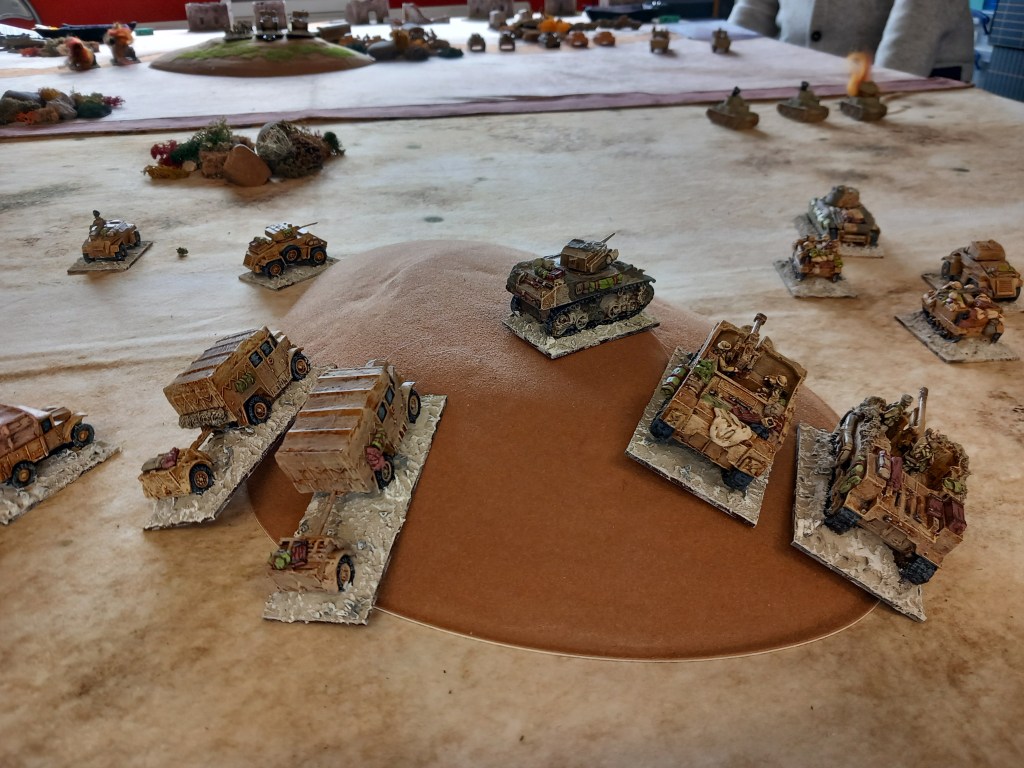
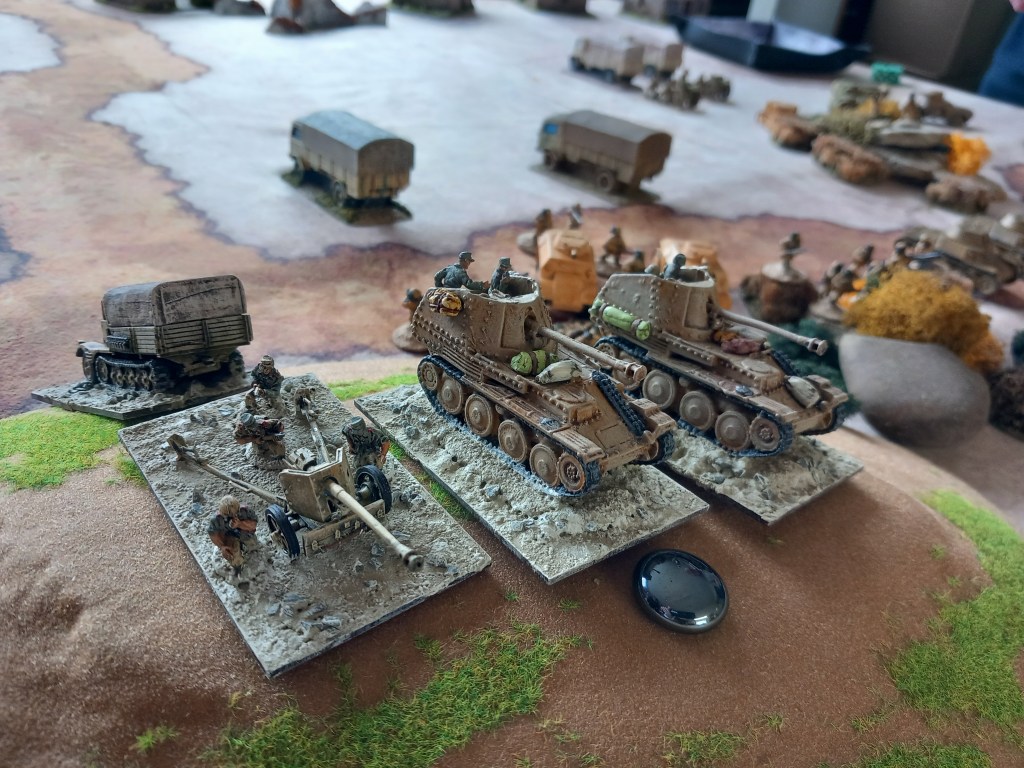
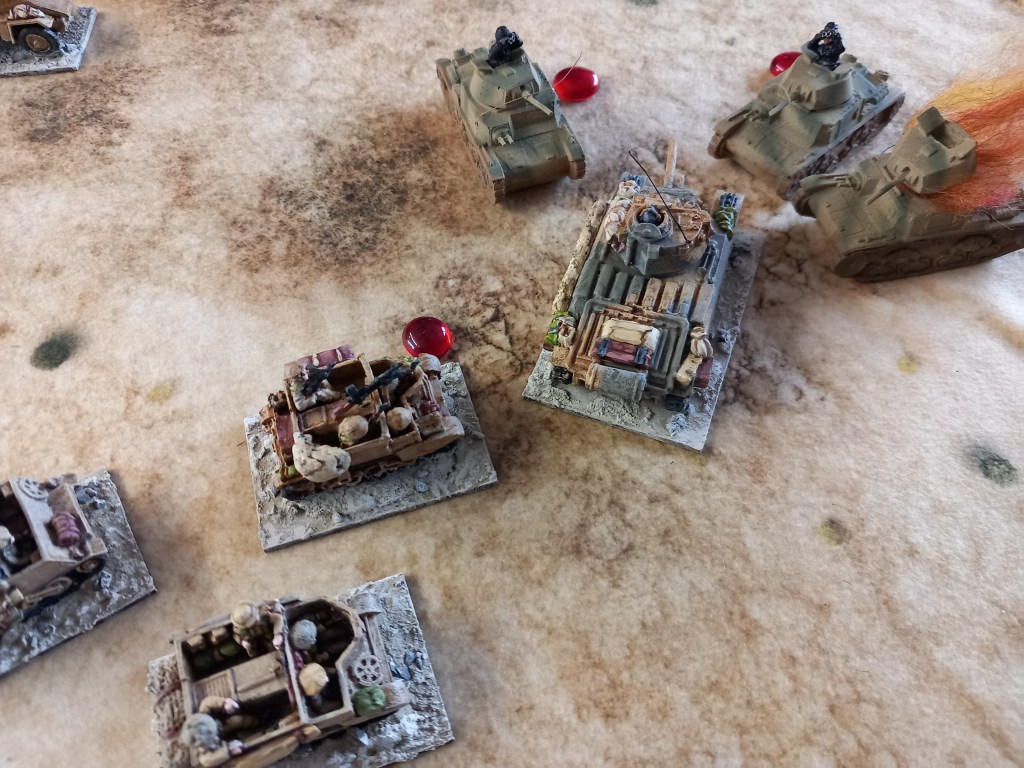
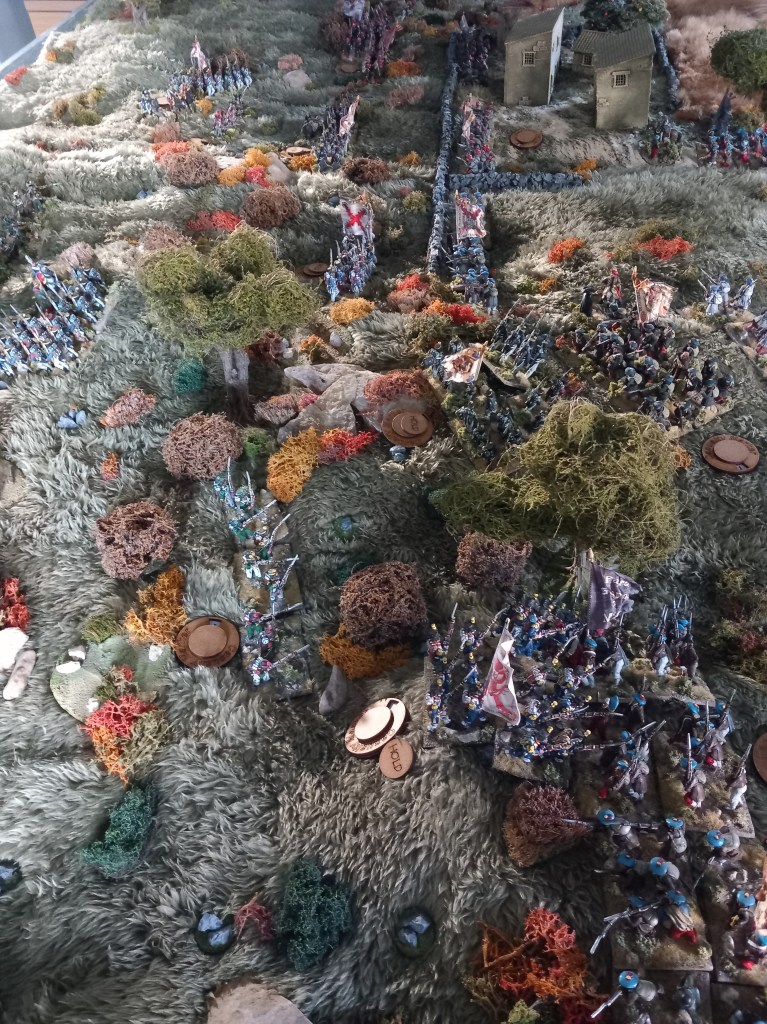
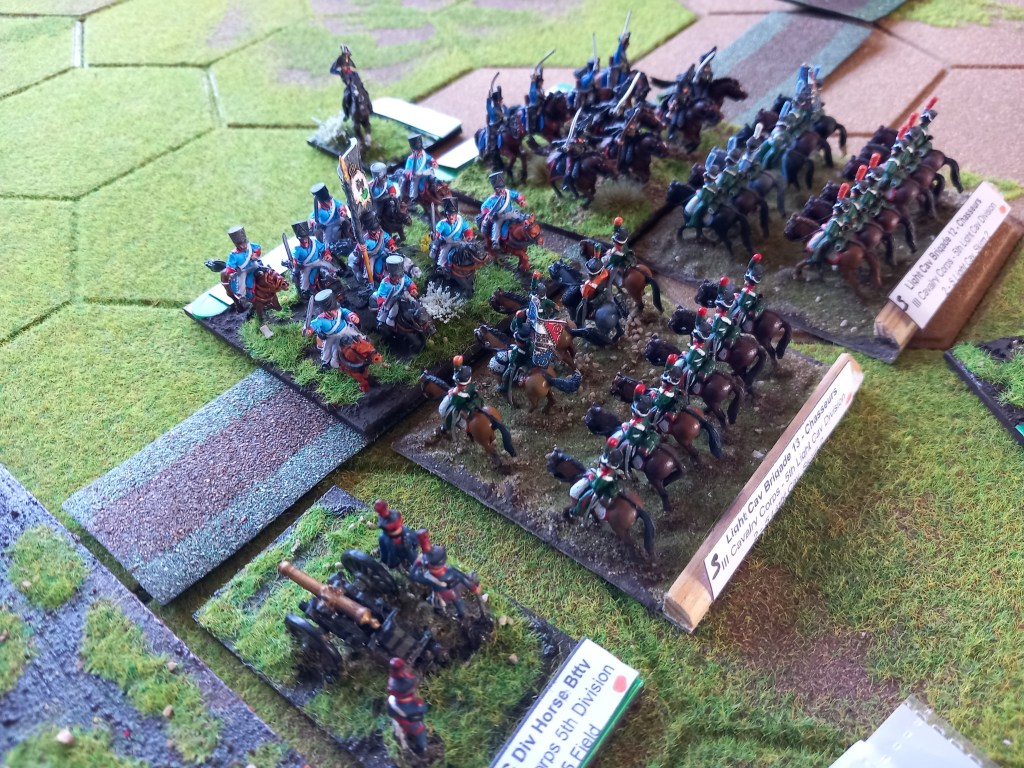
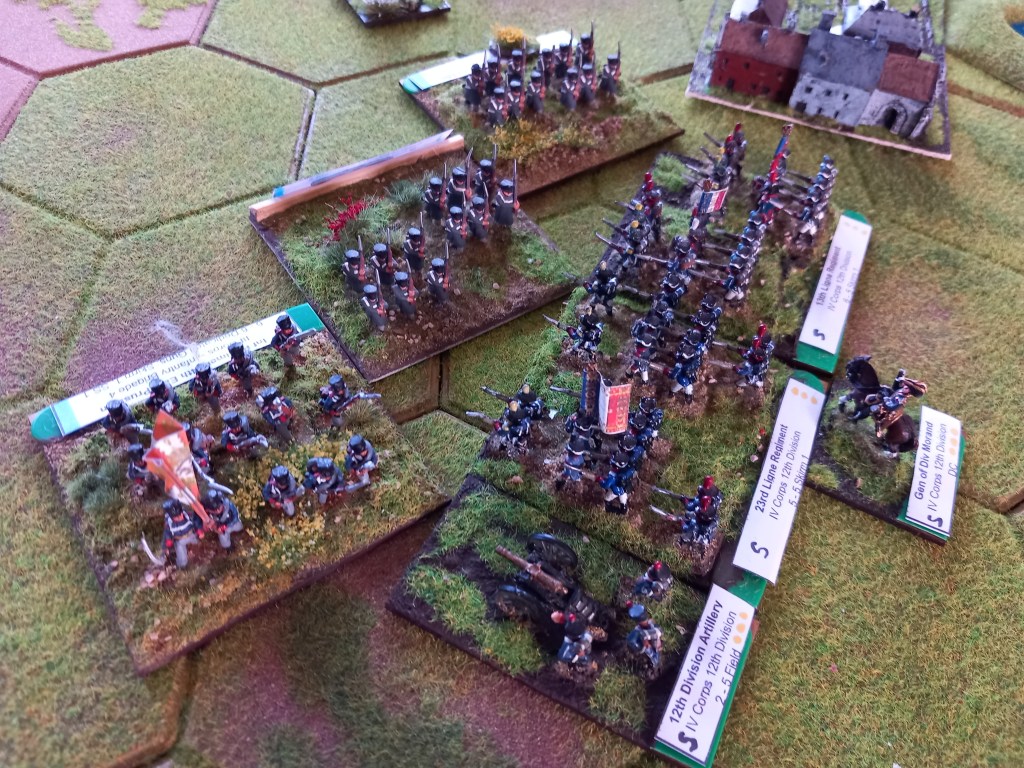
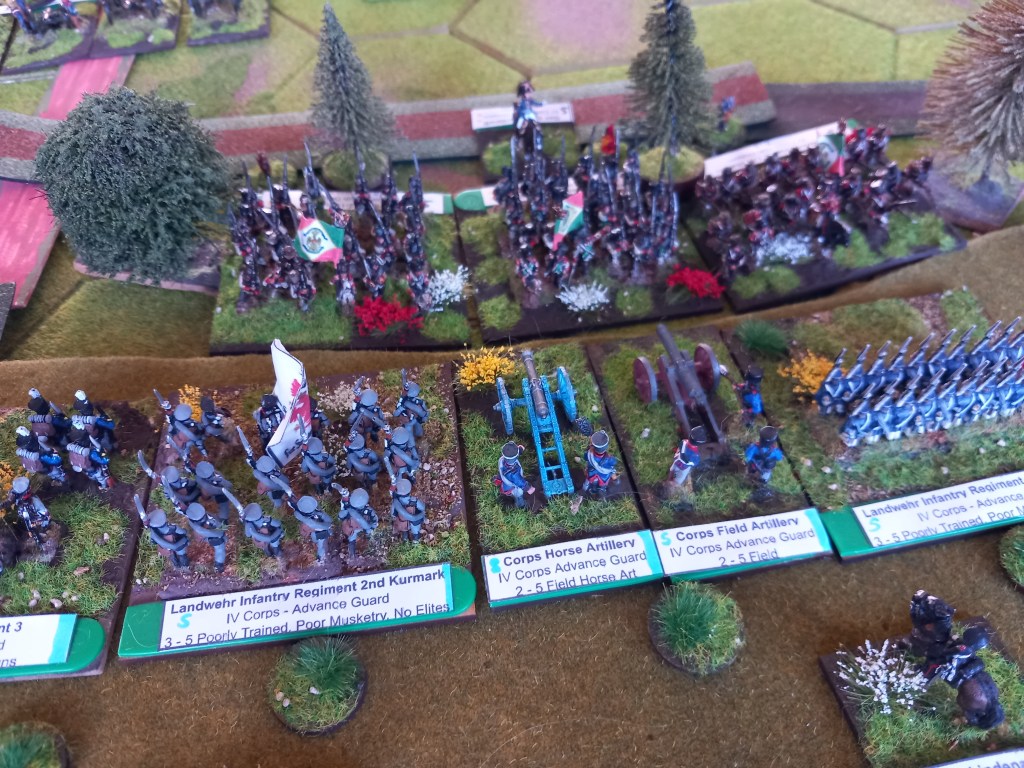
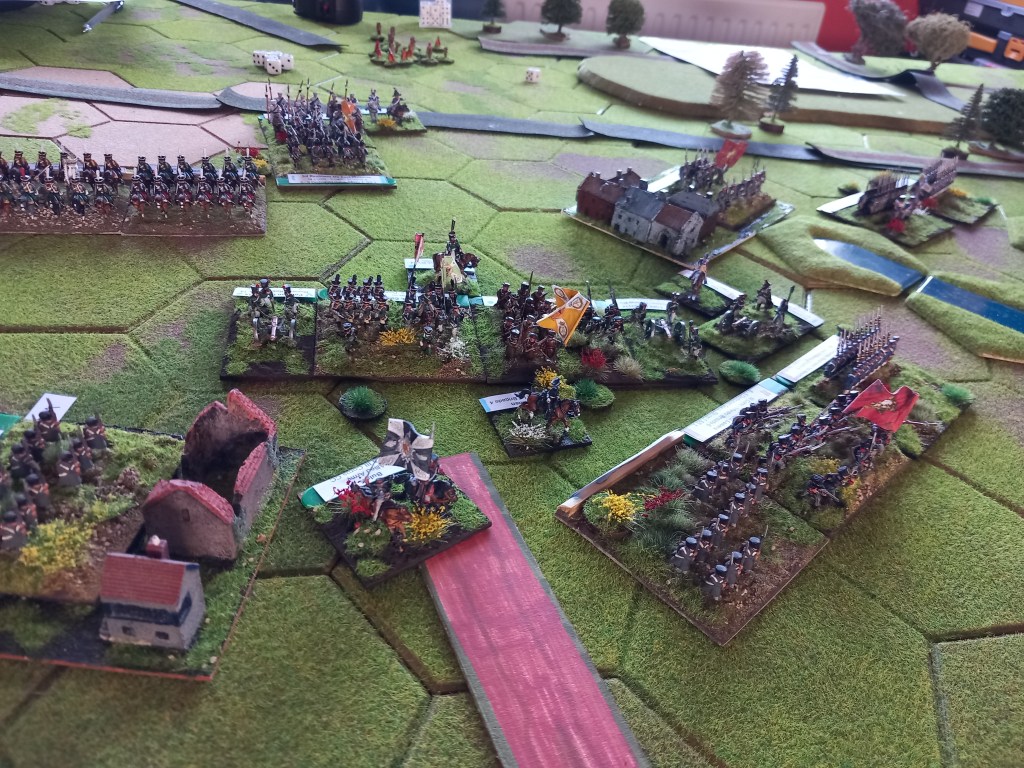
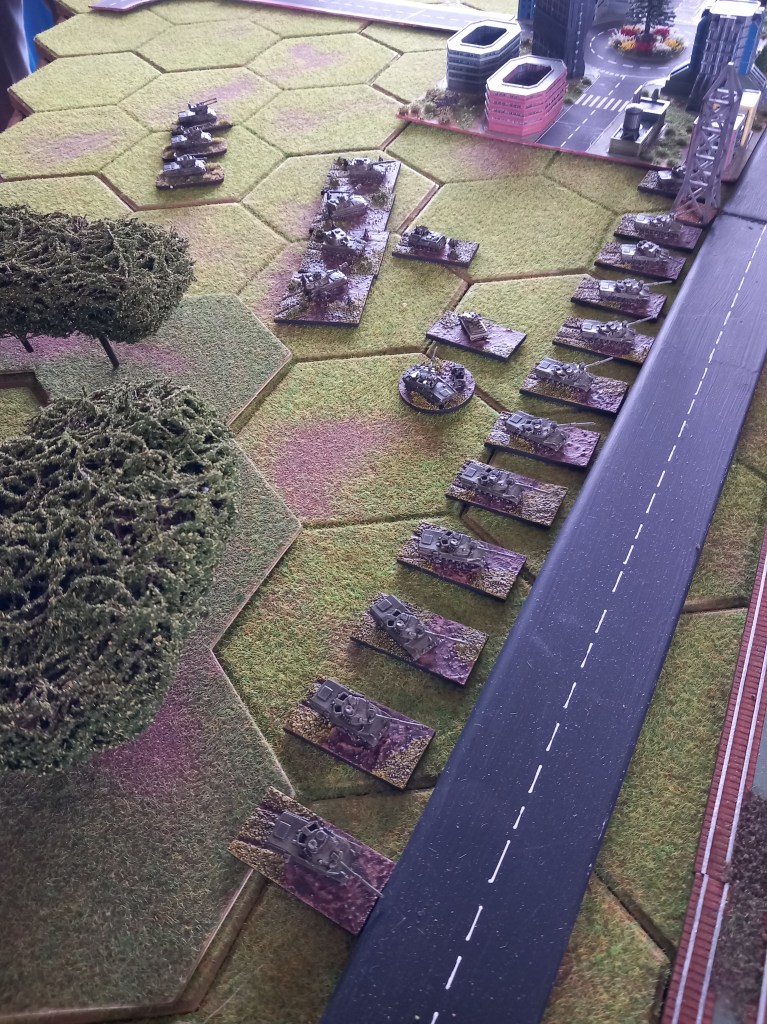
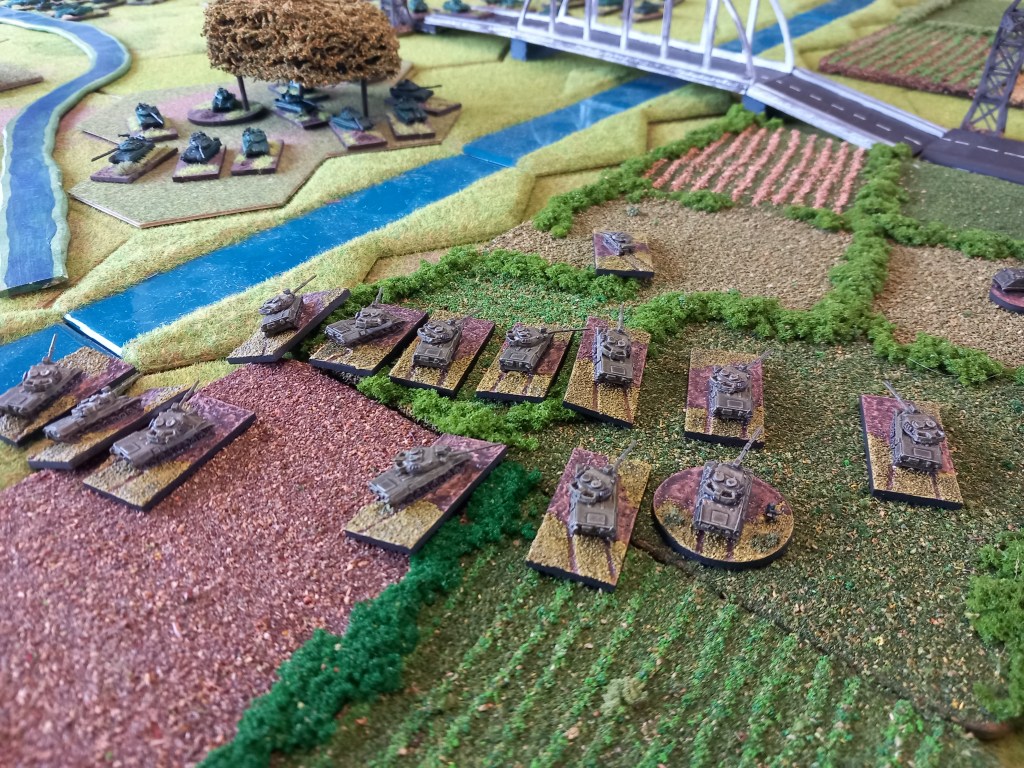
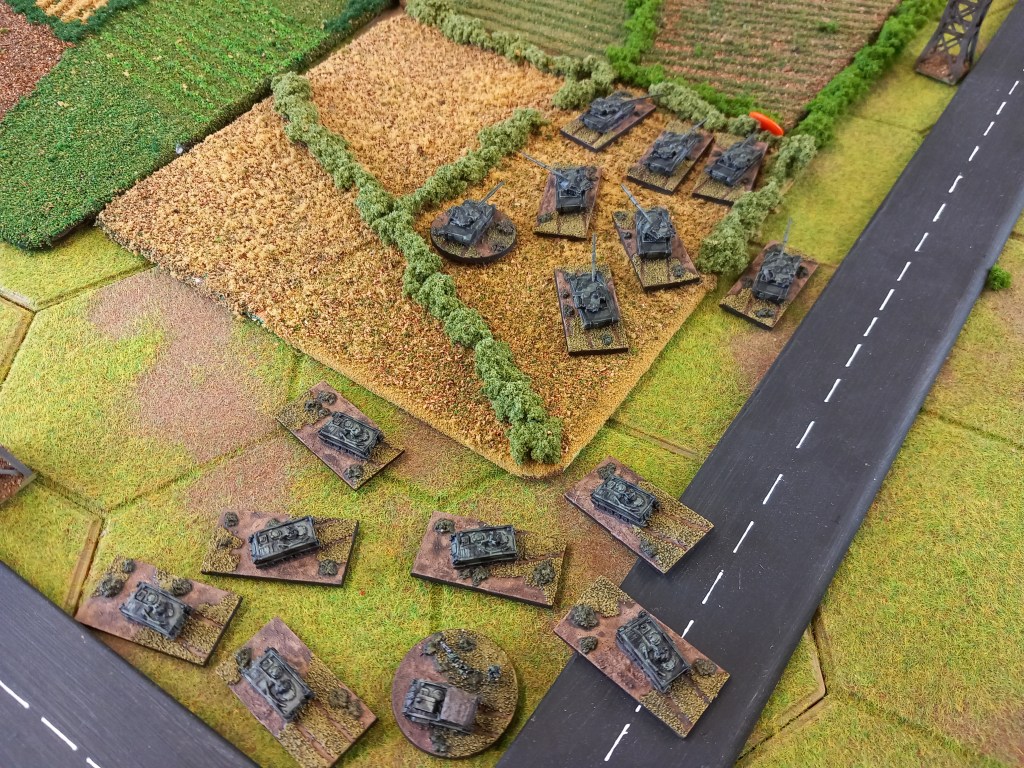
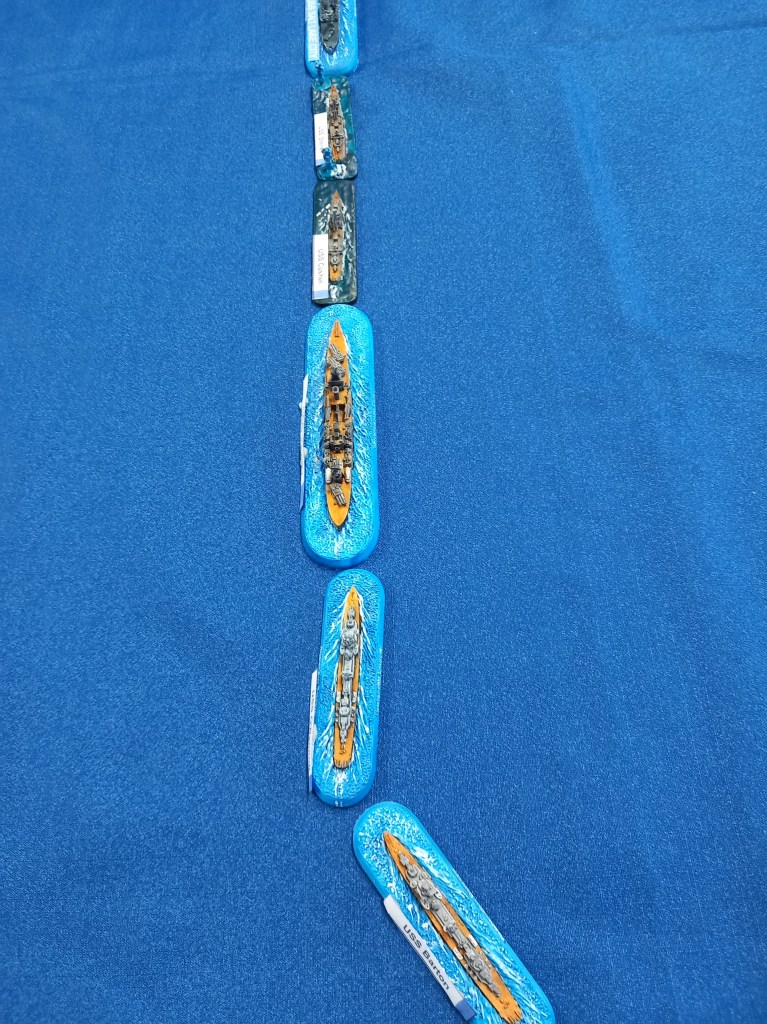
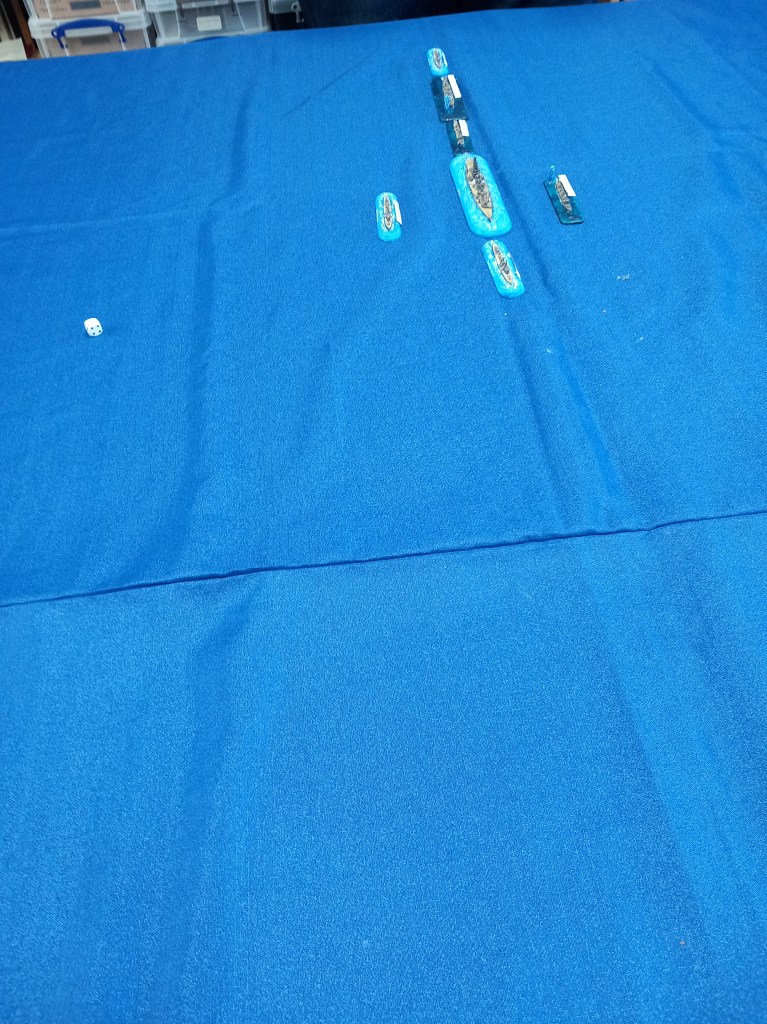
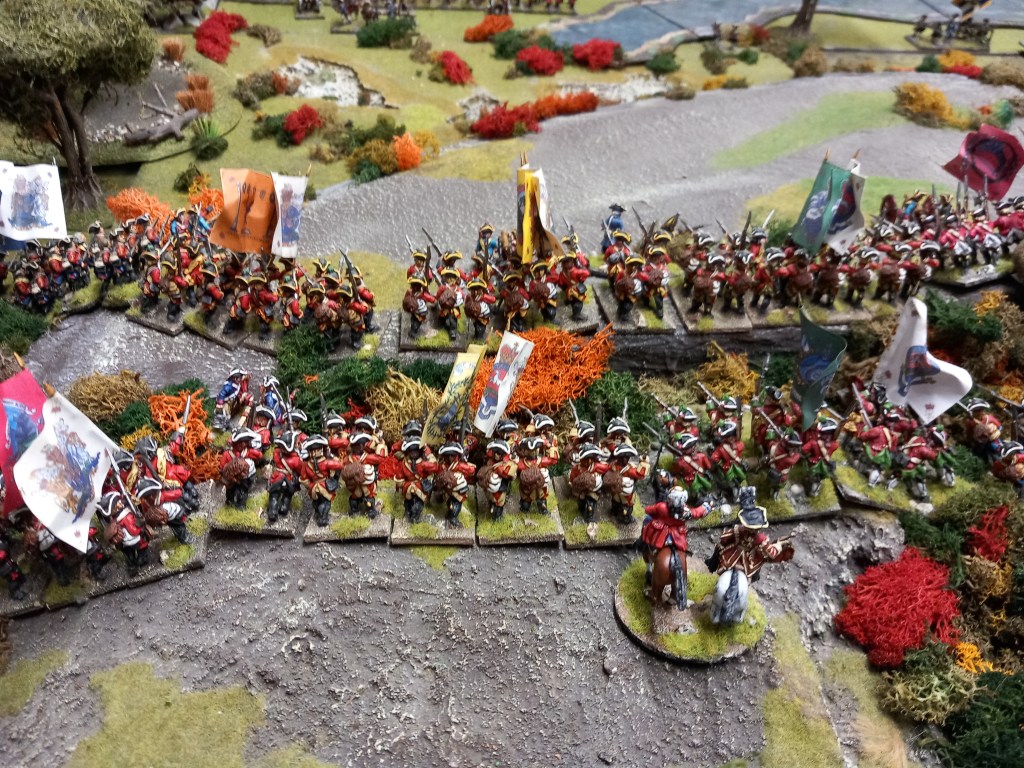
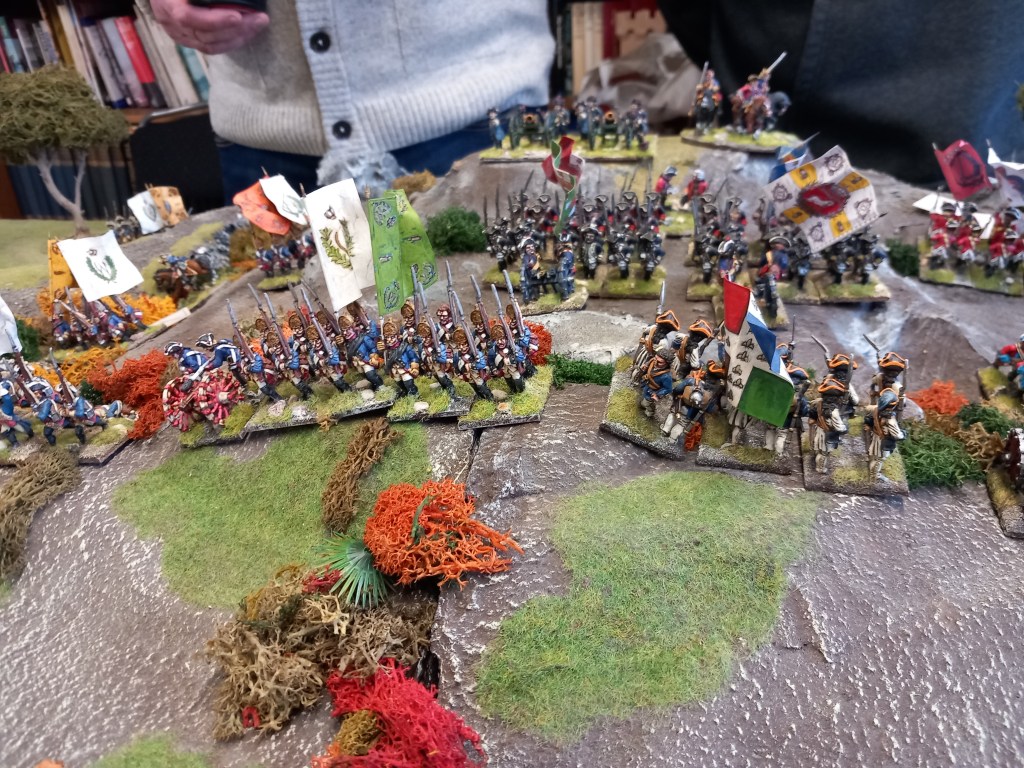
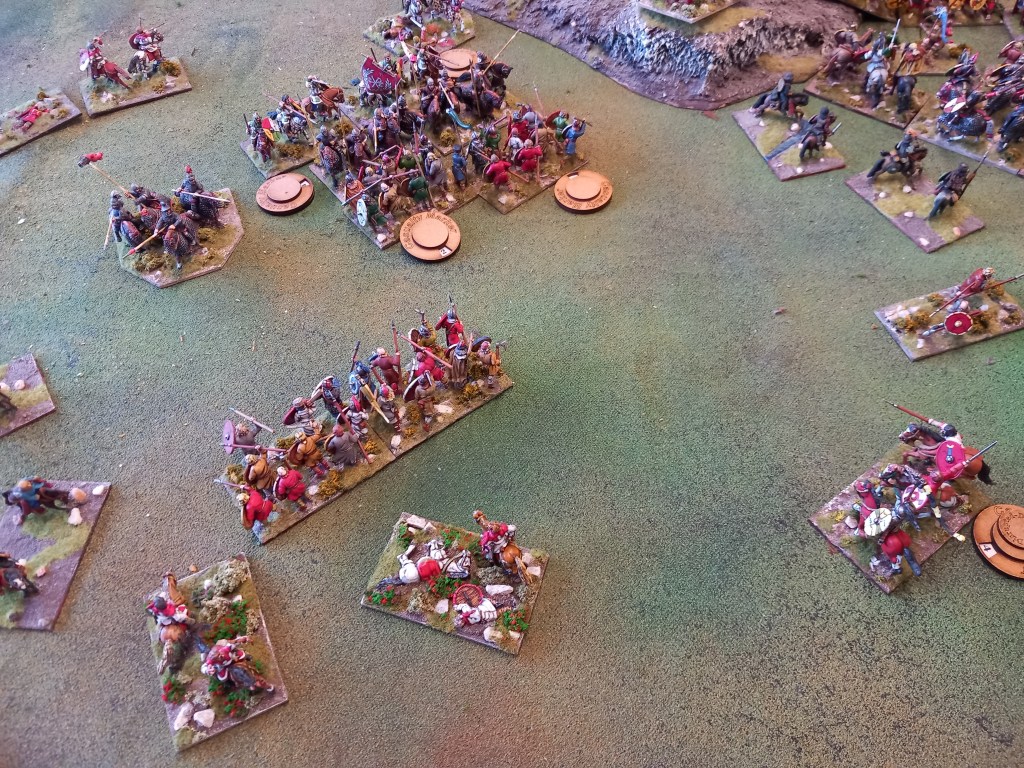
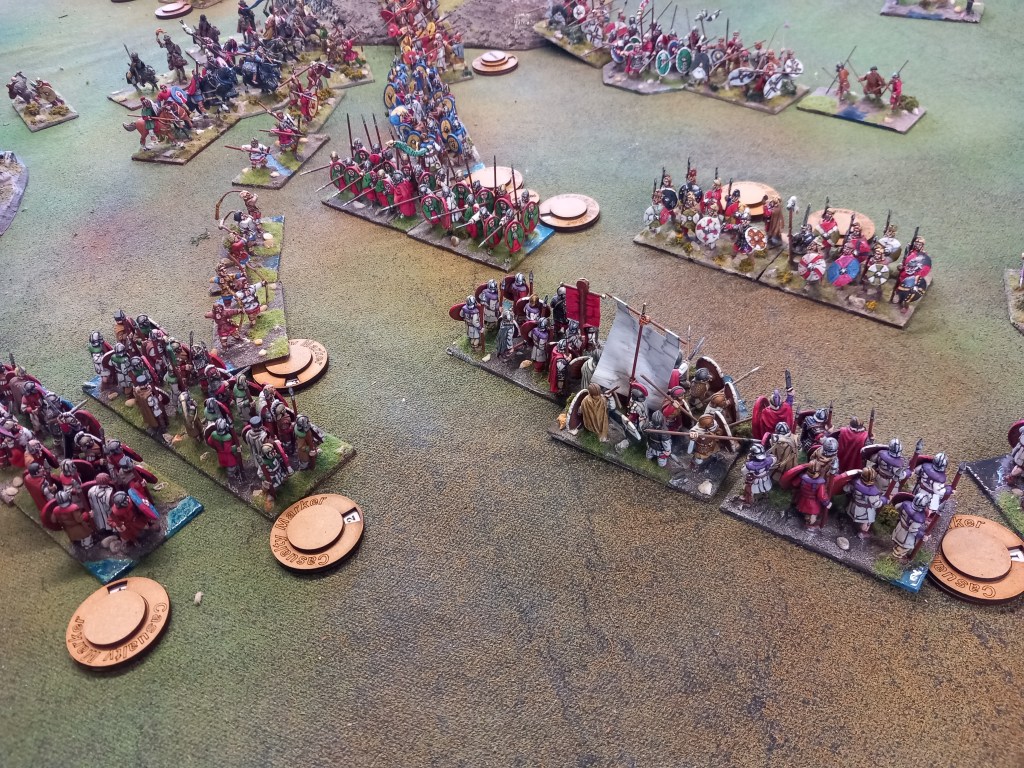
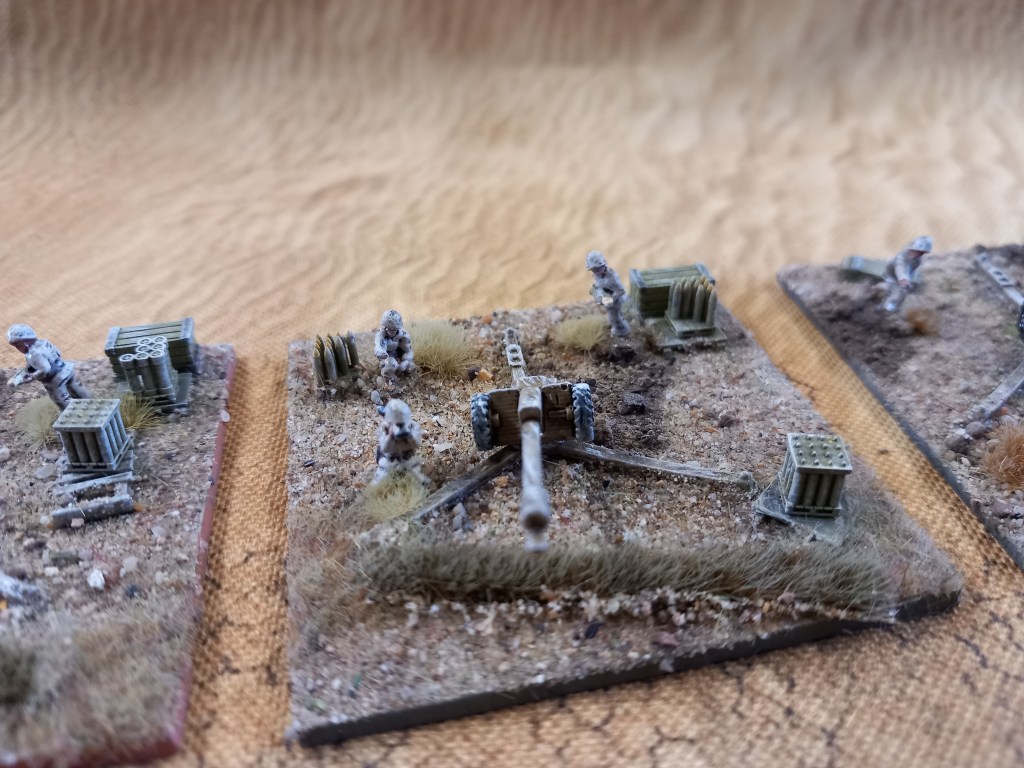
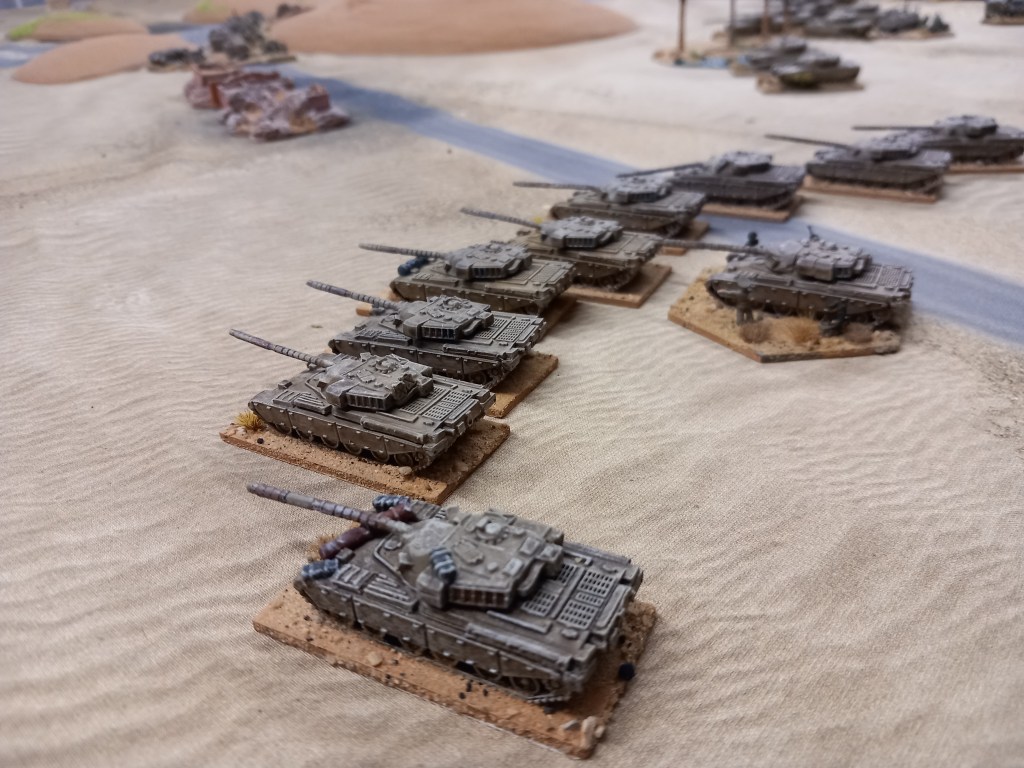
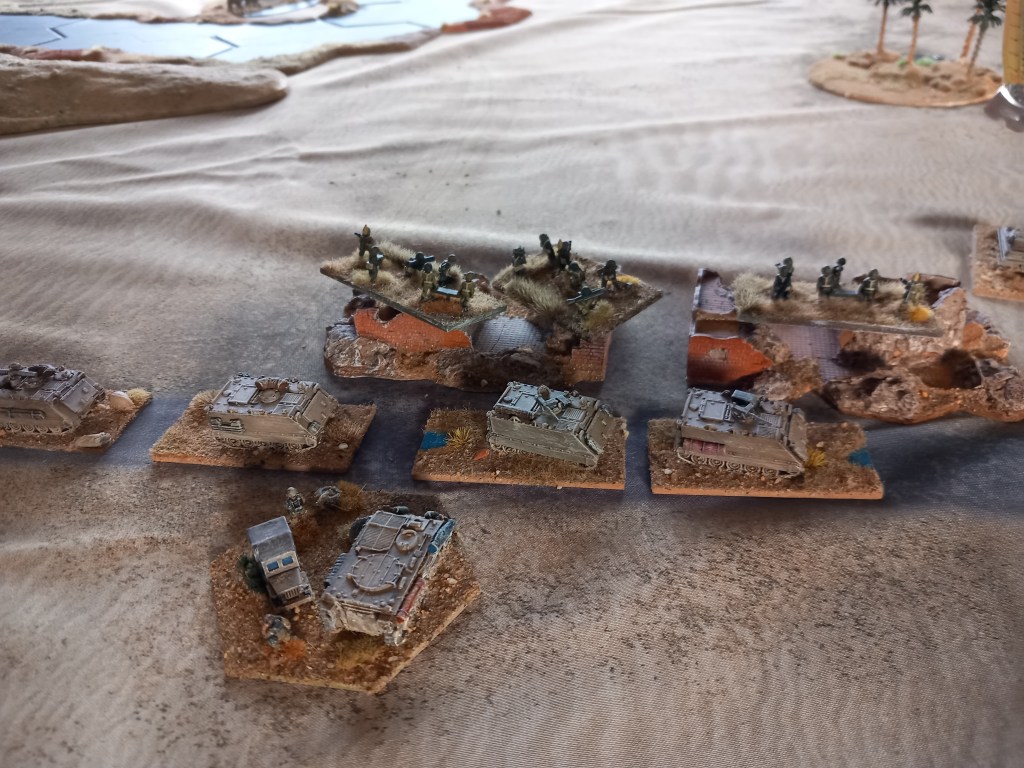
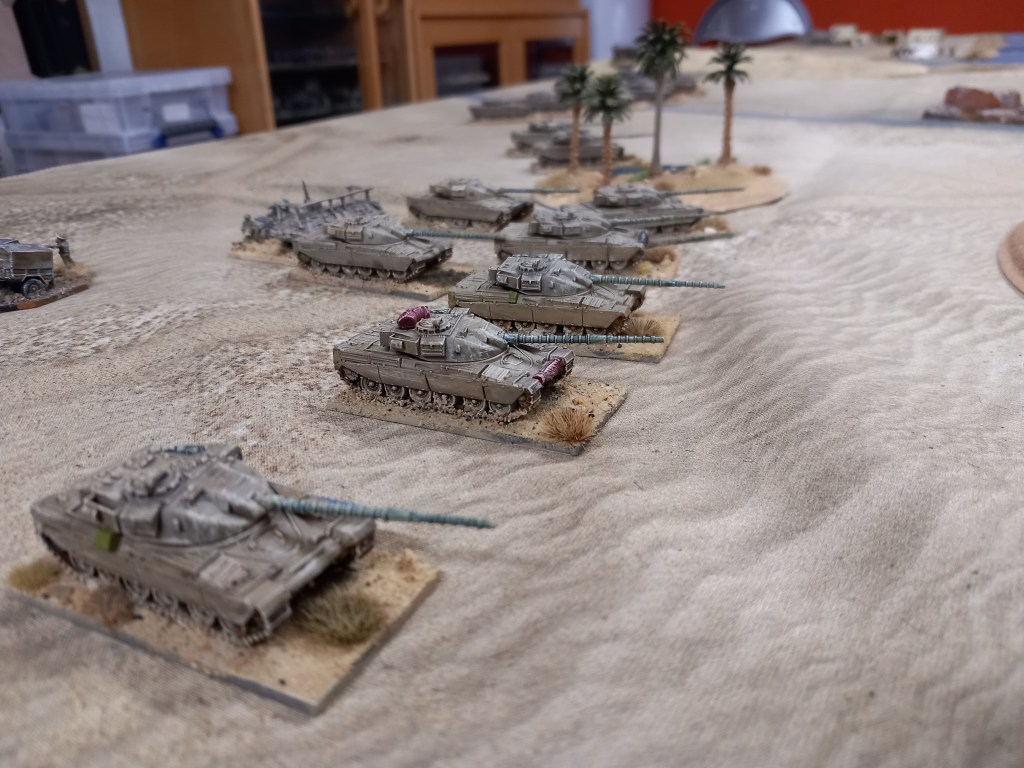
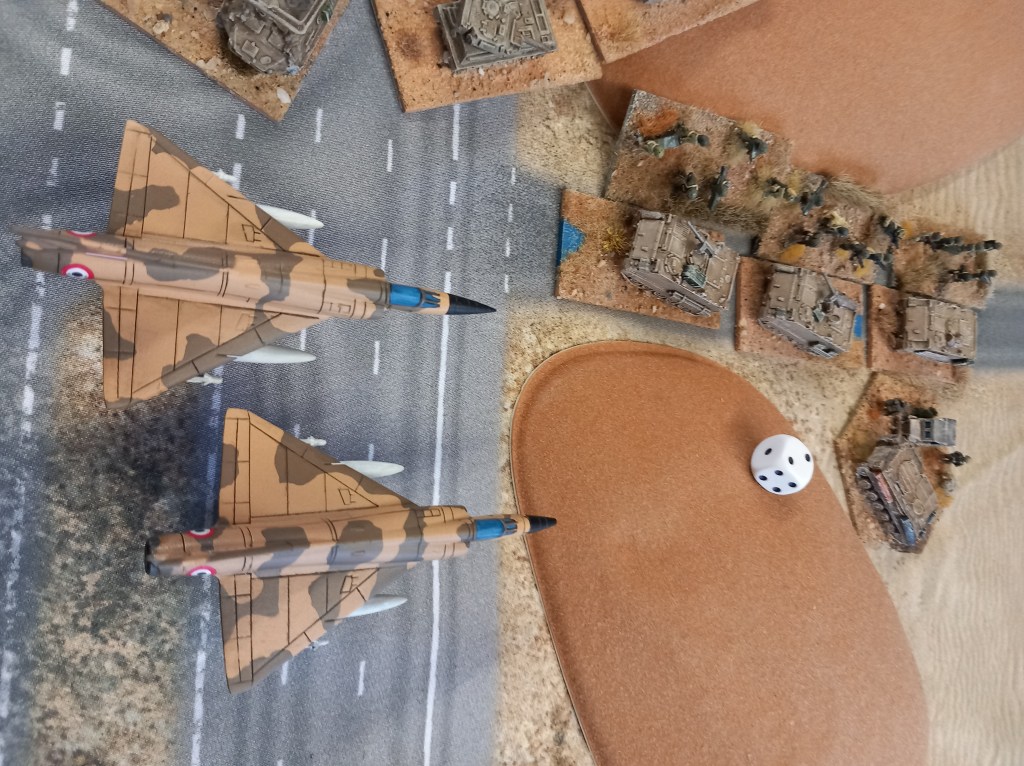
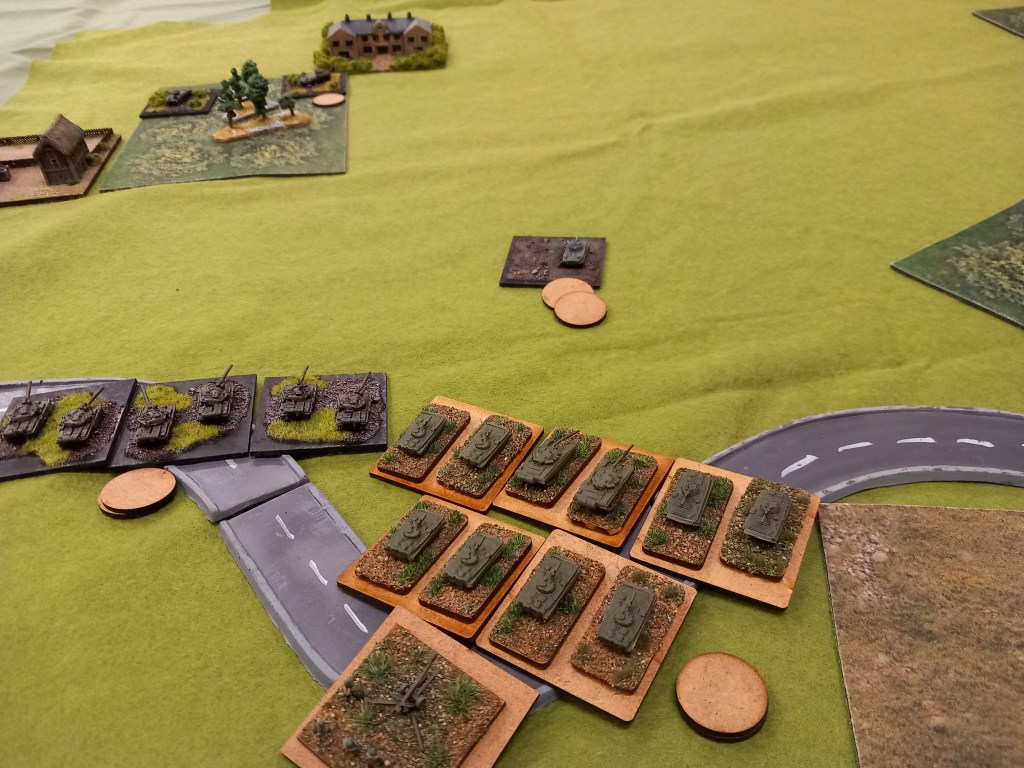
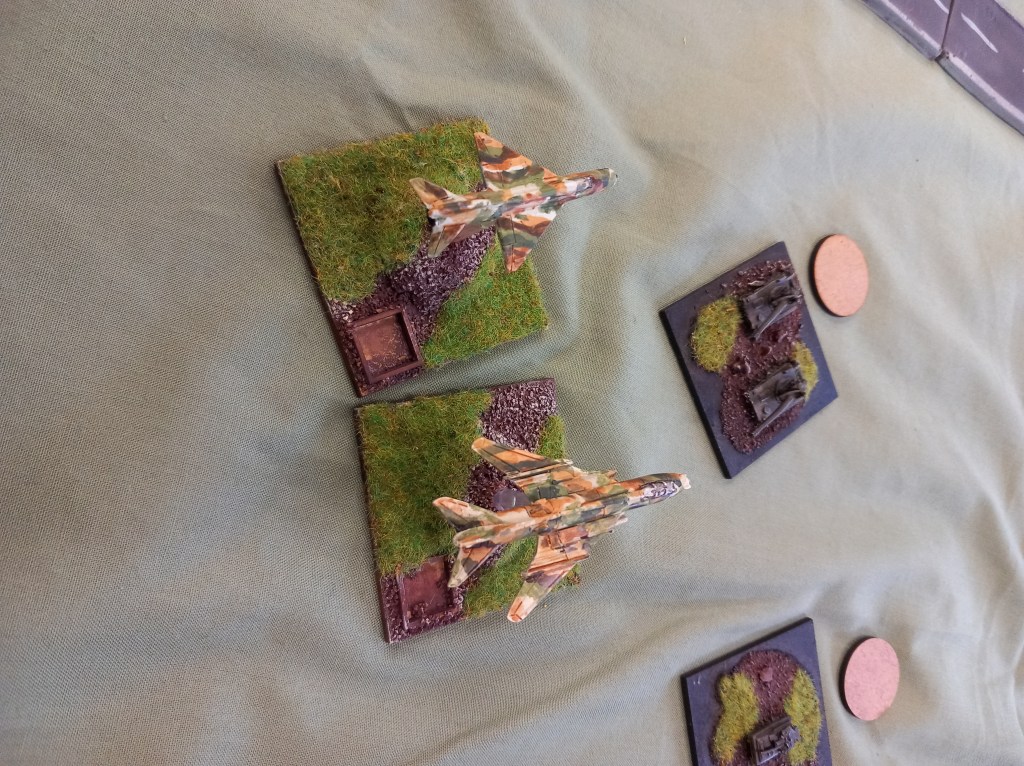
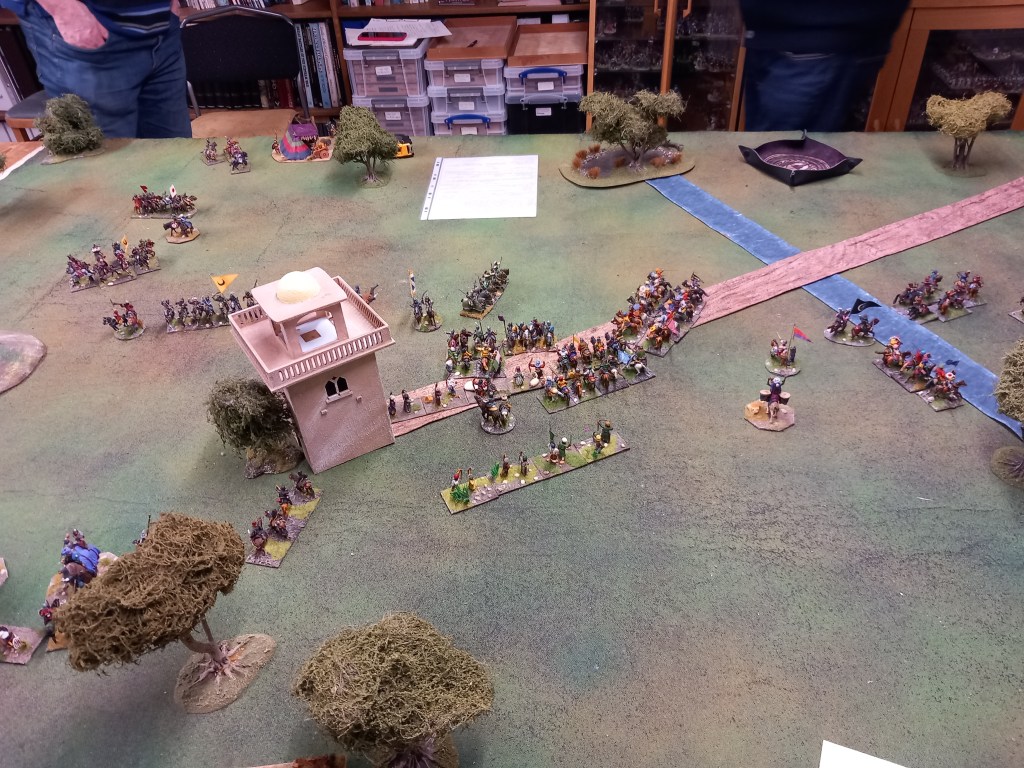
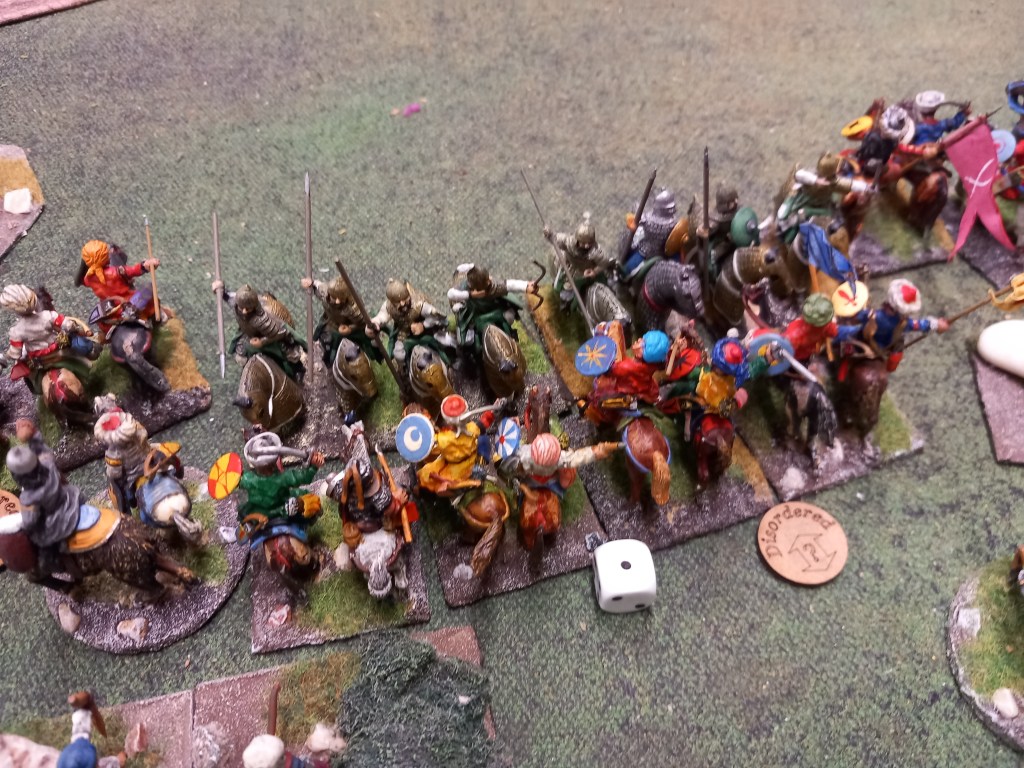
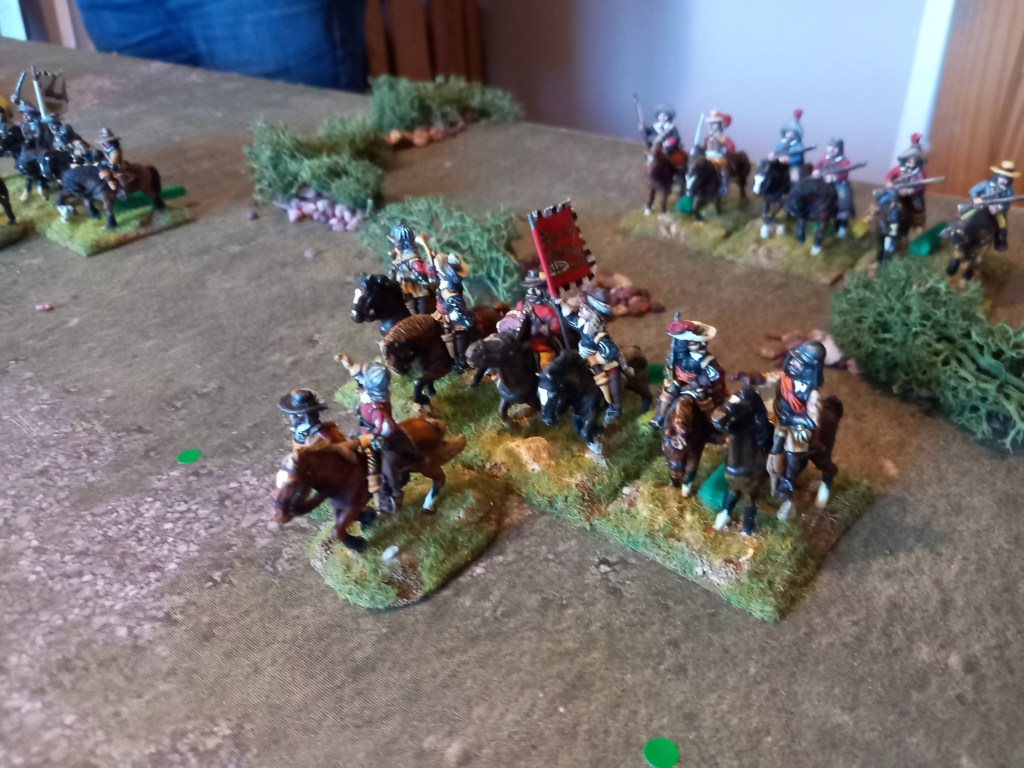
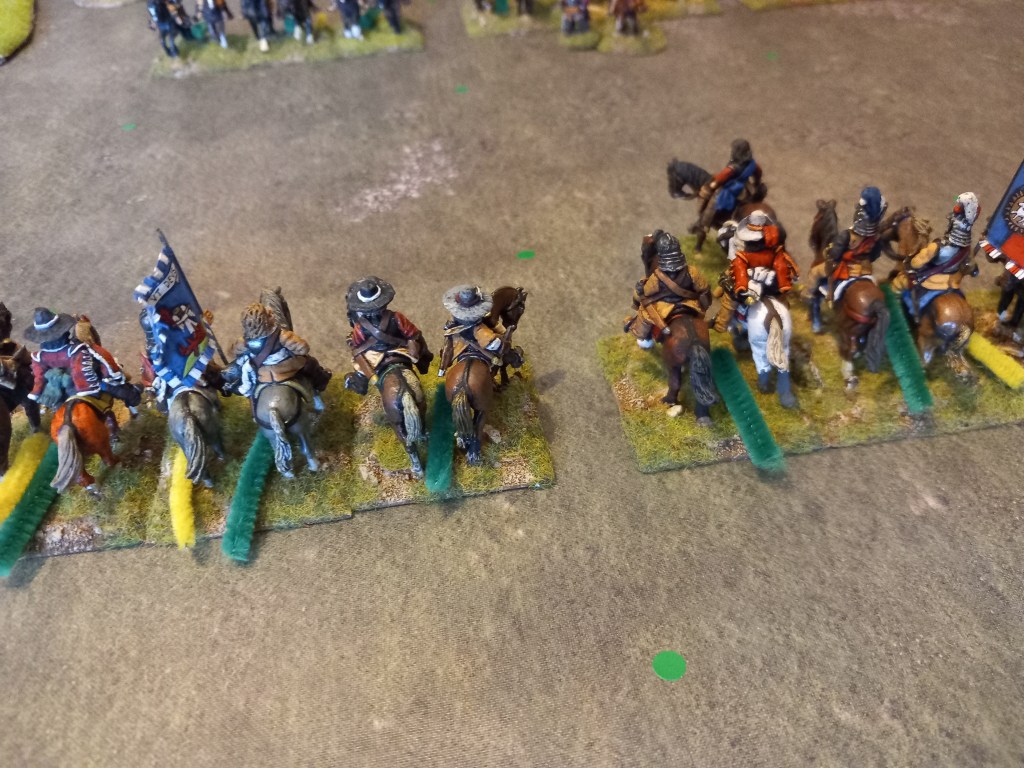
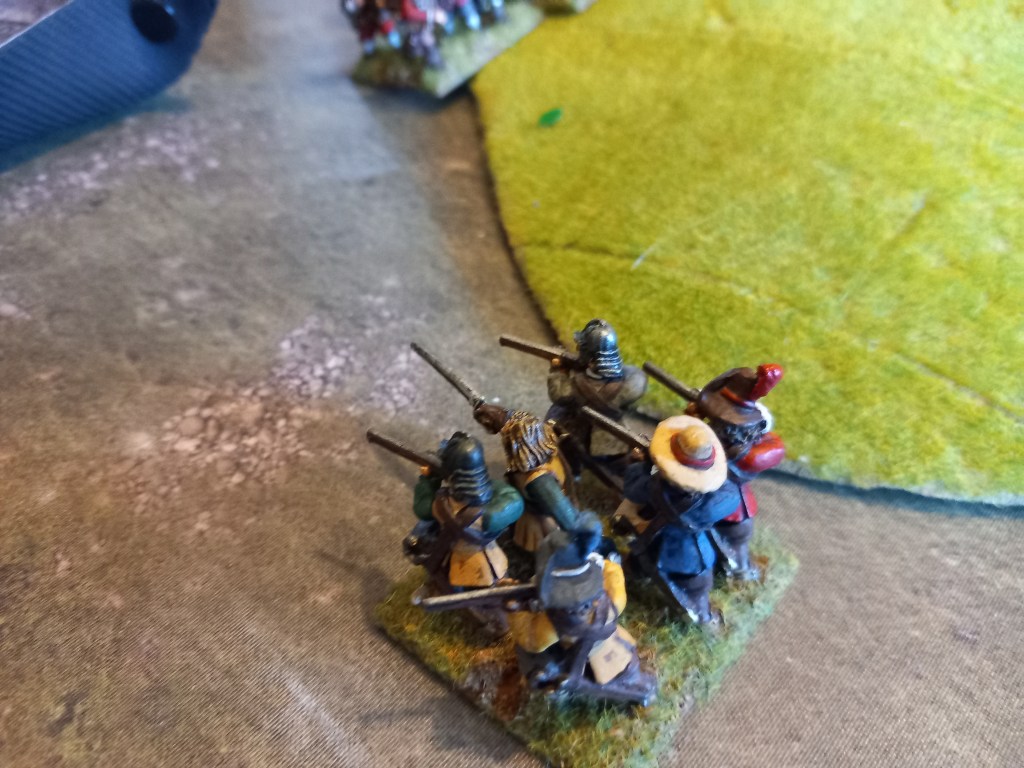
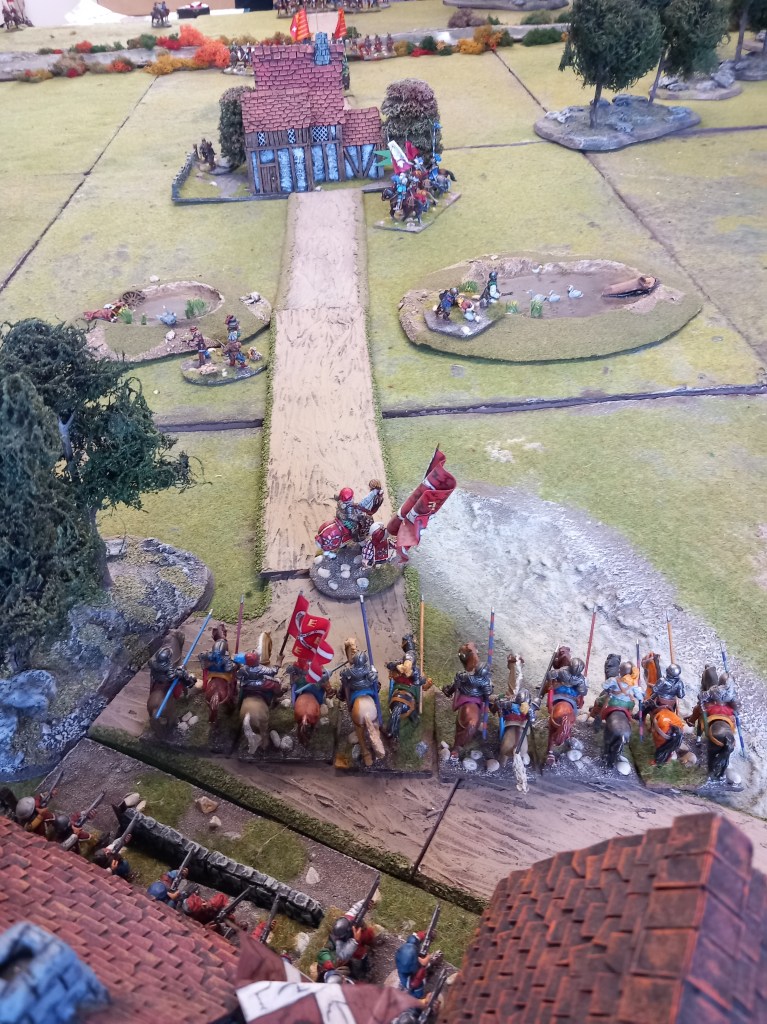
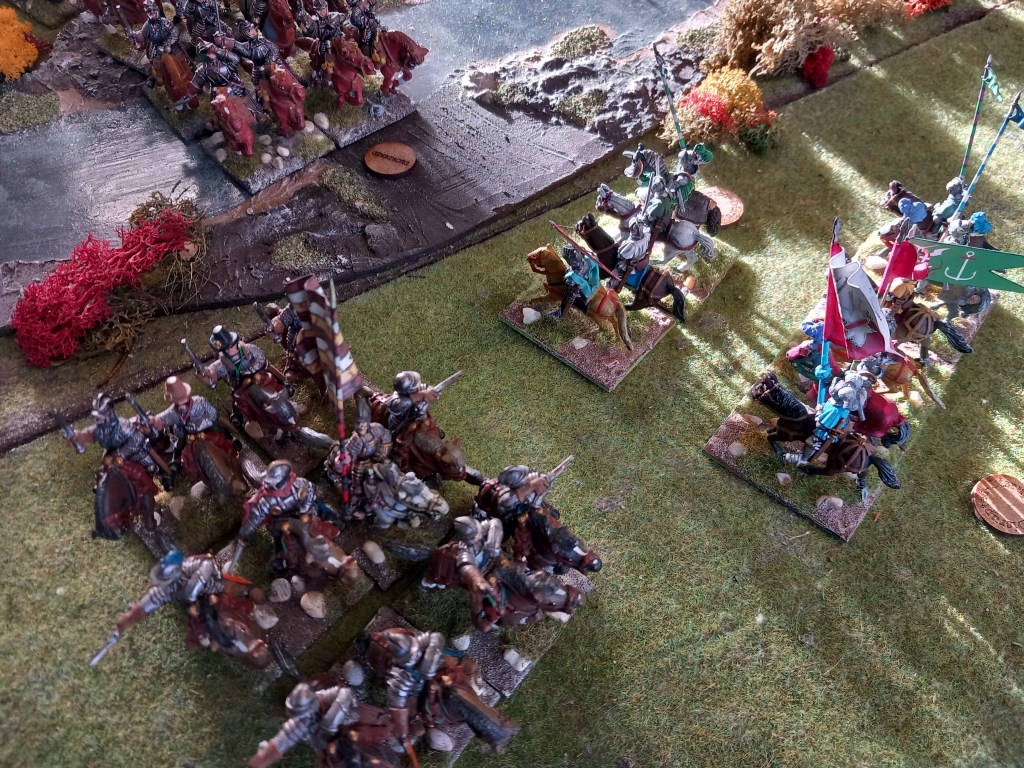
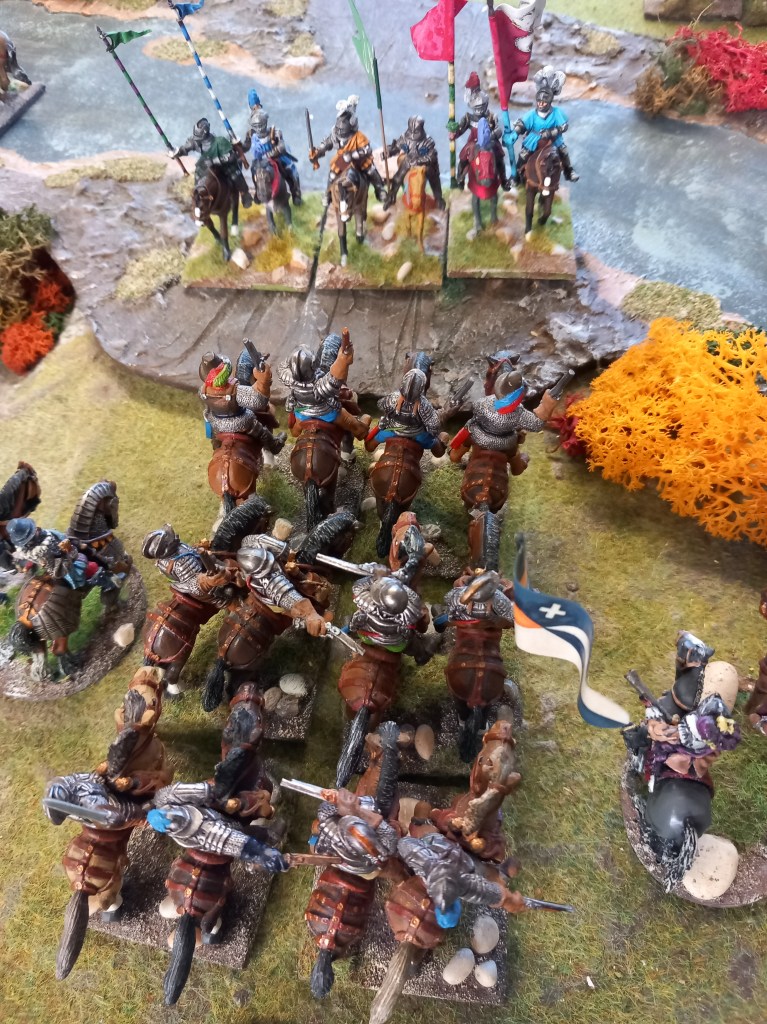
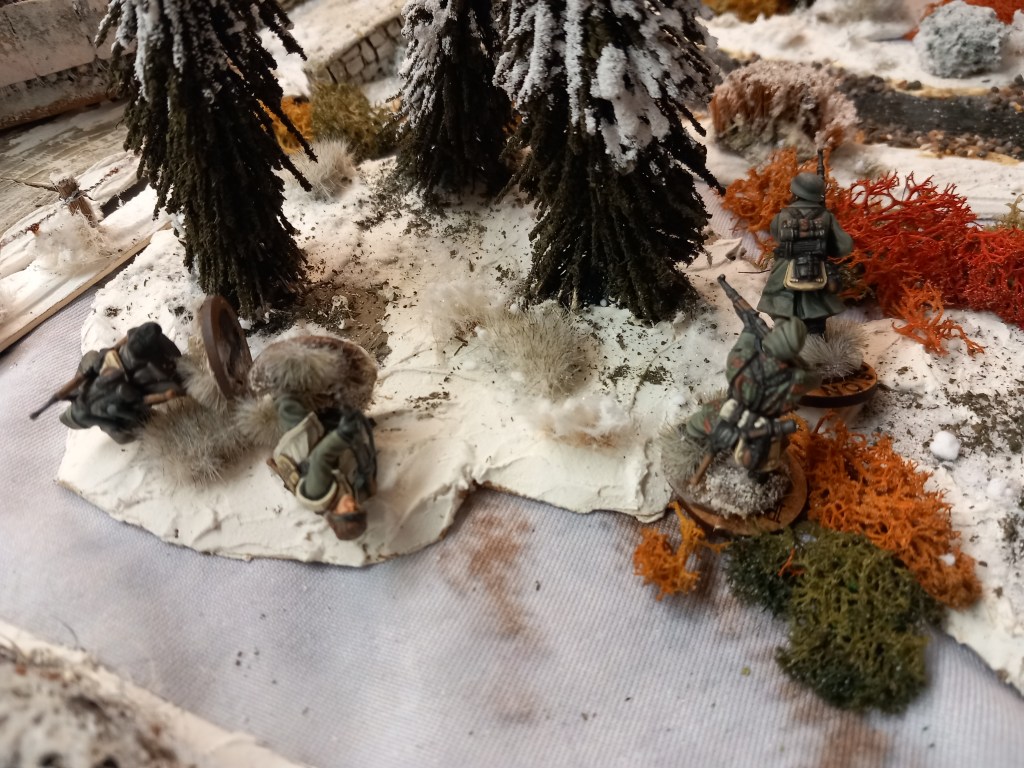
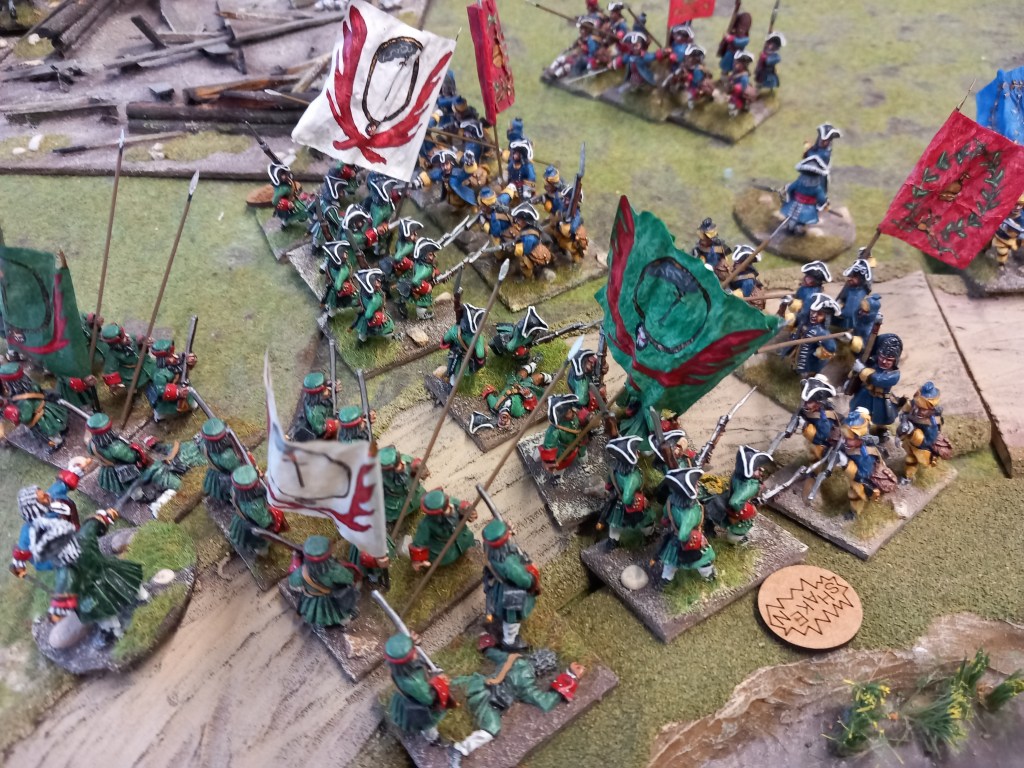
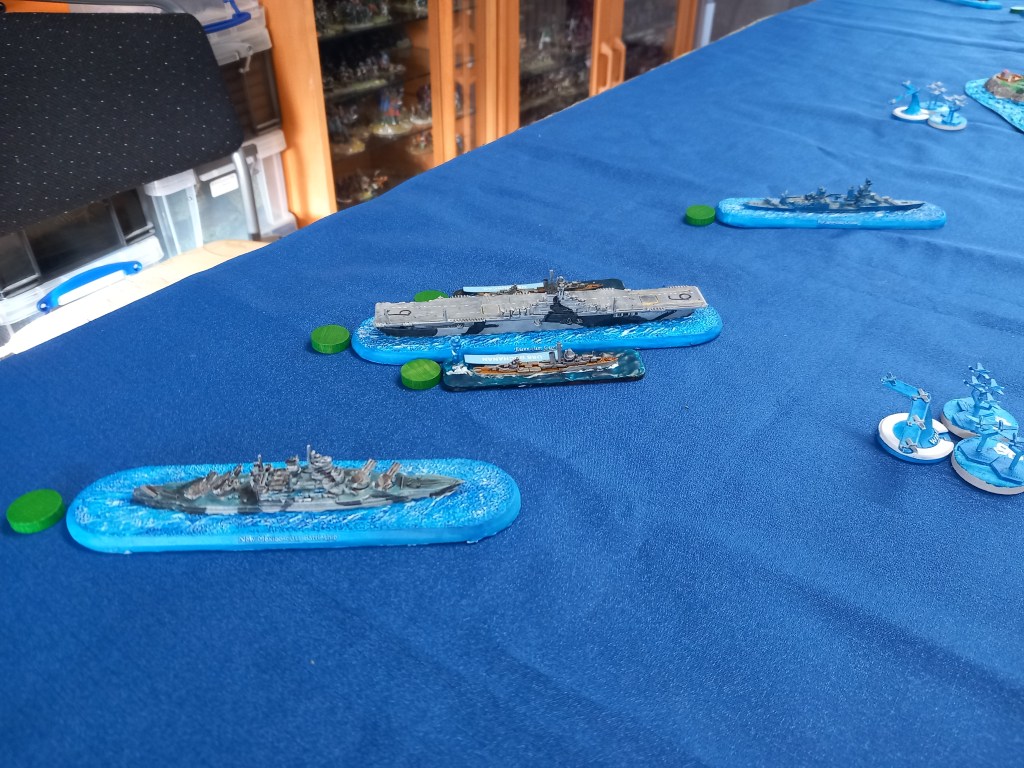
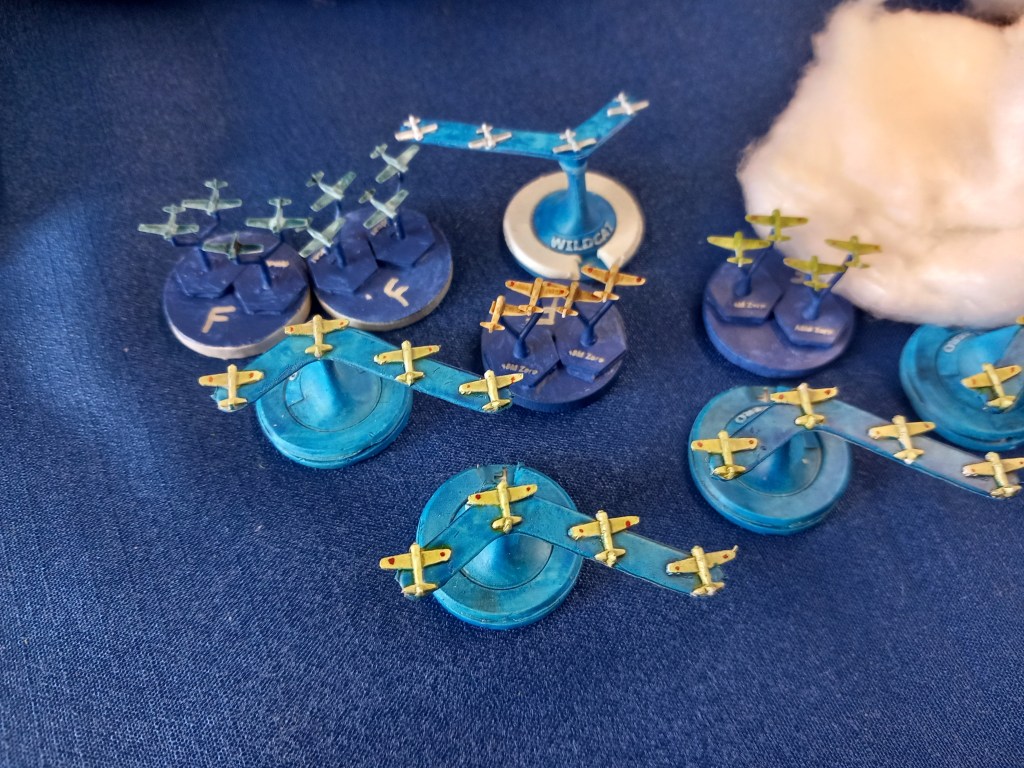
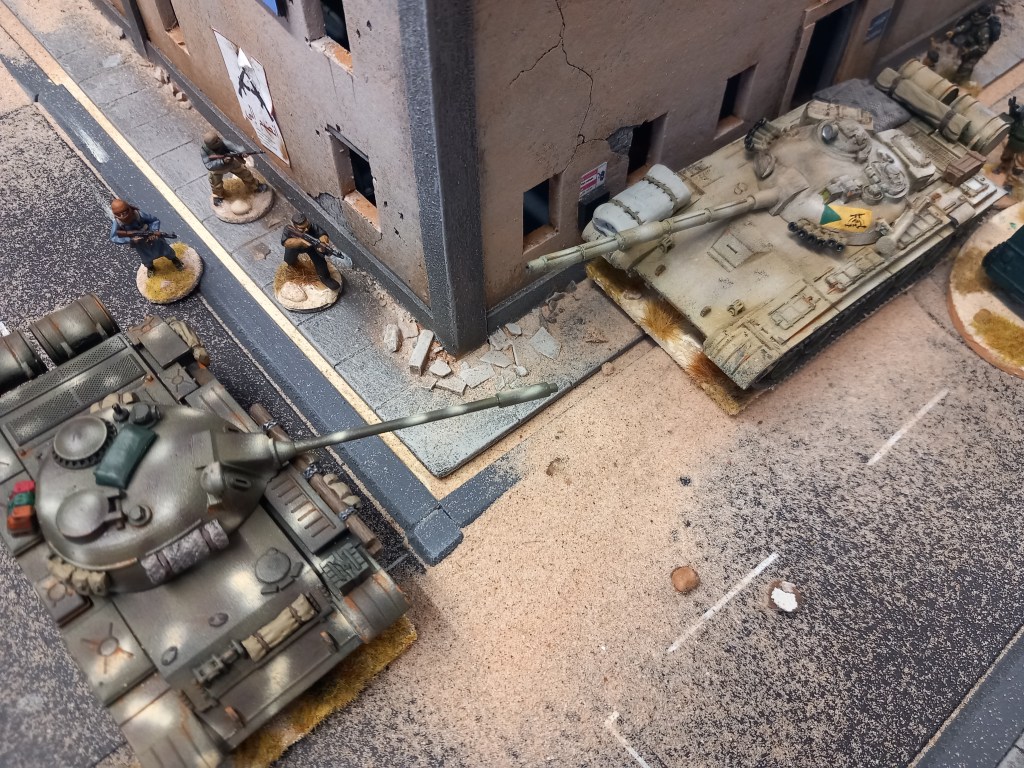
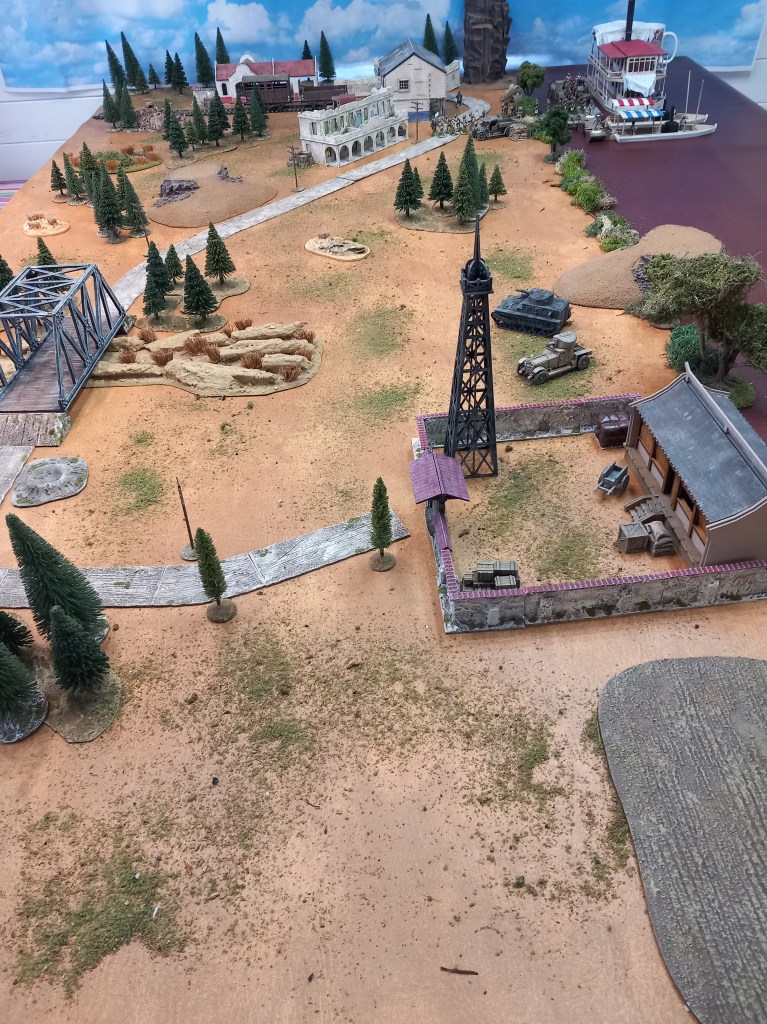
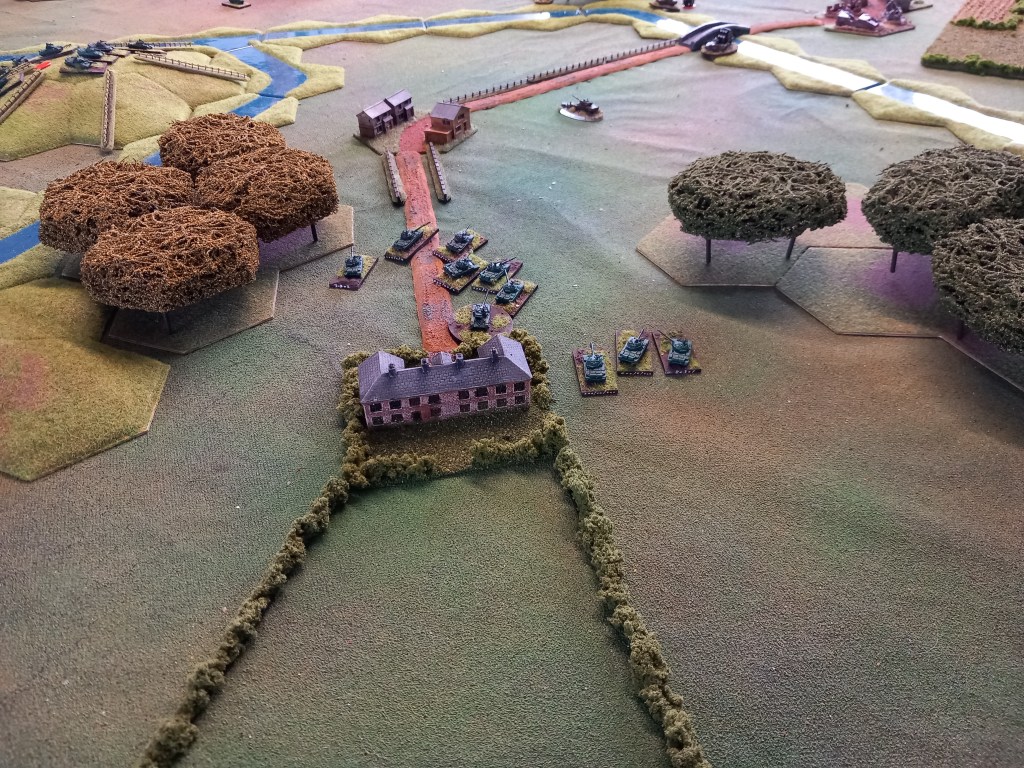
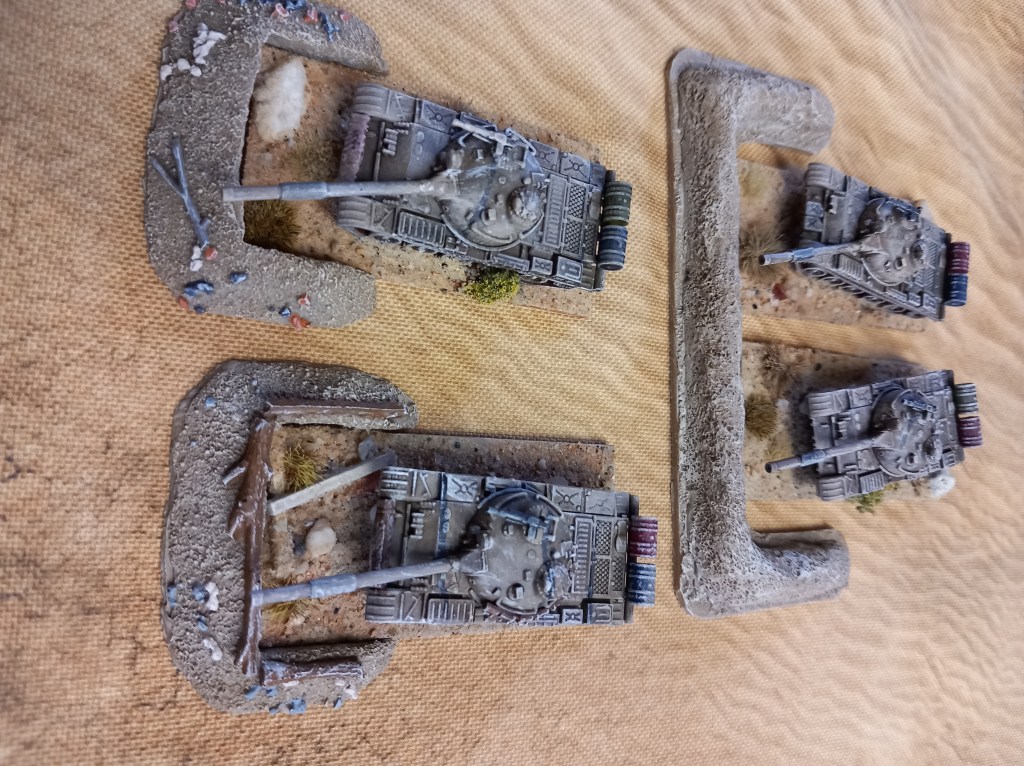
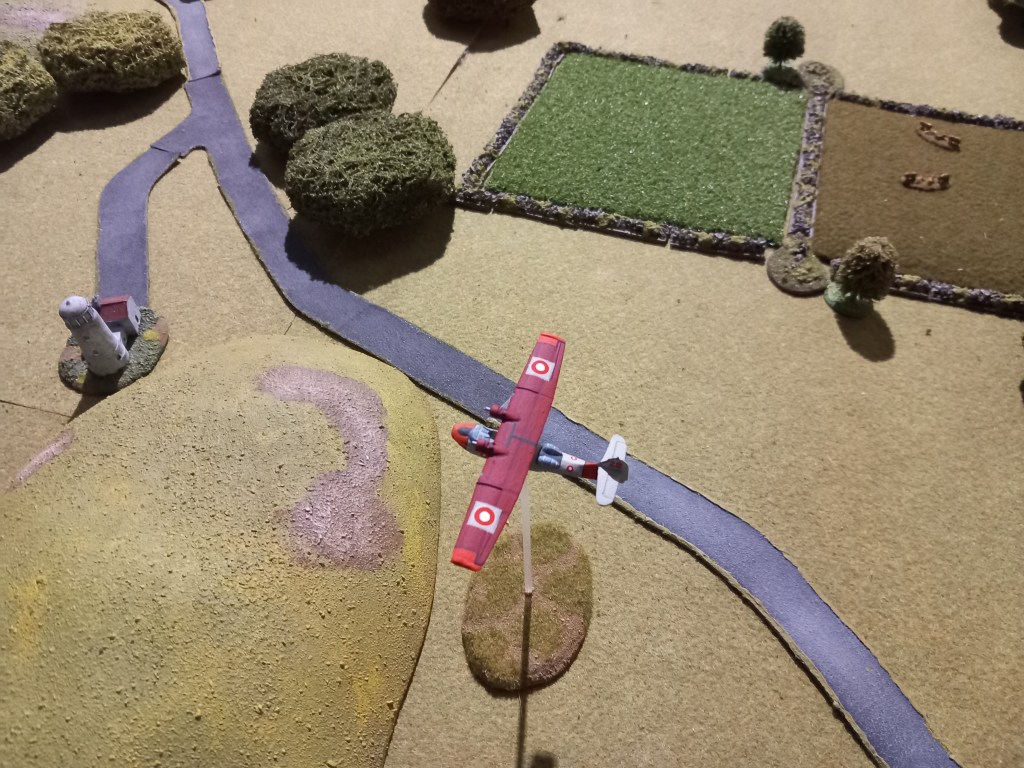
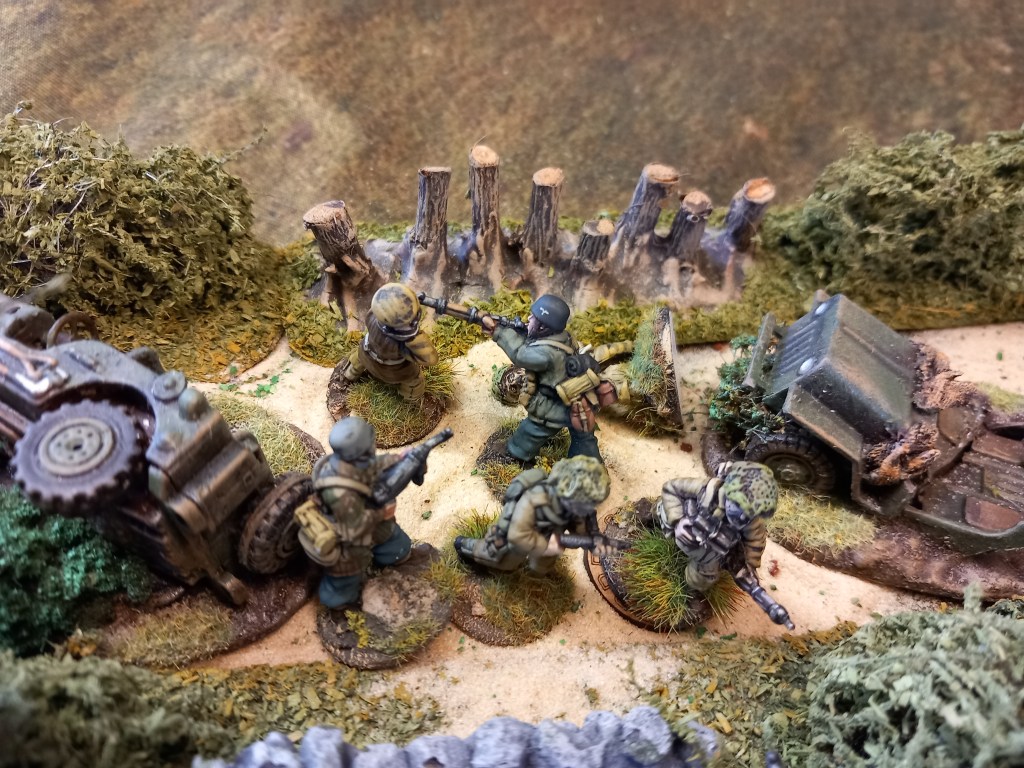
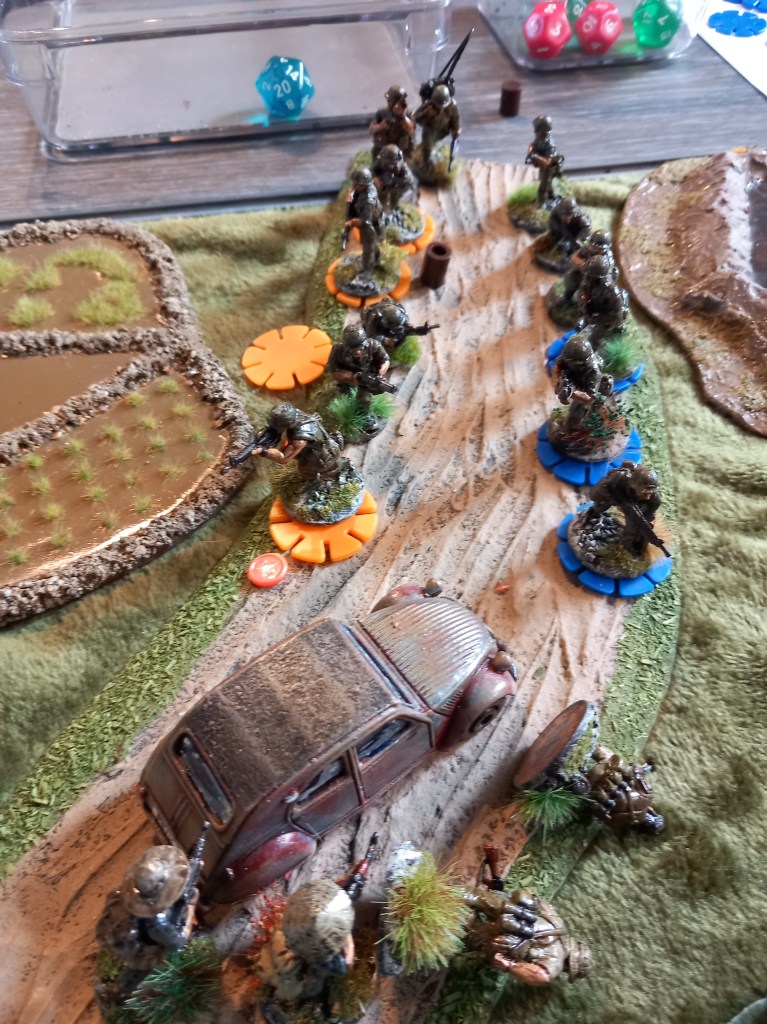
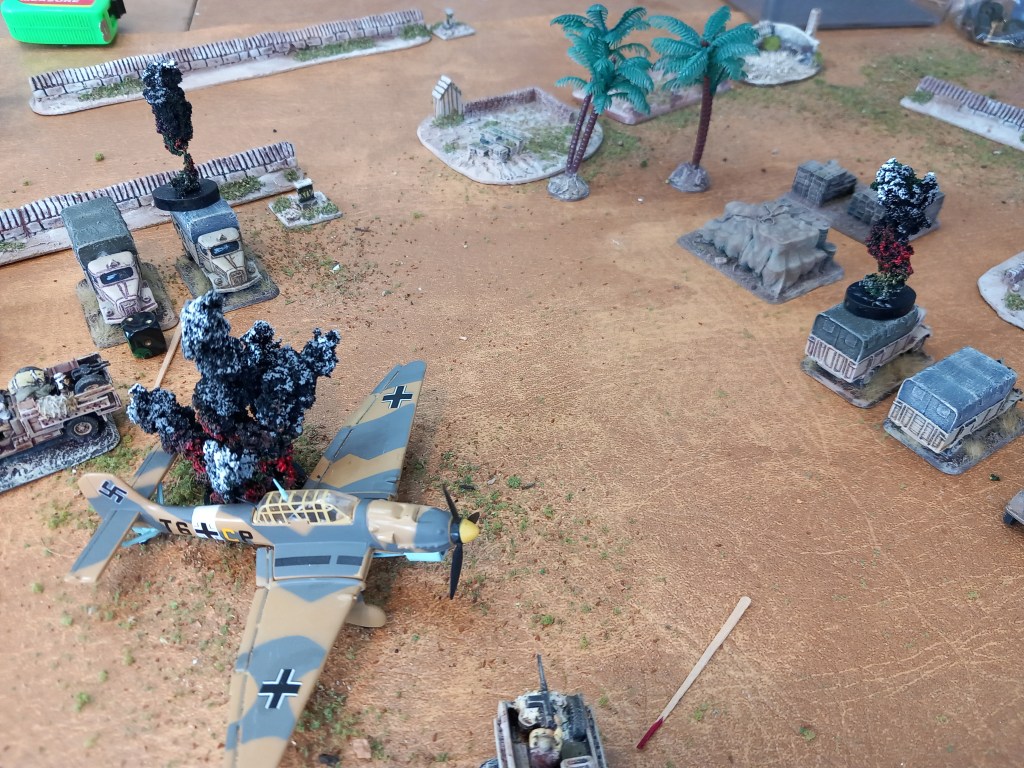
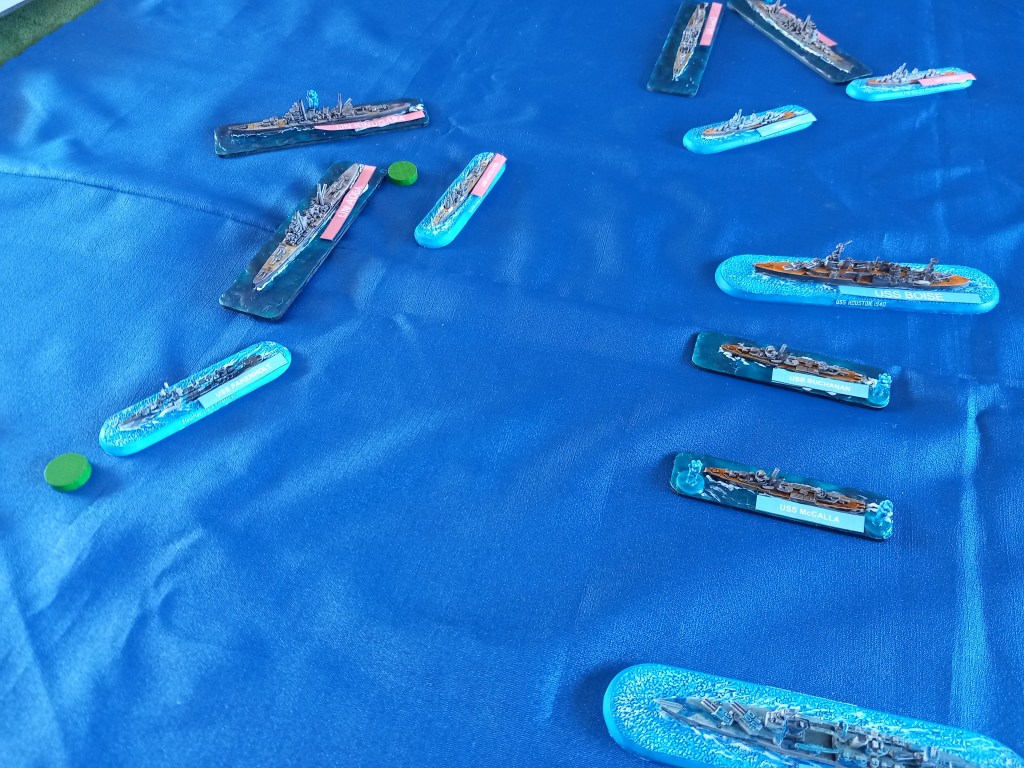
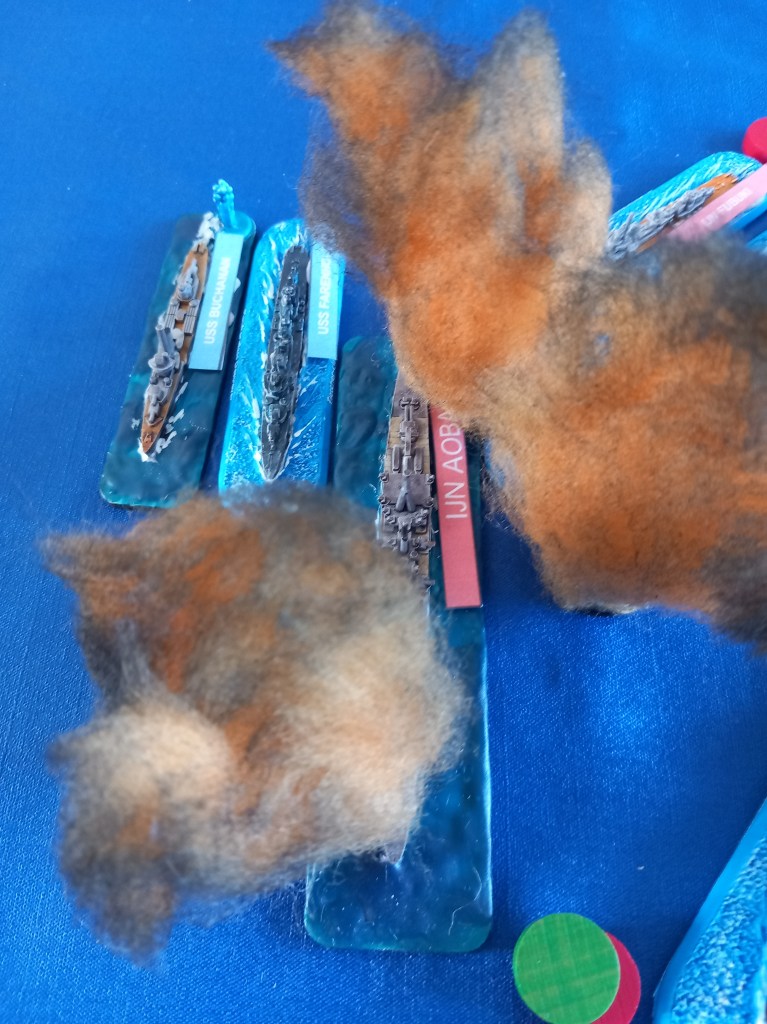
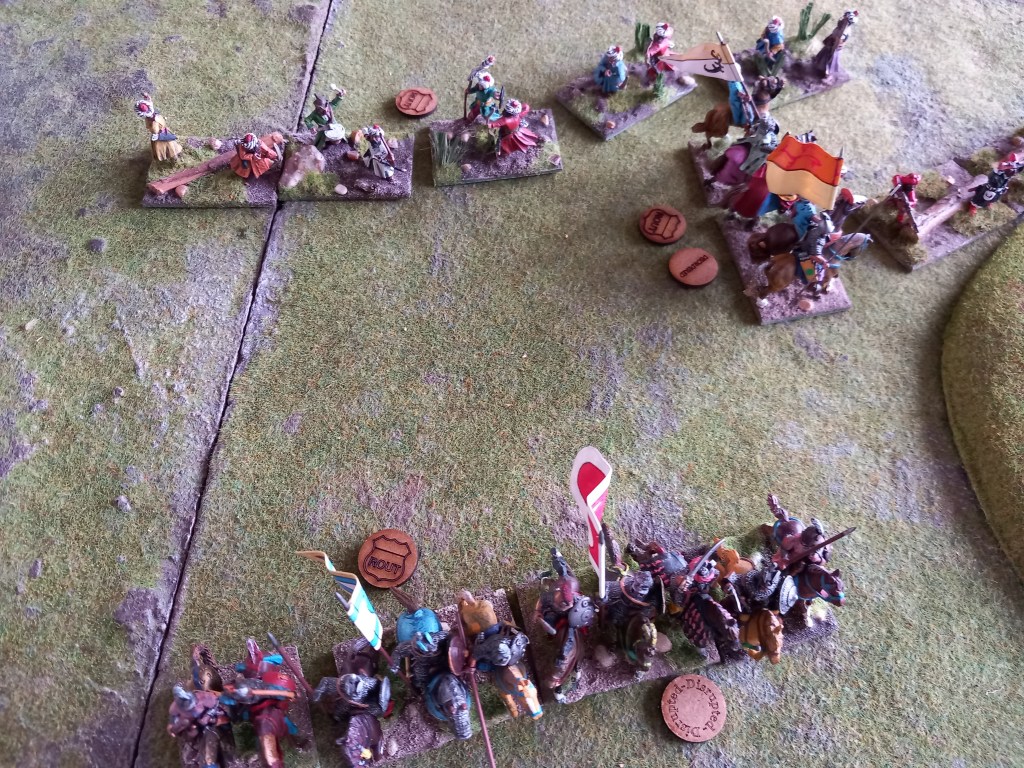
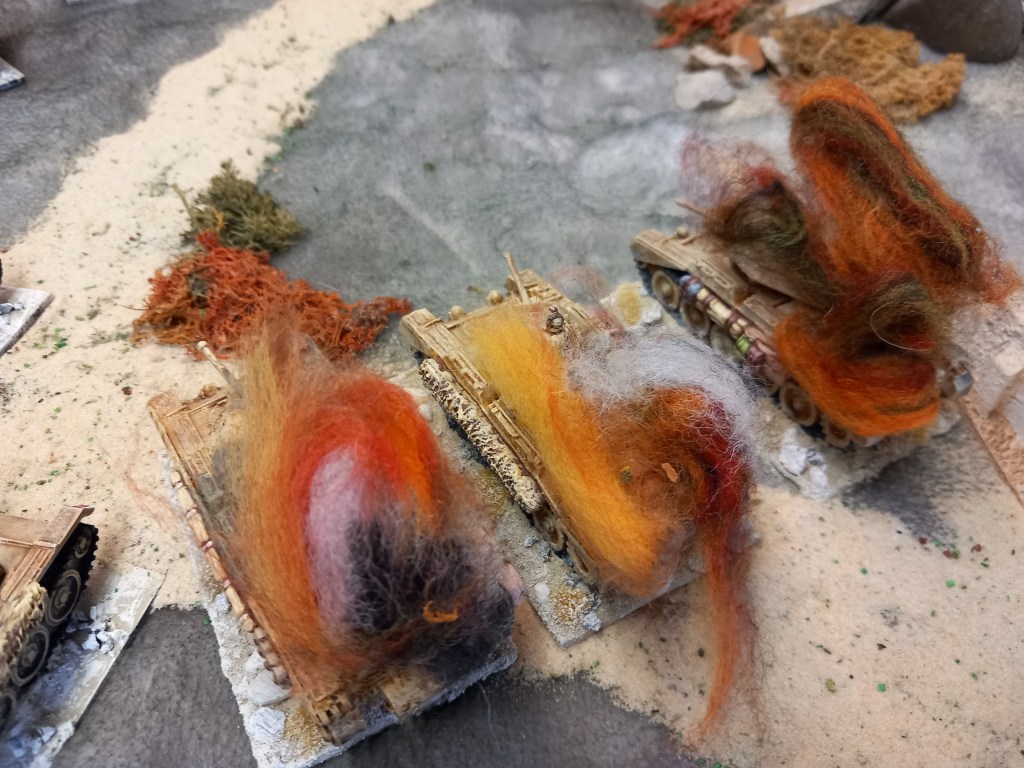
Our final game of the month was a complete change of pace being a Rapid Fire Reloaded Desert War action featuring two Commonwealth forward positions weak in armour being attacked by two Afrika Corps battle groups aiming to overwhelm the allies before reinforcements could arrive.
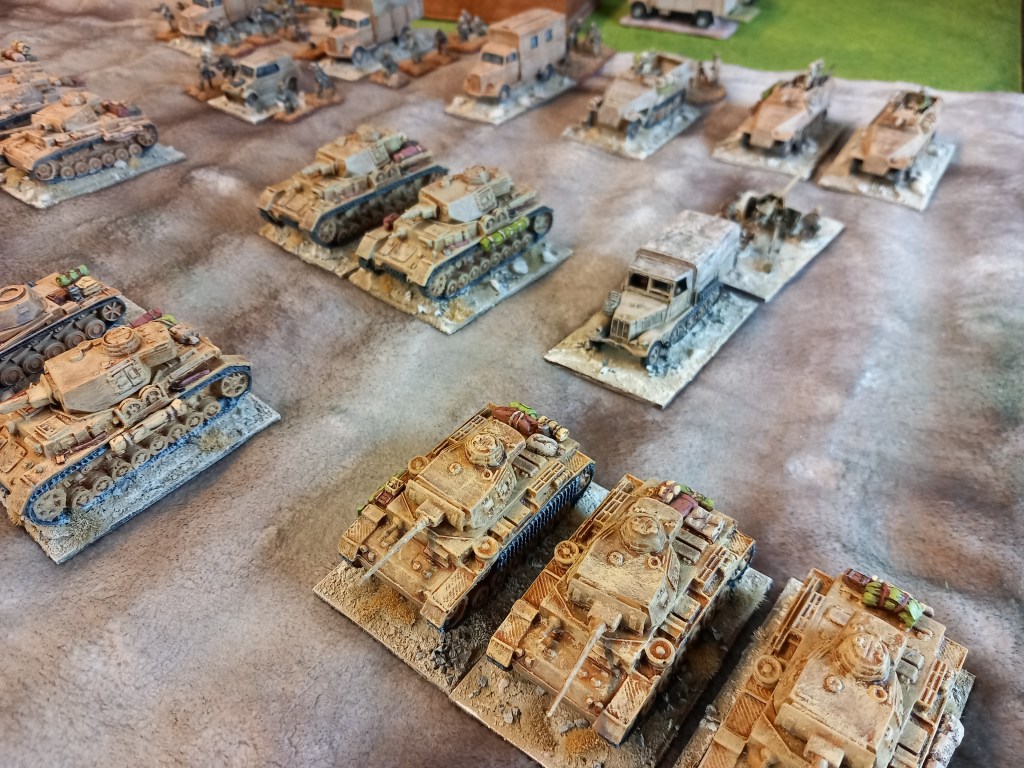
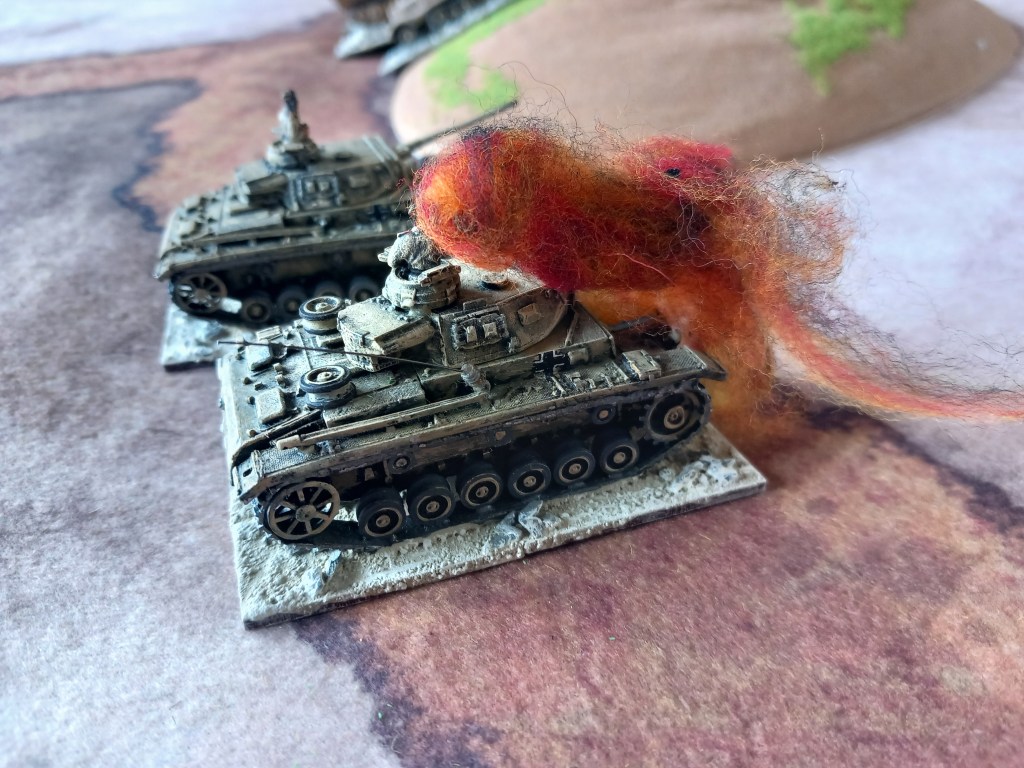
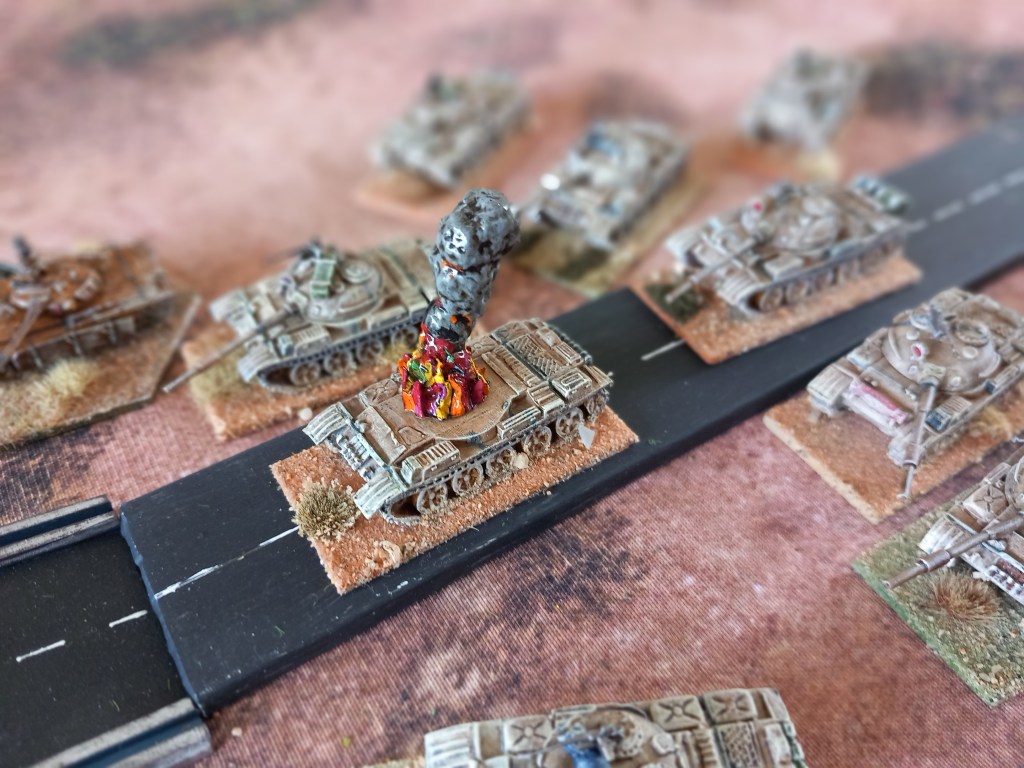
The early turns saw the German behemoth roll forward seeking targets for their superior firepower.
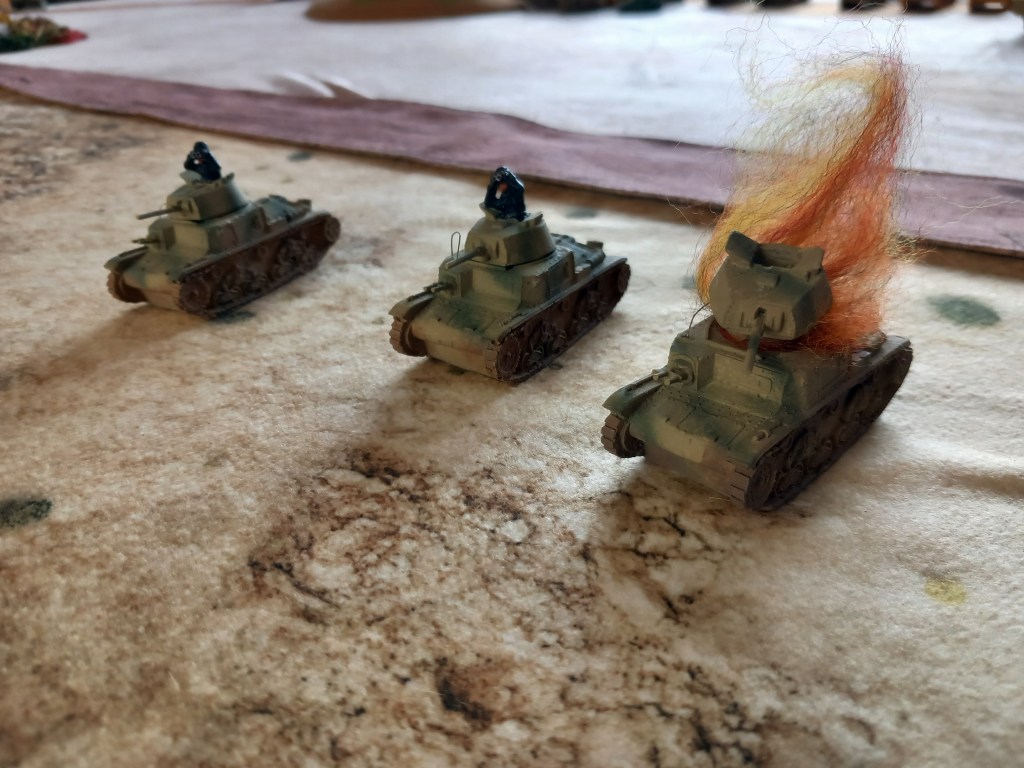
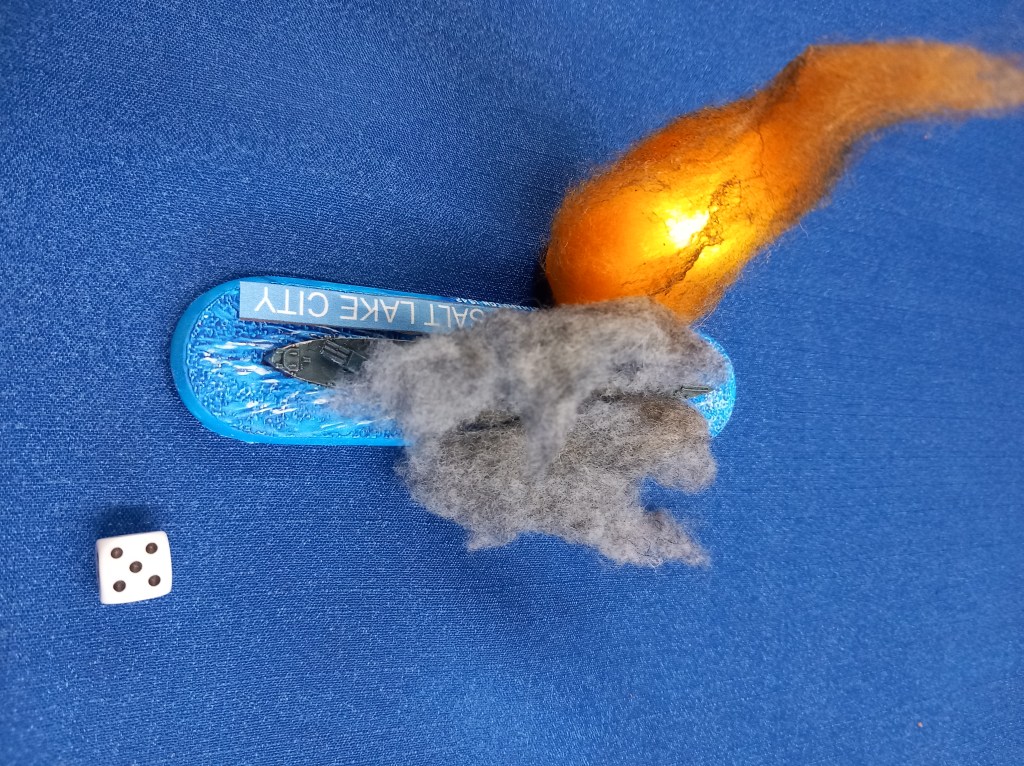
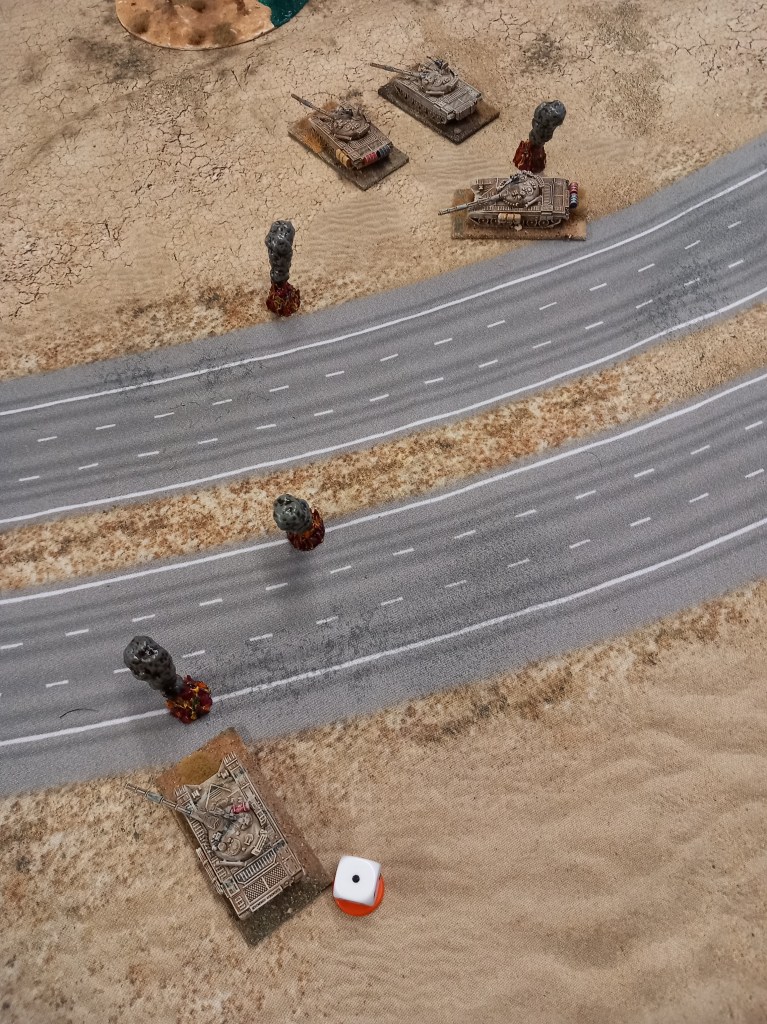
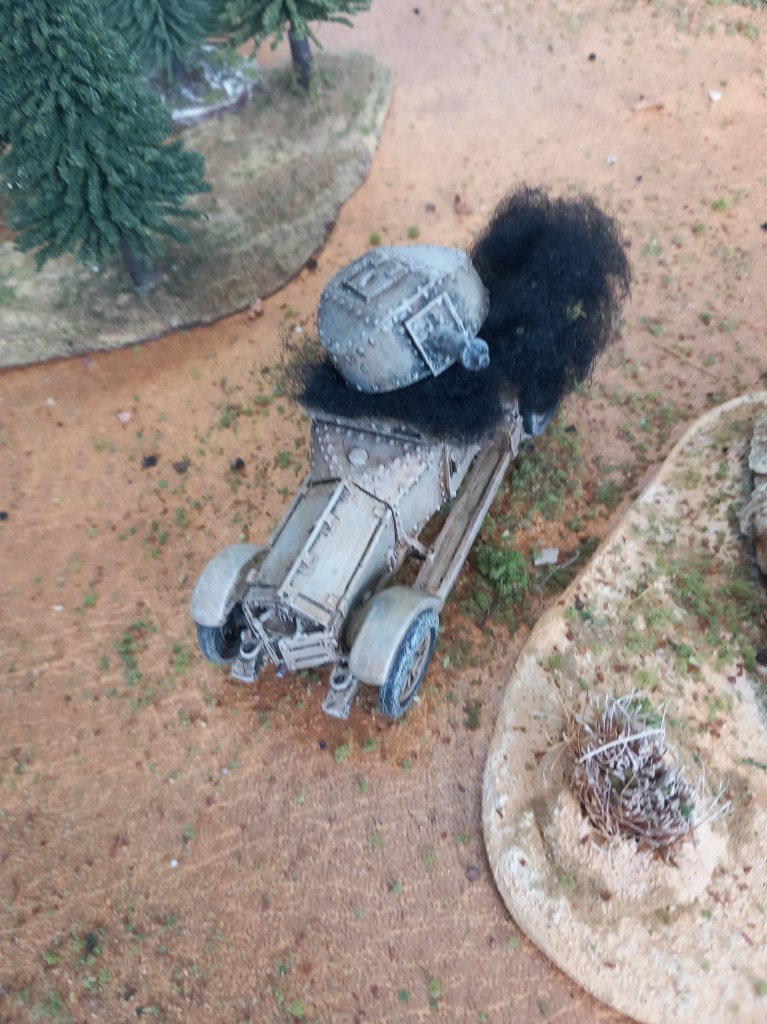
The Panzers took some minor damage as they came on.
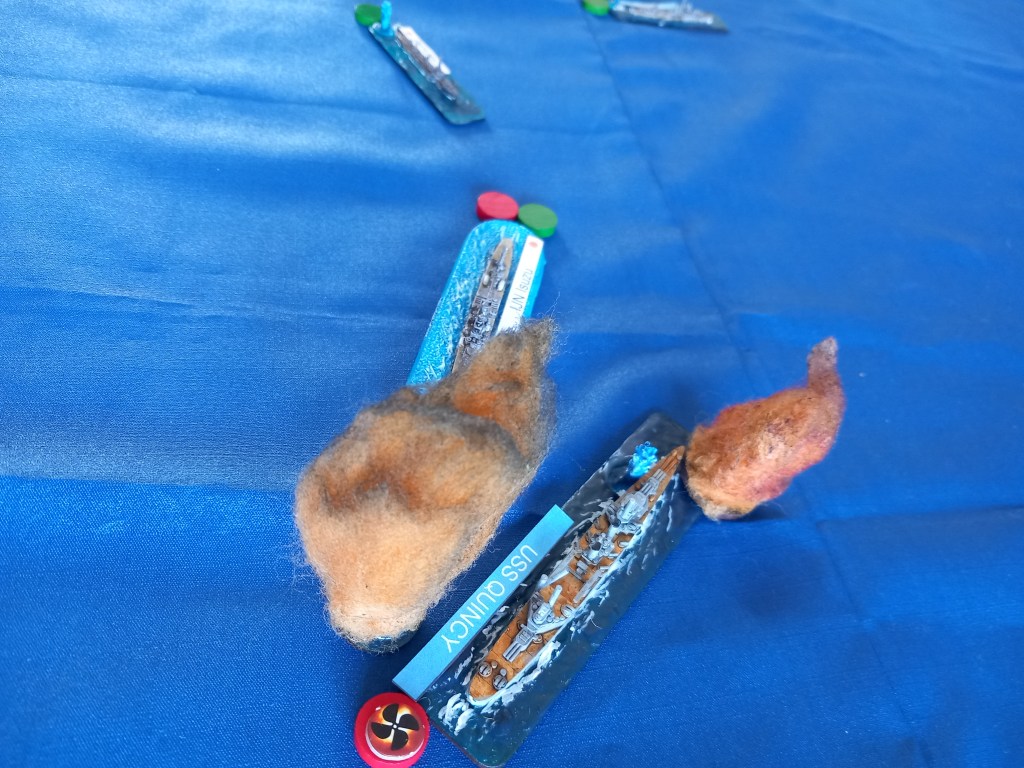
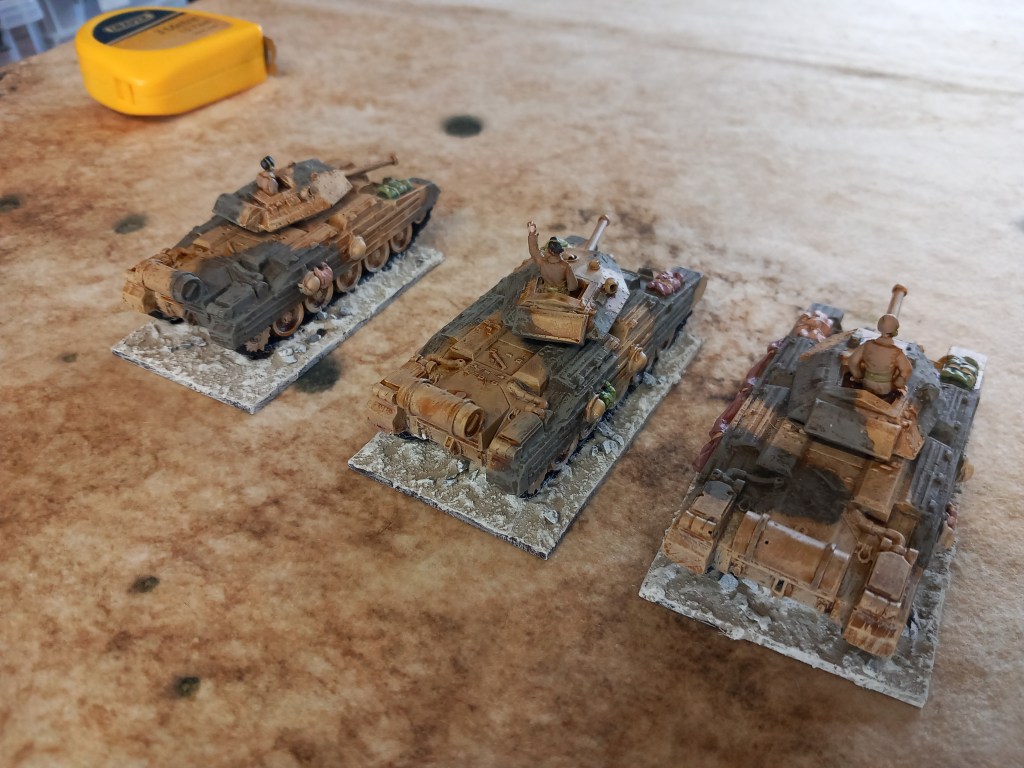
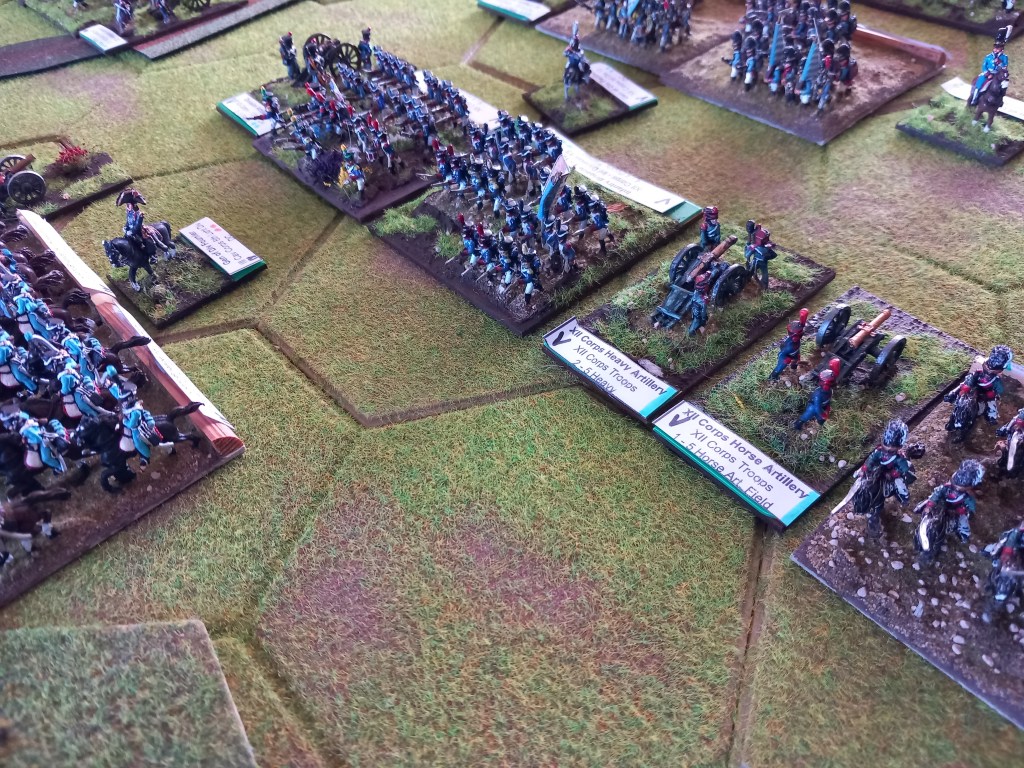
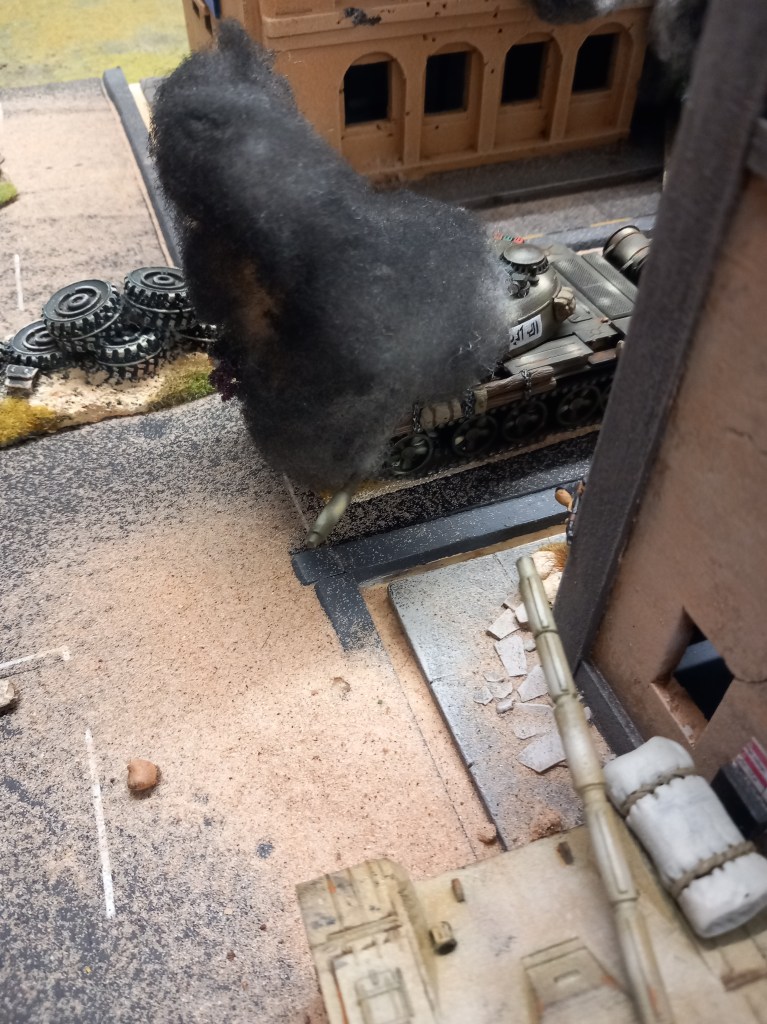
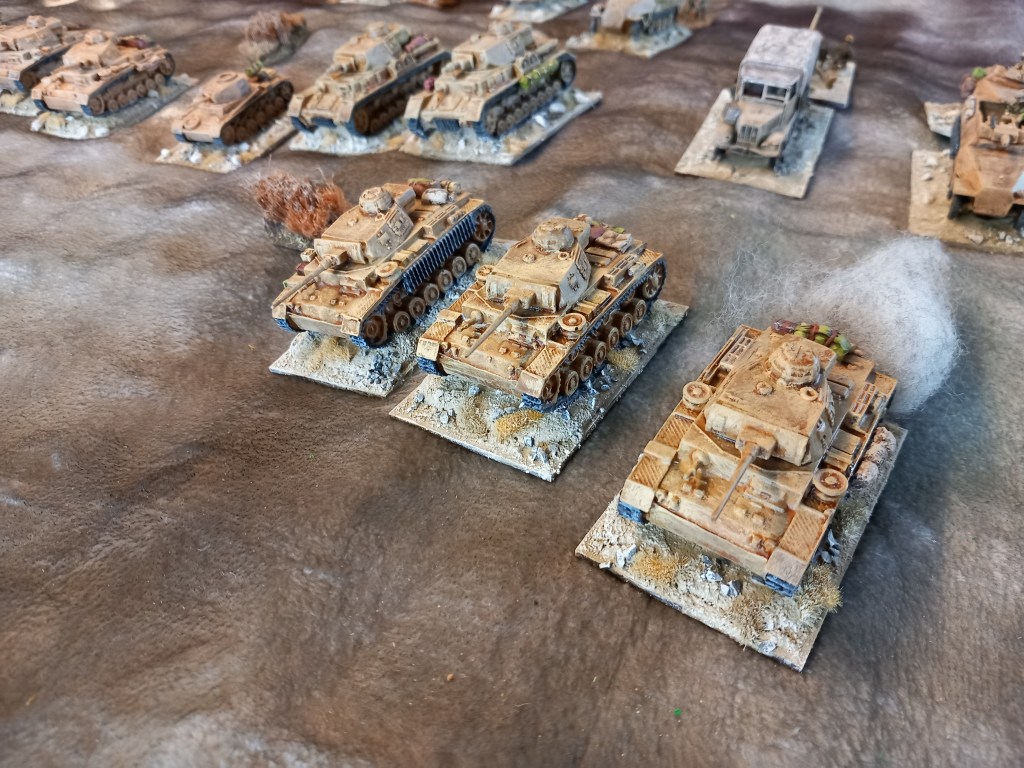
But the allies took far more serious damage. Where were the reinforcements?
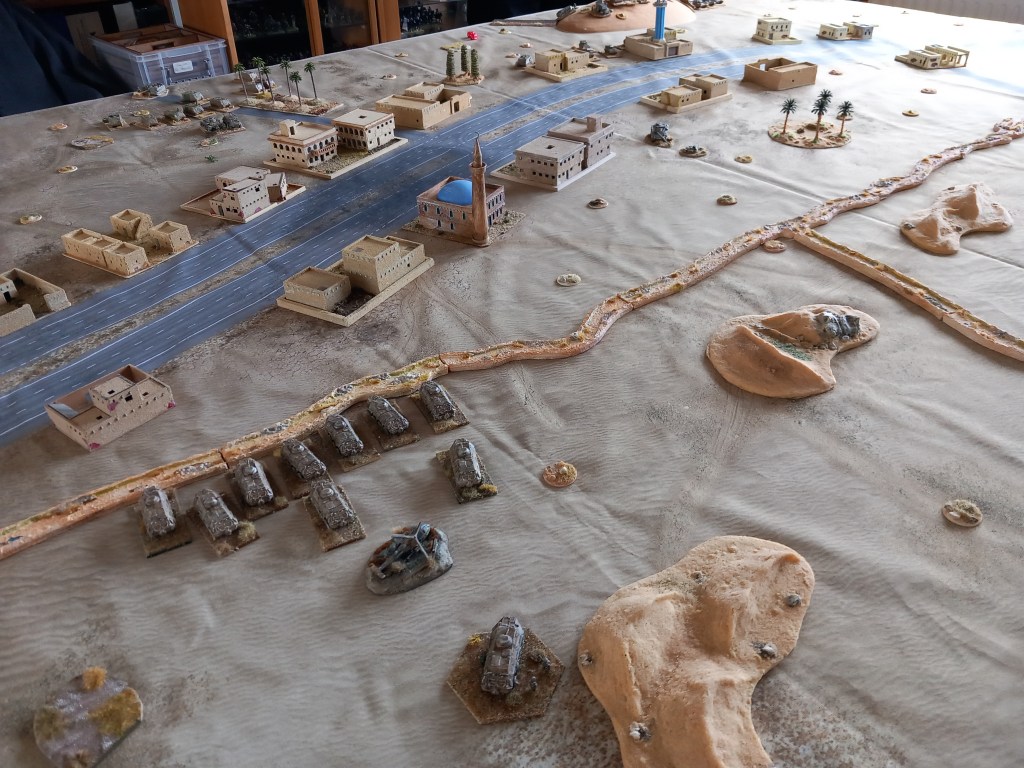
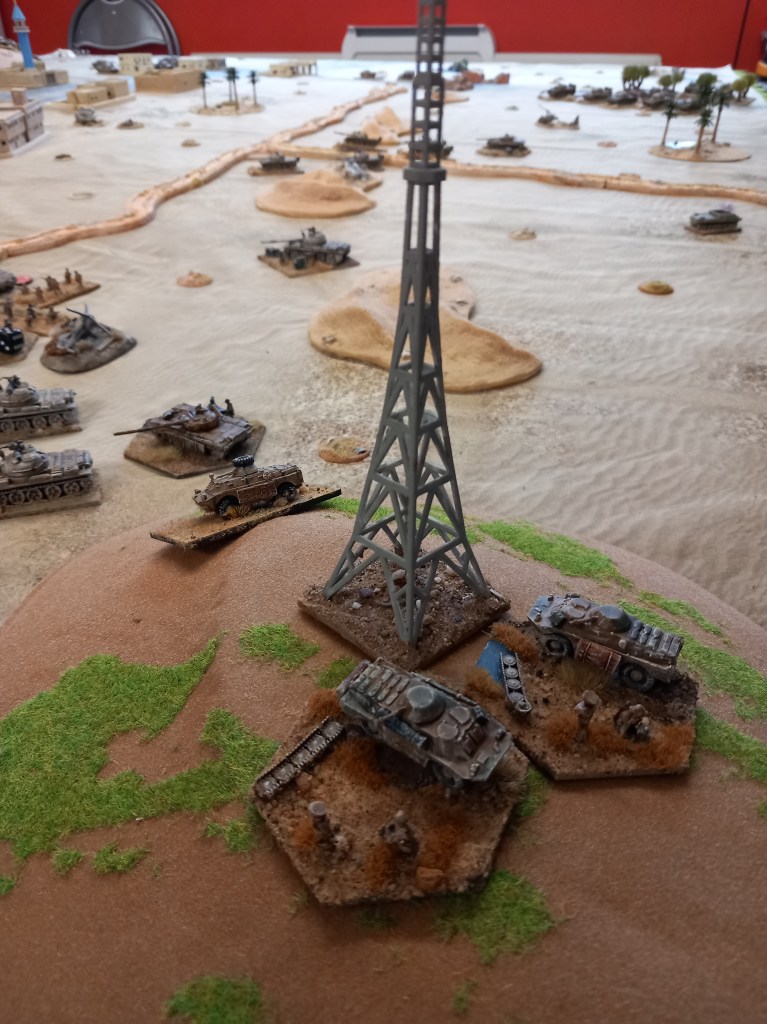
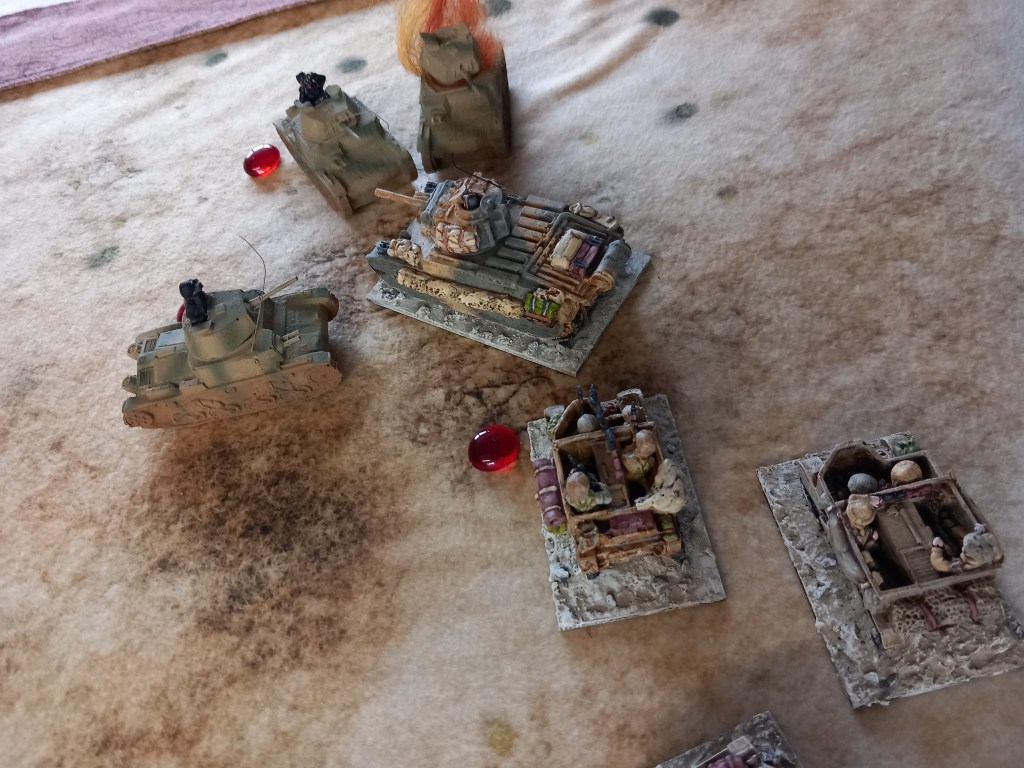
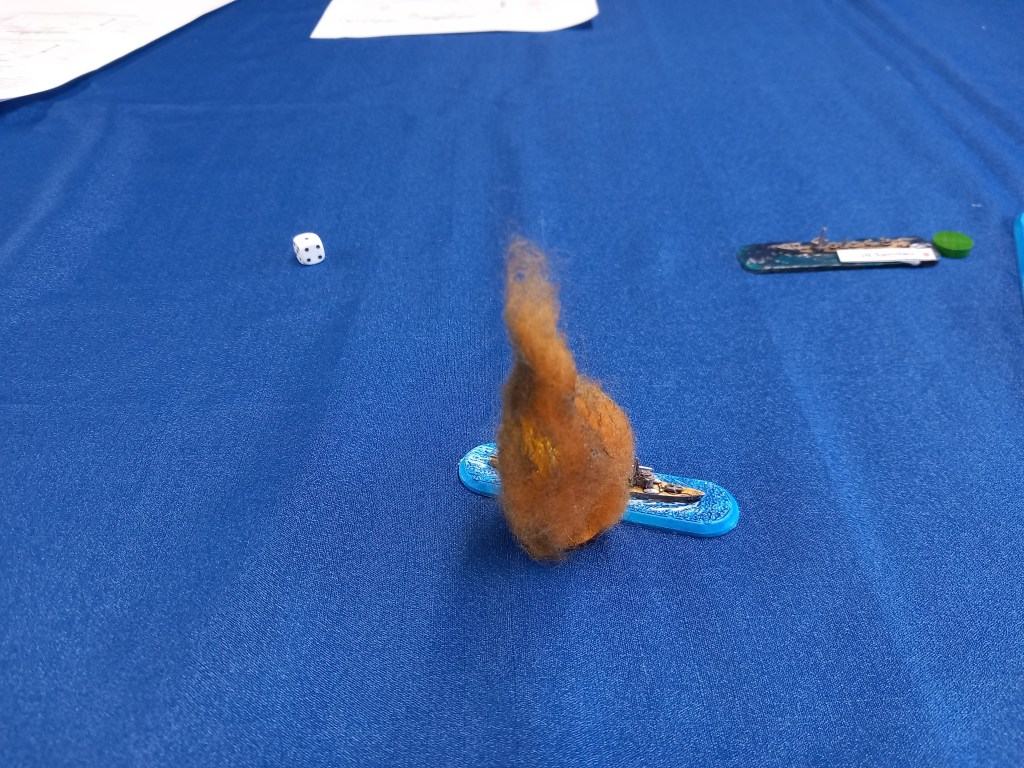
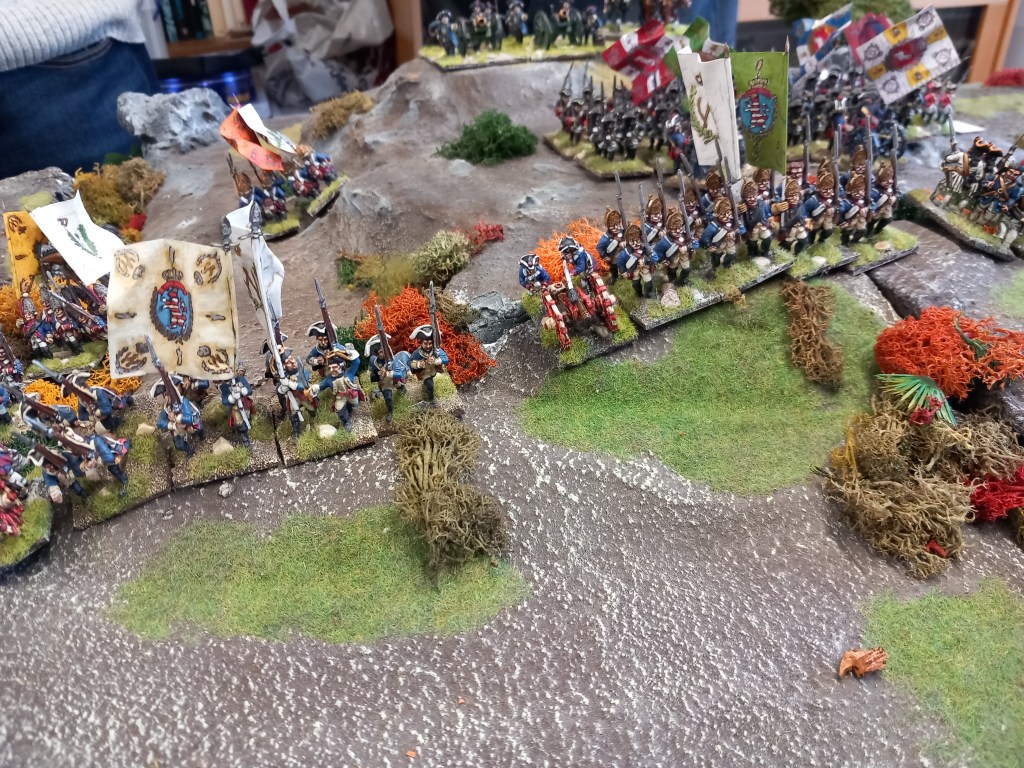
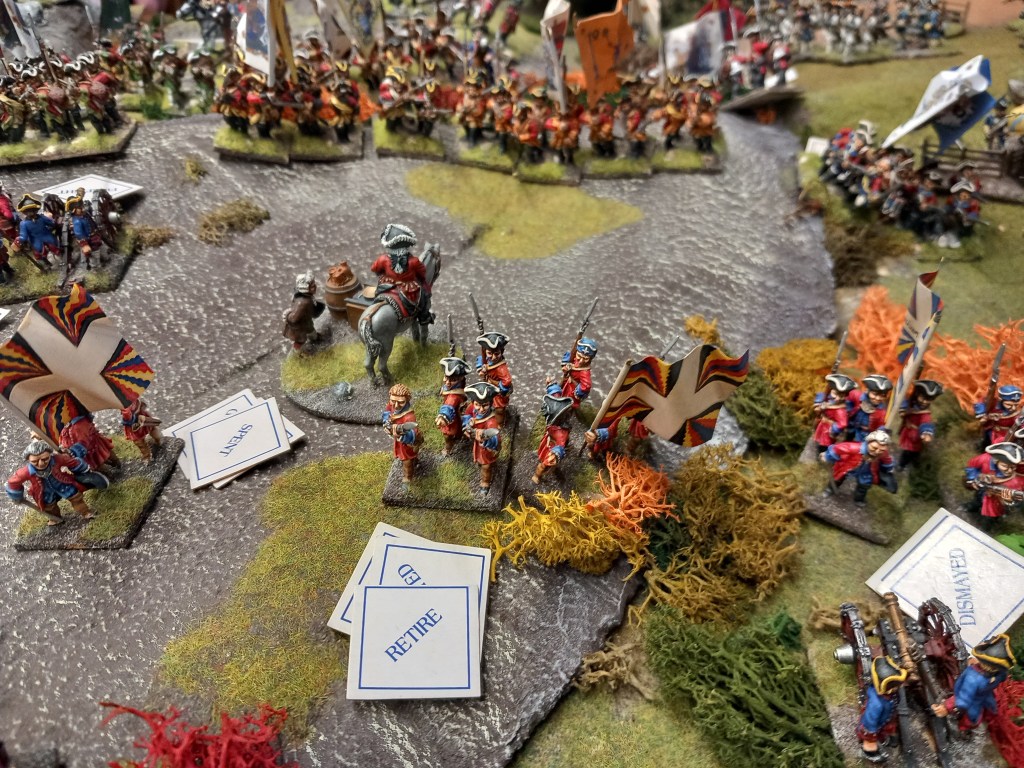
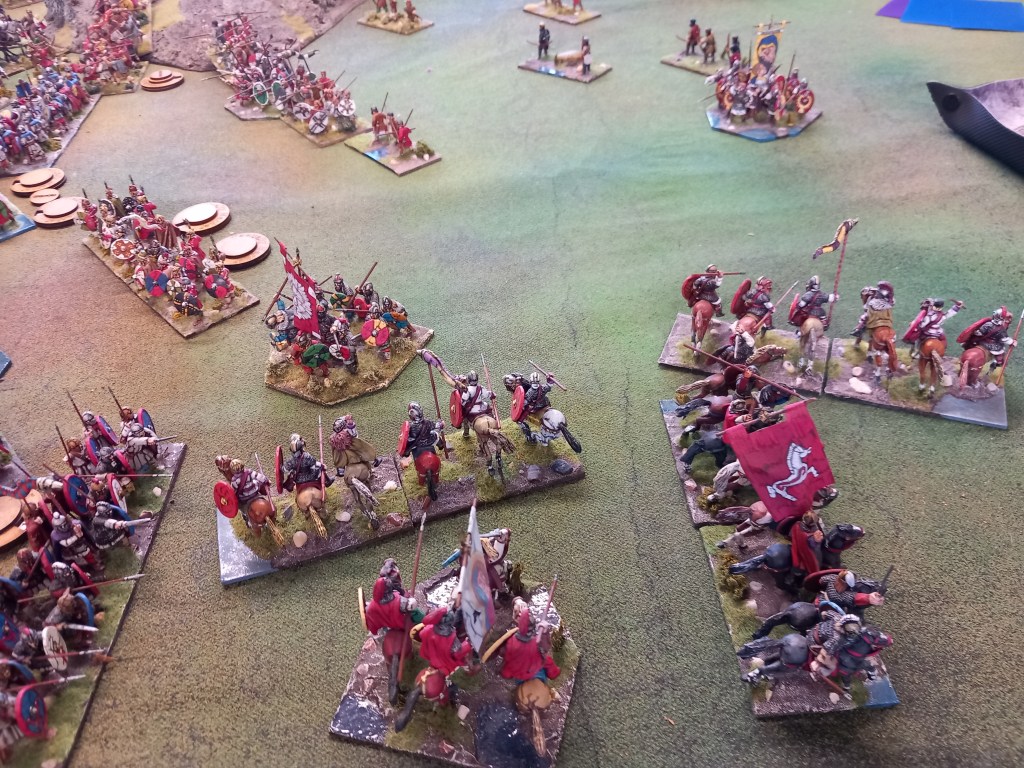
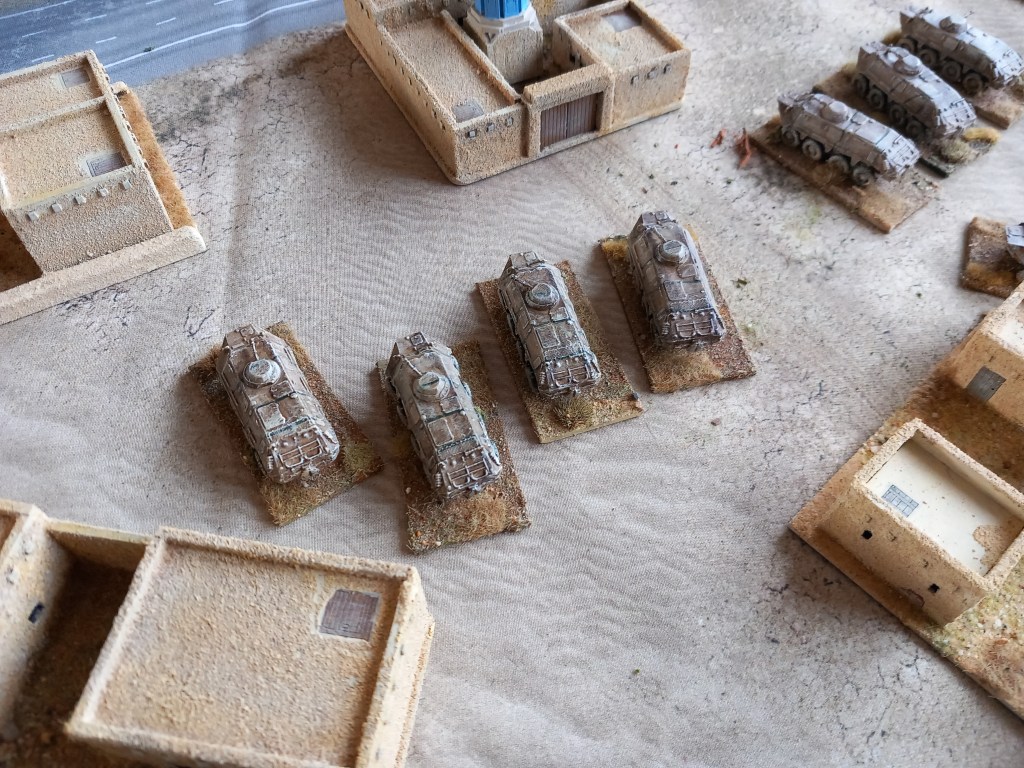
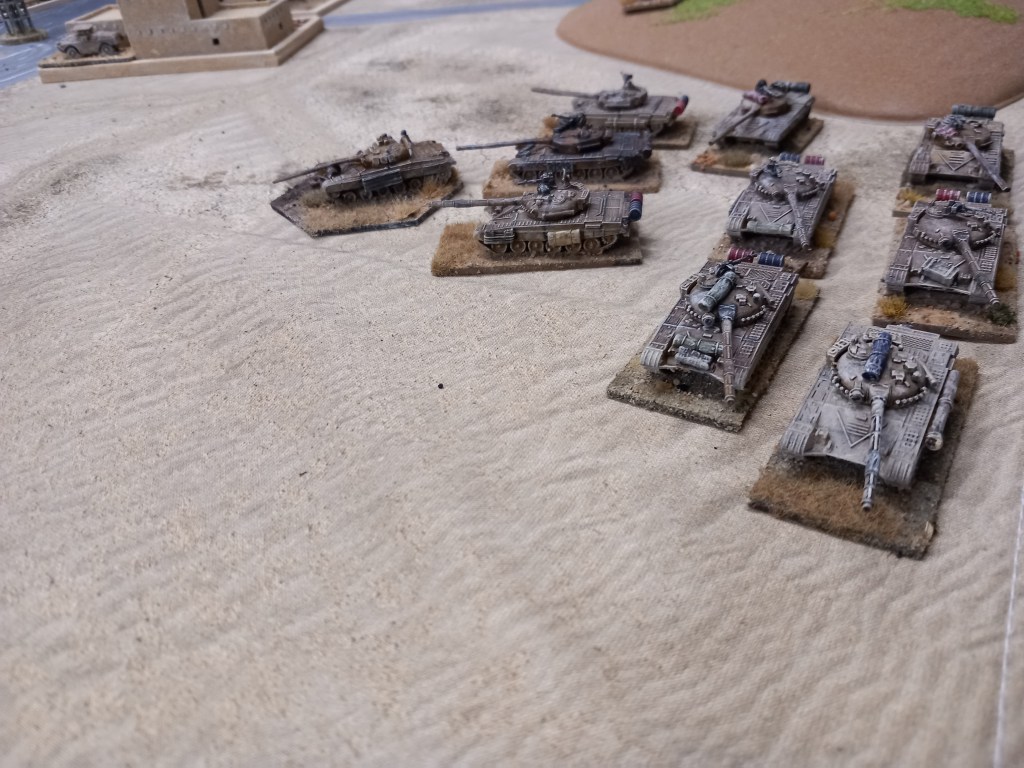
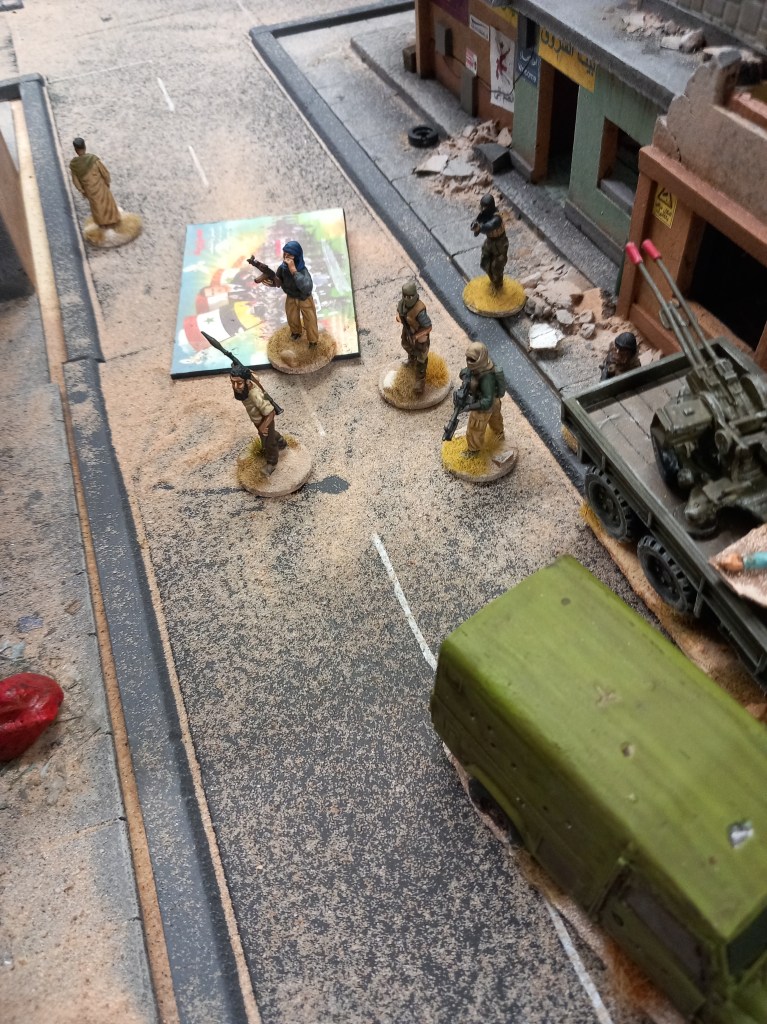
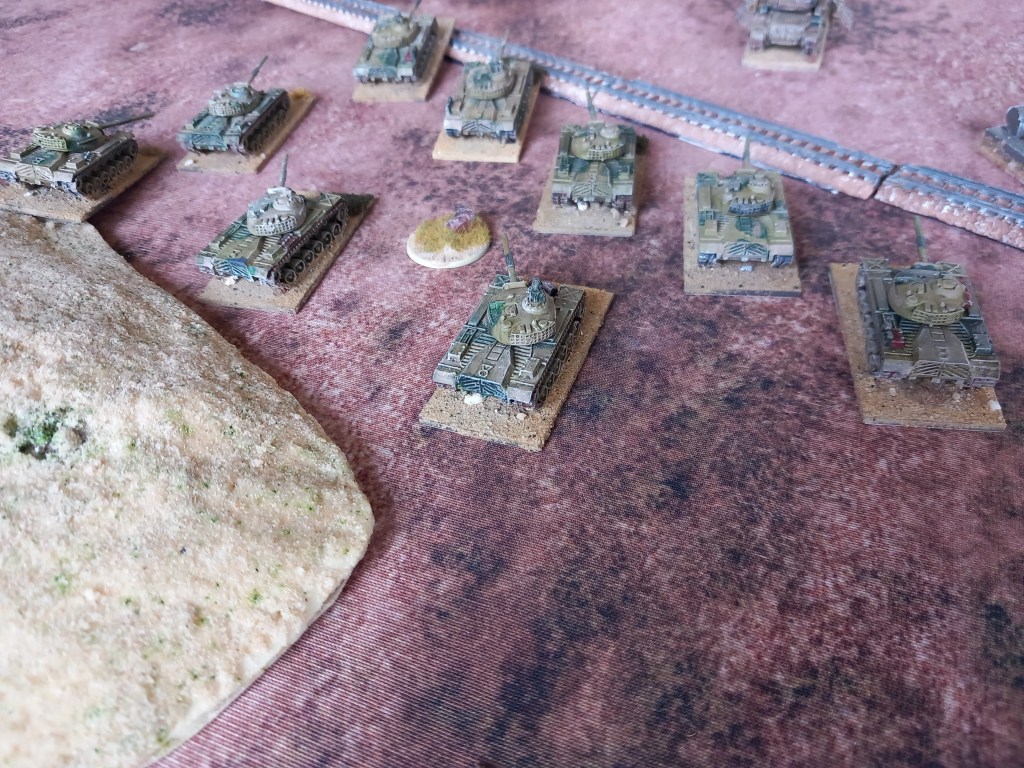
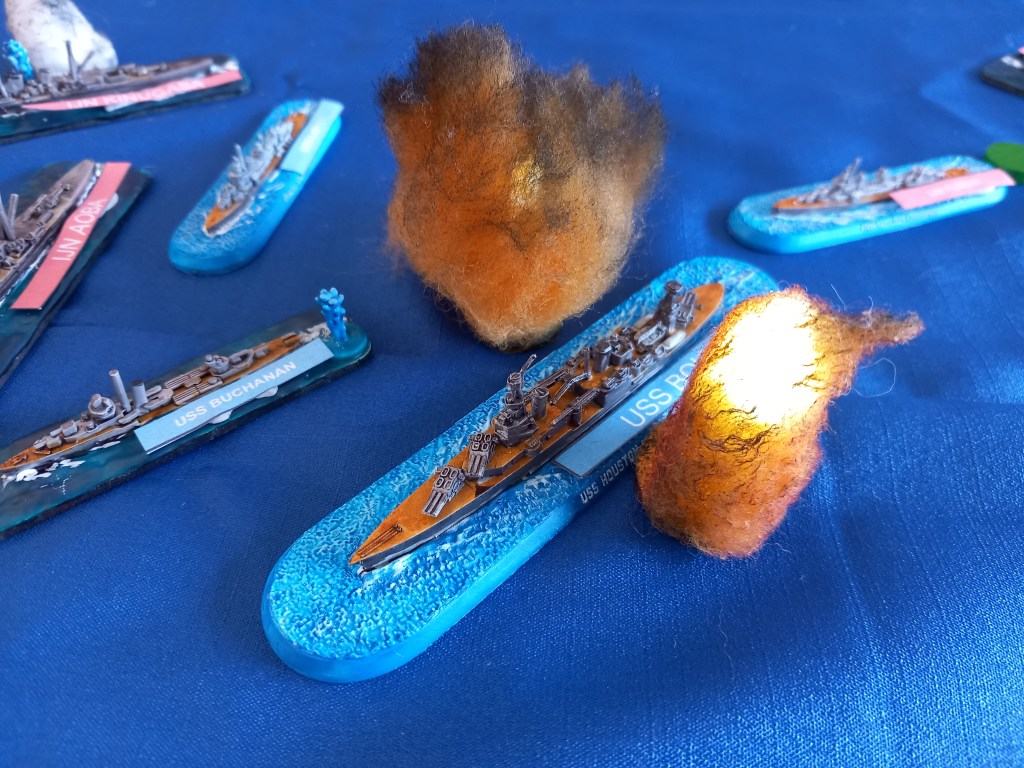
The reinforcements started to arrive, now we’ve got a fight!

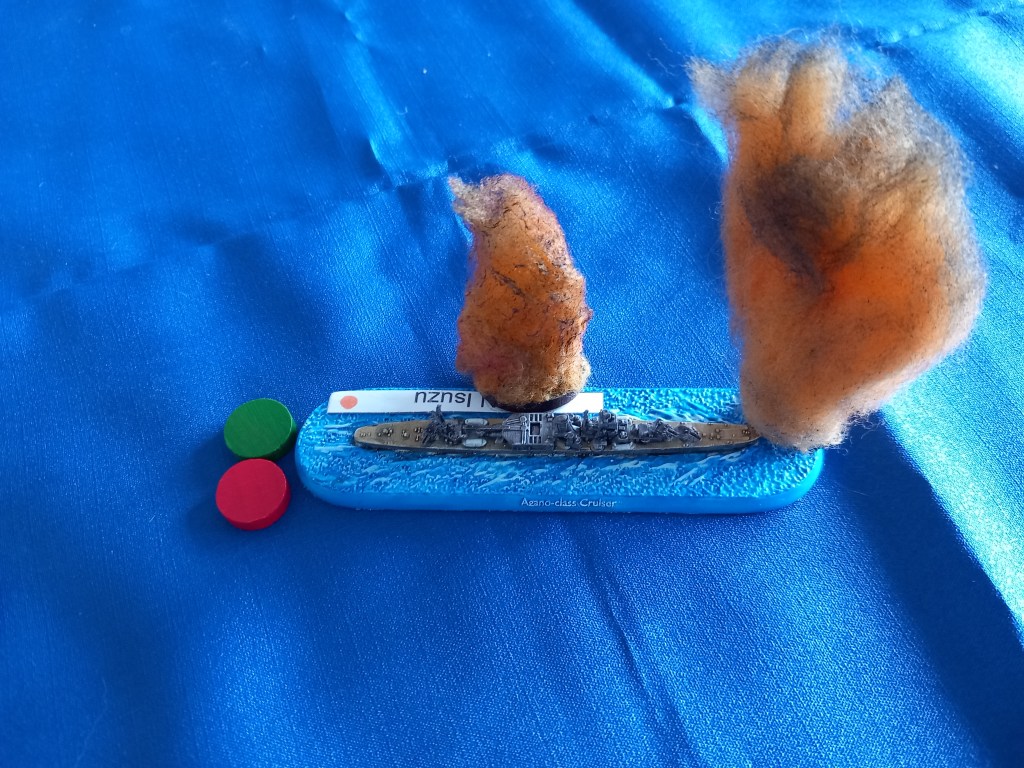
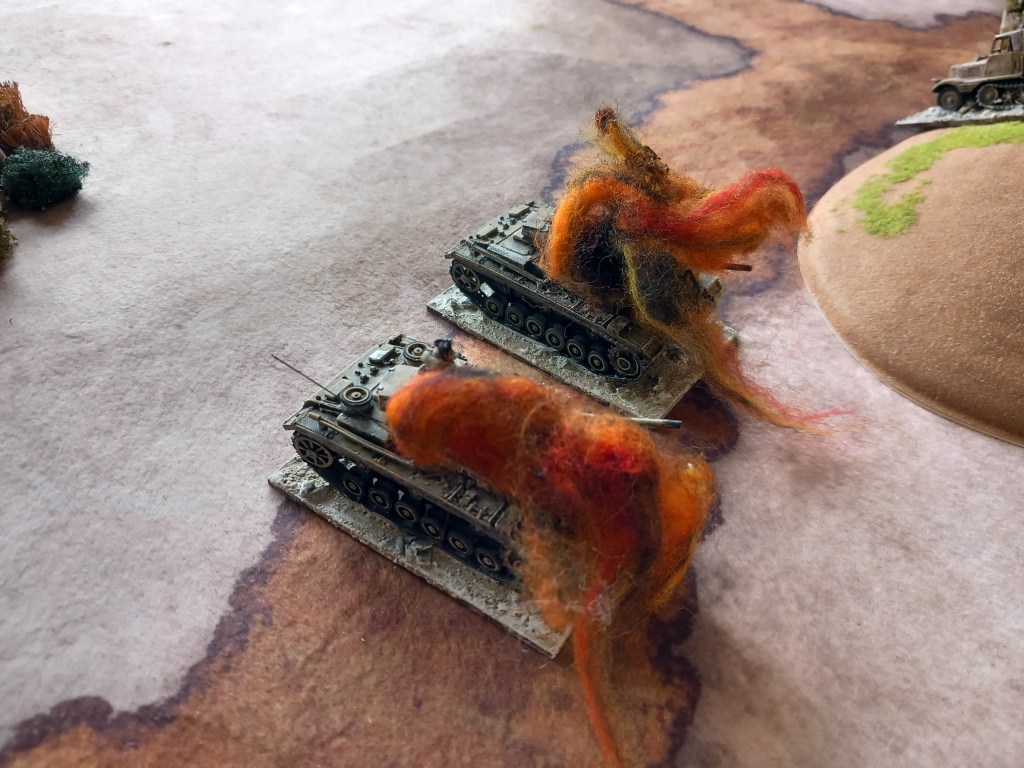
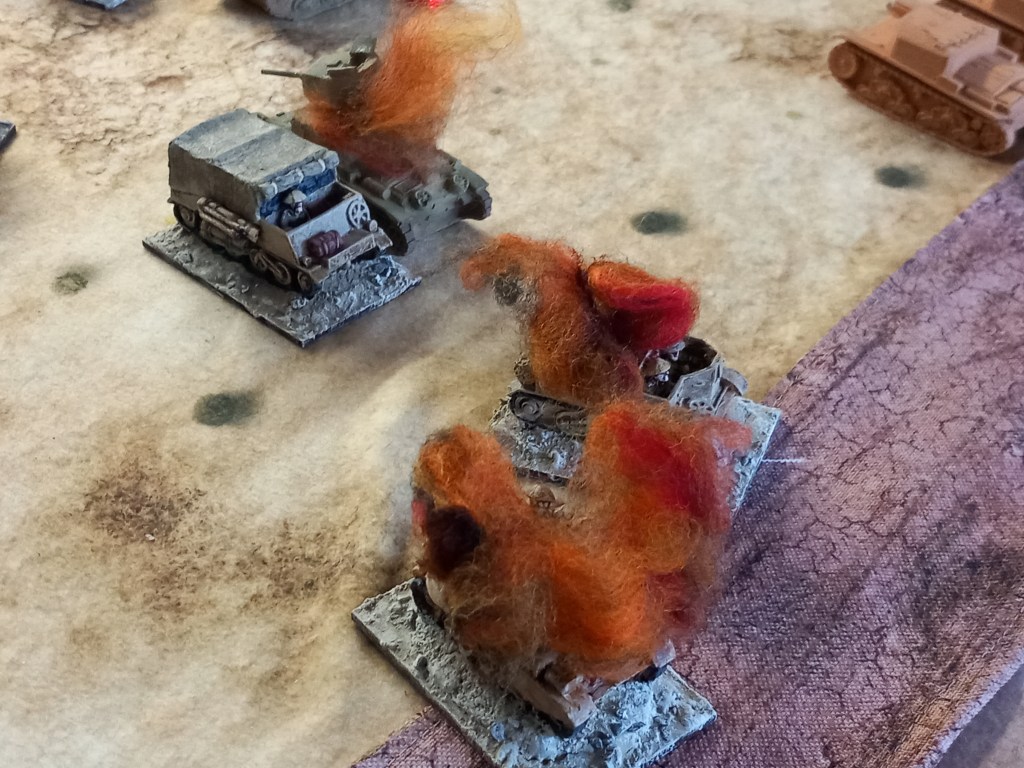
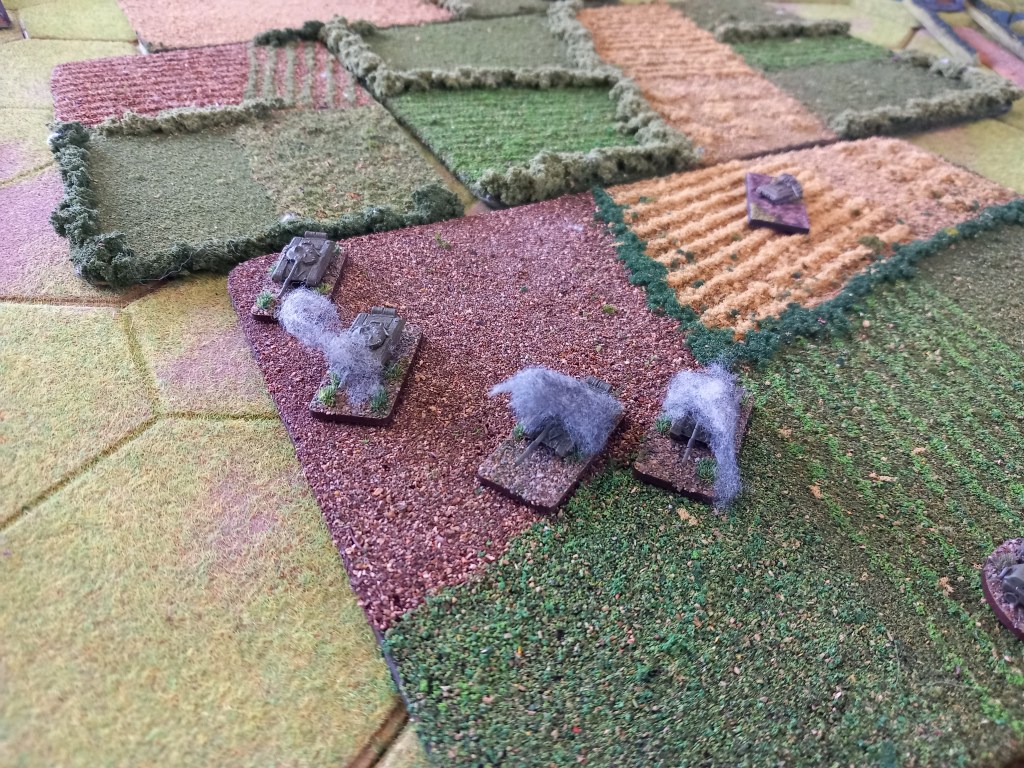
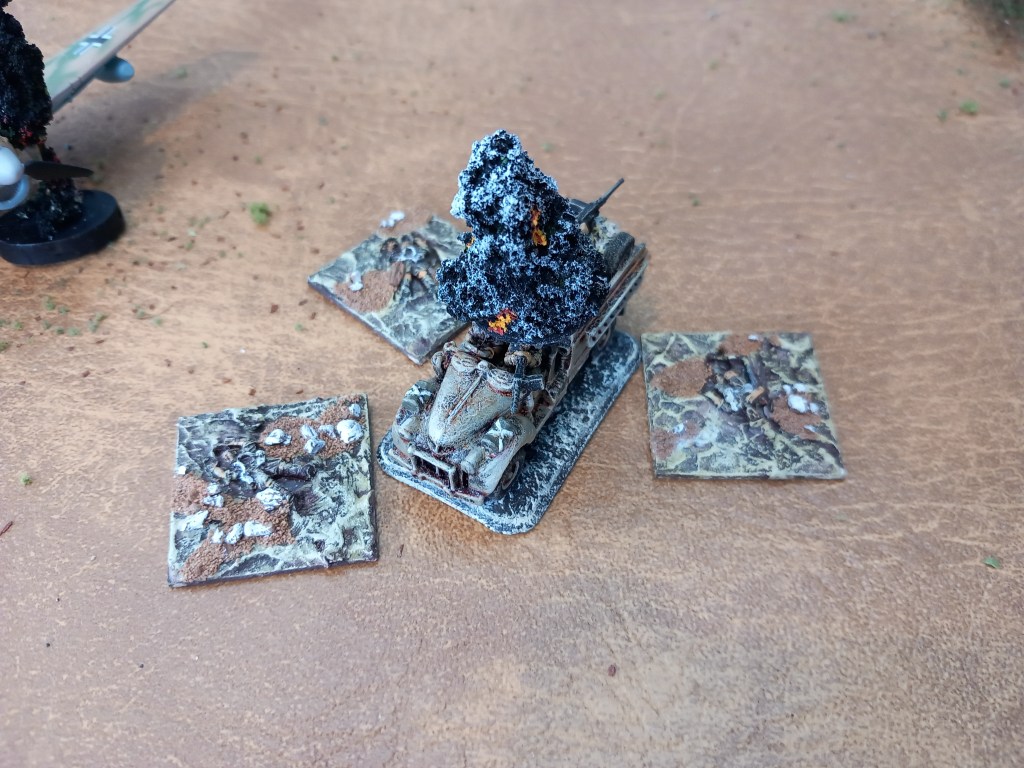
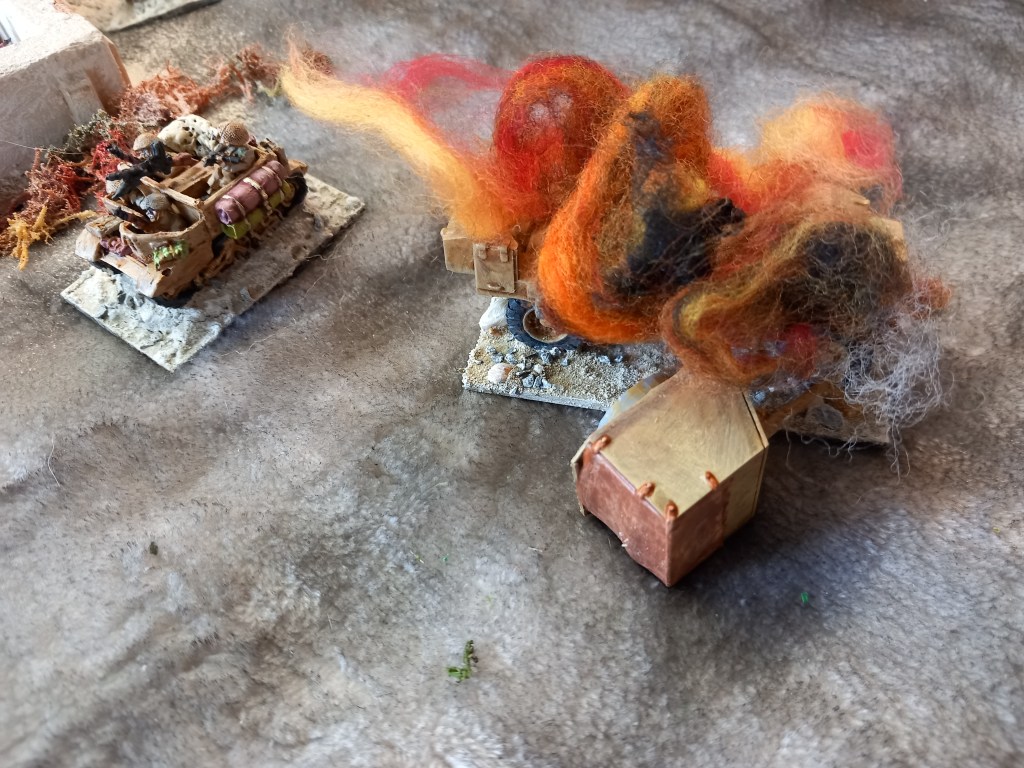
The Panzers start to feel the heat!
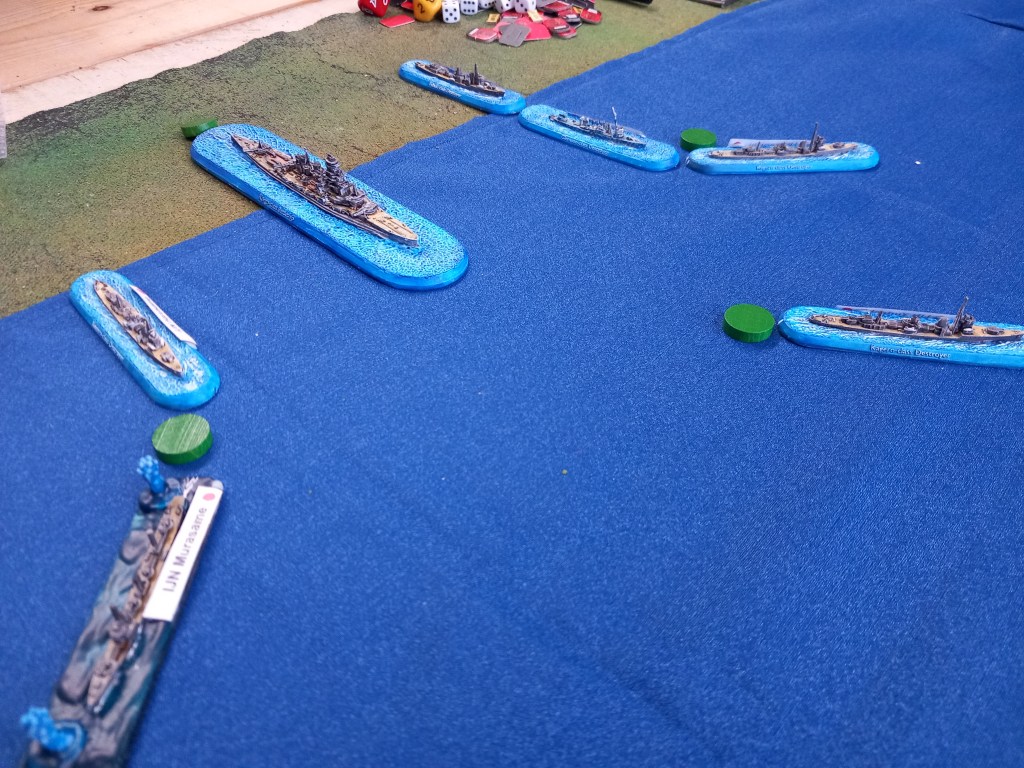
But it’s not all roses for the allies.
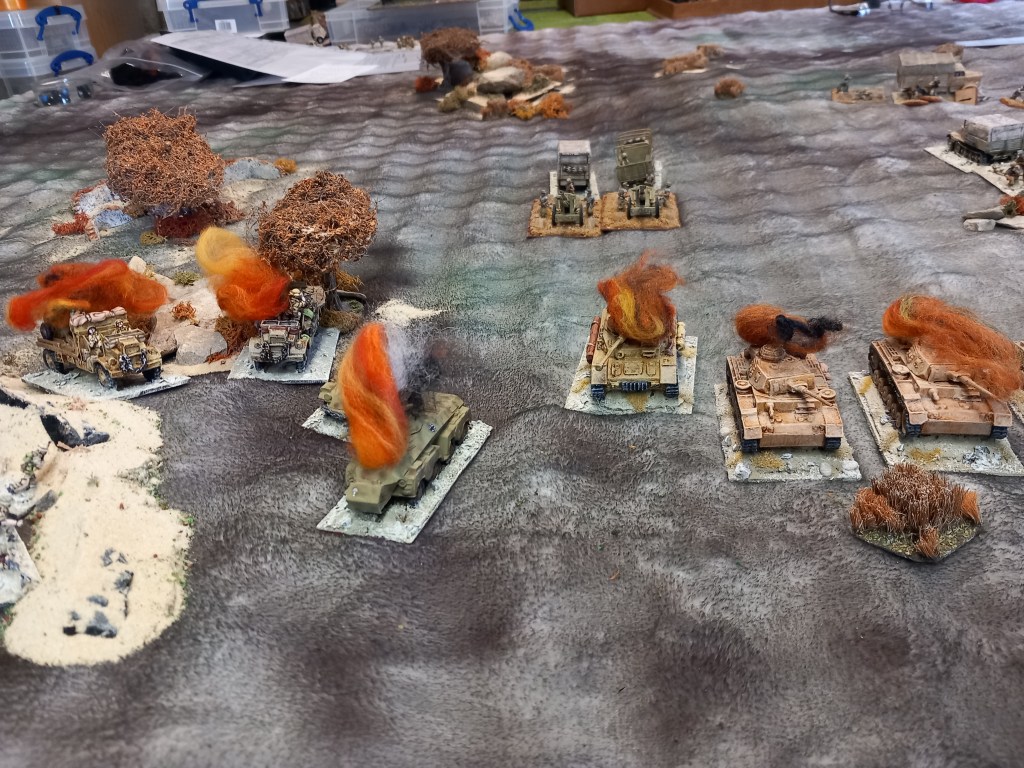
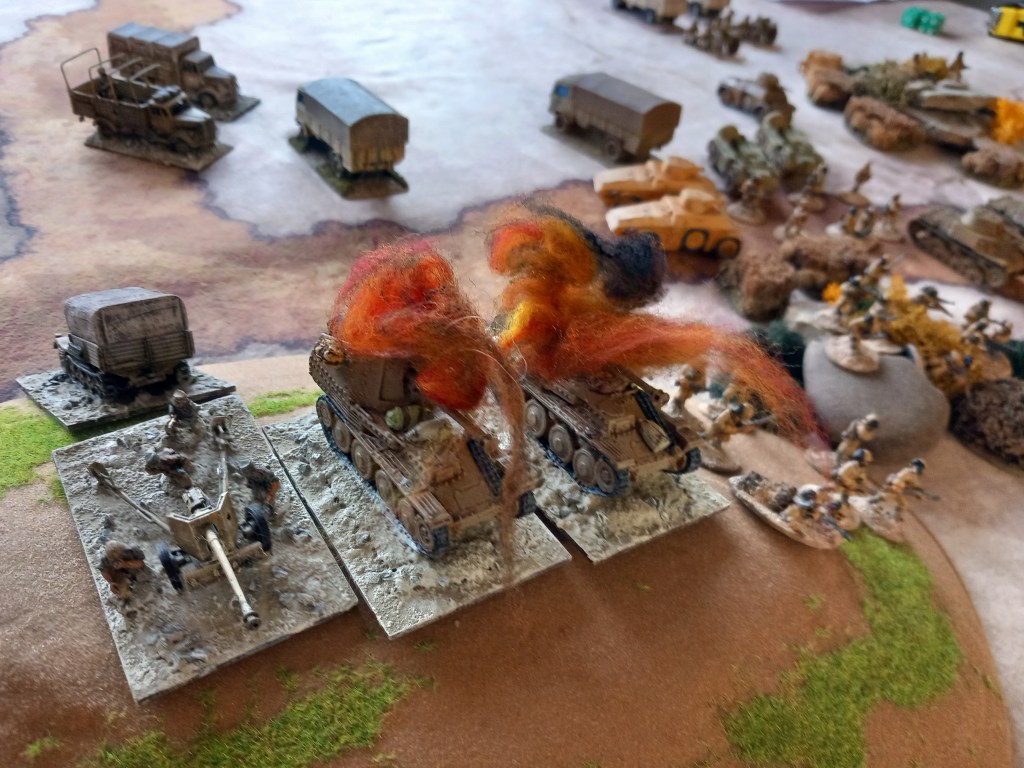
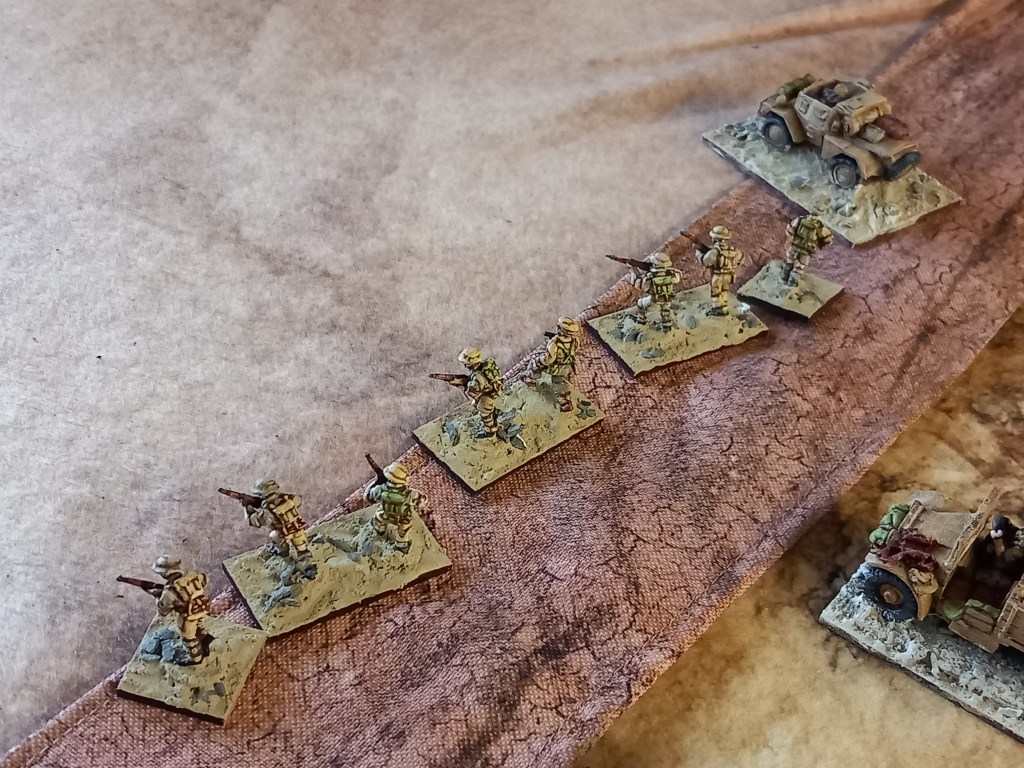
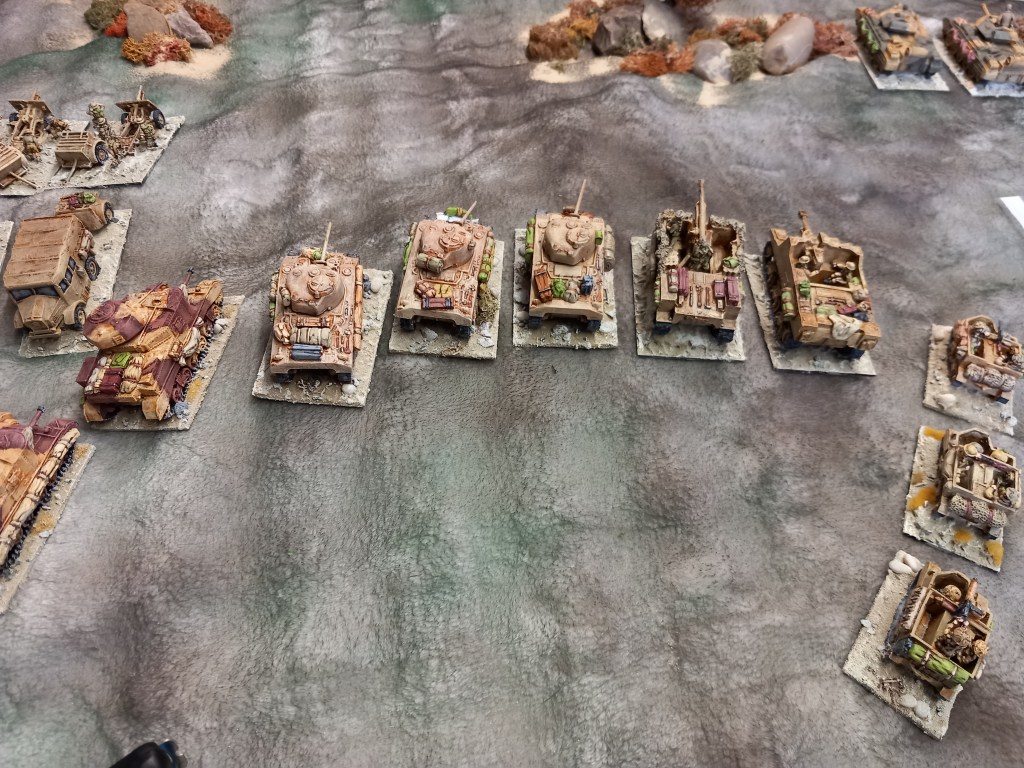
Ultimately the allies prevailed and the German attack ground to a halt amidst a field of burning vehicles.
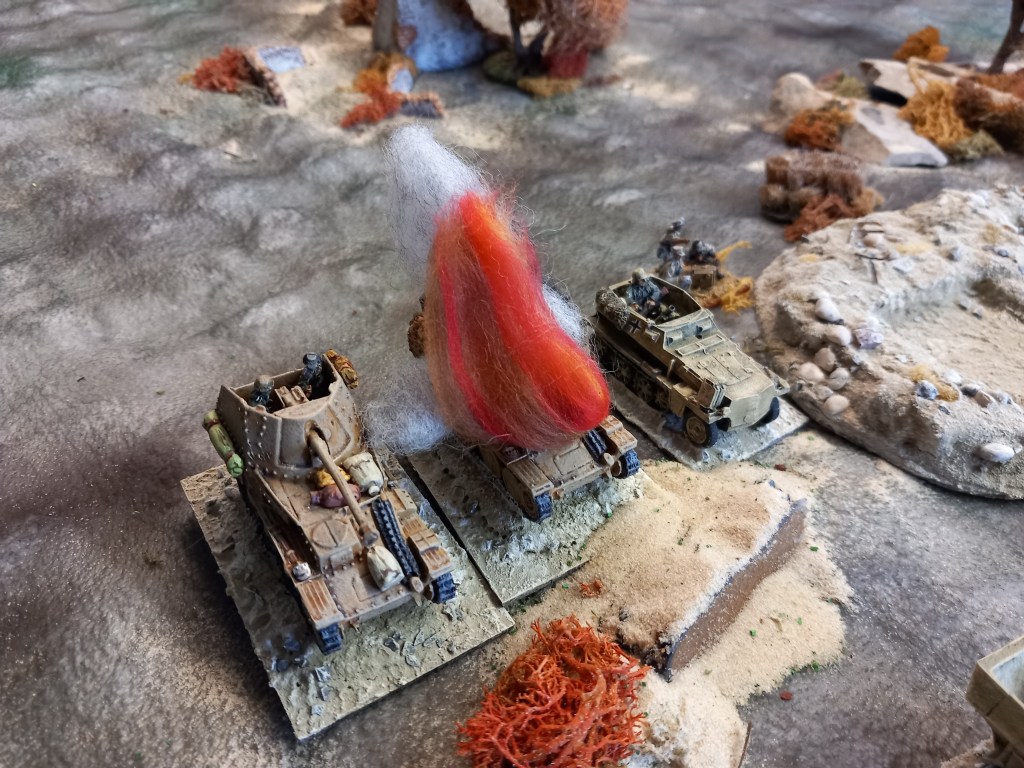
The Reloaded rules aren’t perfect and can be a bit dice driven but that said they give a perfectly entertaining game for a period we won’t play that often.
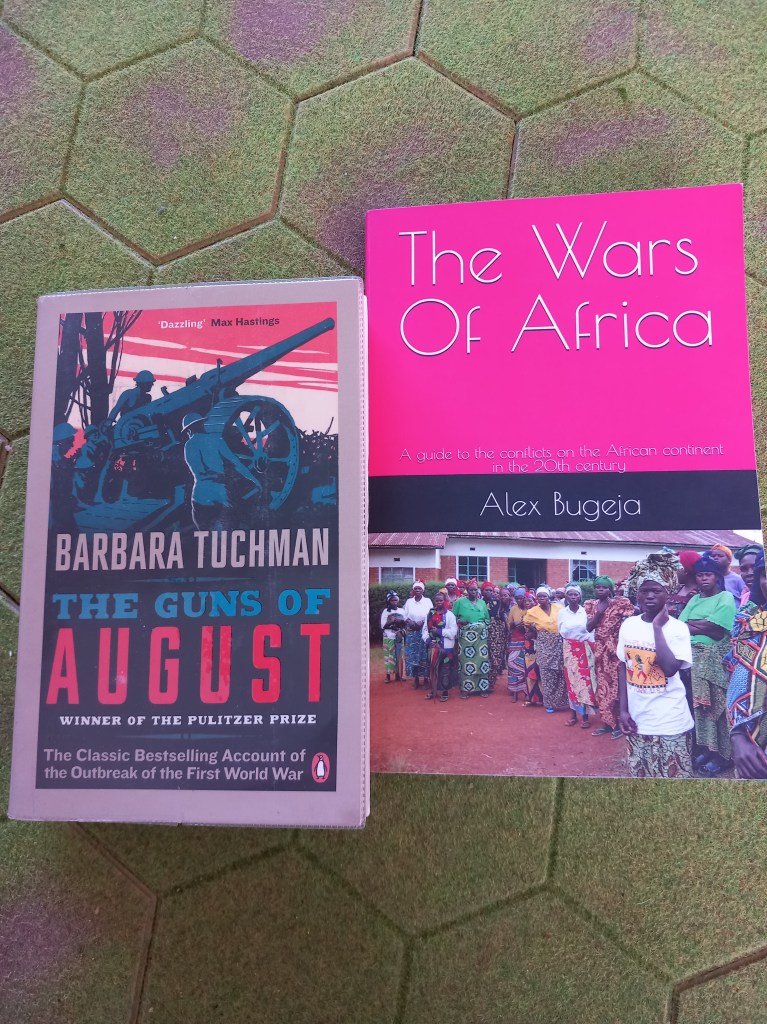
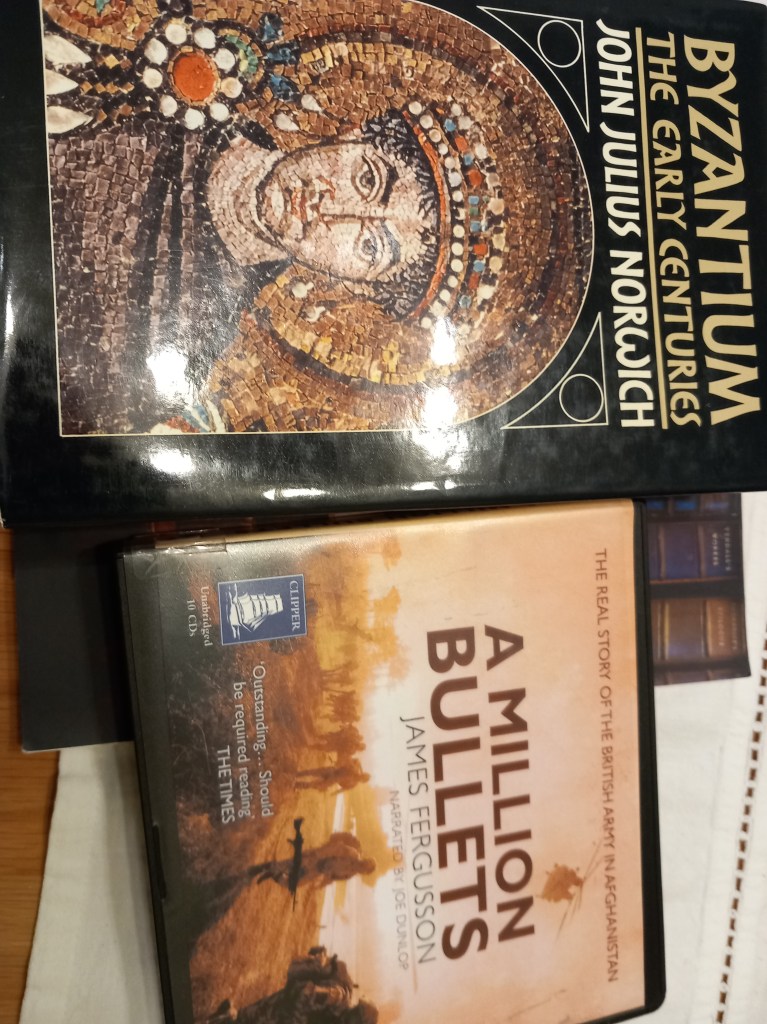
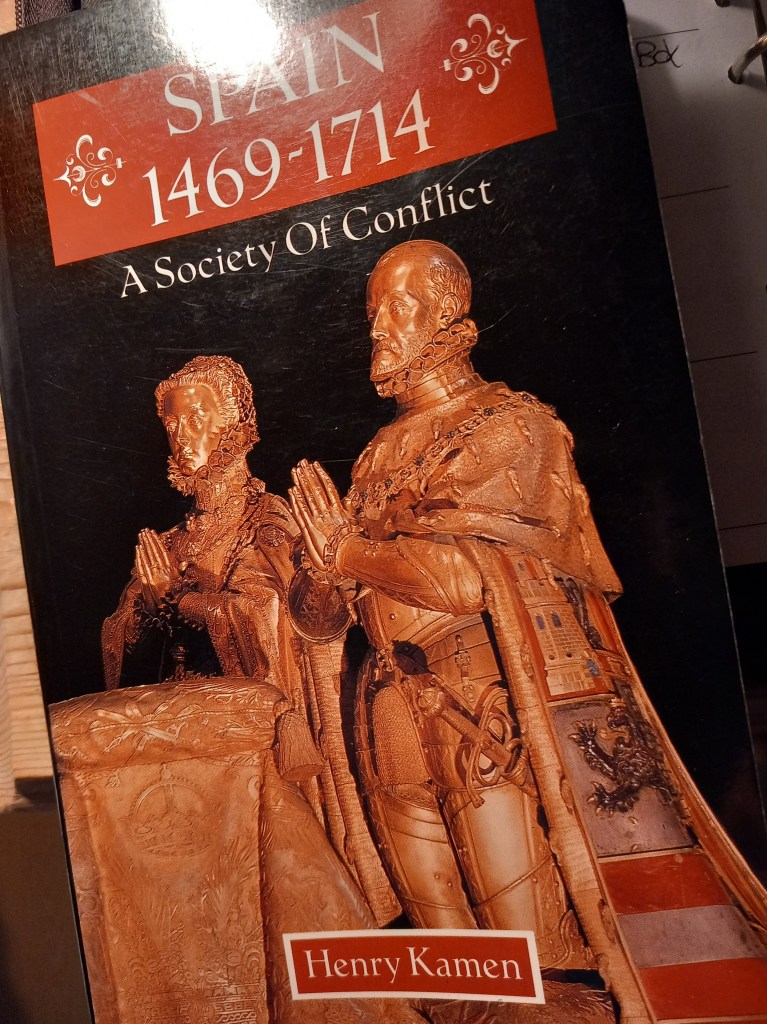
On the reading front I gave Tuchman’s classic a go having picked it up cheap. I have no particular desire to game WWI and despite revisionist writings it still is ‘lions led by donkeys’. That said the book was a good read, clear concise and focussed – it is the first month of the war and the events leading to it. Who the bad guys are is pretty clear and the actions of nearly everyone range from the brave (Belgium), through the stupid (France & Russia) to the perfidious (Great Britain). The Africa book was an attempt to get a bit of a handle on exactly what was happening during mainly the C20th in the many wars on that blighted continent. The book doesn’t pretend to be exhaustive, a half dozen pages per conflict, but it does give a depressing insight and opened a door to researching maybe some of the more ‘acceptable conflicts’.
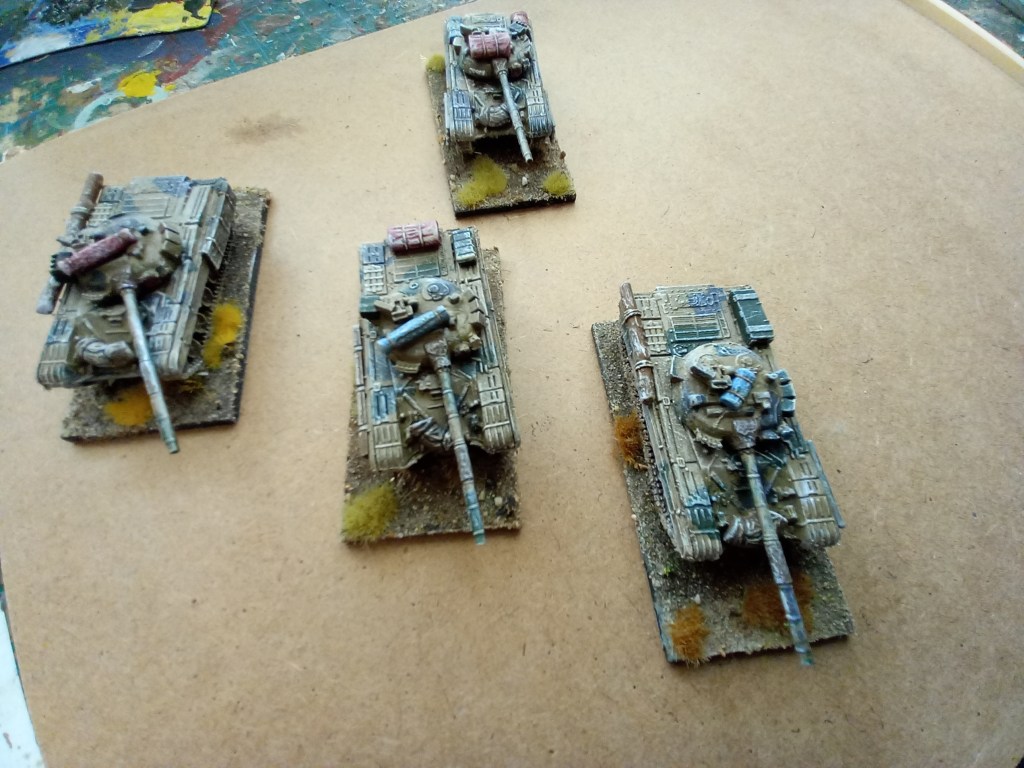
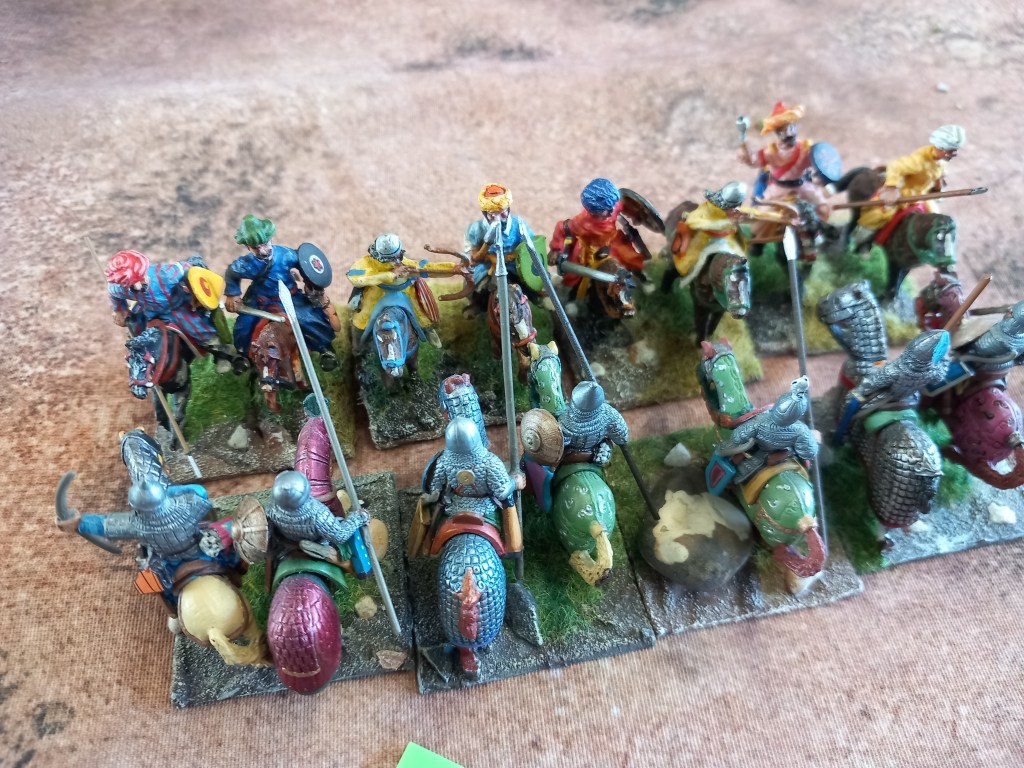
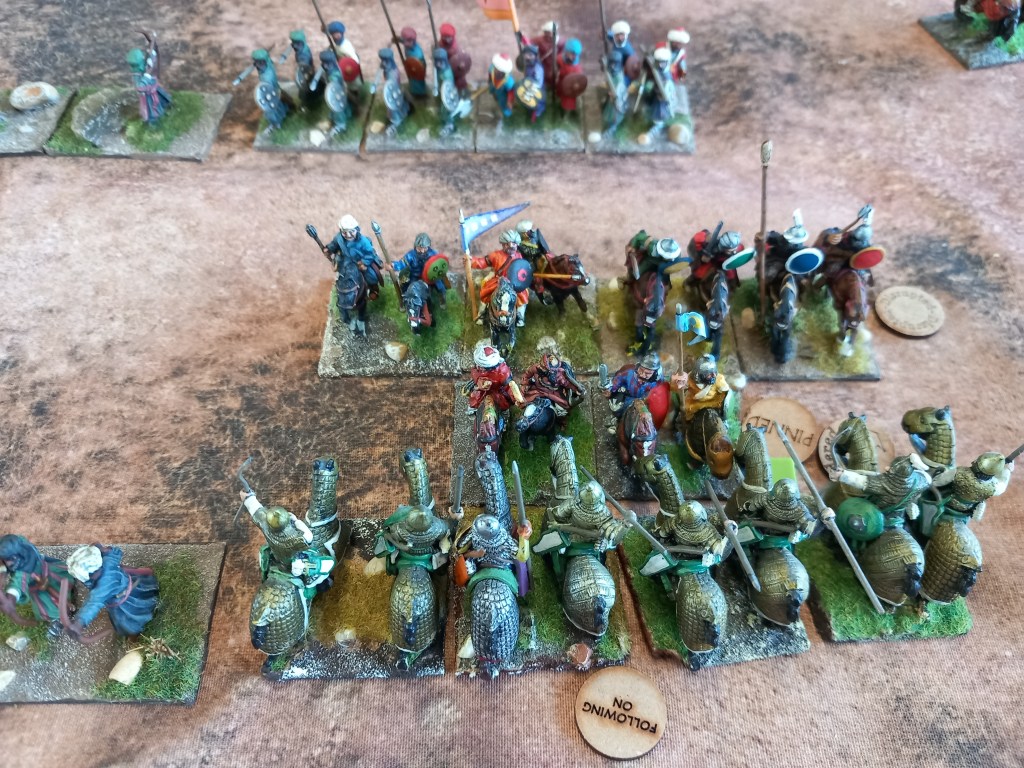
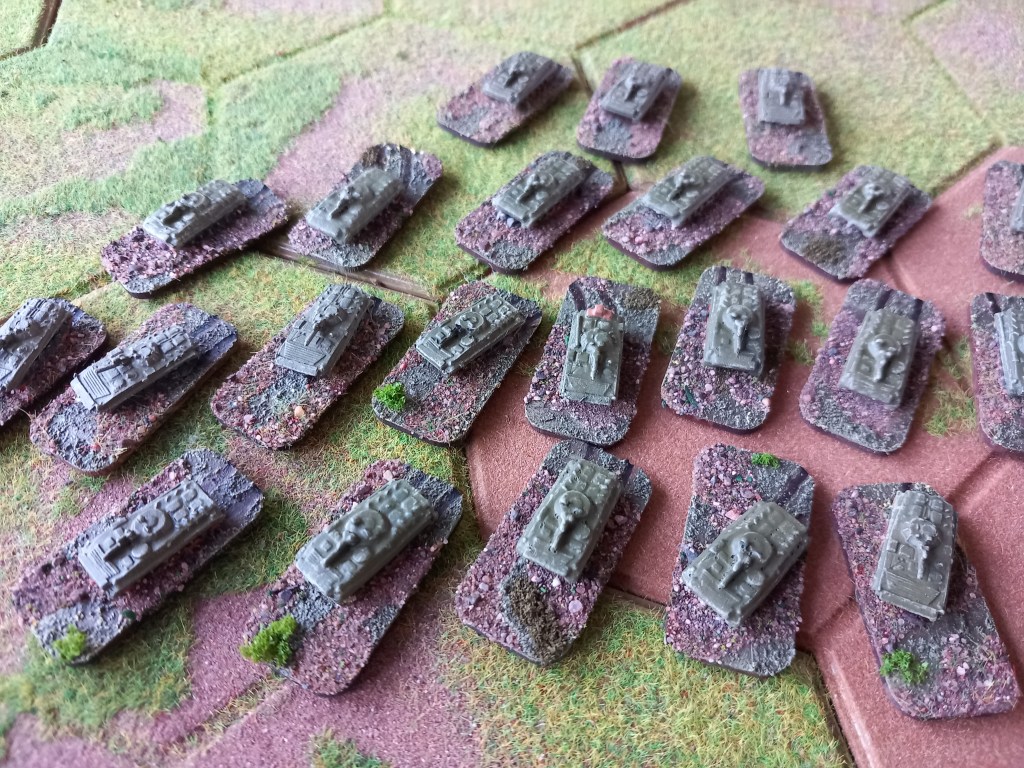
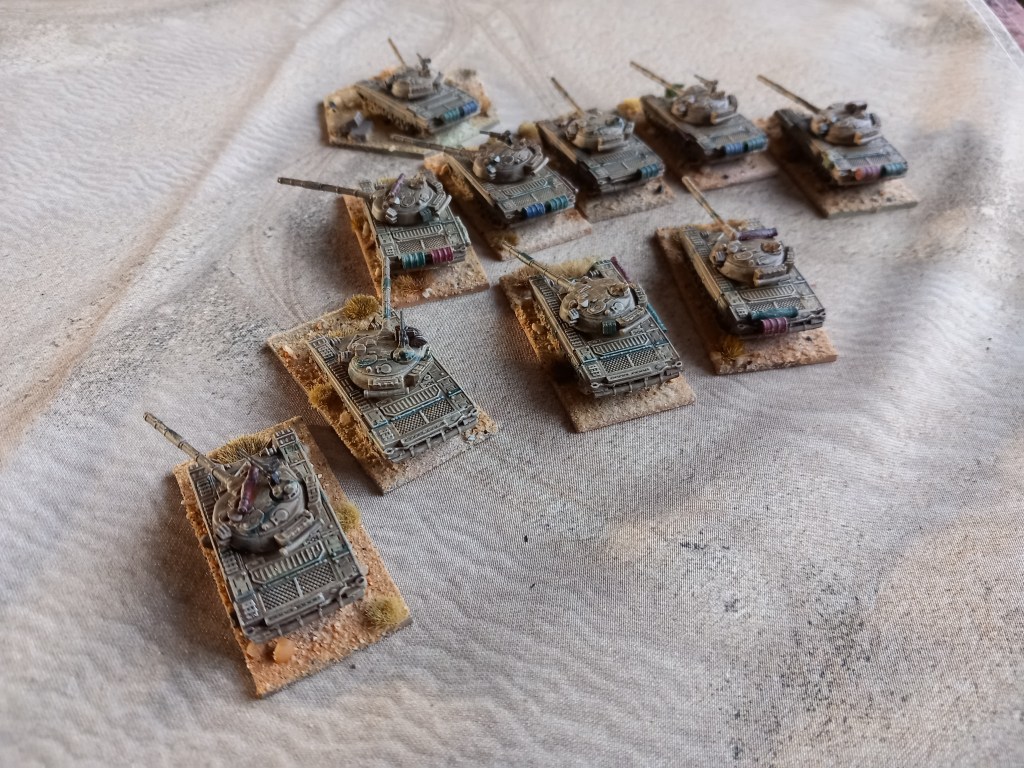
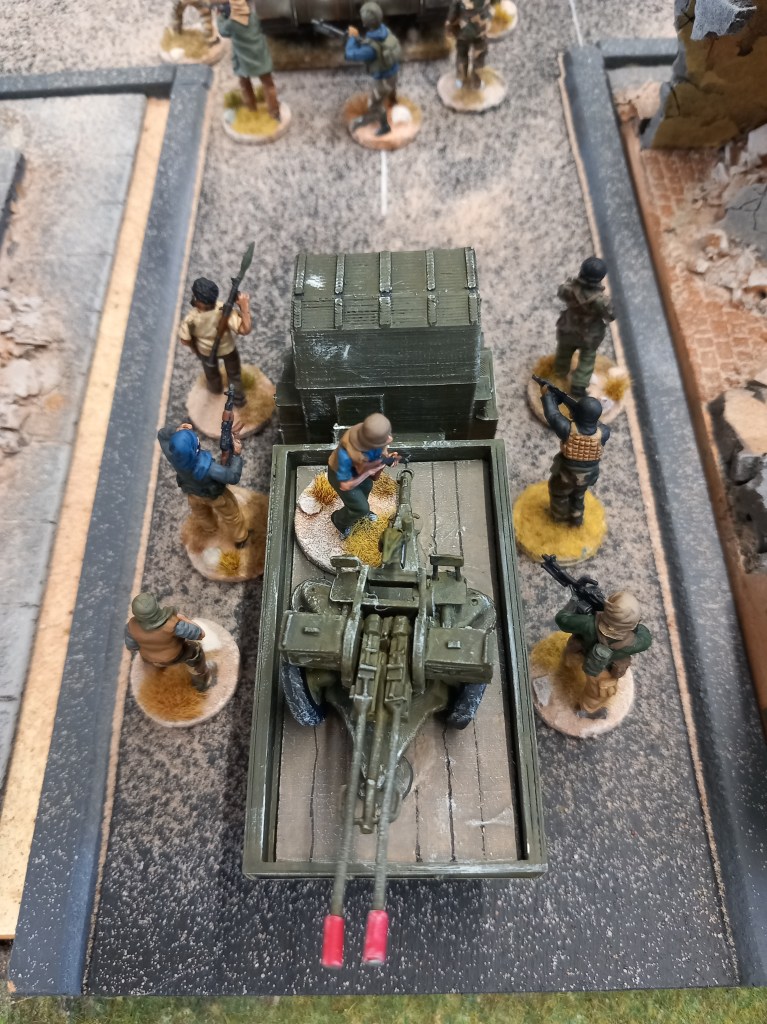
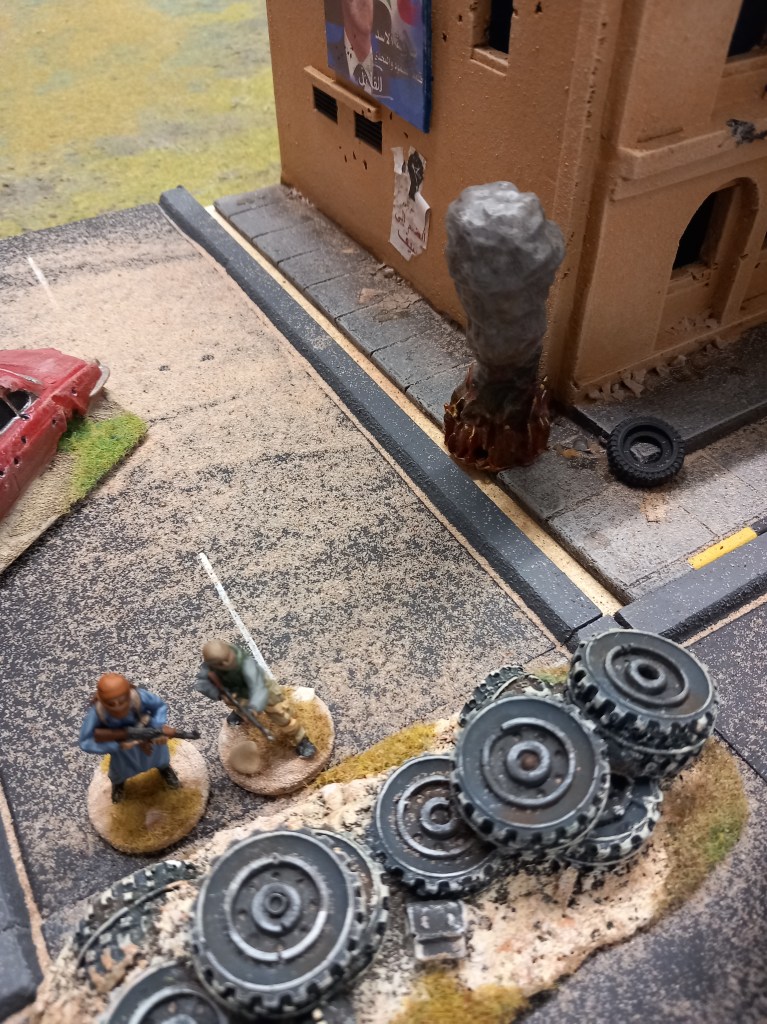
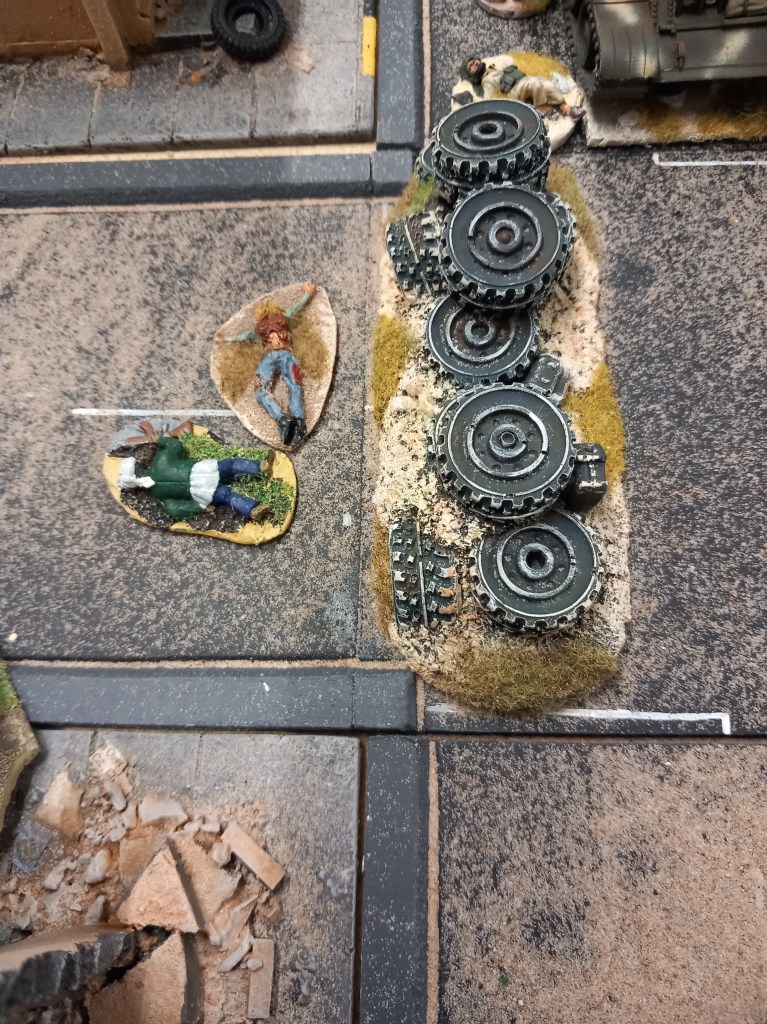
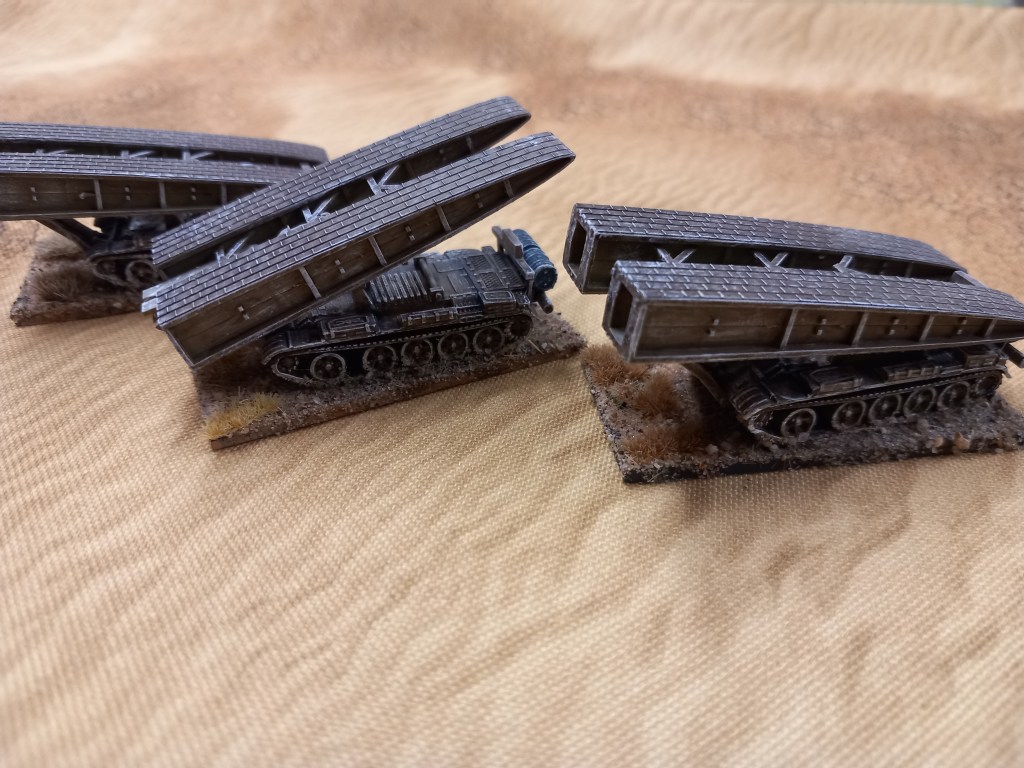
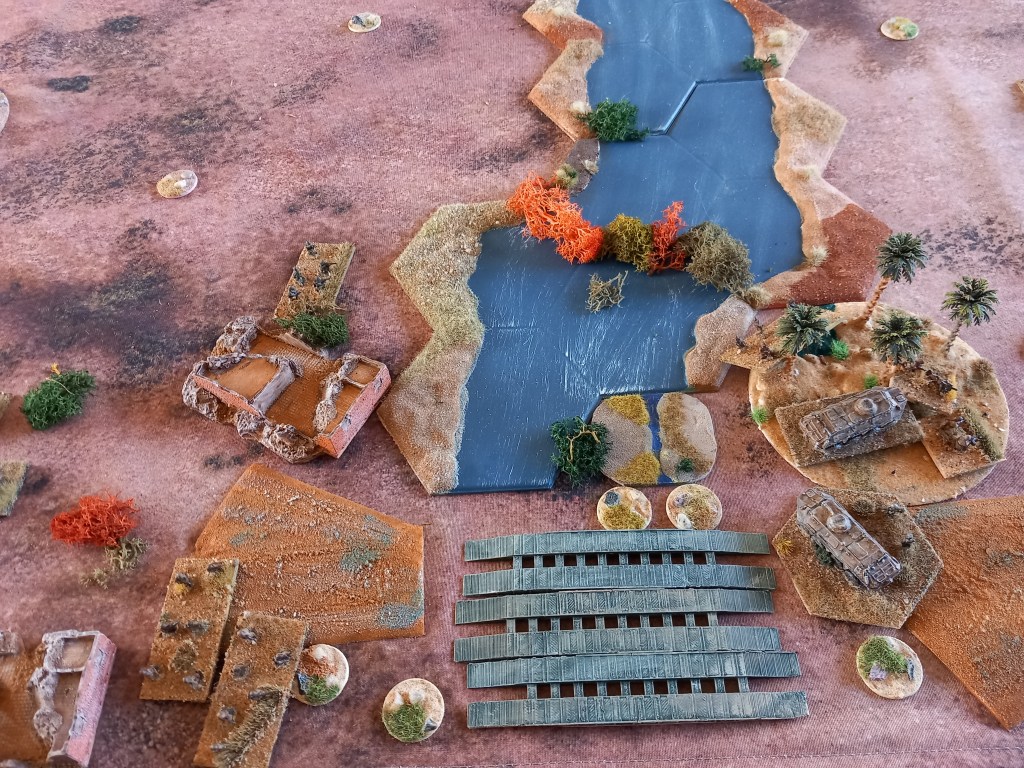
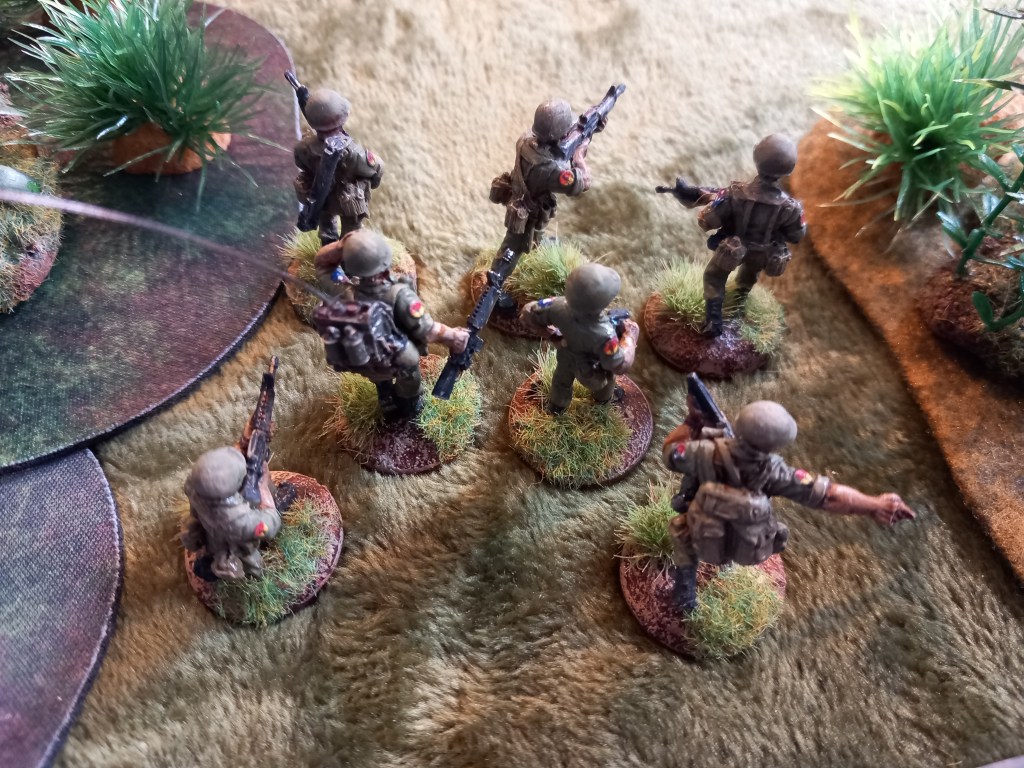
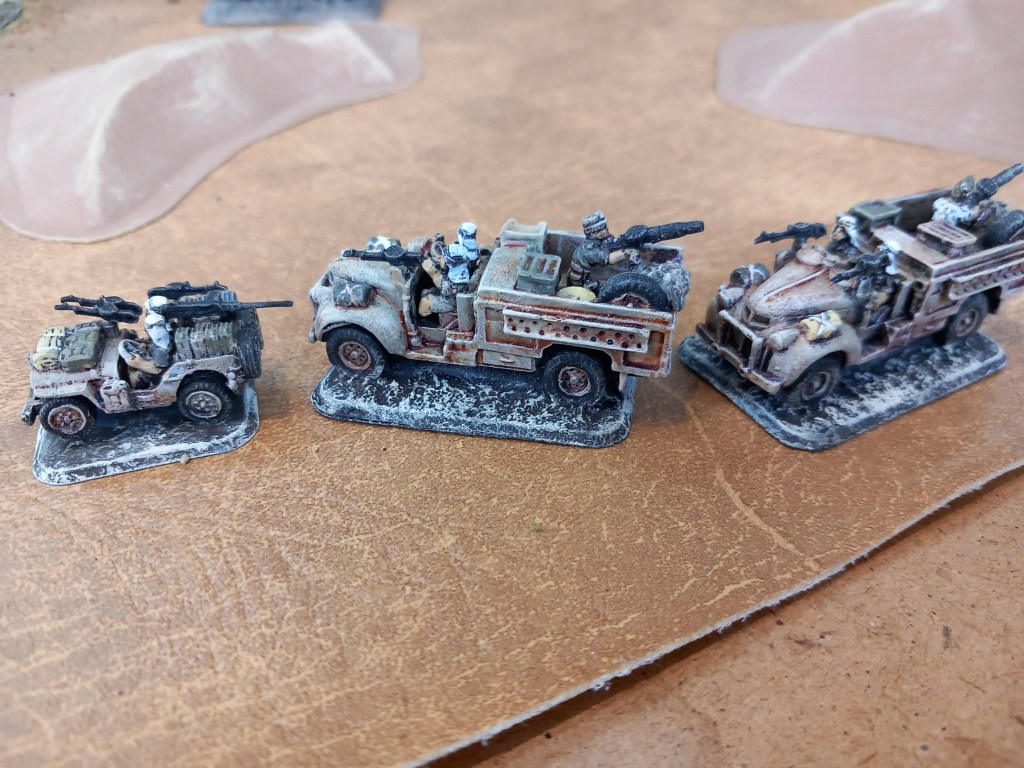
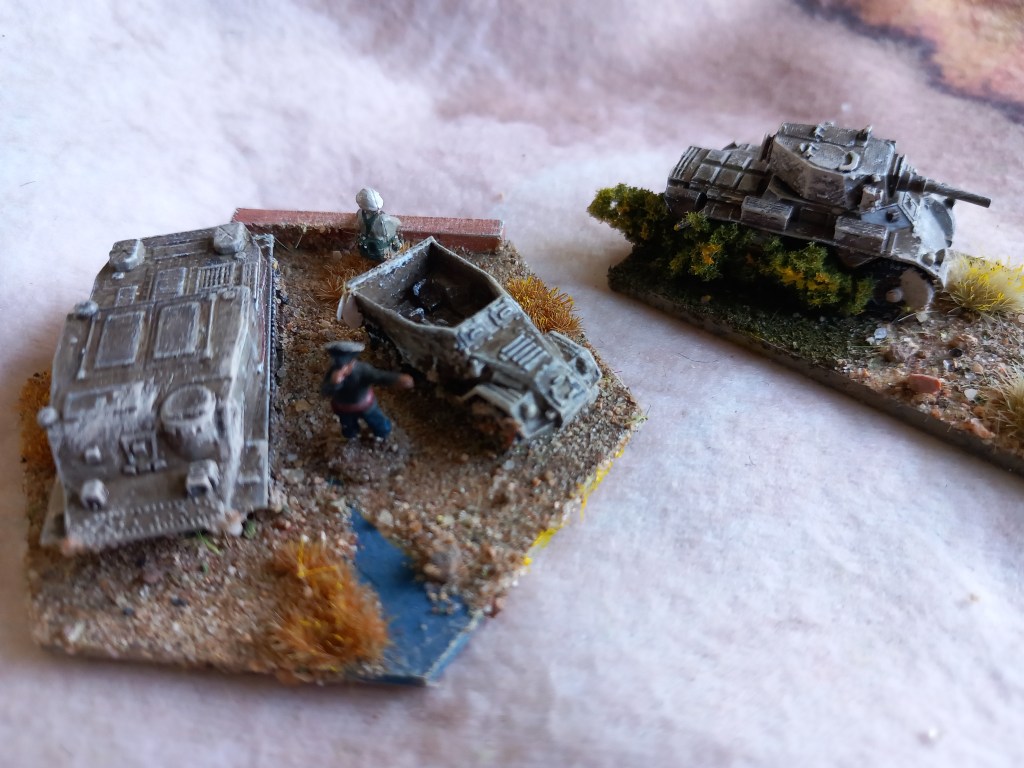
Managed to get some additions done for the ongoing Iran Iraq collection.
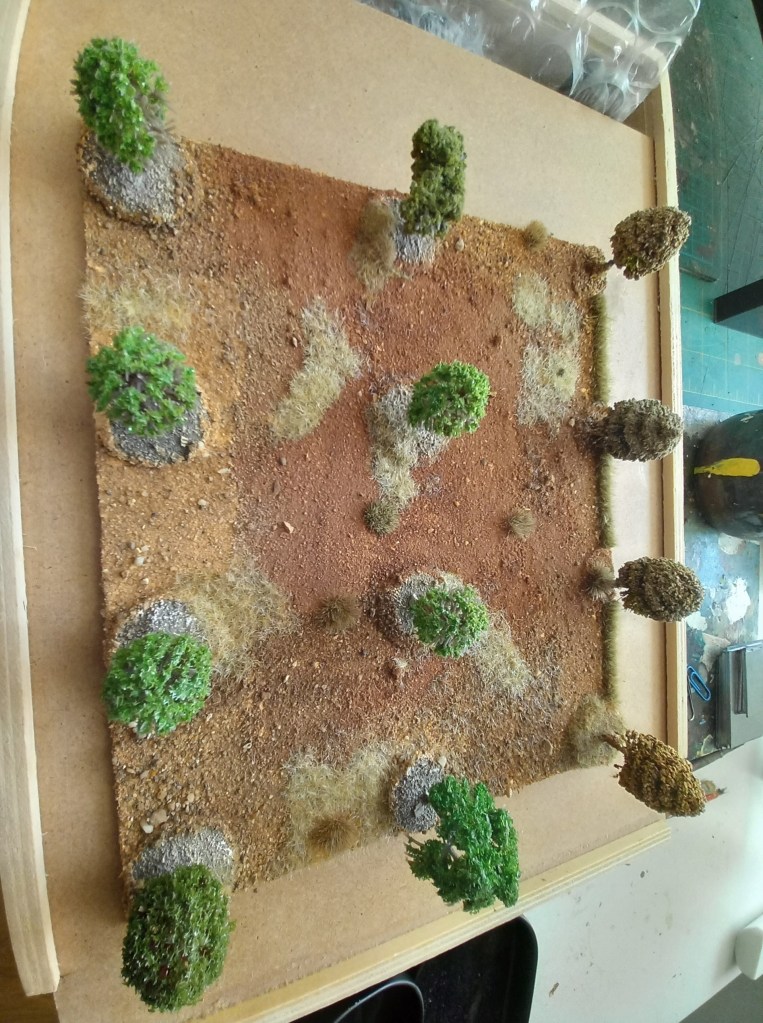
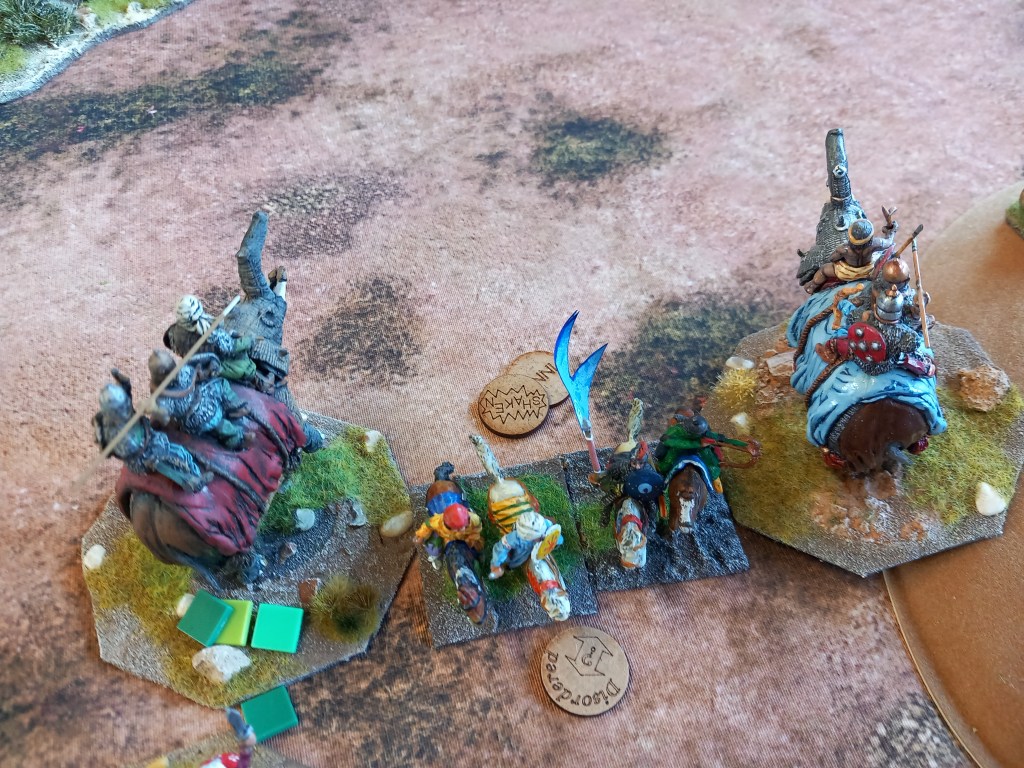
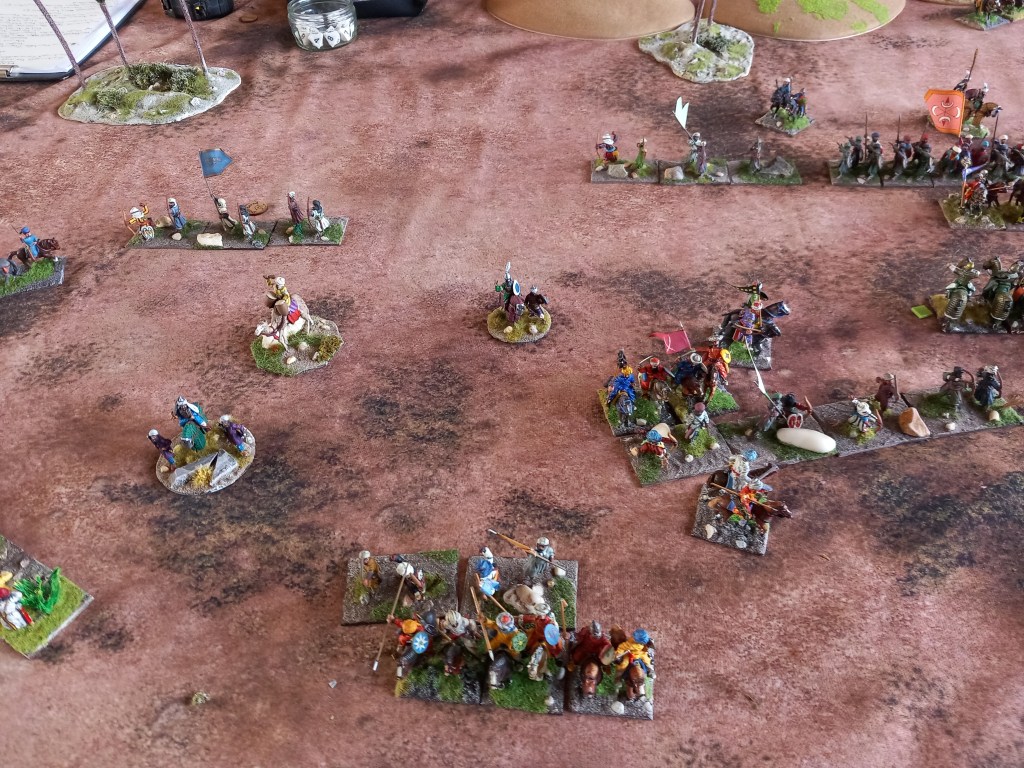
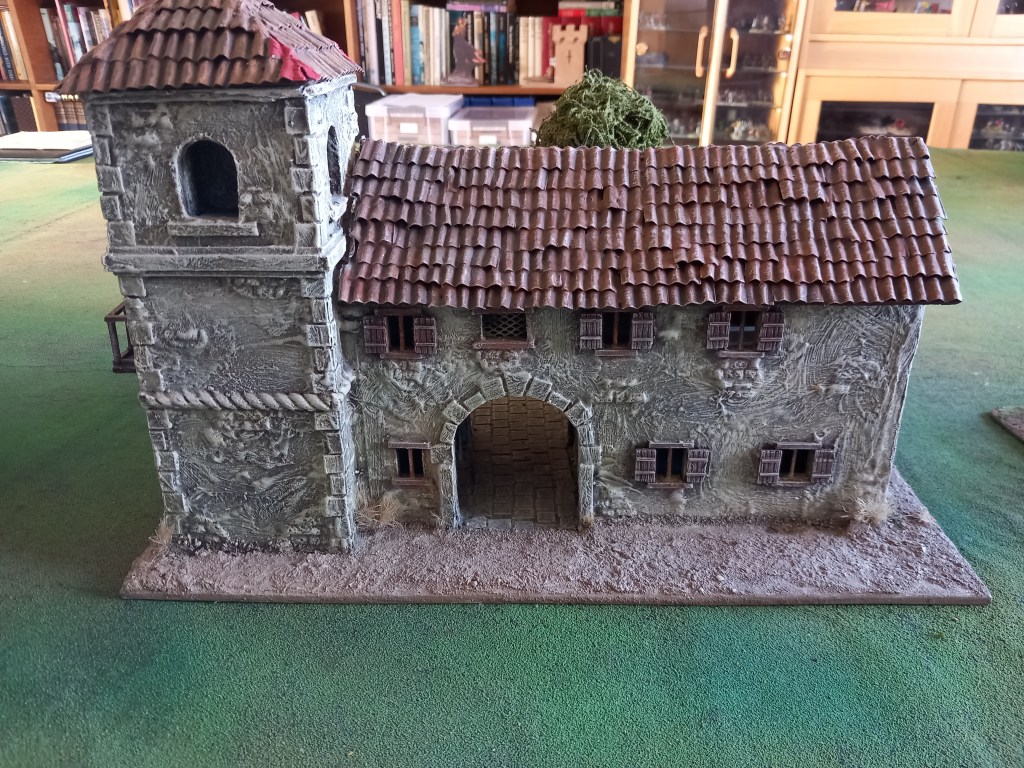
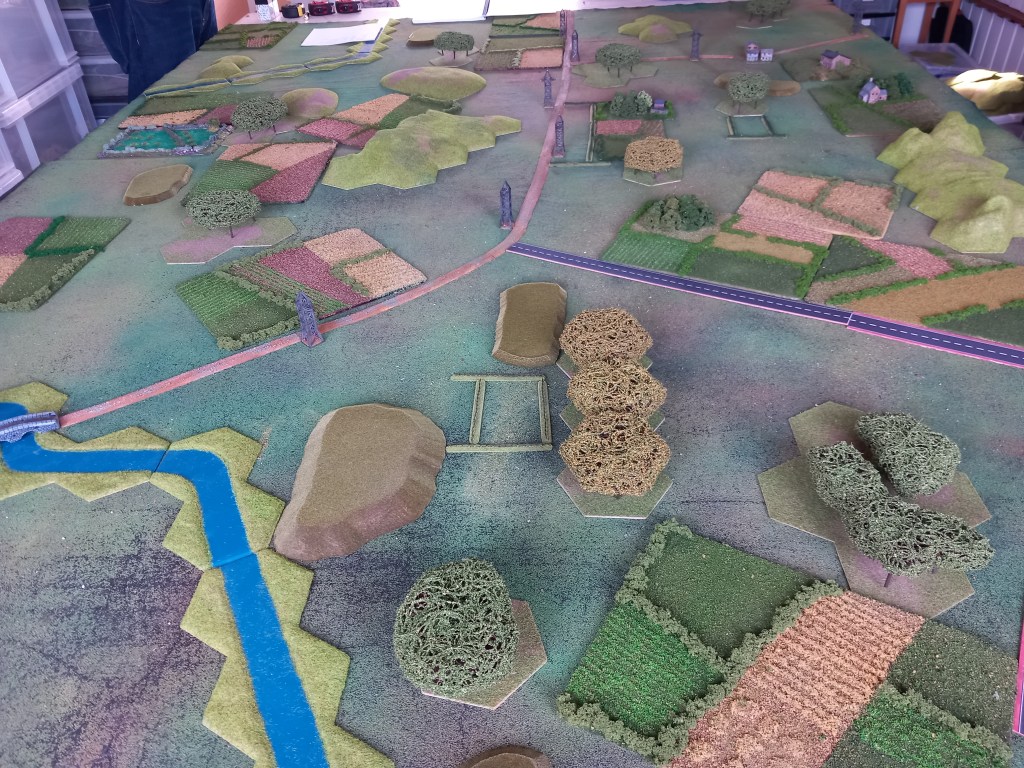
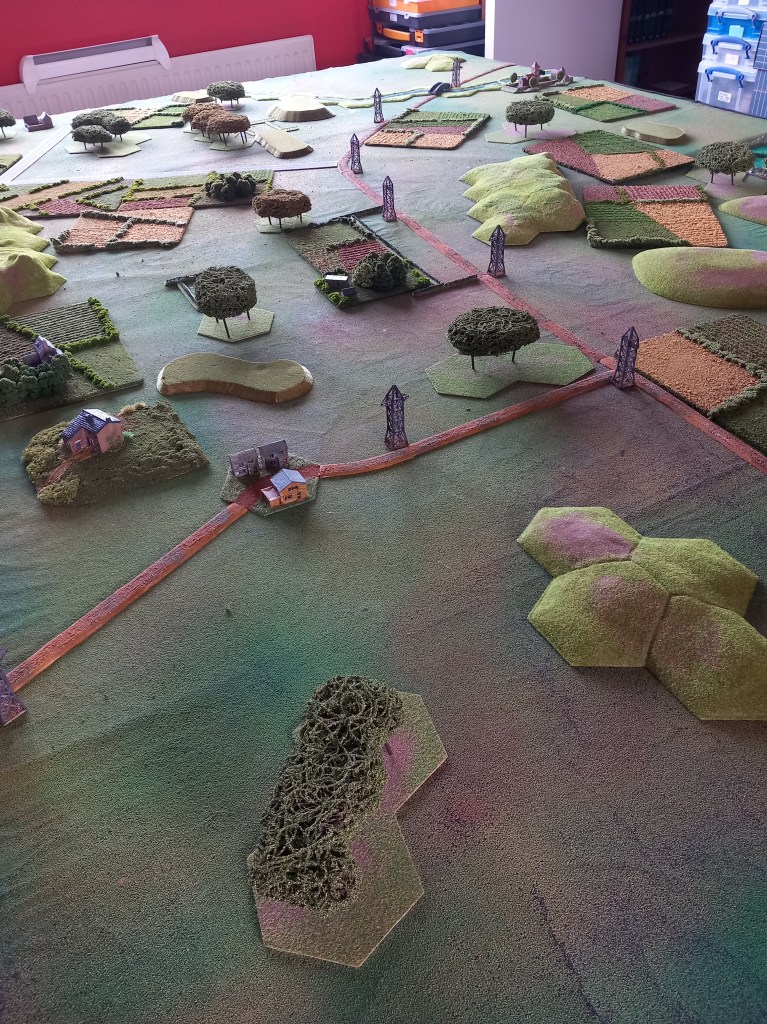
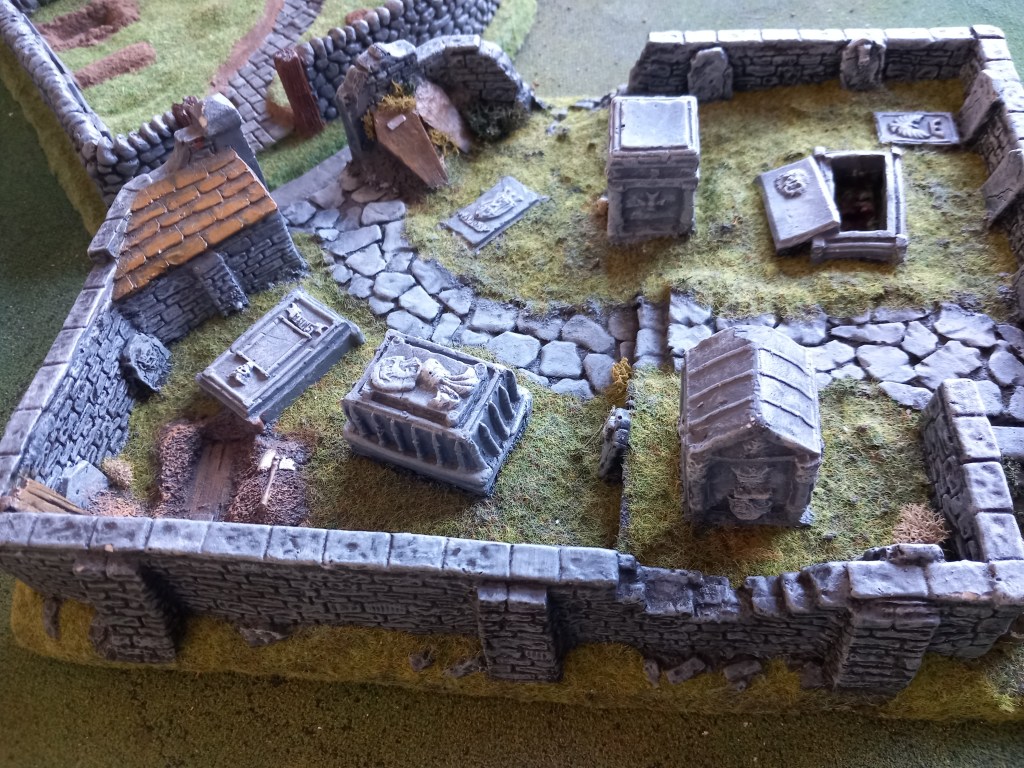
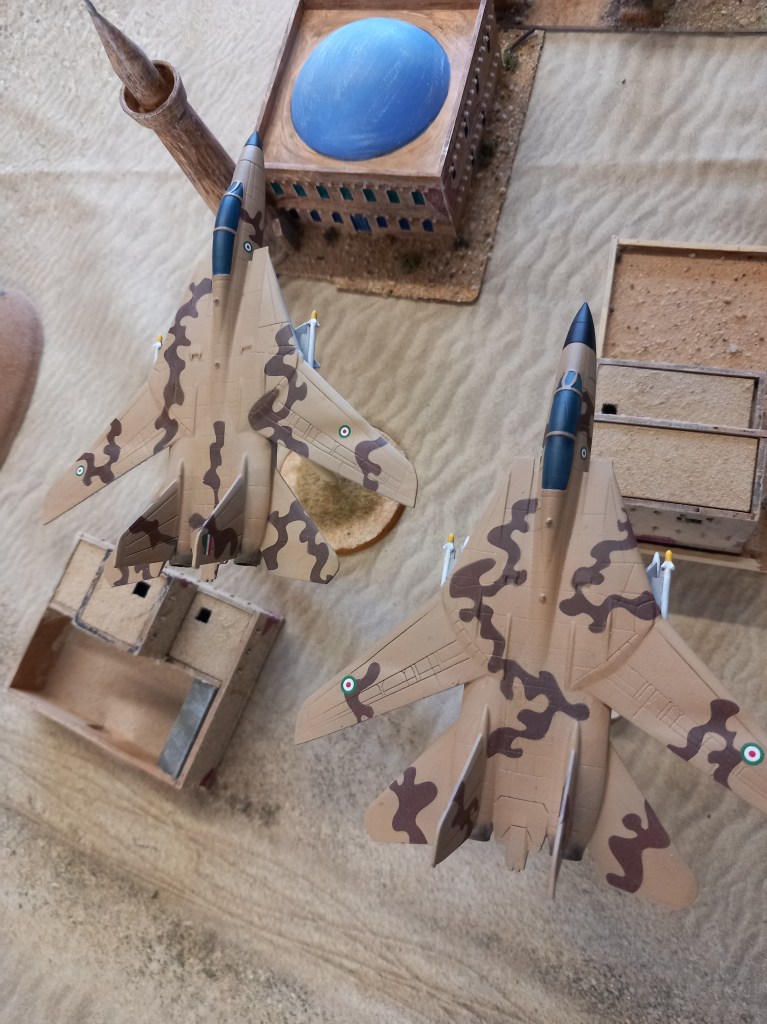
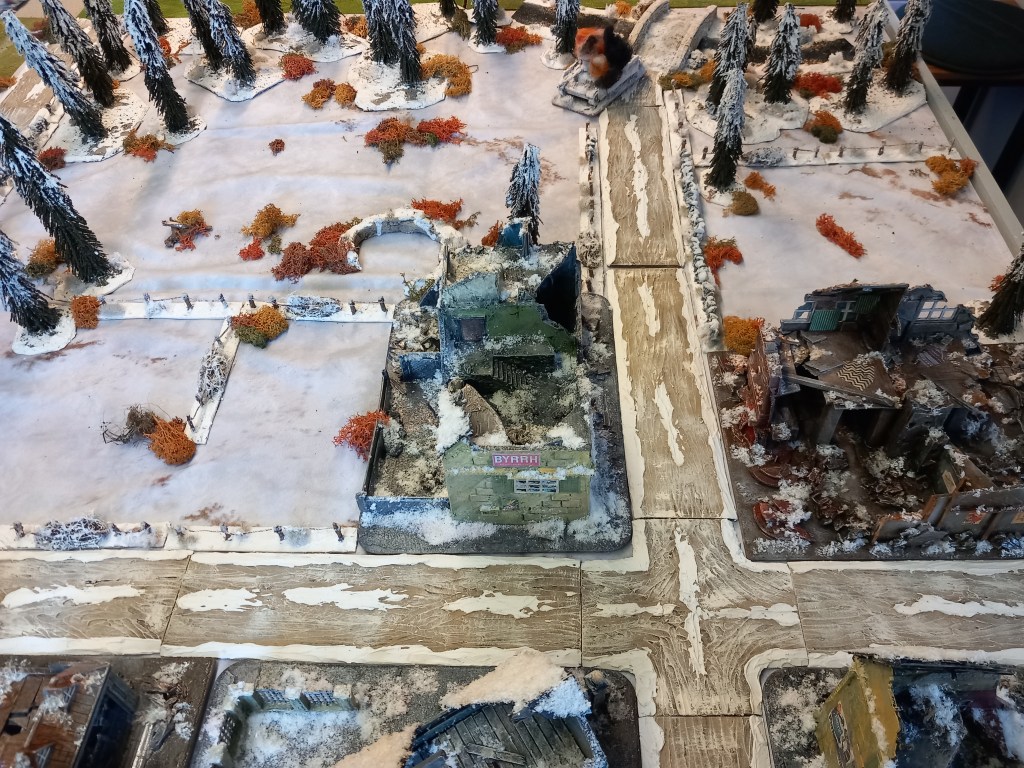
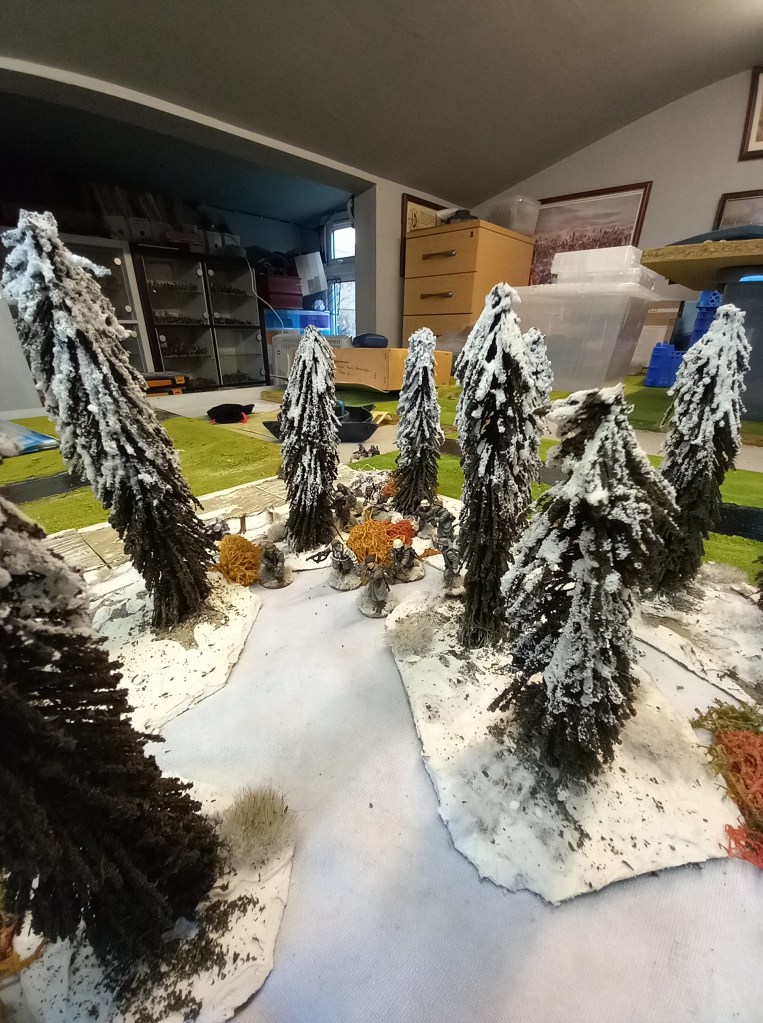
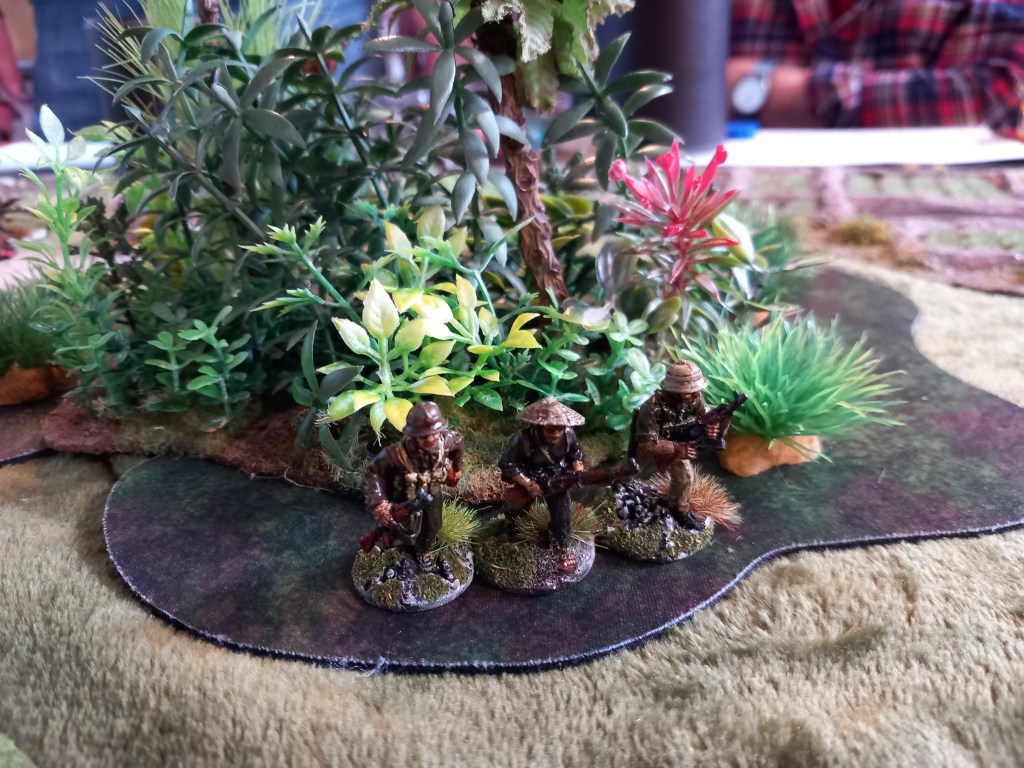
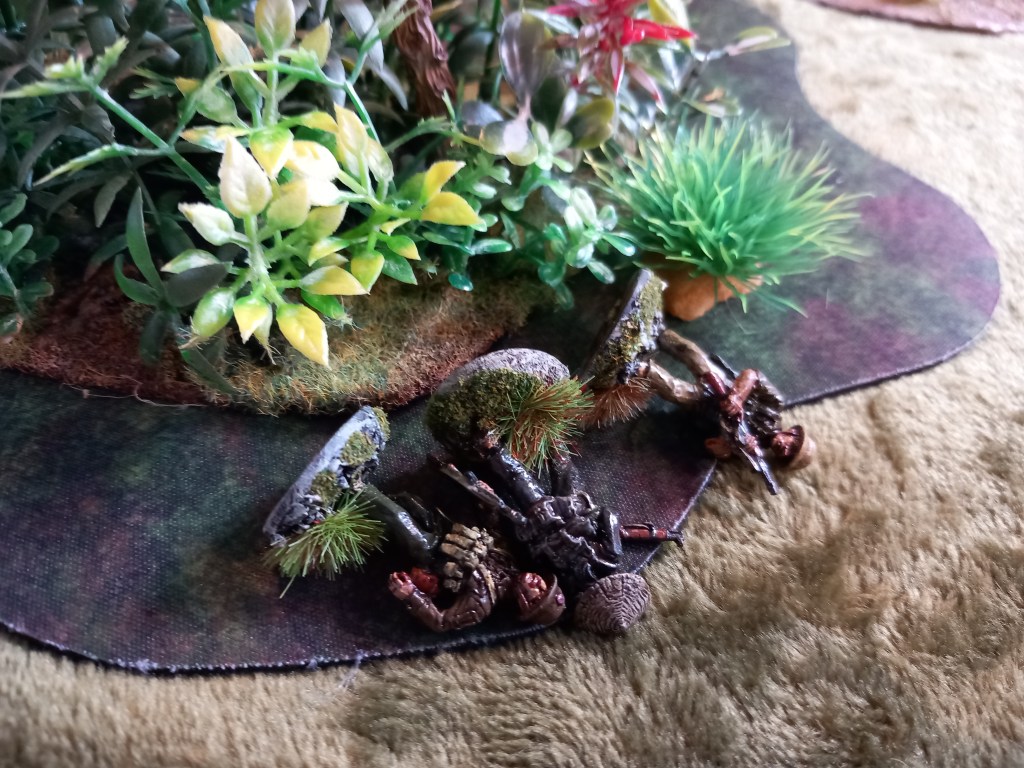
A bit more terrain to hide in.
And that was the month. Another funeral next month and the sorting of fallen comrades collections. In the meantime, play well and be good.